
This is another idea I saw on Pinterest. Oh, my sweet, sweet addiction to that website!
Anyway, I just happen to have two beautiful dusty blue vintage suitcases sitting around my house. Why? We used them in our wedding to hold our guest favors. See?

March 31, 2012
I snatched up these cuties the moment I spotted them in Ole Towne Antique Mall, but they have pretty much been sitting in a closet since the wedding. It’s a matching set with a large suitcase and a smaller one that fits inside.
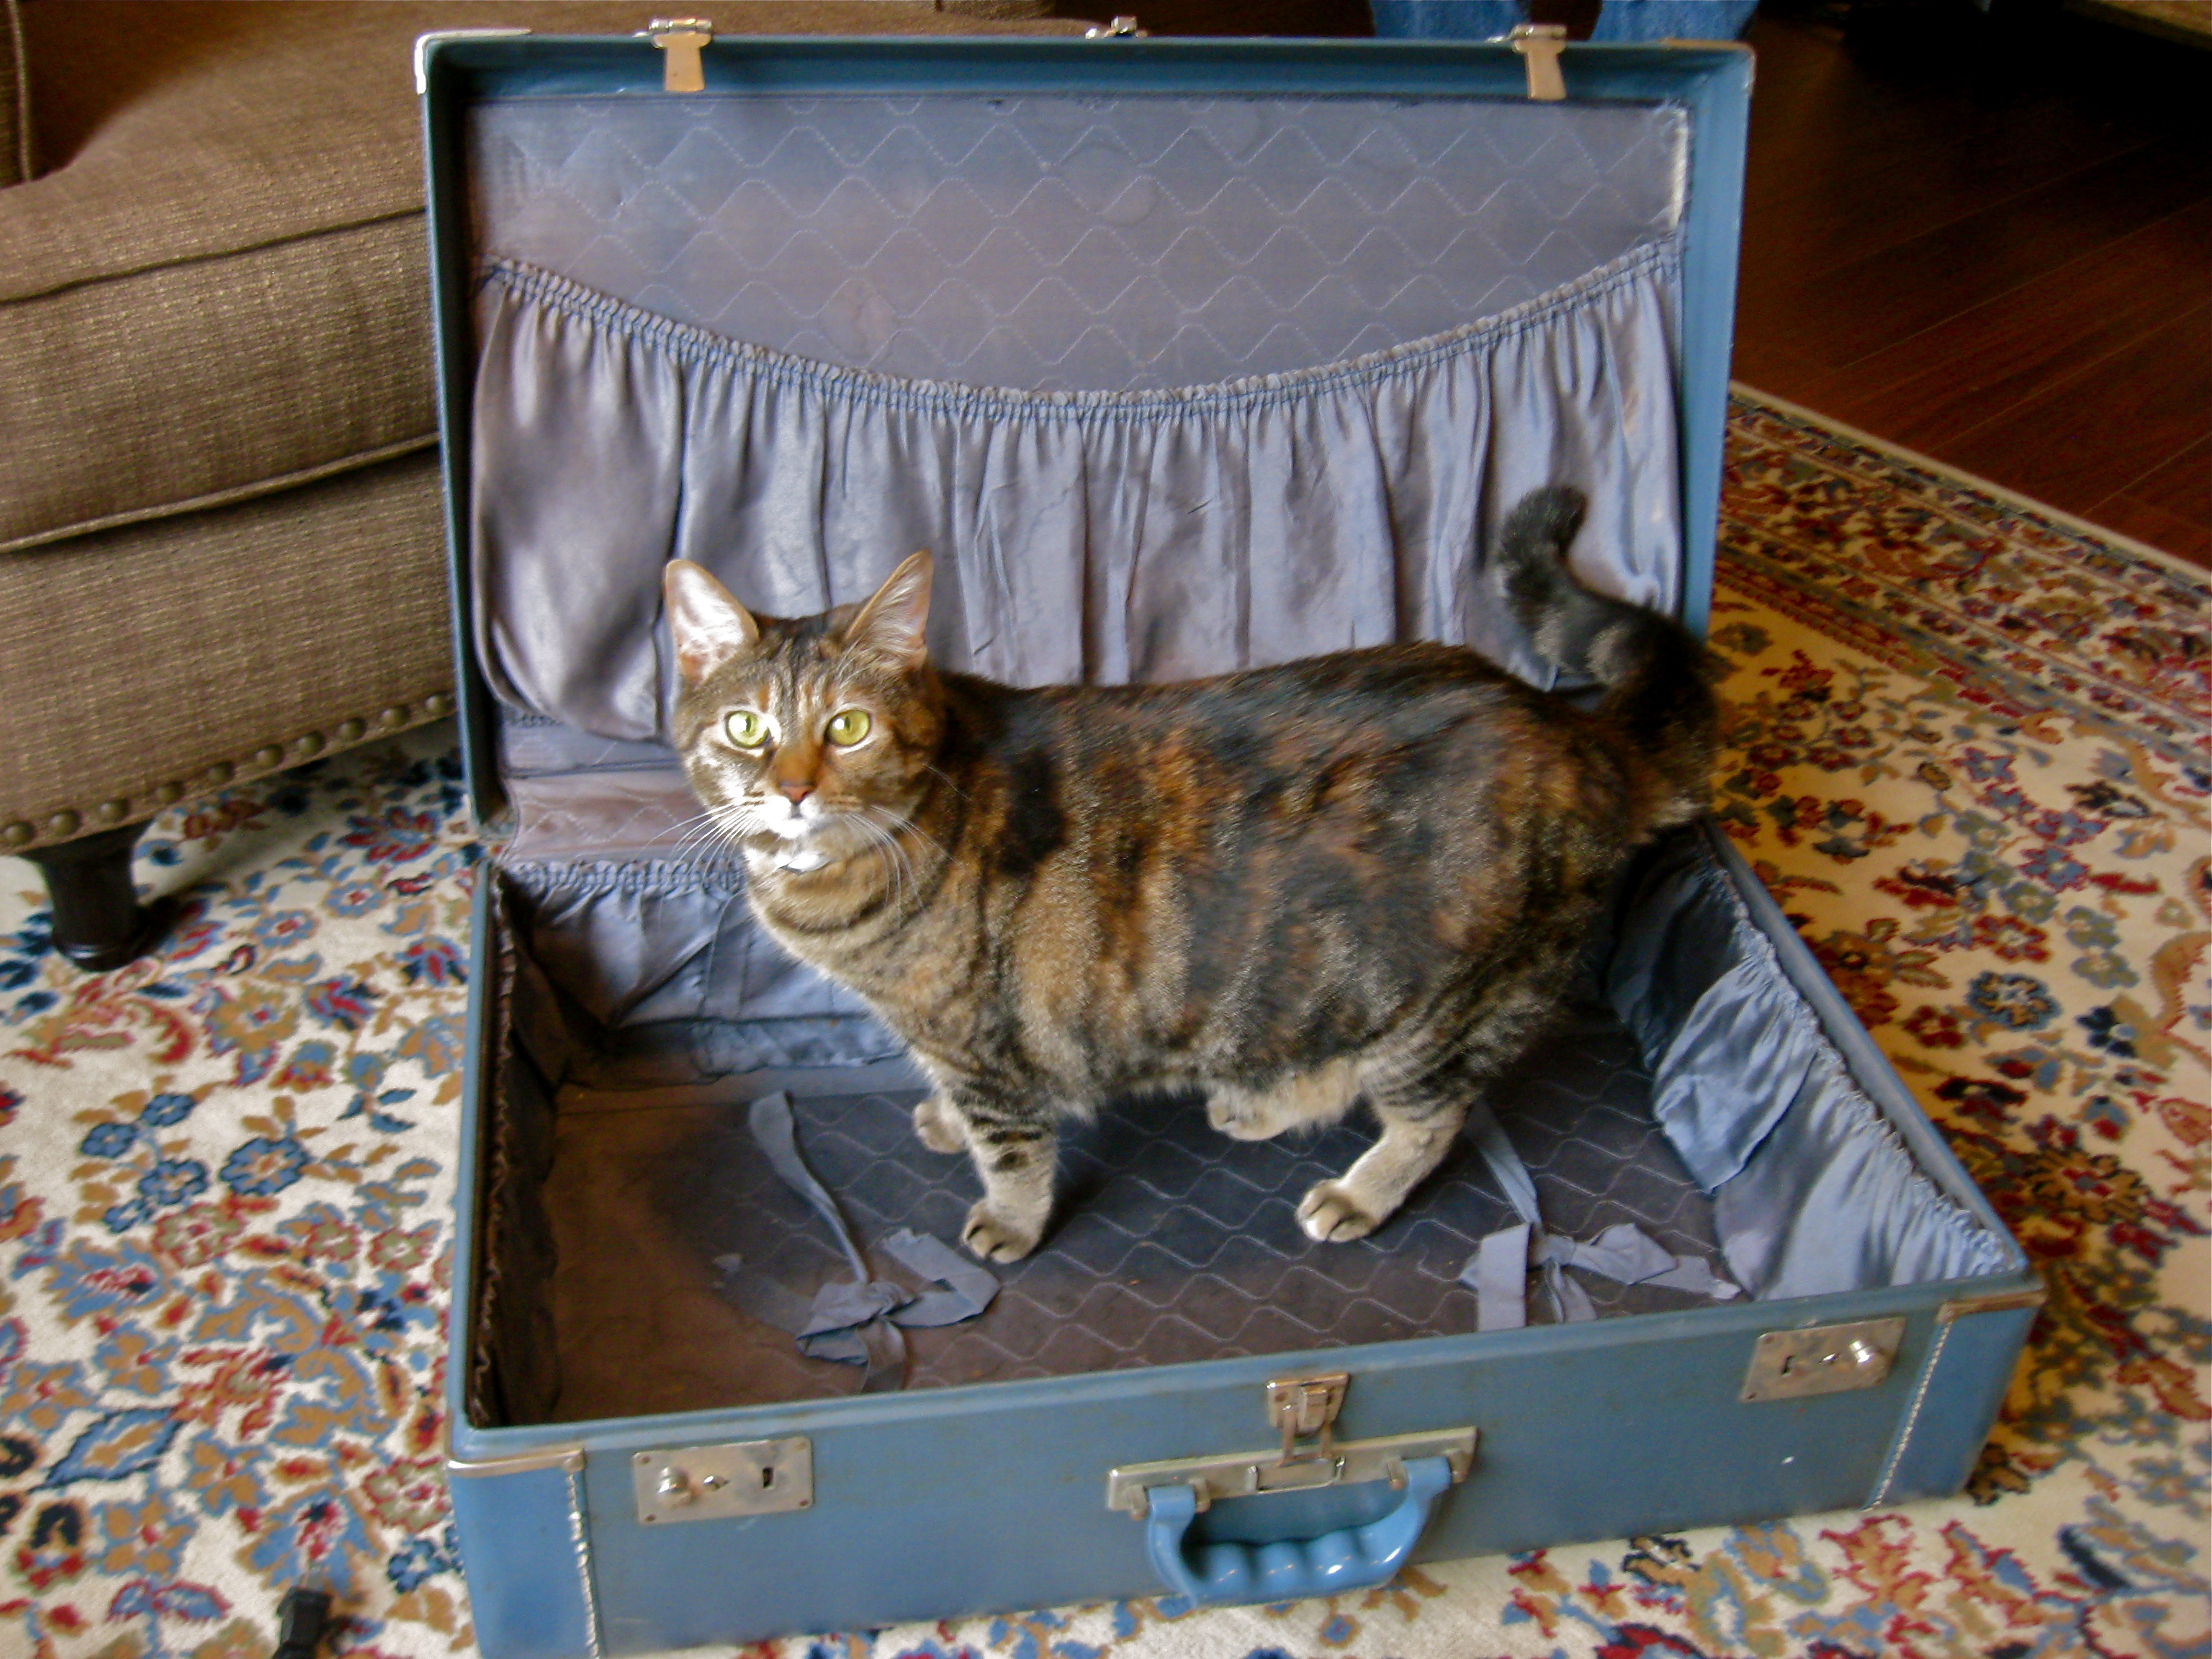
Miss Penny modeling the larger suitcase!
When I saw this pin and read the full post, I just knew it was the perfect solution for my suitcases! I love them, and they have special meaning for the part they played in our special day, and now I have a way to incorporate them into our new home. Nifty!
Checklist on this project:
- Suitcases
- Drill
- Table legs
- Screws and washers
- Black spray paint
We already had the suitcases and drill, so we headed out to Lowe’s for my other supplies. Let me tell you, table legs are expensive. We needed four 16-inch legs and four 24-inch legs, and at $10 to $15 each, we were looking at $100 just for the darn legs!
Thank the stars I grew up with the handiest woman on the planet: my mother, Margie. I sat there in that lumber aisle thinking, “What would Margie do?” She would find a way to do it cheaper. Behold, my crafty alternative: $3 for a 48-inch dowel rod and $2.50 a piece for adorable, carved feet.
We had one dowel rod cut into four 12-inch pieces. By the way, they will do measuring and cutting for free at Lowe’s on wood you purchase in the store. Add on the carved 4-inch feet, and we had 16-inch table legs for about $3.50 a piece! For the taller legs, we bought two dowel rods and had them each cut into three pieces: 20 inches, 20 inches, and 8 inches. We ended up with four 20-inch rods and two 8-inch rods. I’m sure I’ll find a use for the leftovers someday!
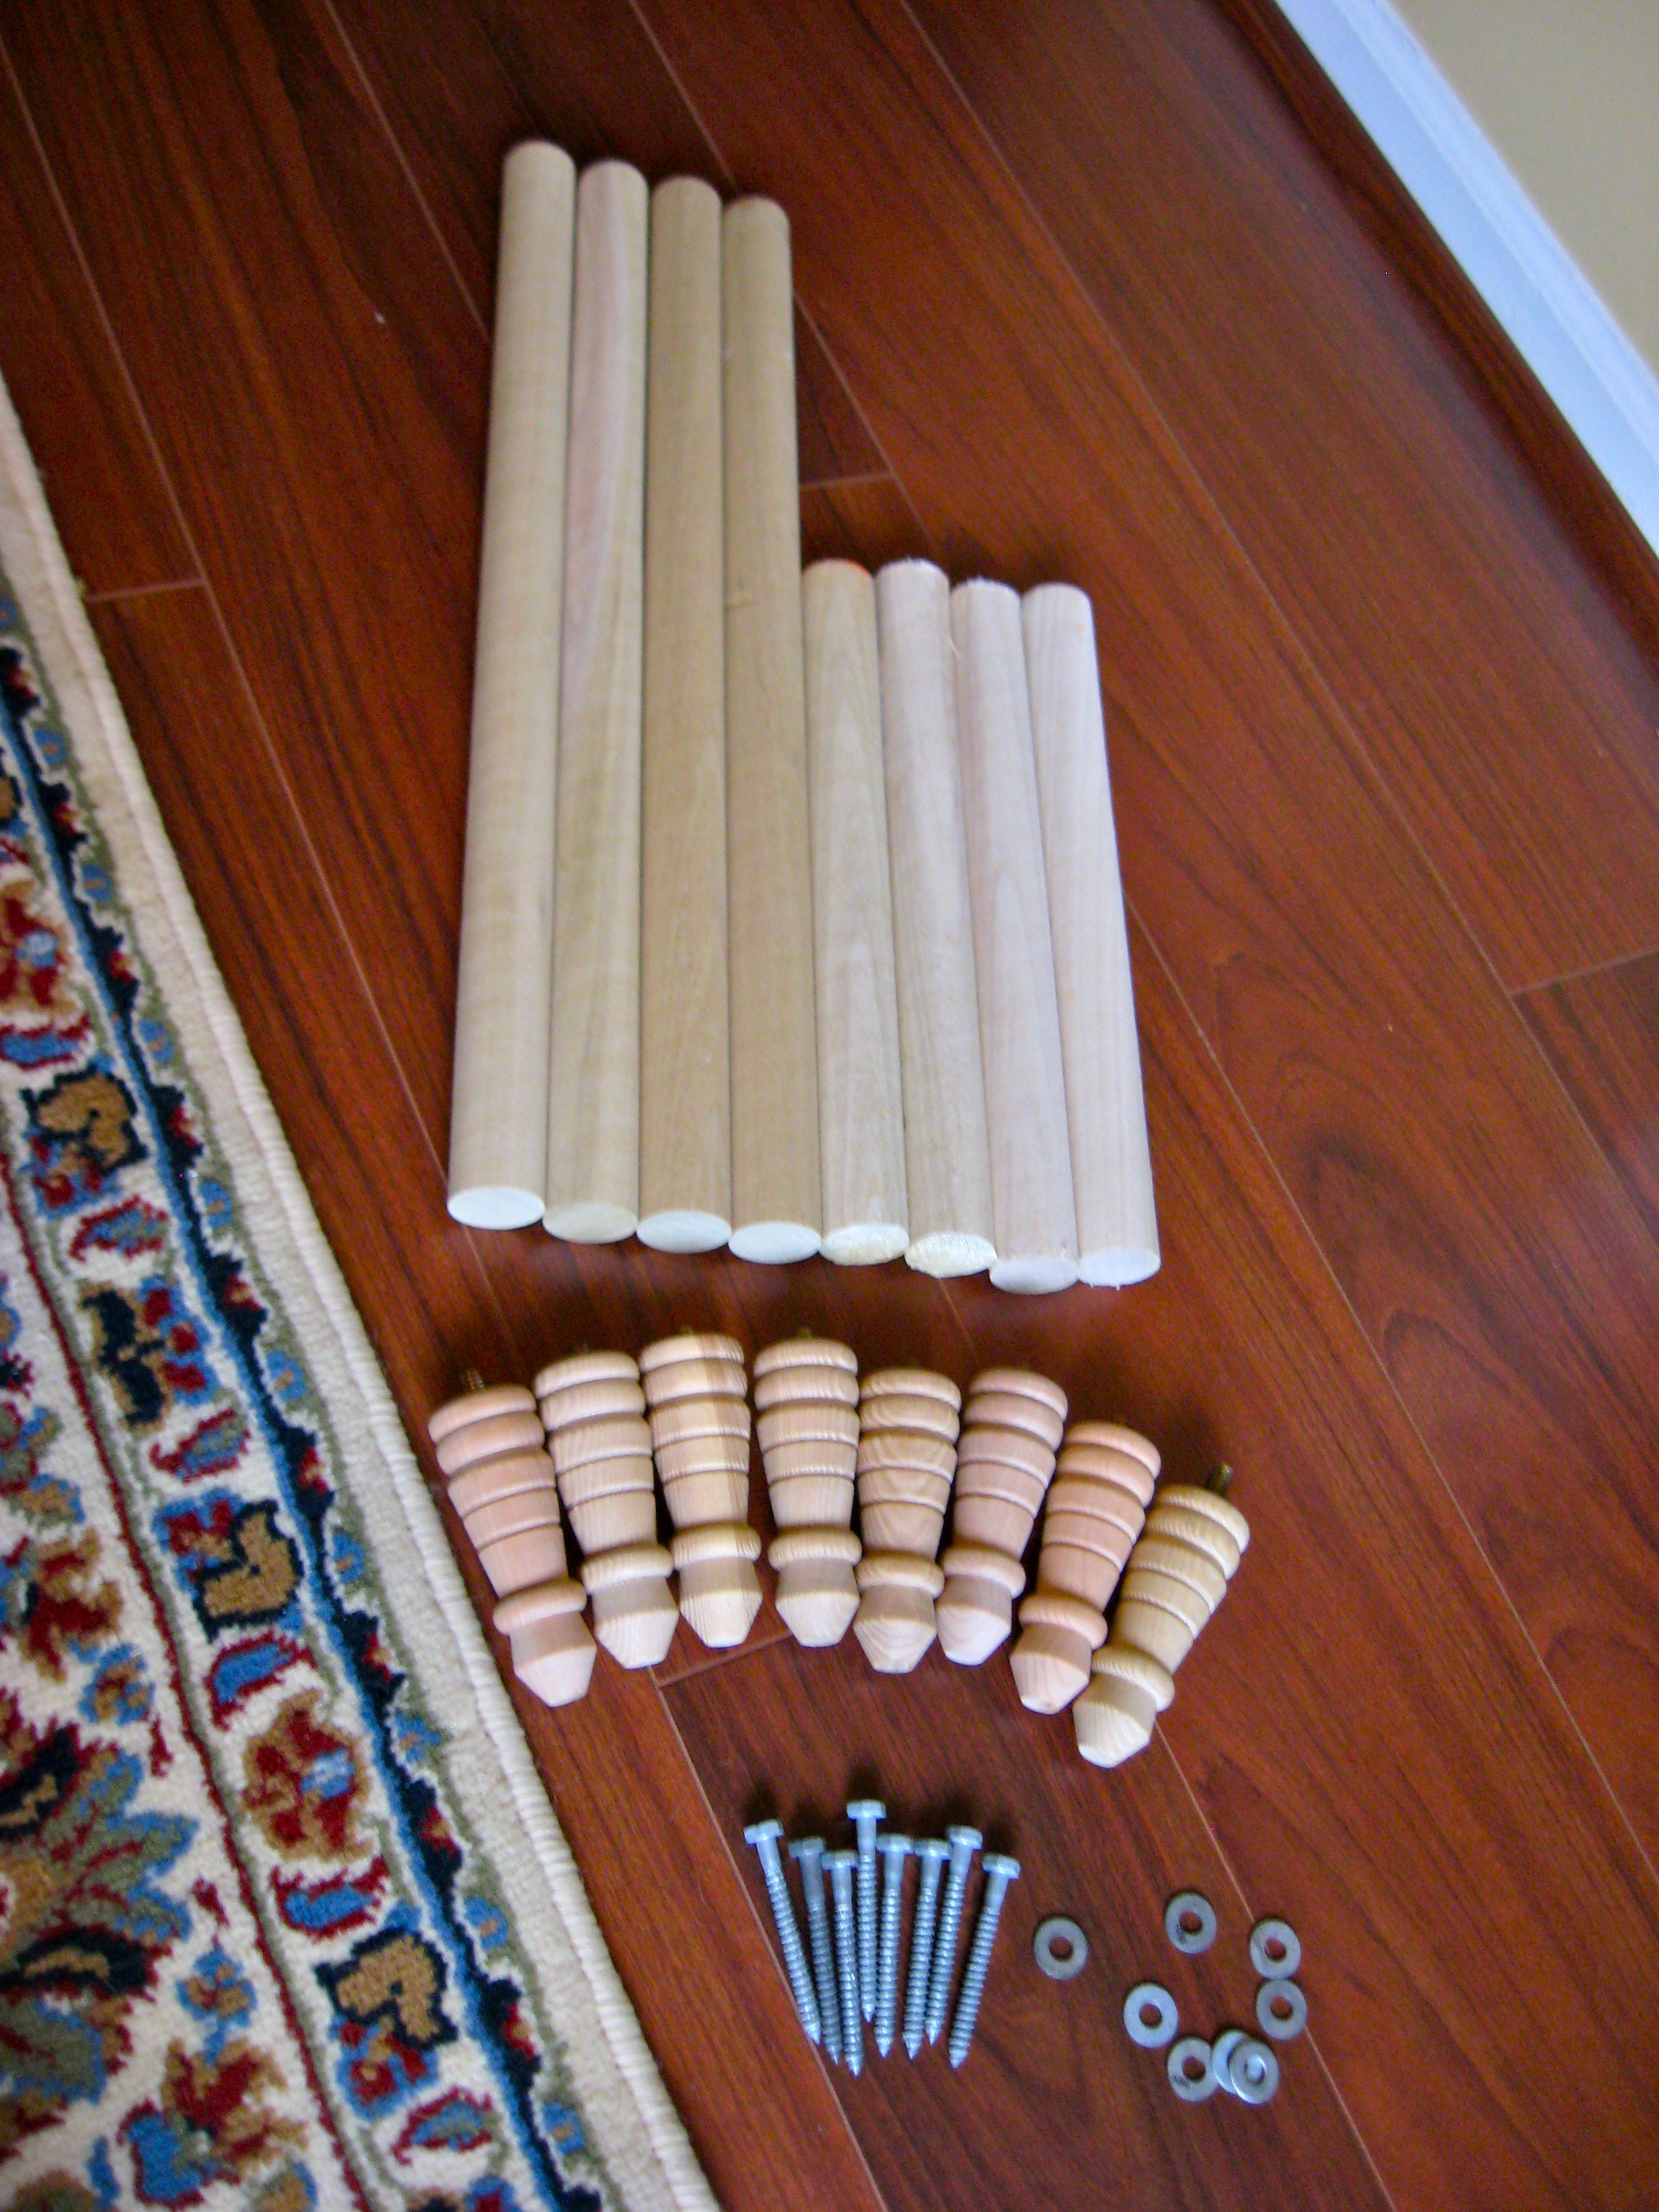
Supplies
After we screwed the feet into the dowel rods and sanded things down, I spray painted them black. Remember, don’t try to get it all done in one coat. The paint will look much better if you build up the layers in multiple coats.
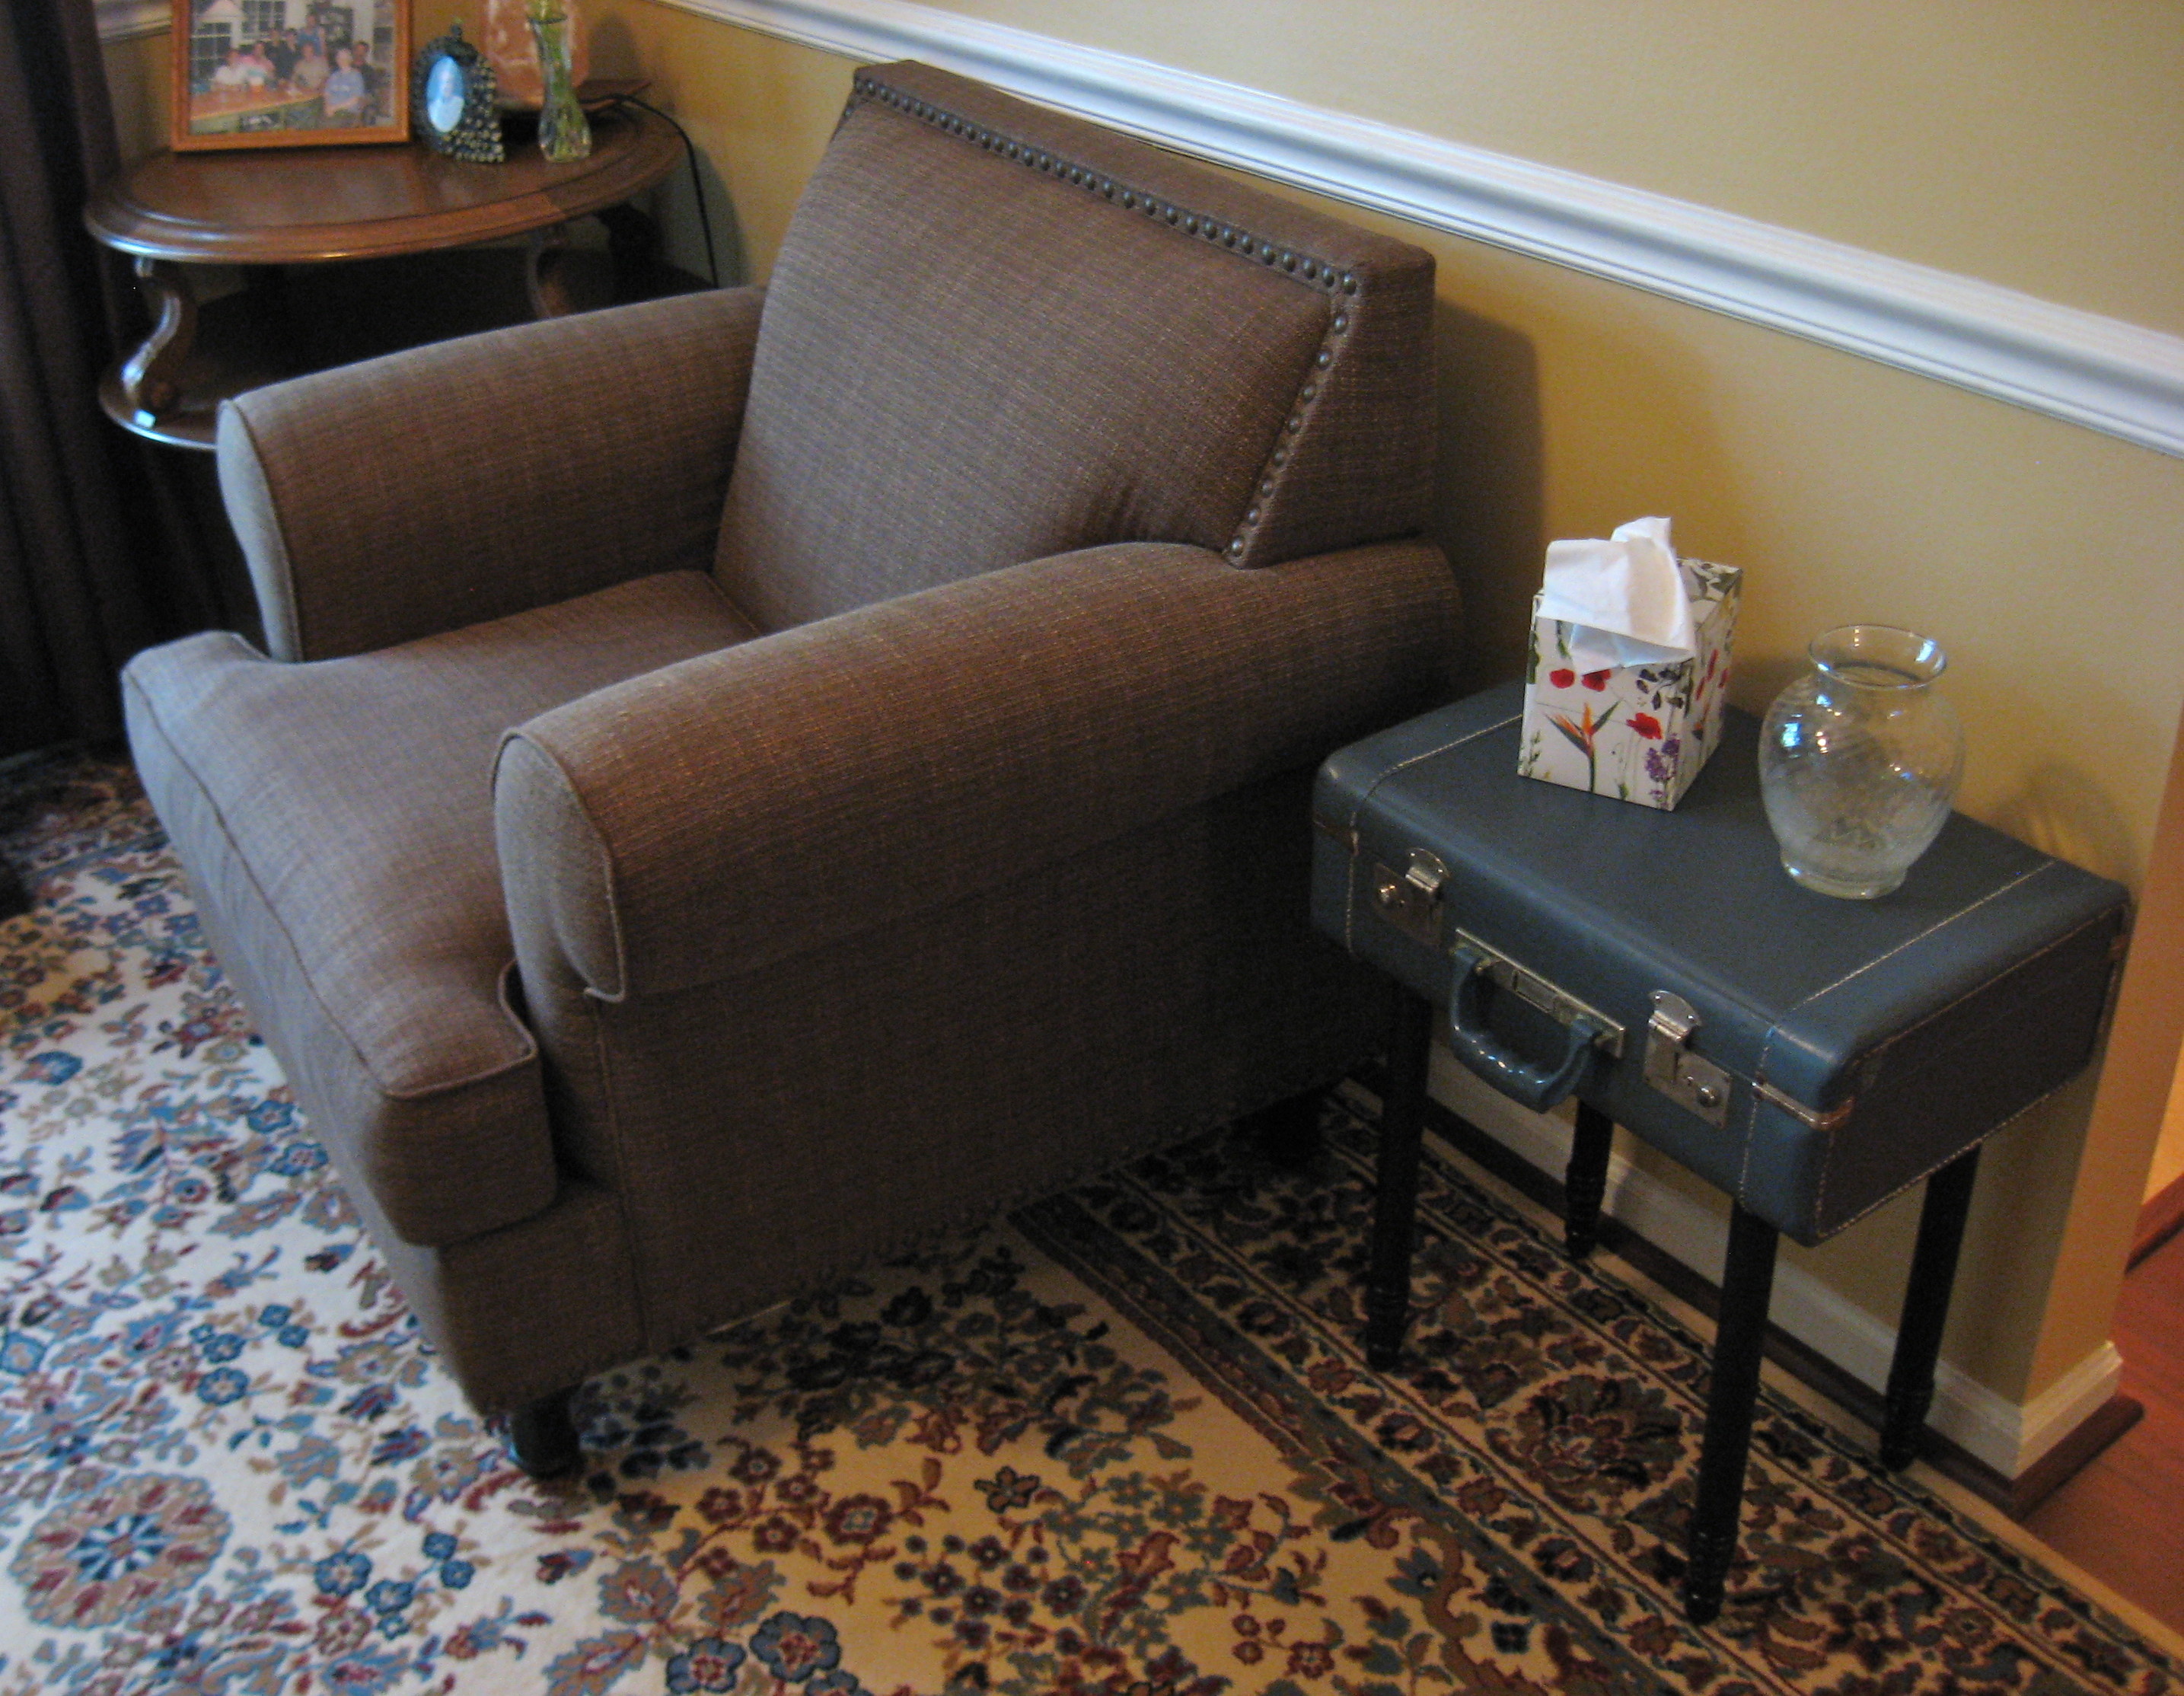
All in all, we spent about $35 in supplies (wood, sandpaper, spray paint, screws, and washers). We drilled holes into the bottom of the suitcases and also into the top of the table legs. Then, we secured them together with a screw and a washer. Voila!

They could be stacking tables!
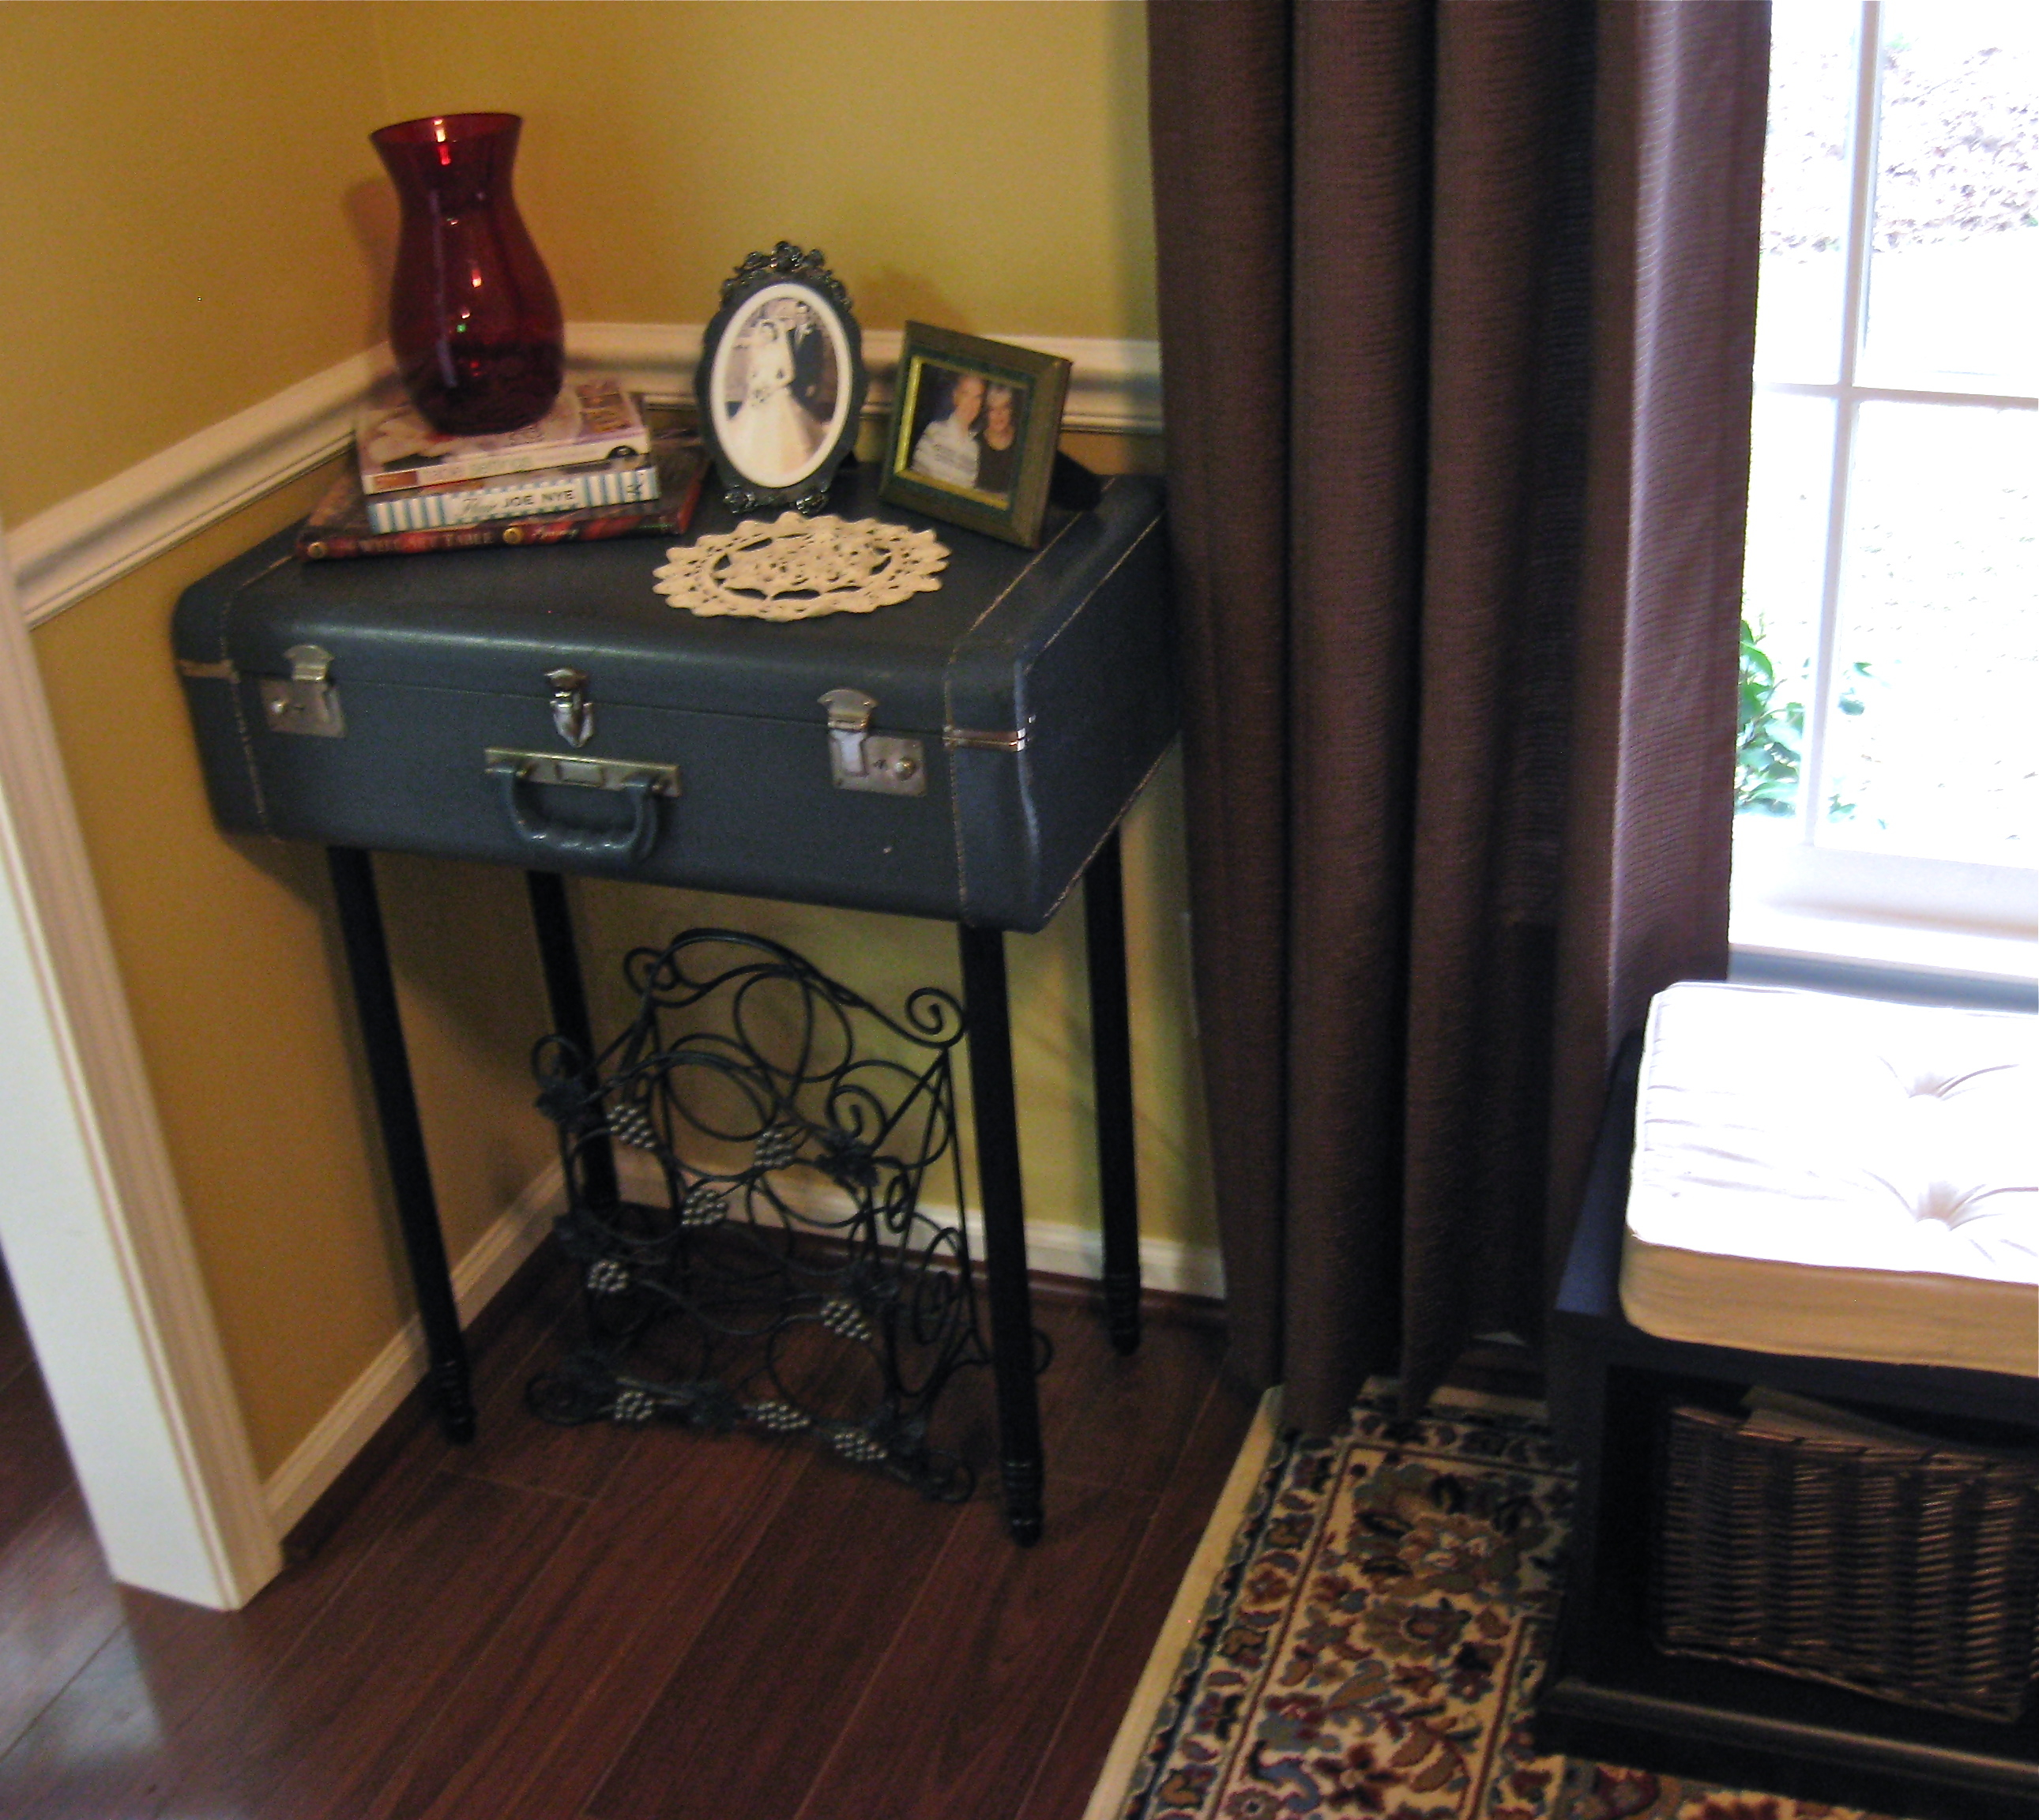
I love my new suitcase side tables, and it was a fun project to do with the hubs. How great that we could re-purpose these sentimental items into something useful for our home — and only two weeks late for our anniversary! 🙂
I need better table toppers!
Suitcase side table!

Love the matching set! They turned out great!
LikeLike
Thanks! I am so happy with the results. I keep moving them back and forth from stand alone pieces to nesting tables — they look great both ways!
LikeLike