January is almost over. Christmas is long gone, and I’m still packing away the remnants of the holiday. These things take longer when you’re almost 8 months pregnant, right? 😉 As I box up my decorations and massive amounts of … Continue reading

January is almost over. Christmas is long gone, and I’m still packing away the remnants of the holiday. These things take longer when you’re almost 8 months pregnant, right? 😉 As I box up my decorations and massive amounts of … Continue reading
I took on another ambitious project this weekend. Has anyone noticed a trend, here? I get excited to try something new and instead of taking baby steps, I just jump in the deep end. Perfect example: my first fondant cake.
Well, this time it was painting a nursery for Suzy, a good friend of my childhood bestie, Shantal. Suzy is super sweet, and I’ve known her (through my childhood friend) since high school. She has a daughter and son (about 7 and 5), and she is having twin boys in September.
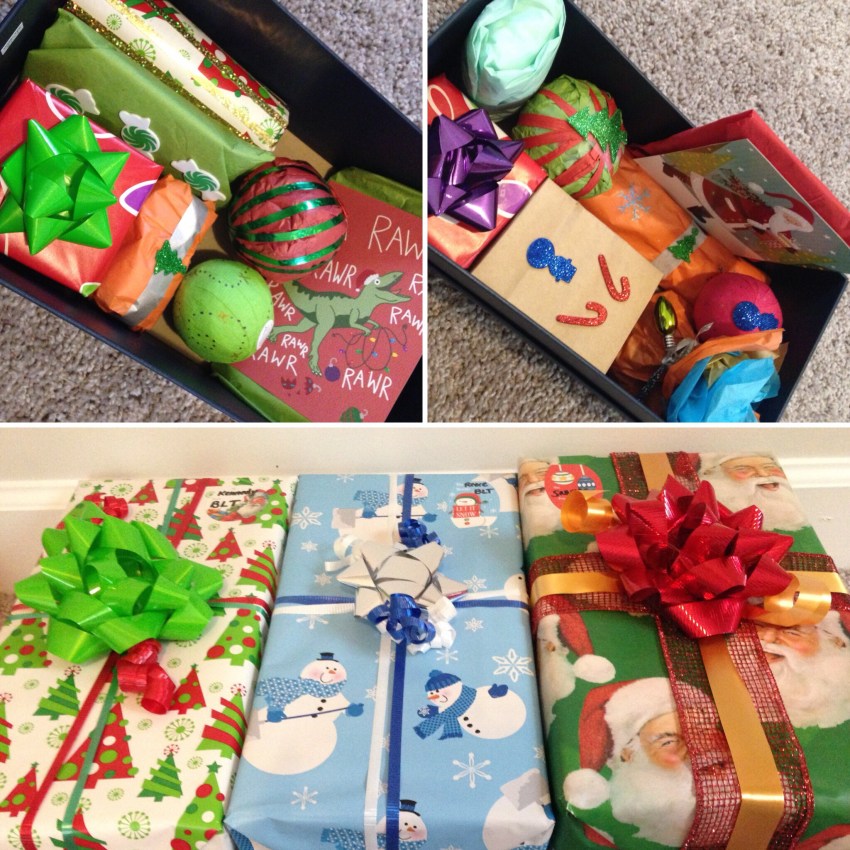
Shantal asked me if I would help decorate the nursery. I said yes, with the caveat that no one could get mad if it turned out ugly! 🙂 Plus, Suzy made it really easy by picking out this adorable theme:
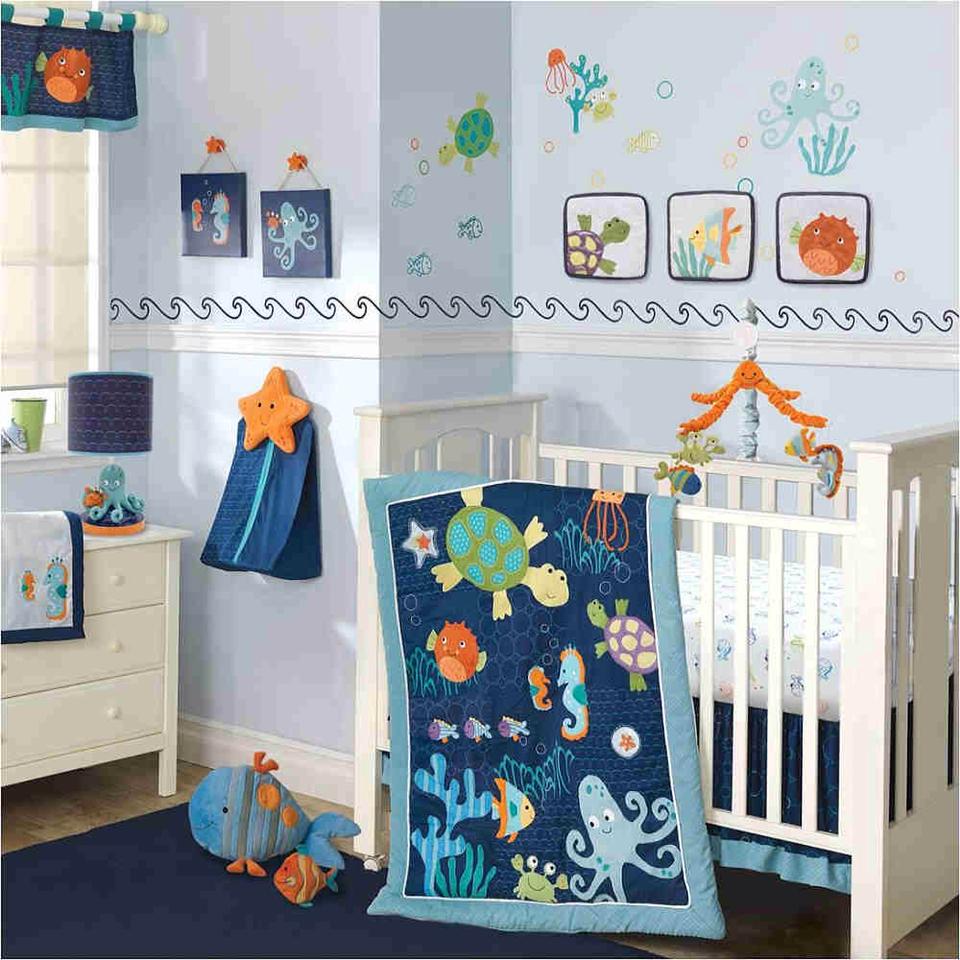
It’s called Bubbles & Squirt.
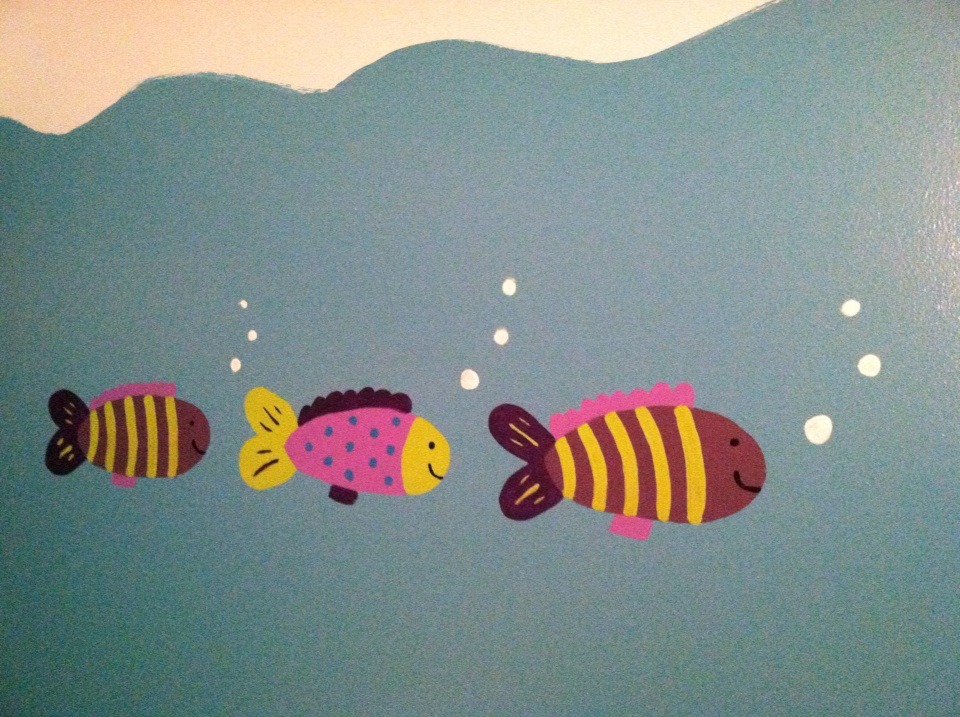
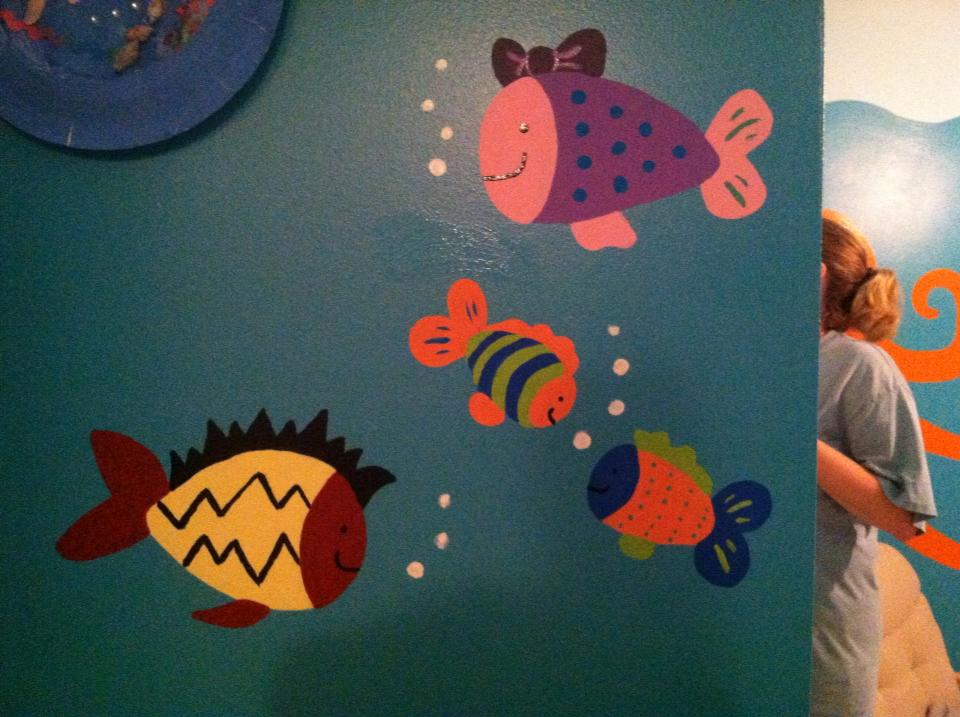
Shantal went in the weekend before and painted the walls blue with pretty waves, so I just had to embellish with the characters from the crib set. I had a field day! We painted the turtle, octopus (which only had 6 legs), pufferfish, jellyfish, crab, seahorses, starfish, coral, seaweed, and assorted other fish PLUS we added a sea anemone and sea urchin to the mix.
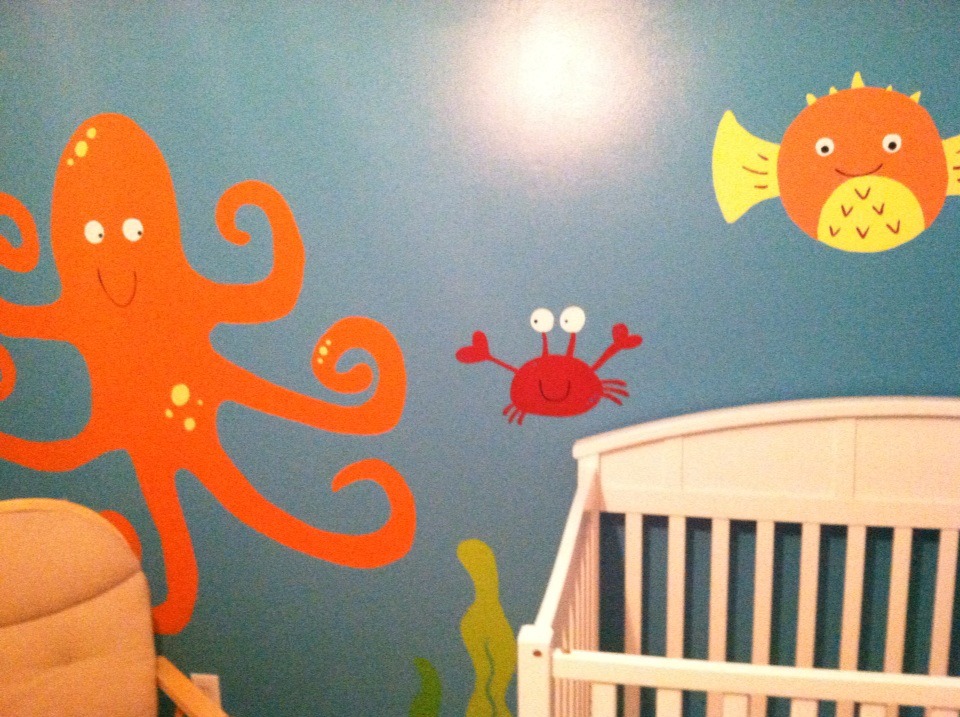
Octopus, crab, and pufferfish.
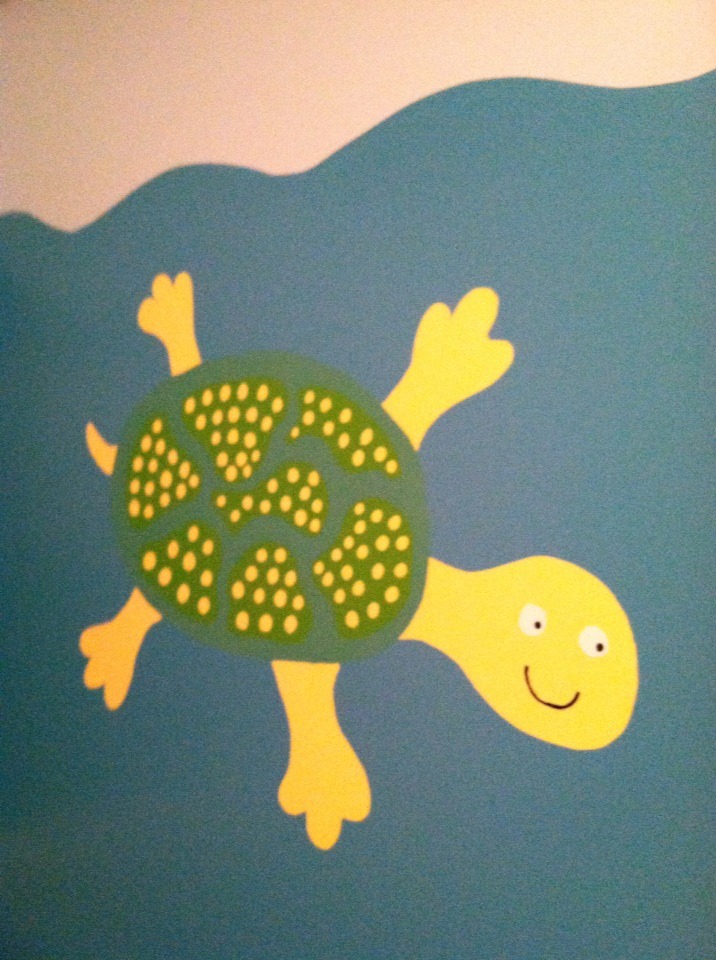
Sea turtle!
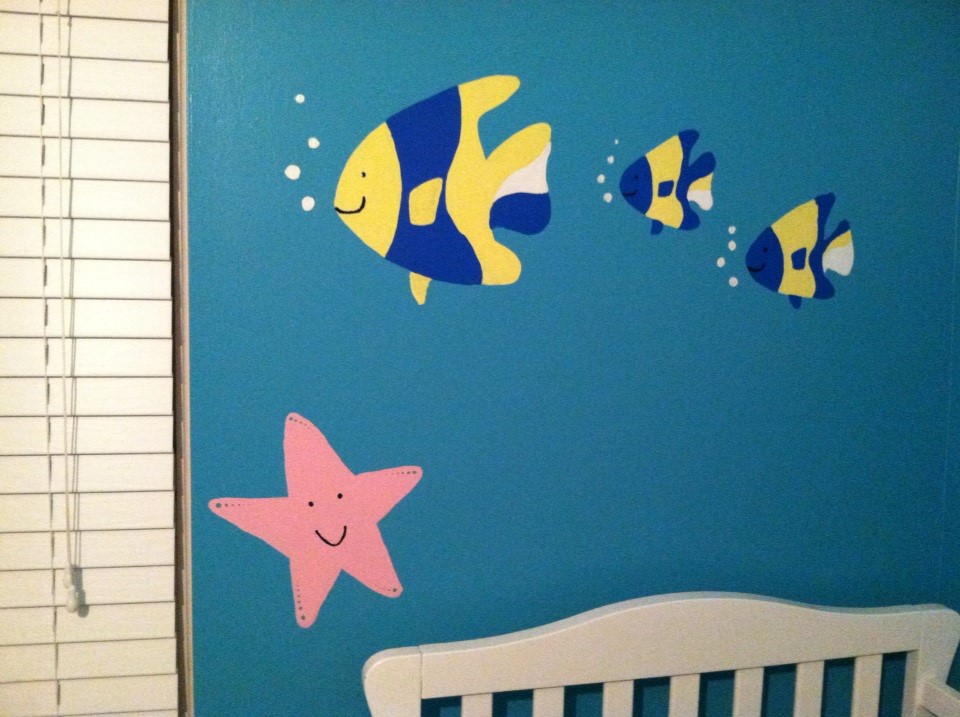
Momma fish with two babies, and a starfish.
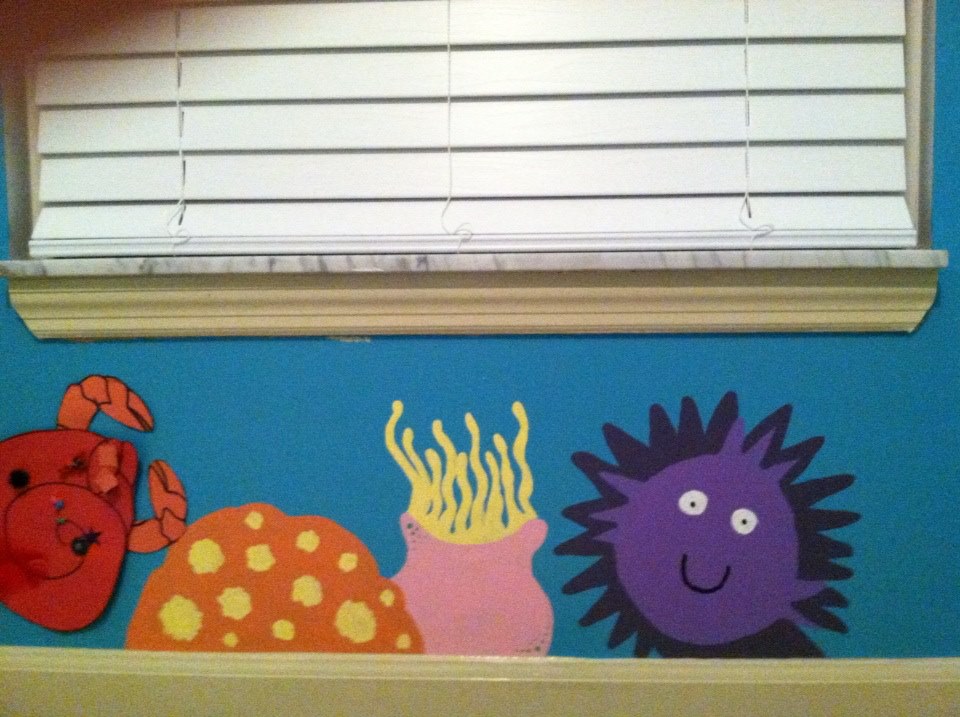
Coral, anemone, and sea urchin, plus a cute crab her son made for the nursery.
We even used glitter paint over the air bubbles!
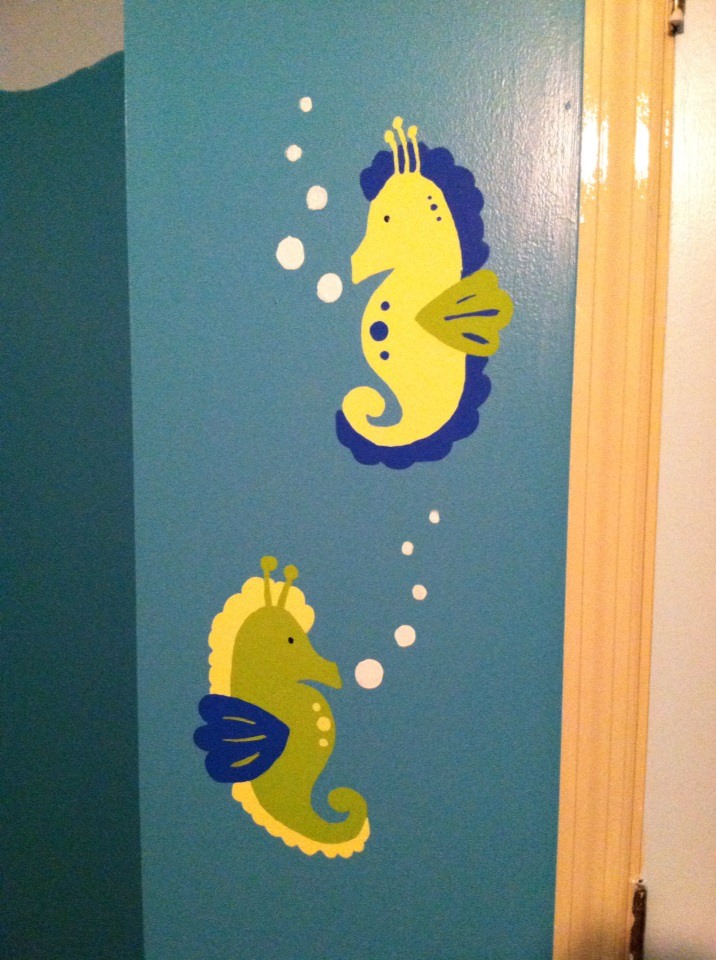
Seahorses.
These represent all the kids, her daughter and son, plus the twins!
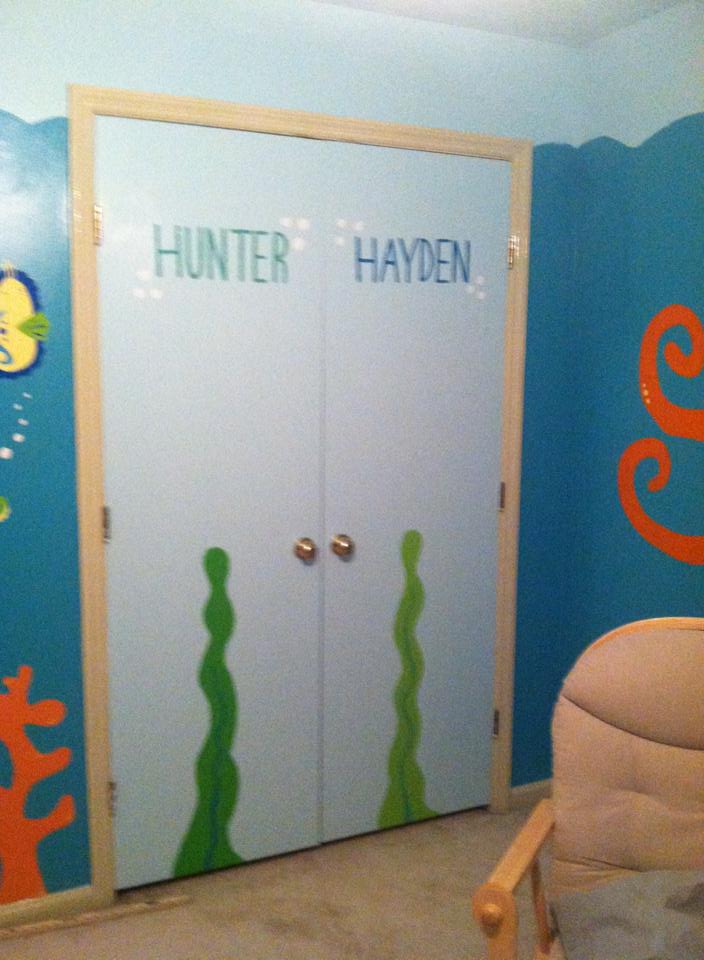
The boys’ names with seaweed growth charts!
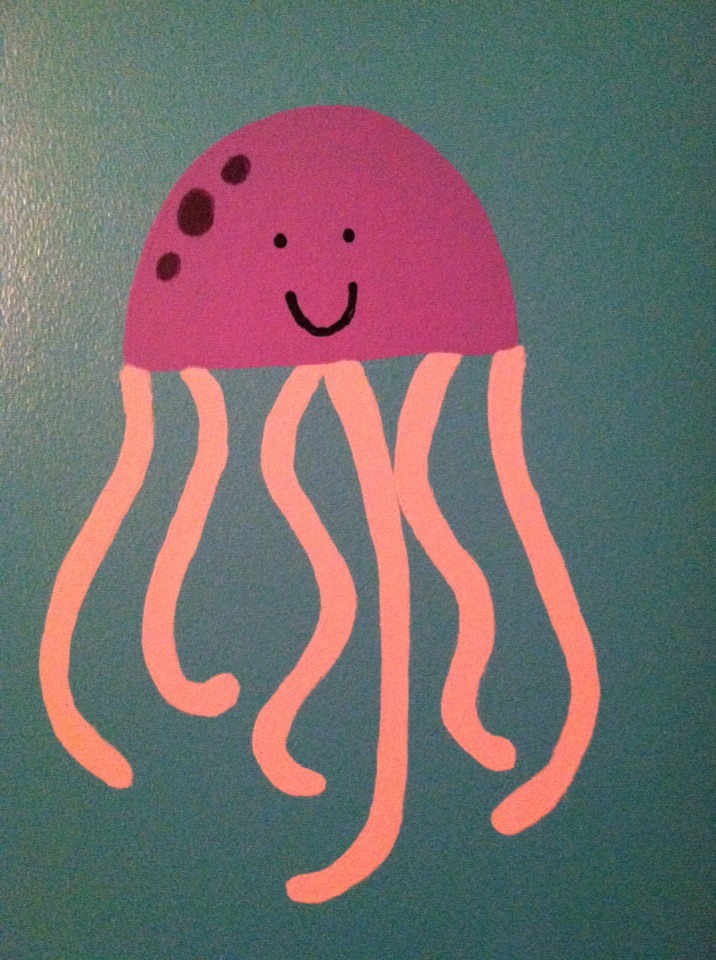
Jellyfish!
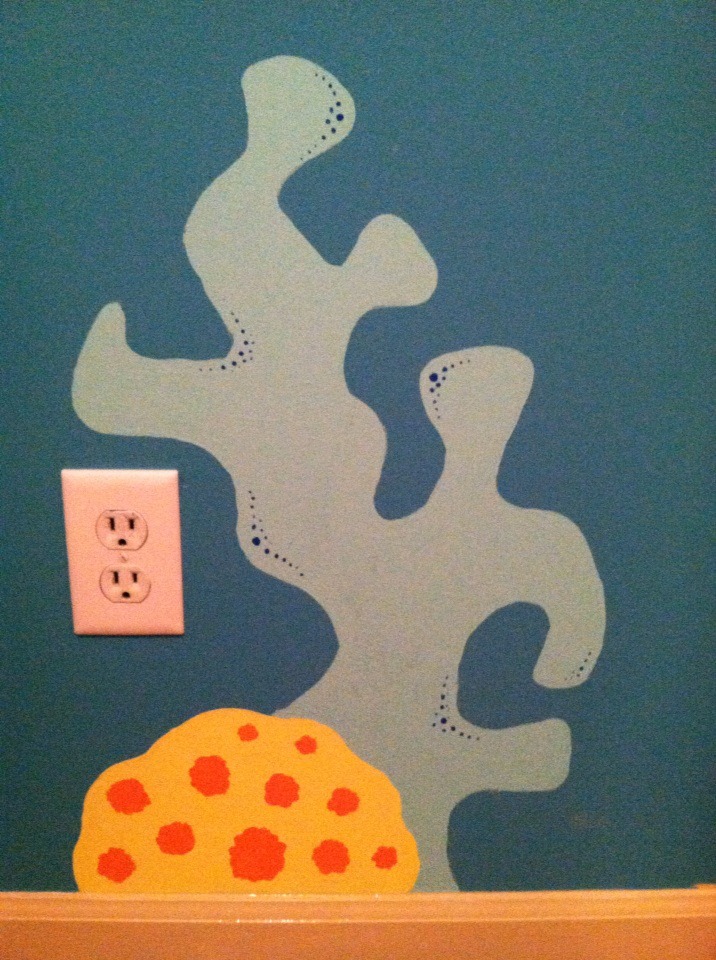
Assorted coral.
We even painted the trim a sandy color to coordinate with the ocean theme. It took us about 16 hours to complete — with an hour break for lunch and a half-hour coffee break!
Let me just say, I learned A LOT from this.
Overall, I was pleased with the results, and most importantly, Suzy was happy. I was so thrilled to be able to give her this gift to welcome the twins, Hunter and Hayden. I am also glad we got to add in personal details like the fishies to represent her other children. We hope it makes them feel apart of their little brothers’ upcoming arrival.
And, I had a blast spending that time with my friend. It is a relationship I truly cherish, and I am always amazed at how we just pick back up even when it’s been a long time since we’ve seen each other!
This is another idea I saw on Pinterest. Oh, my sweet, sweet addiction to that website!
Anyway, I just happen to have two beautiful dusty blue vintage suitcases sitting around my house. Why? We used them in our wedding to hold our guest favors. See?

March 31, 2012
I snatched up these cuties the moment I spotted them in Ole Towne Antique Mall, but they have pretty much been sitting in a closet since the wedding. It’s a matching set with a large suitcase and a smaller one that fits inside.
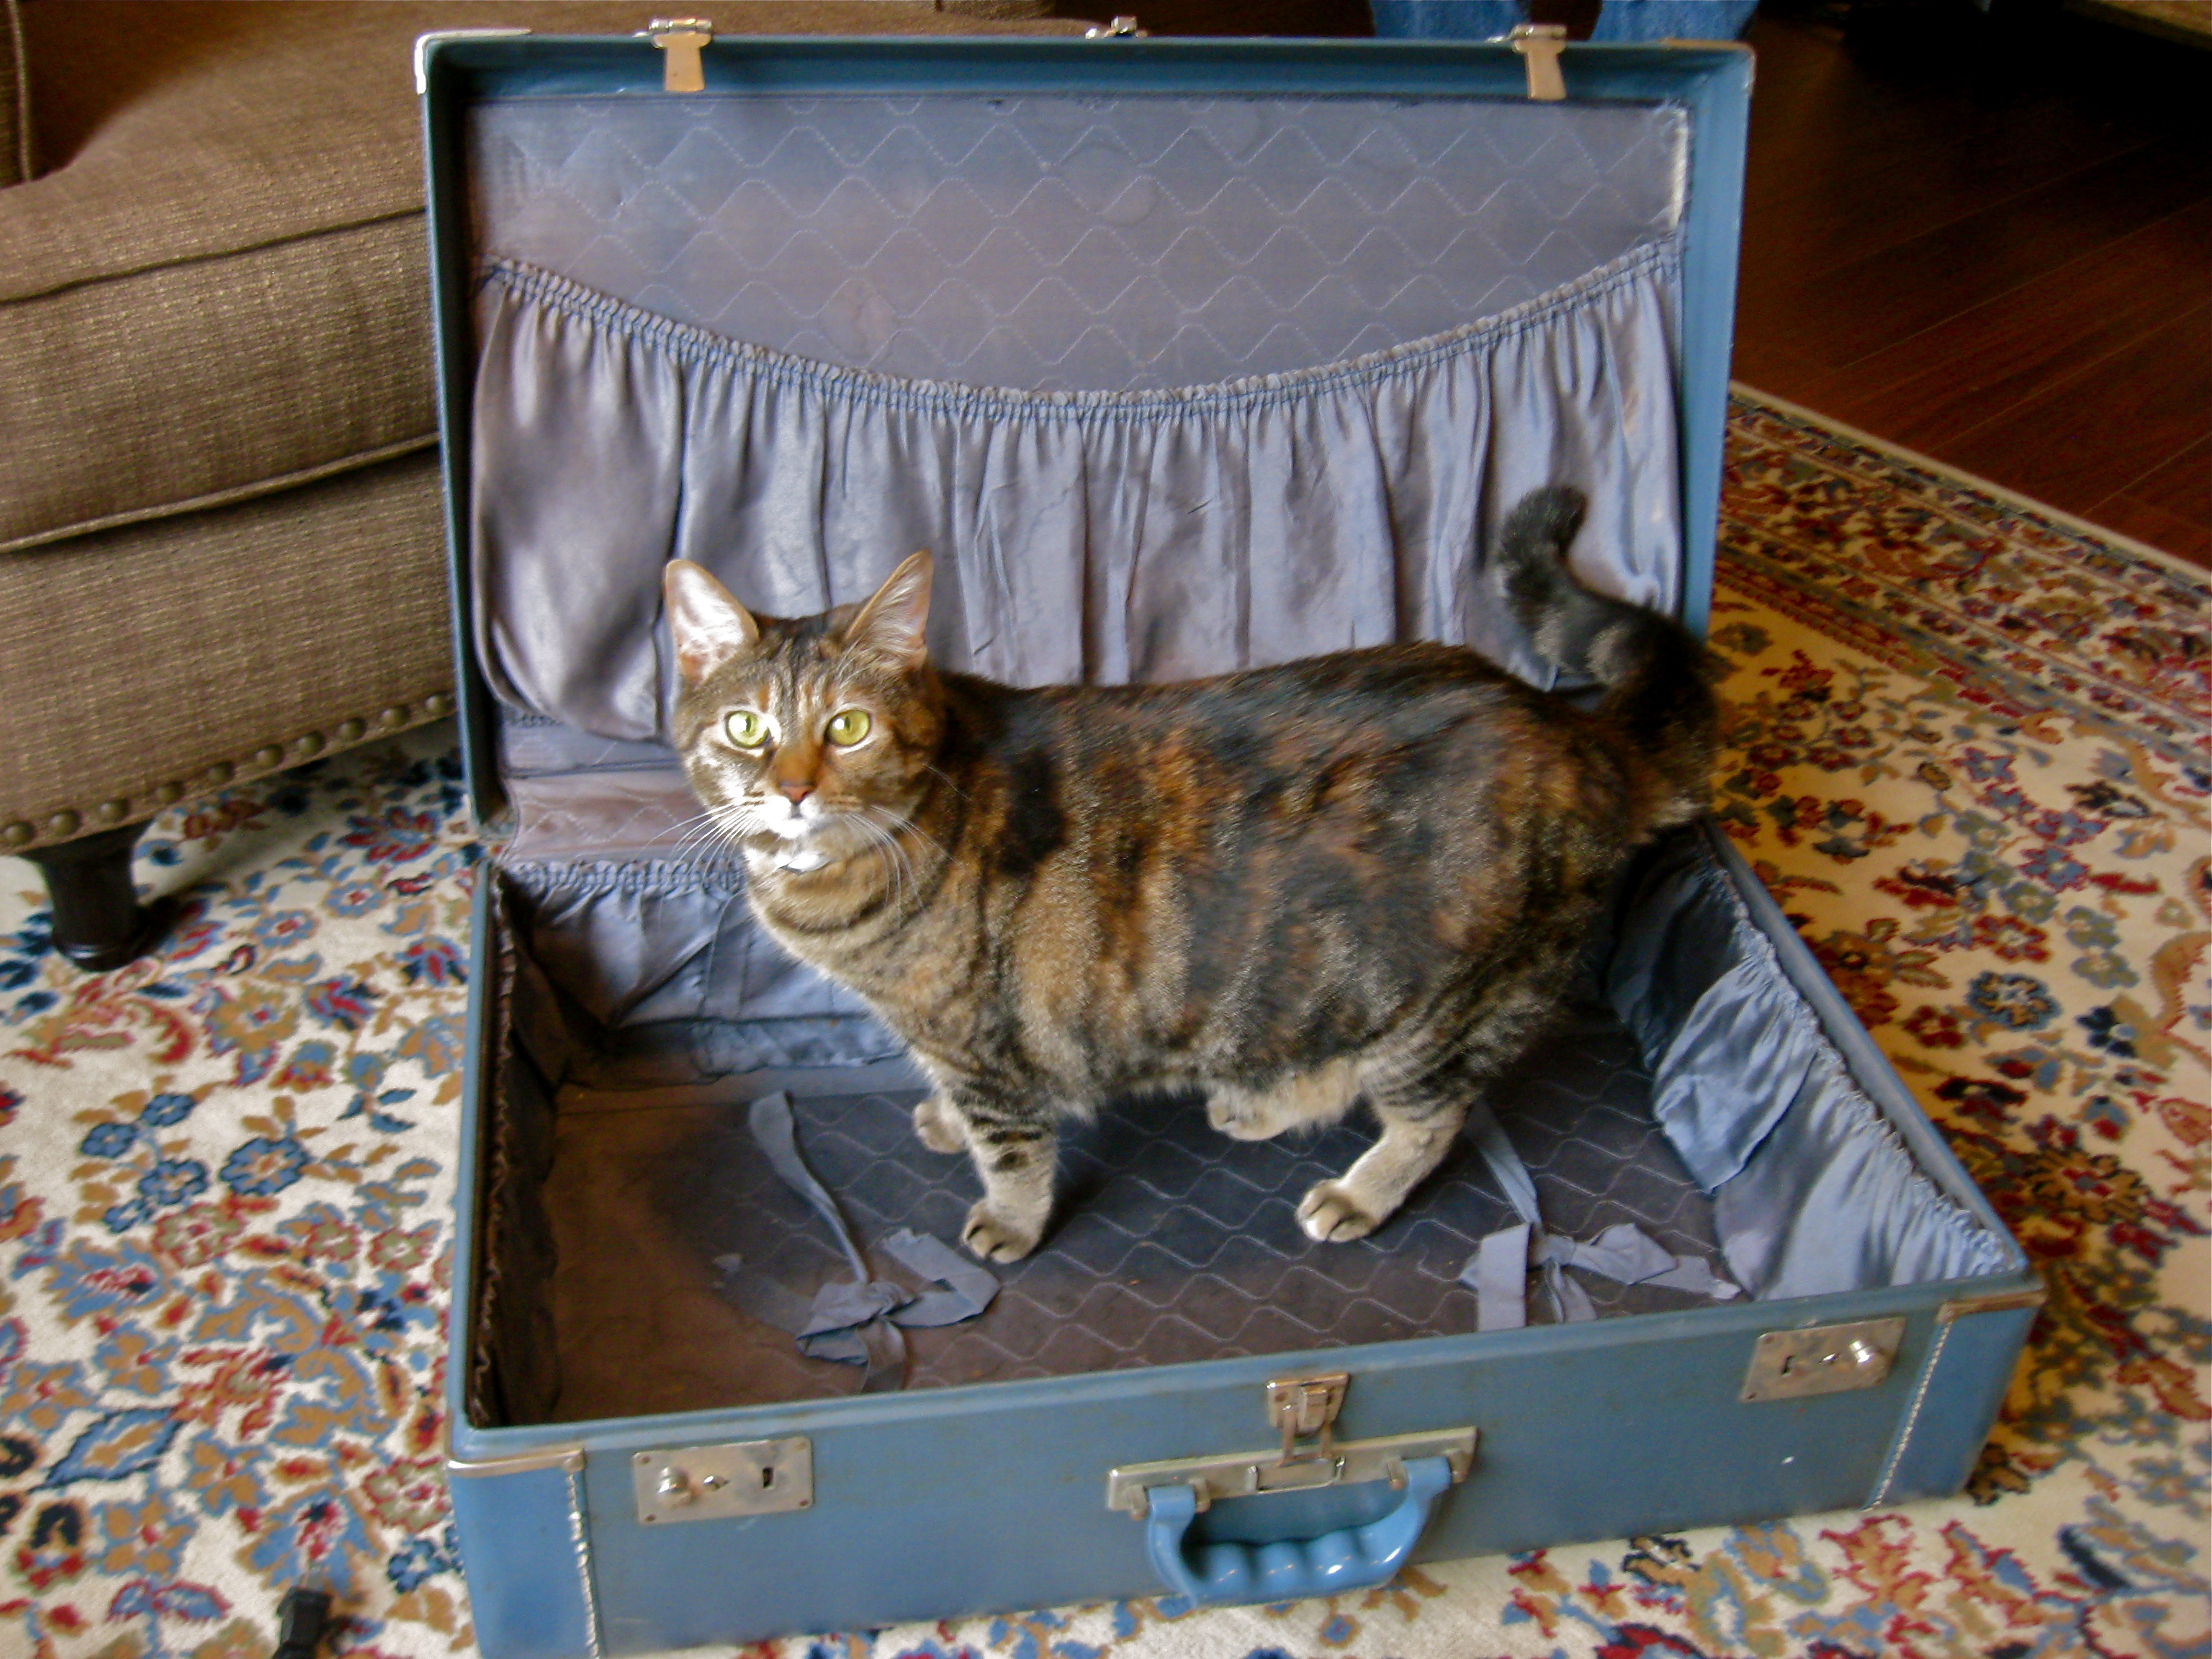
Miss Penny modeling the larger suitcase!
When I saw this pin and read the full post, I just knew it was the perfect solution for my suitcases! I love them, and they have special meaning for the part they played in our special day, and now I have a way to incorporate them into our new home. Nifty!
Checklist on this project:
We already had the suitcases and drill, so we headed out to Lowe’s for my other supplies. Let me tell you, table legs are expensive. We needed four 16-inch legs and four 24-inch legs, and at $10 to $15 each, we were looking at $100 just for the darn legs!
Thank the stars I grew up with the handiest woman on the planet: my mother, Margie. I sat there in that lumber aisle thinking, “What would Margie do?” She would find a way to do it cheaper. Behold, my crafty alternative: $3 for a 48-inch dowel rod and $2.50 a piece for adorable, carved feet.
We had one dowel rod cut into four 12-inch pieces. By the way, they will do measuring and cutting for free at Lowe’s on wood you purchase in the store. Add on the carved 4-inch feet, and we had 16-inch table legs for about $3.50 a piece! For the taller legs, we bought two dowel rods and had them each cut into three pieces: 20 inches, 20 inches, and 8 inches. We ended up with four 20-inch rods and two 8-inch rods. I’m sure I’ll find a use for the leftovers someday!
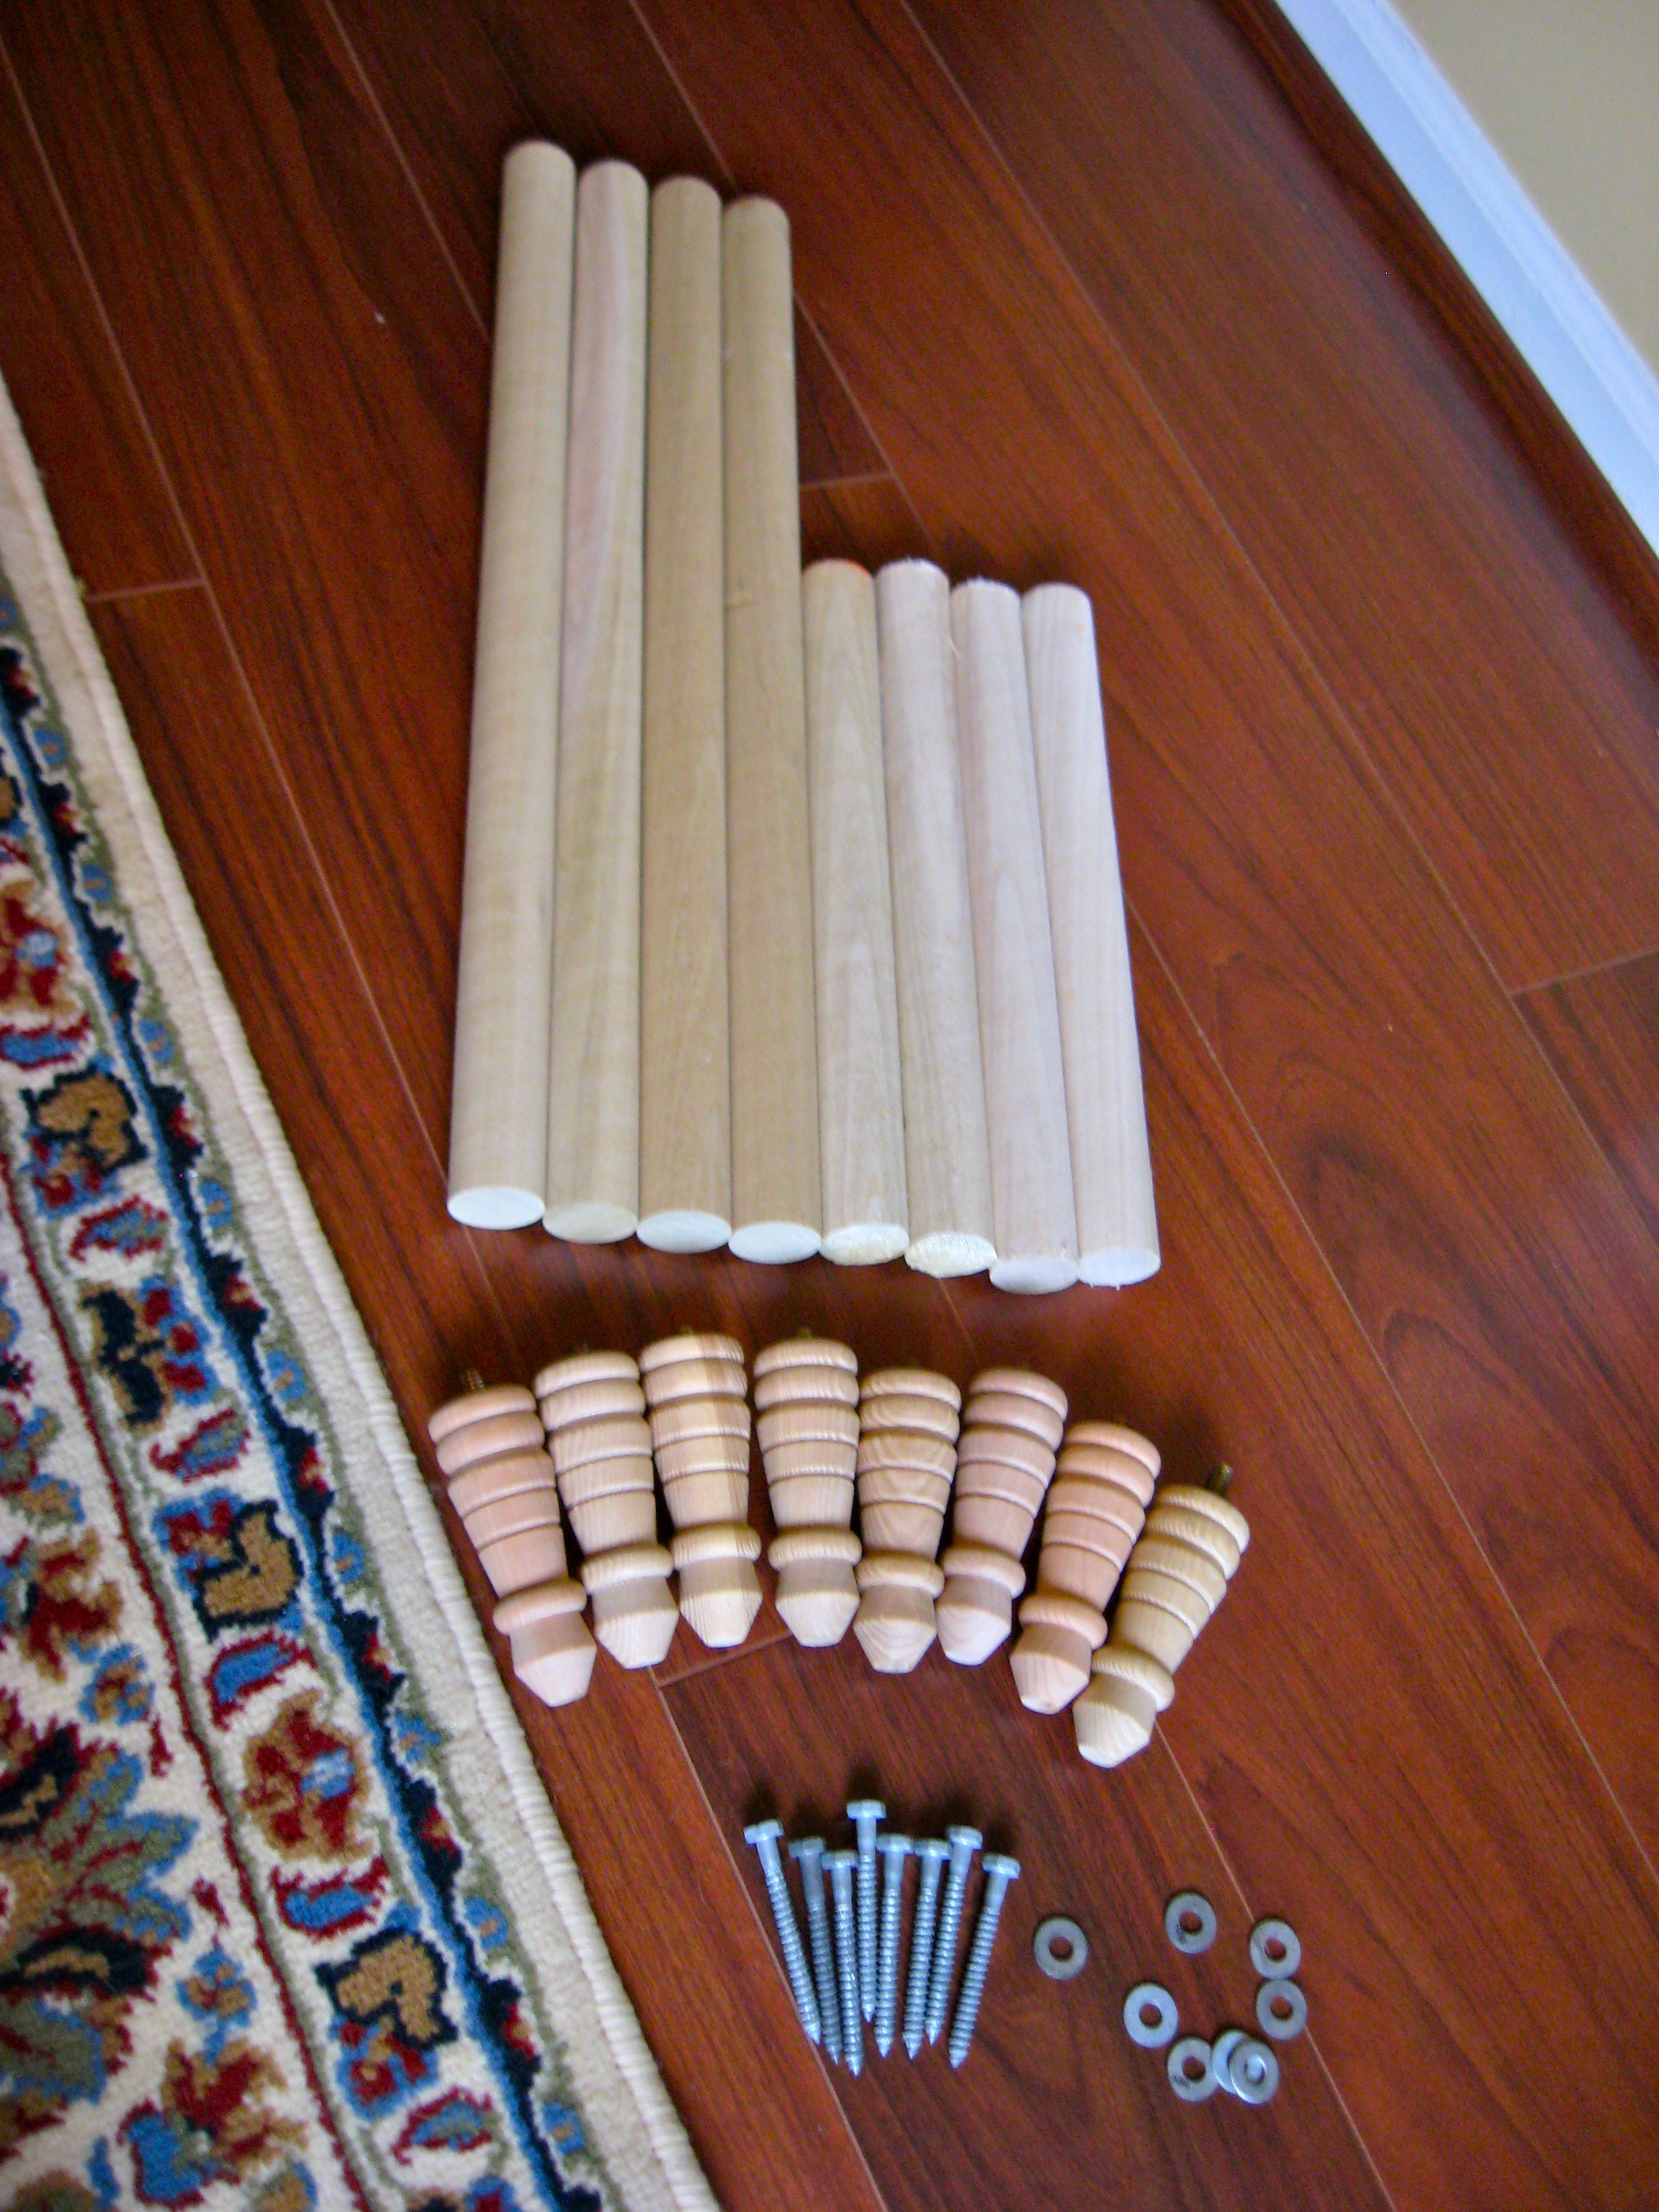
Supplies
After we screwed the feet into the dowel rods and sanded things down, I spray painted them black. Remember, don’t try to get it all done in one coat. The paint will look much better if you build up the layers in multiple coats.
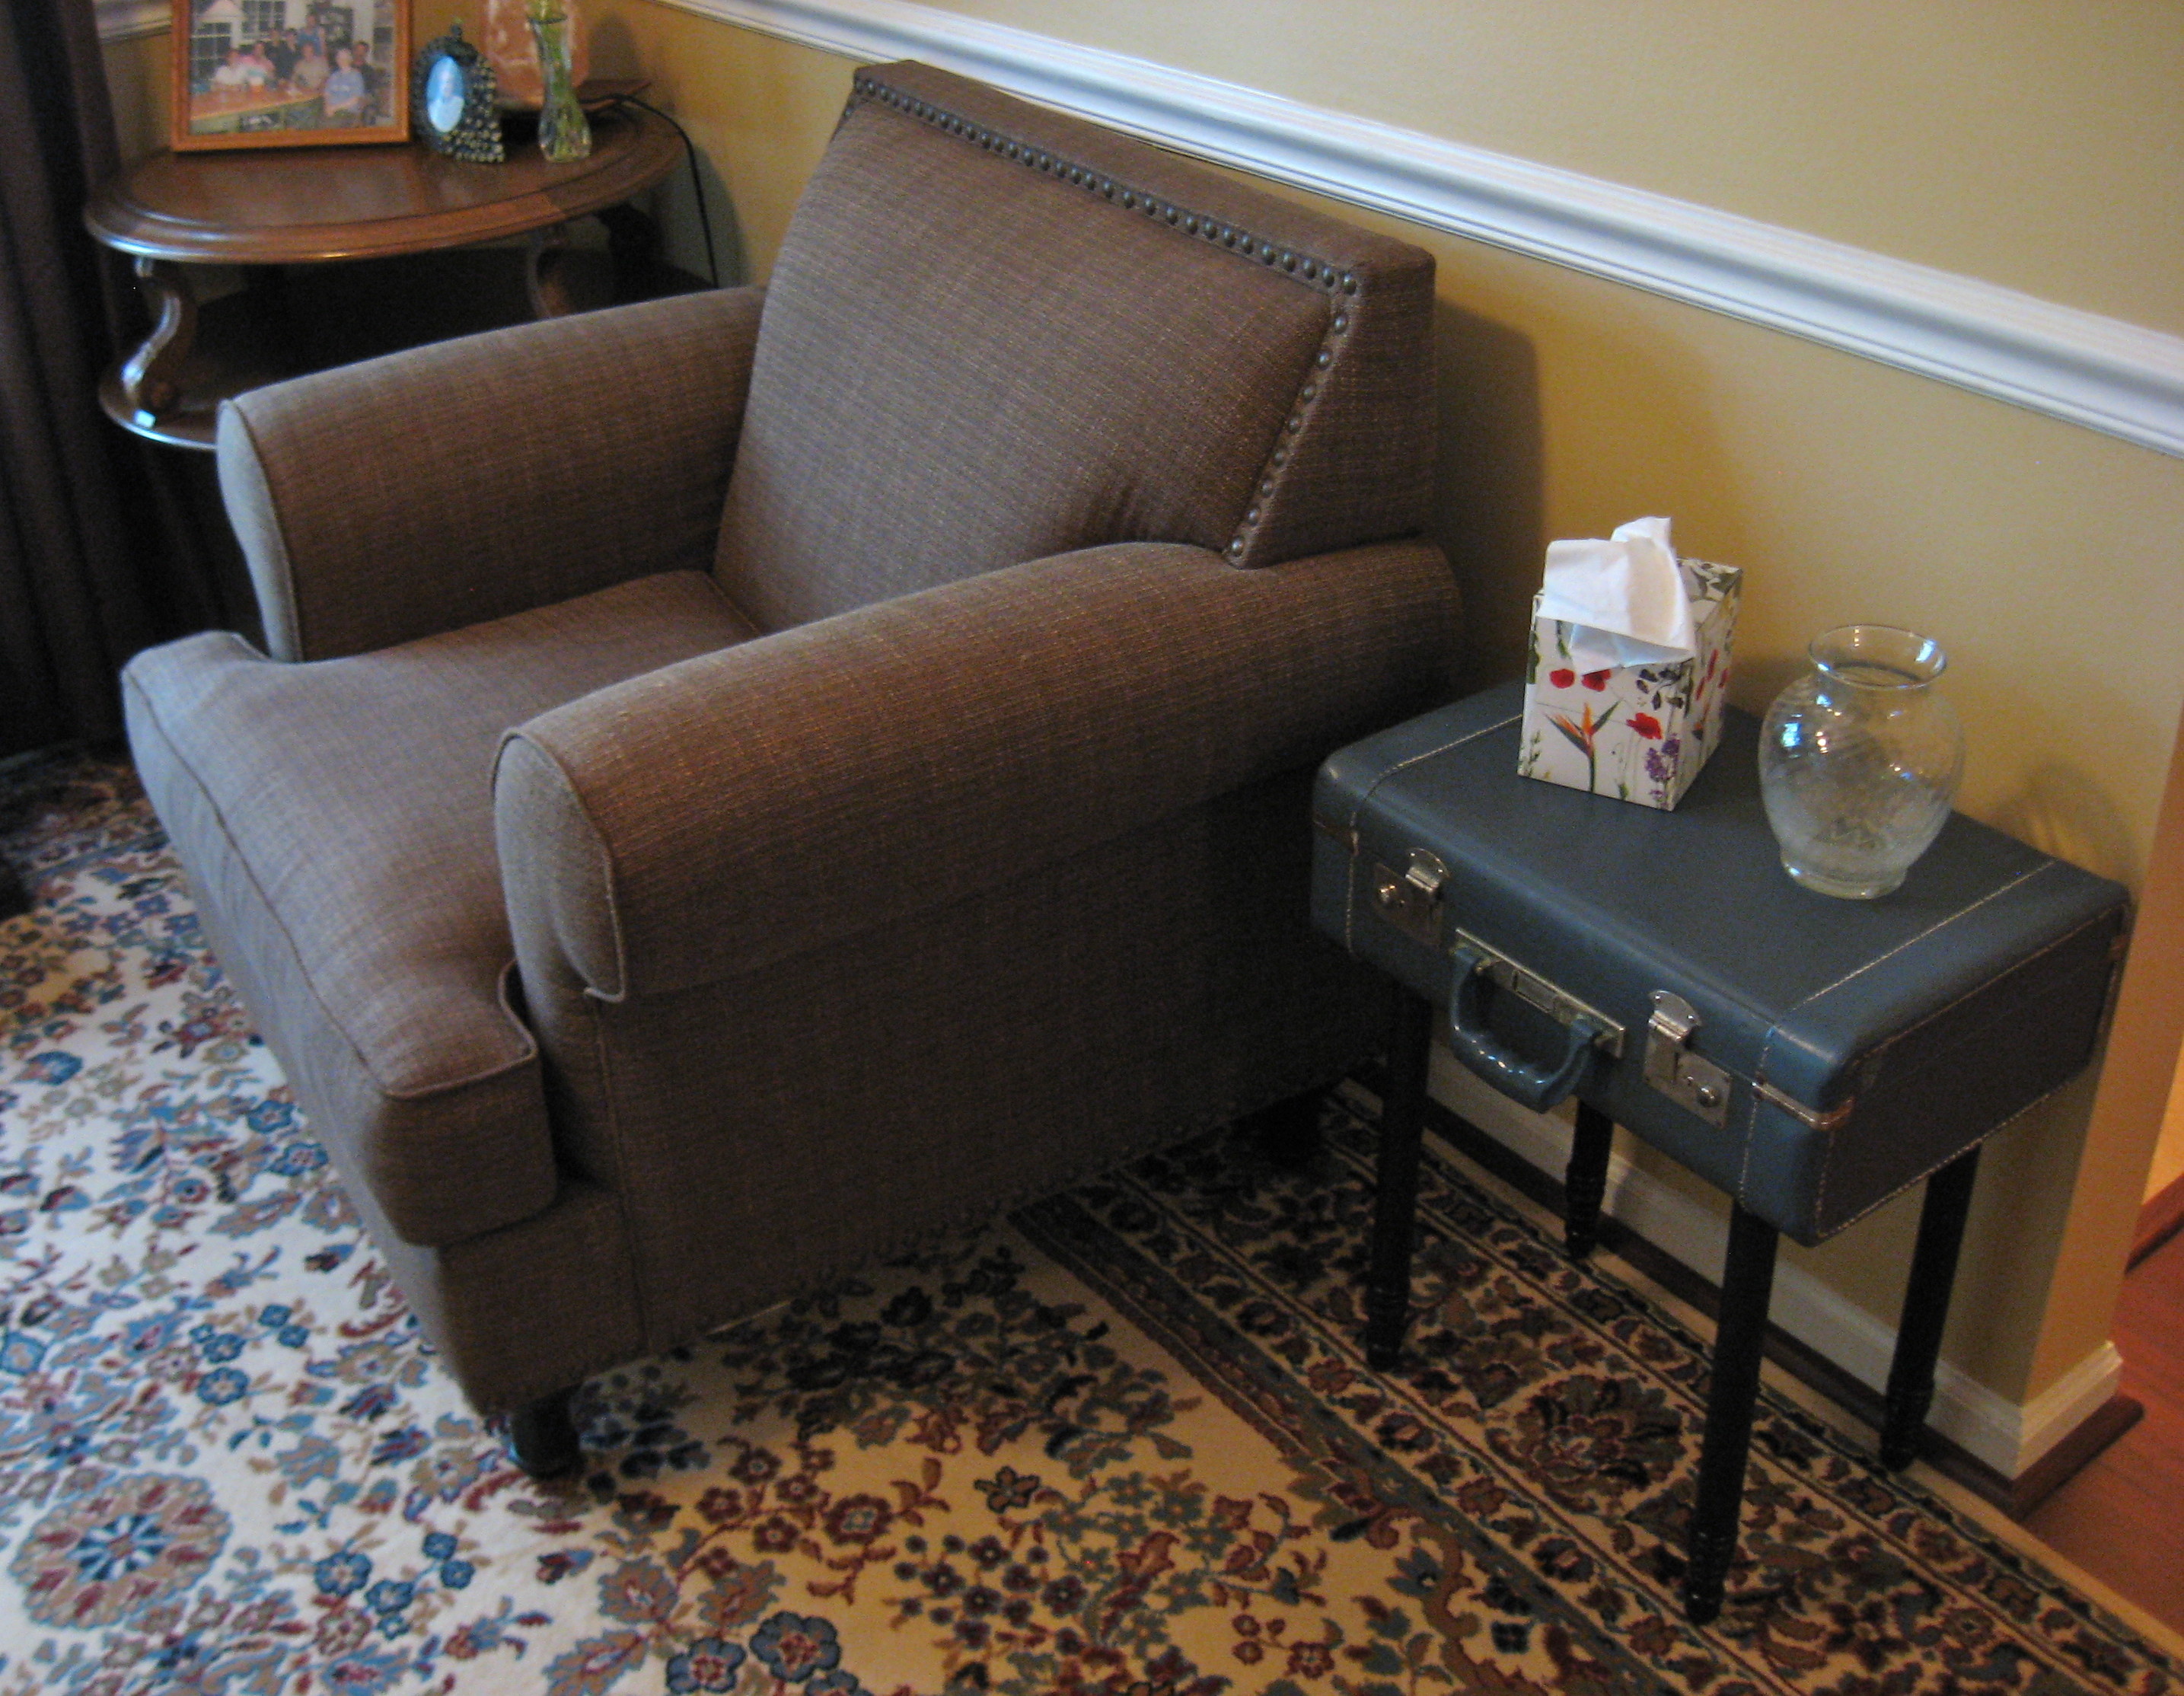
All in all, we spent about $35 in supplies (wood, sandpaper, spray paint, screws, and washers). We drilled holes into the bottom of the suitcases and also into the top of the table legs. Then, we secured them together with a screw and a washer. Voila!

They could be stacking tables!
I love my new suitcase side tables, and it was a fun project to do with the hubs. How great that we could re-purpose these sentimental items into something useful for our home — and only two weeks late for our anniversary! 🙂
I need better table toppers!
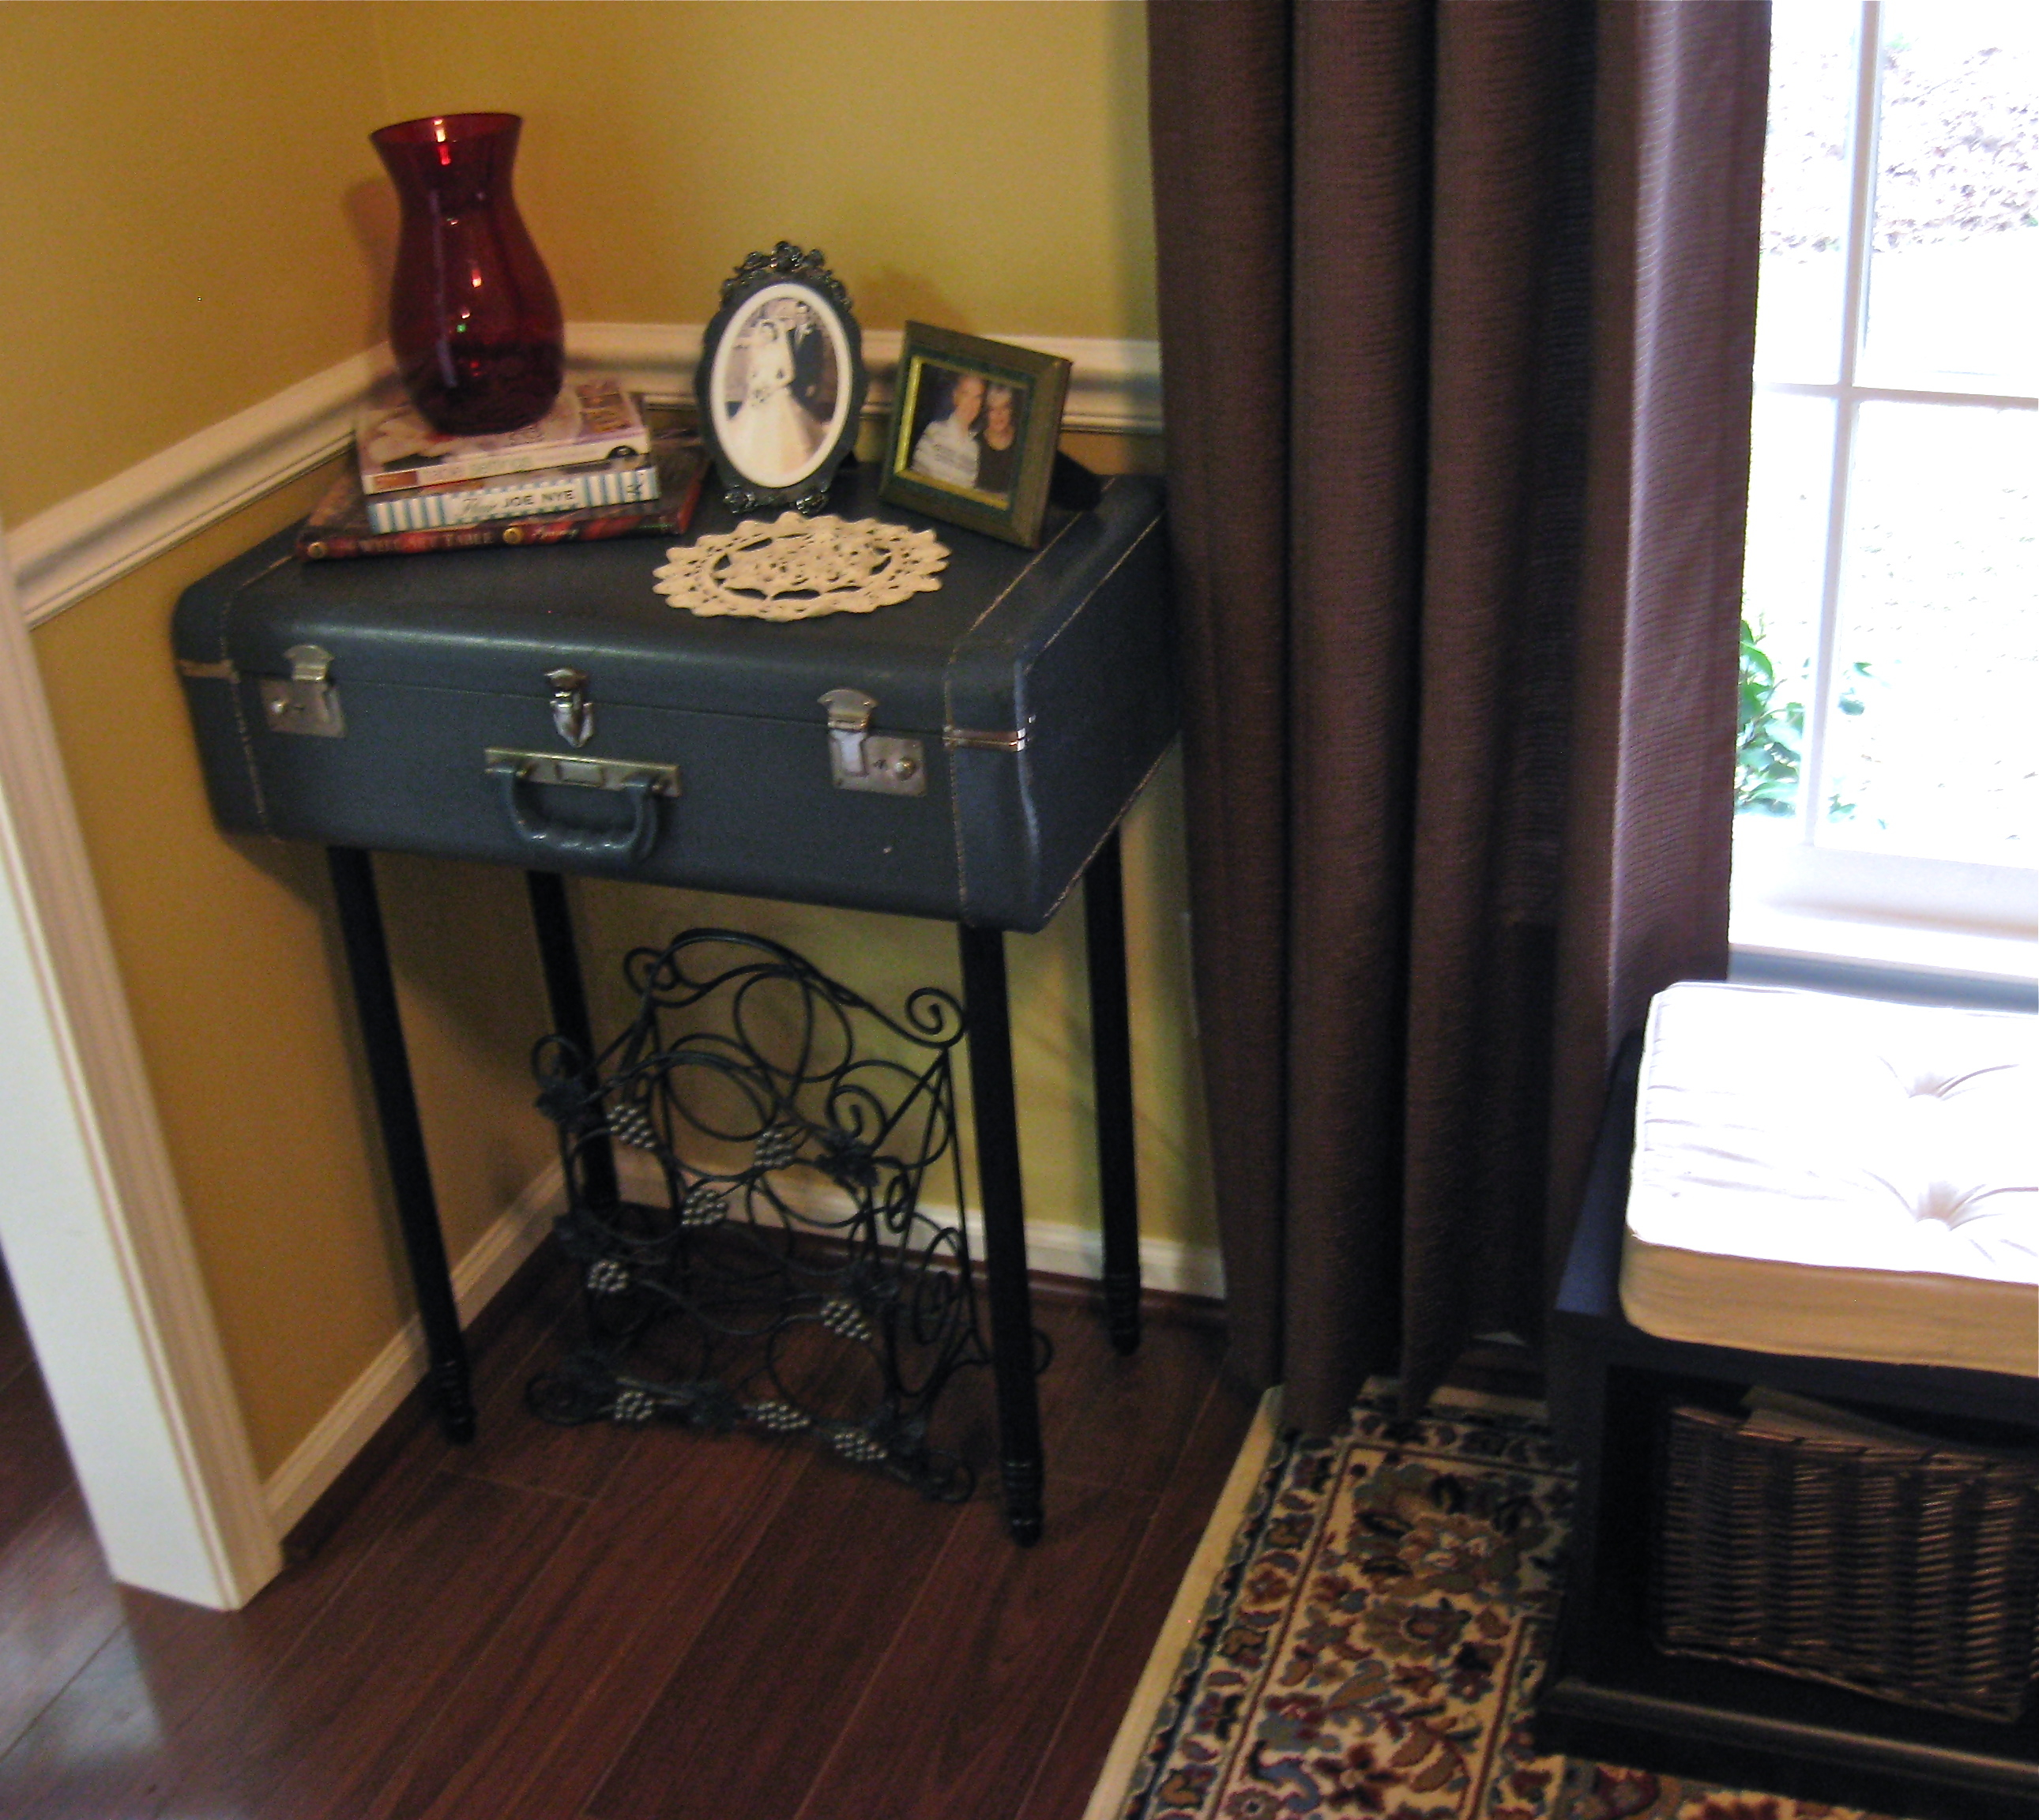
Suitcase side table!
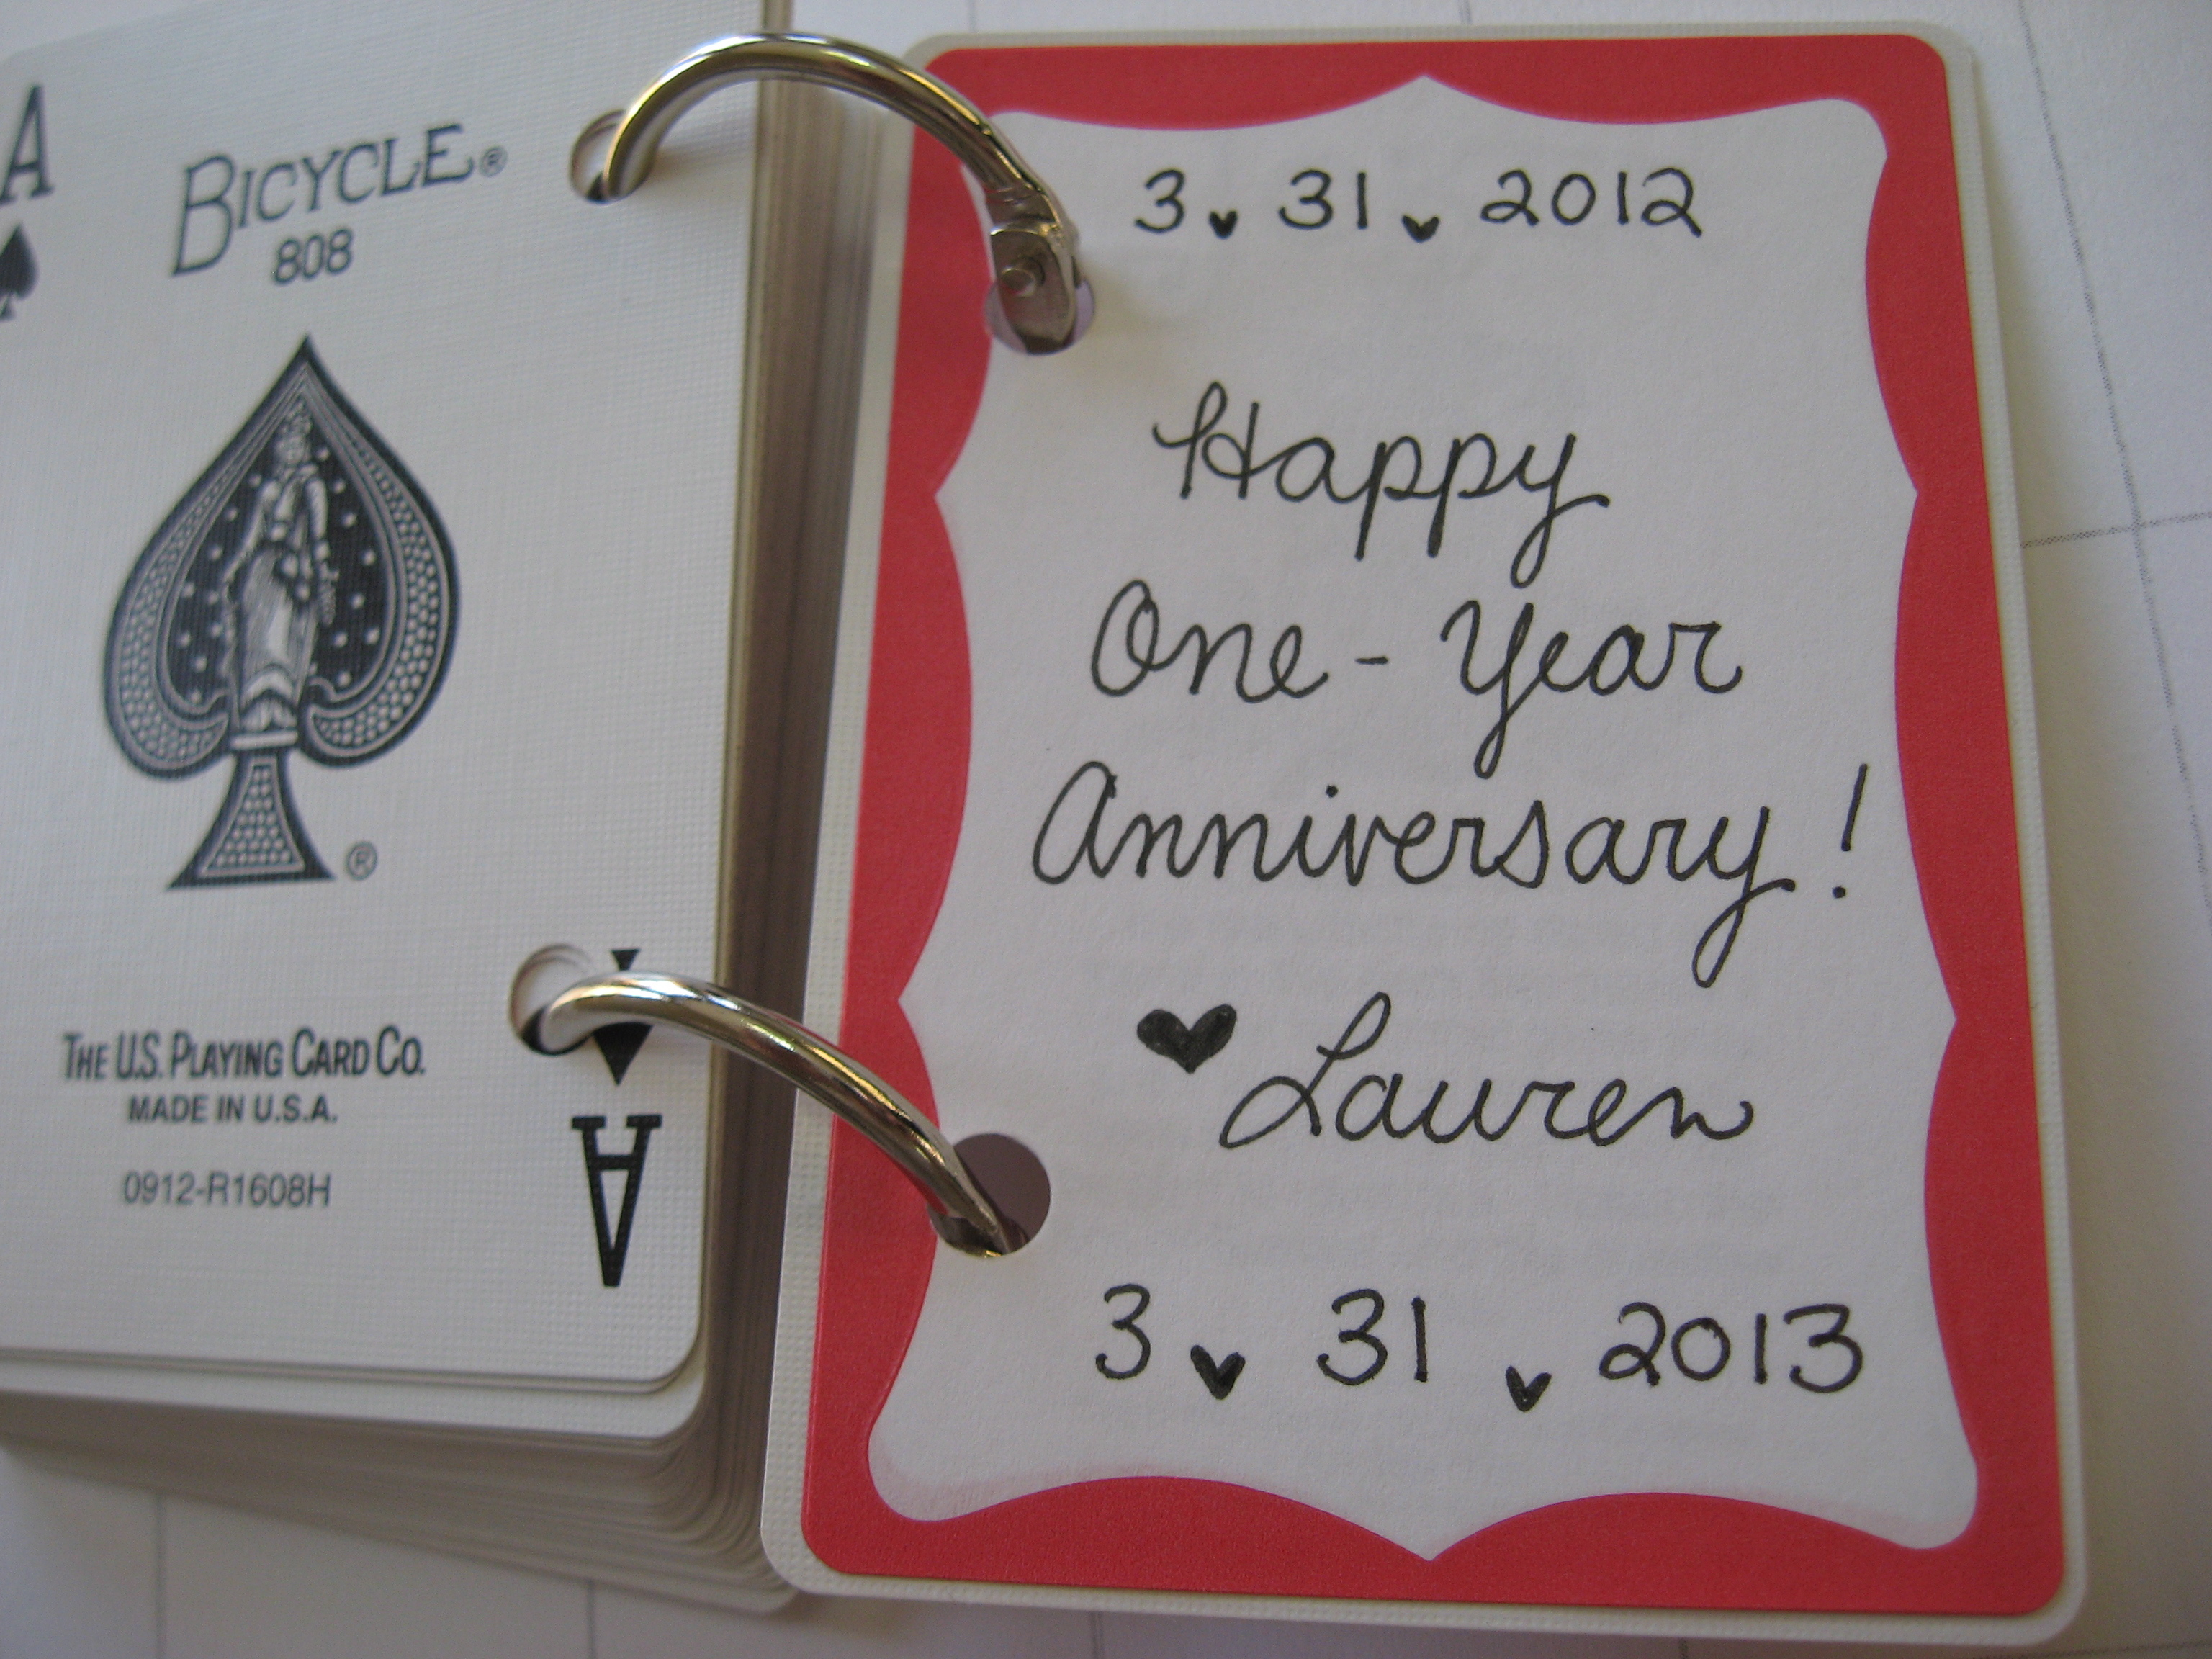
I have been saving this project from my Pinterest Challenge for a very special occasion: our 1-year anniversary! Since the traditional gift for your first anniversary is paper, it seemed like the perfect present for my other half.
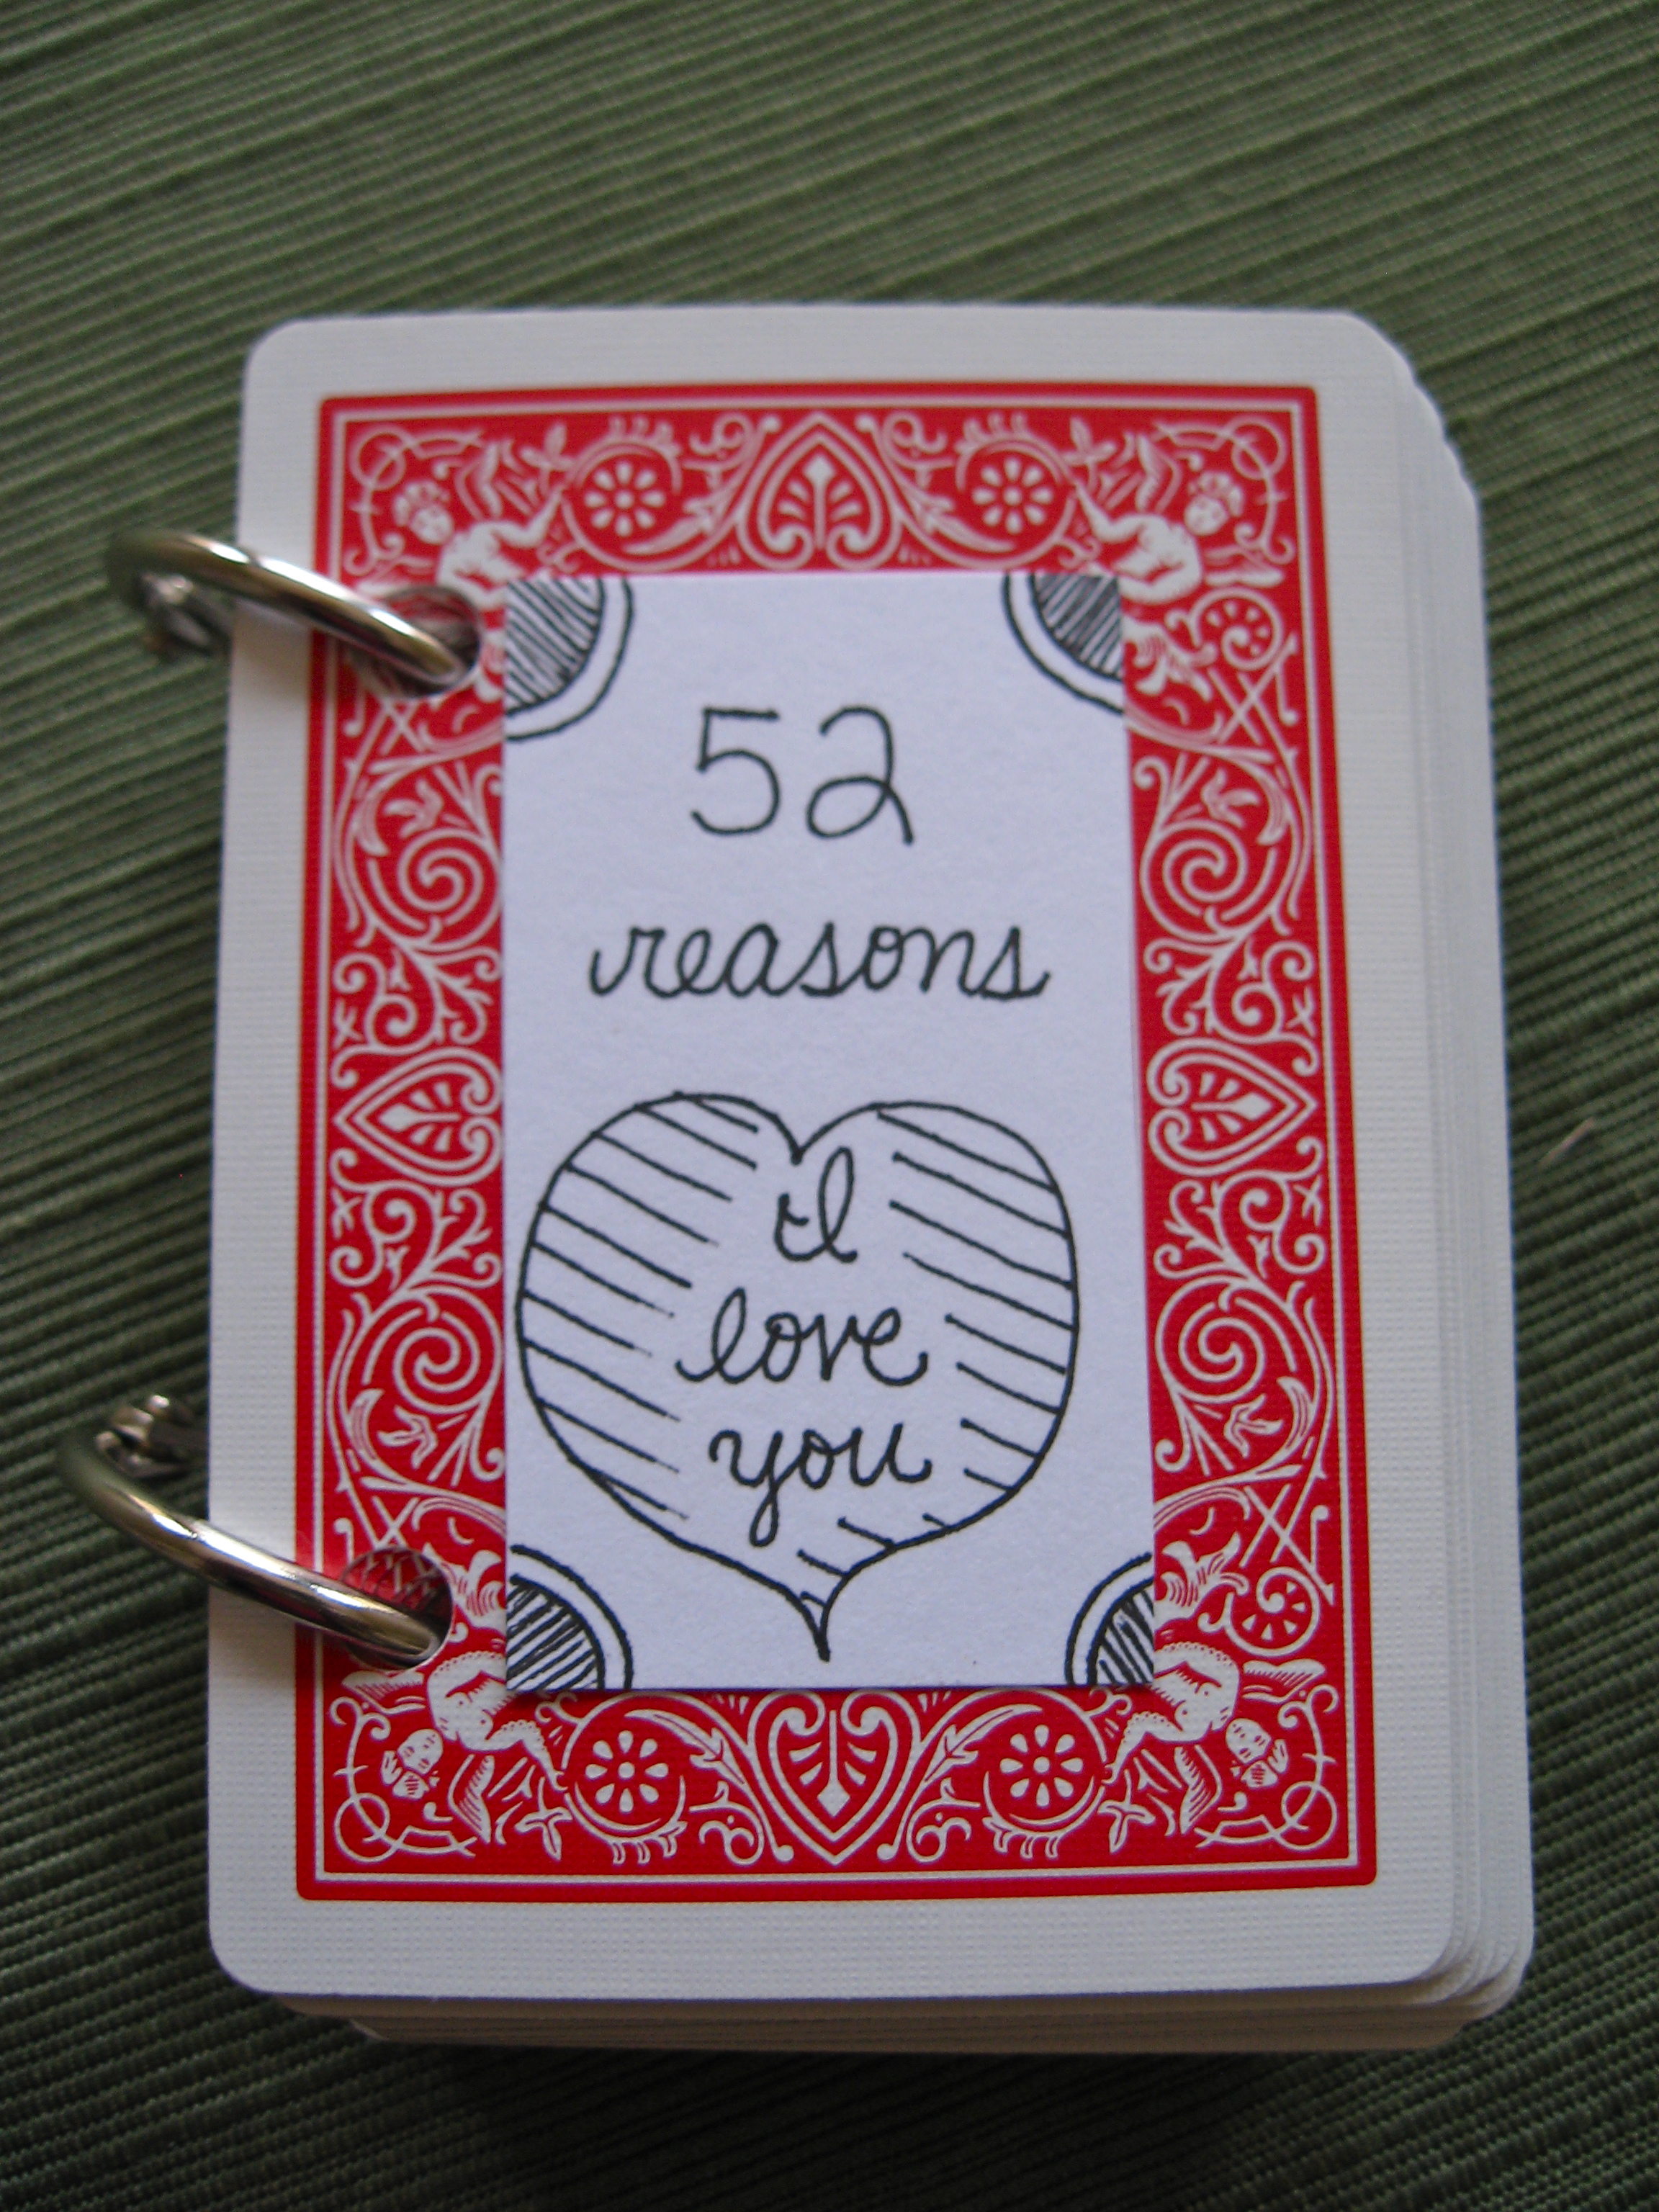
ShinyHappyPeebles’ Deck of Love
I love handmade presents! Plus, this is such an unconventional use of an every day item. 🙂 While the time investment is substantial, the cost is minimal.
Here is what you need: deck of cards, hole punch, binder rings, card stock, adhesive spray.
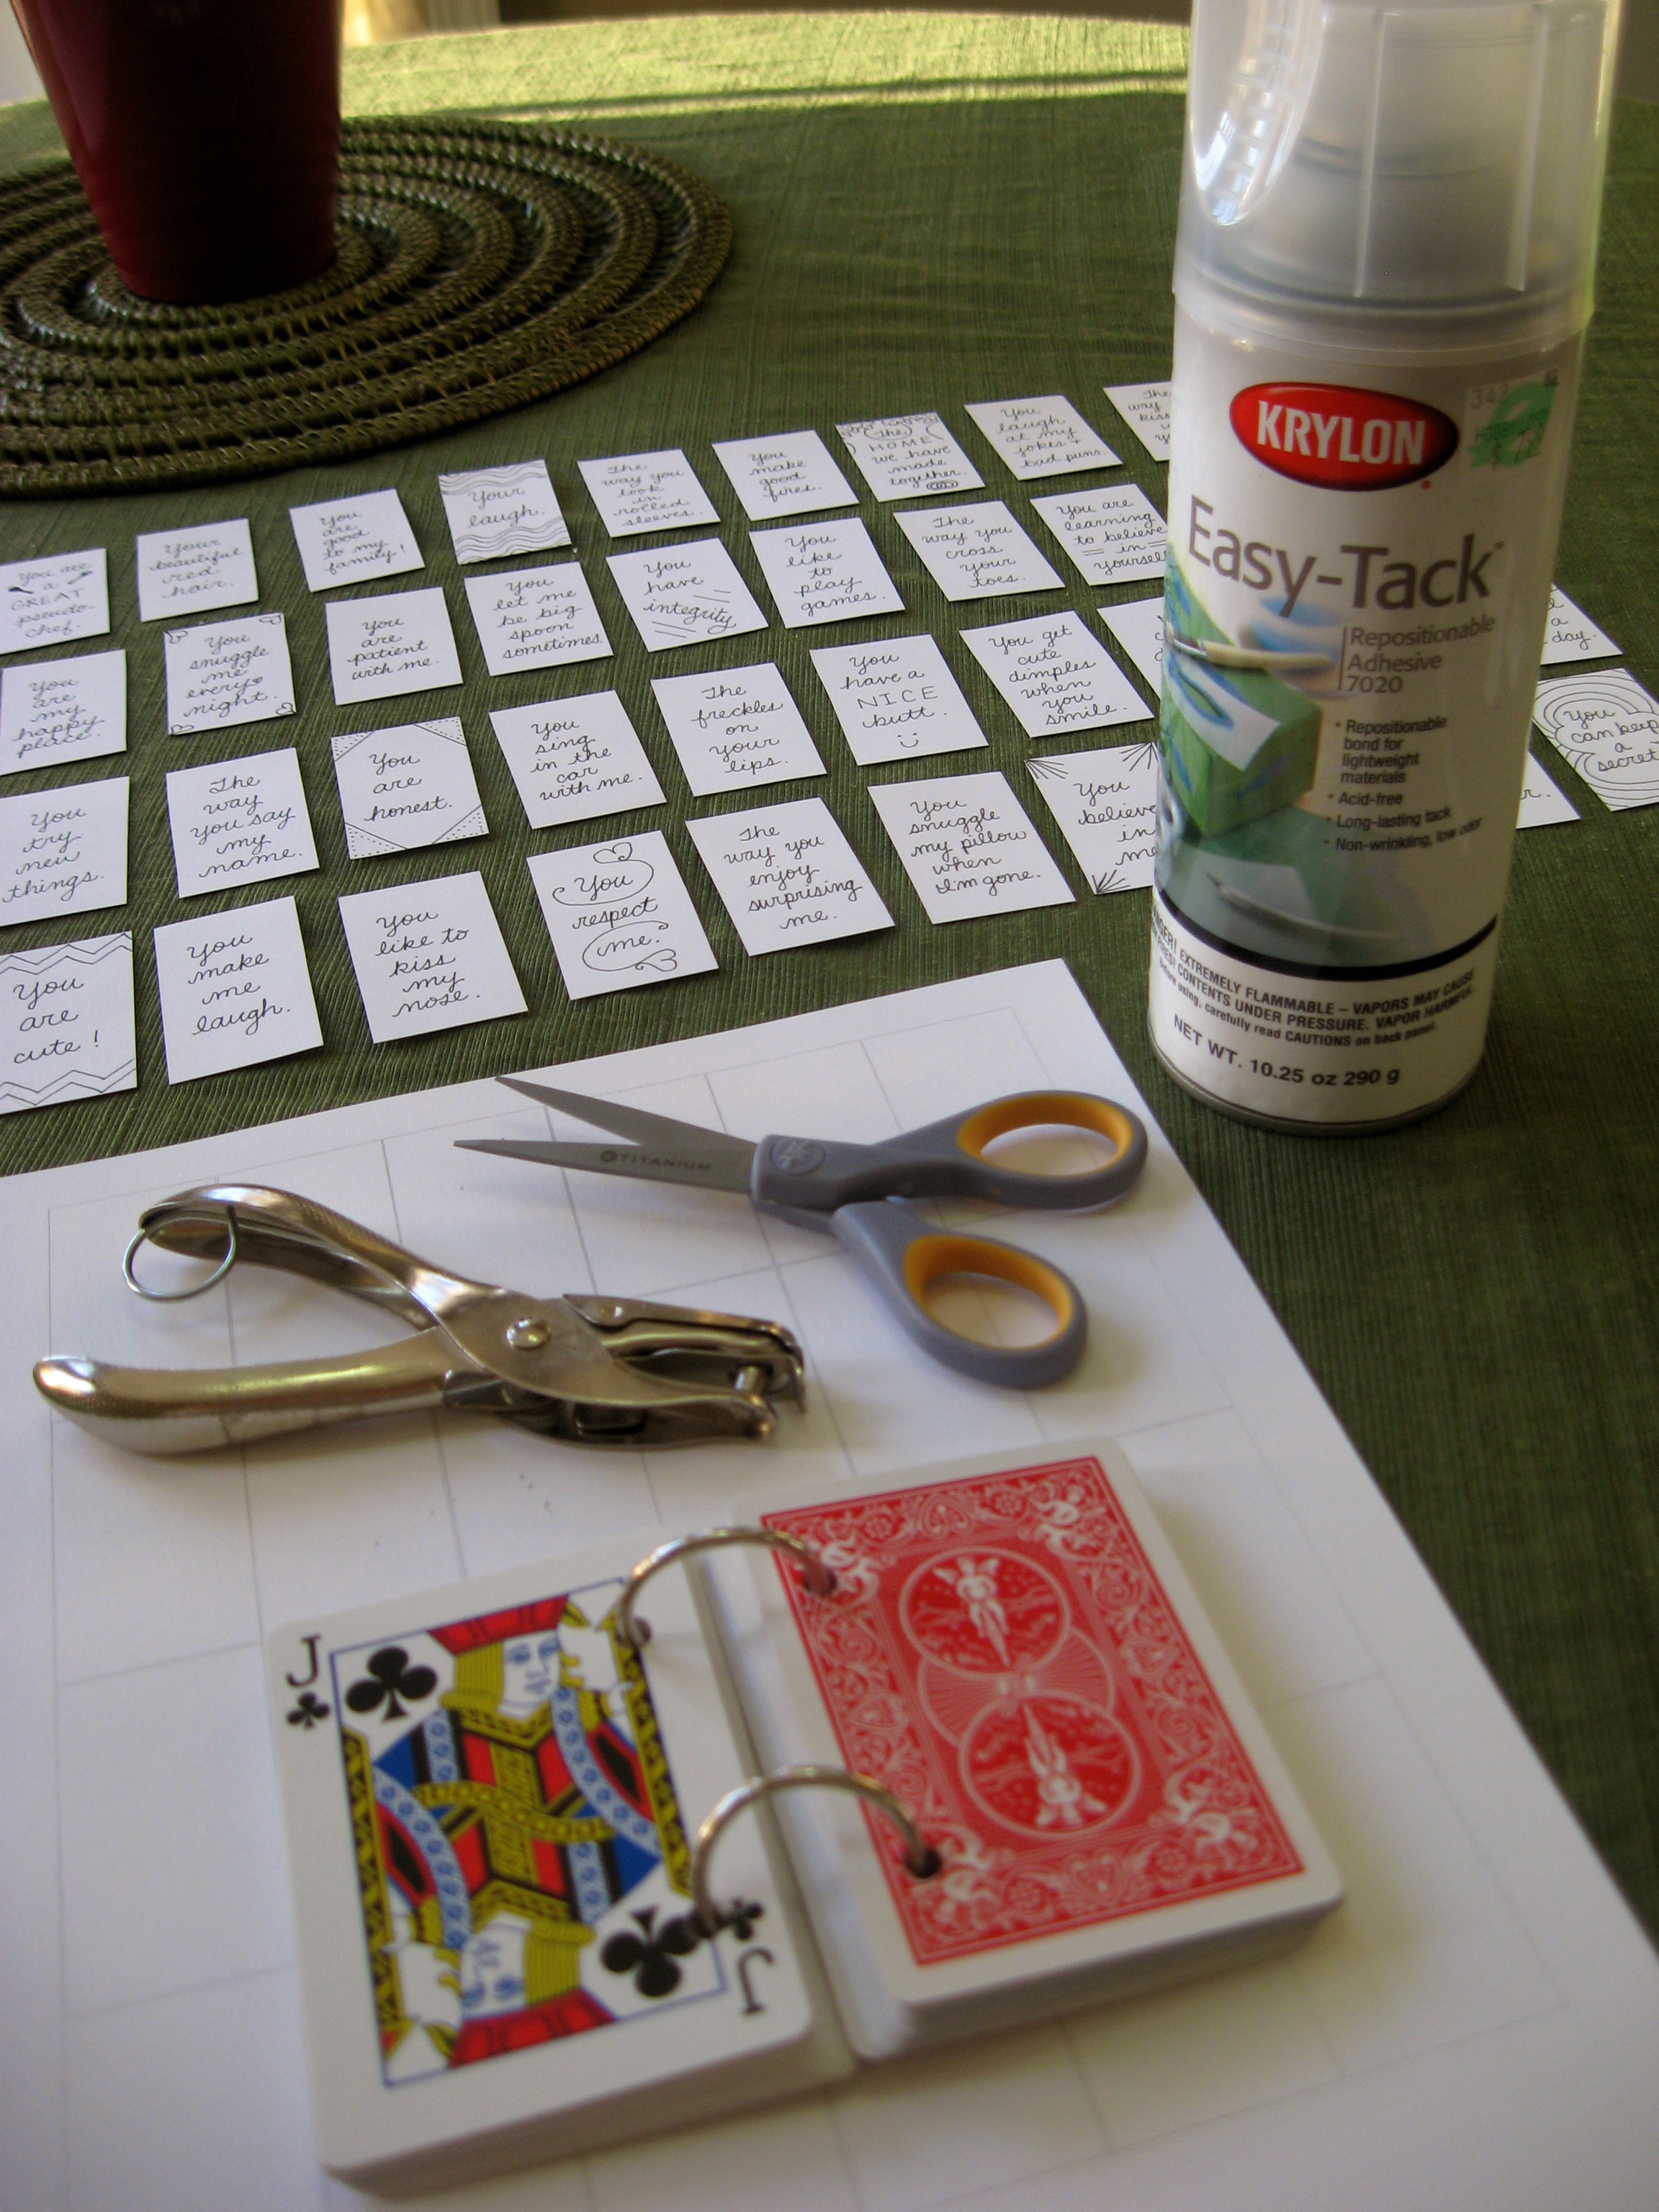
Supplies: less than $20
Take one of the joker cards from the deck to create a stencil for punching the holes in the other cards. Using a printer or a ruler, create a table of 1.25 by 2.25 inch rectangles on the card stock. I would recommend making more than 53 because you will make mistakes!
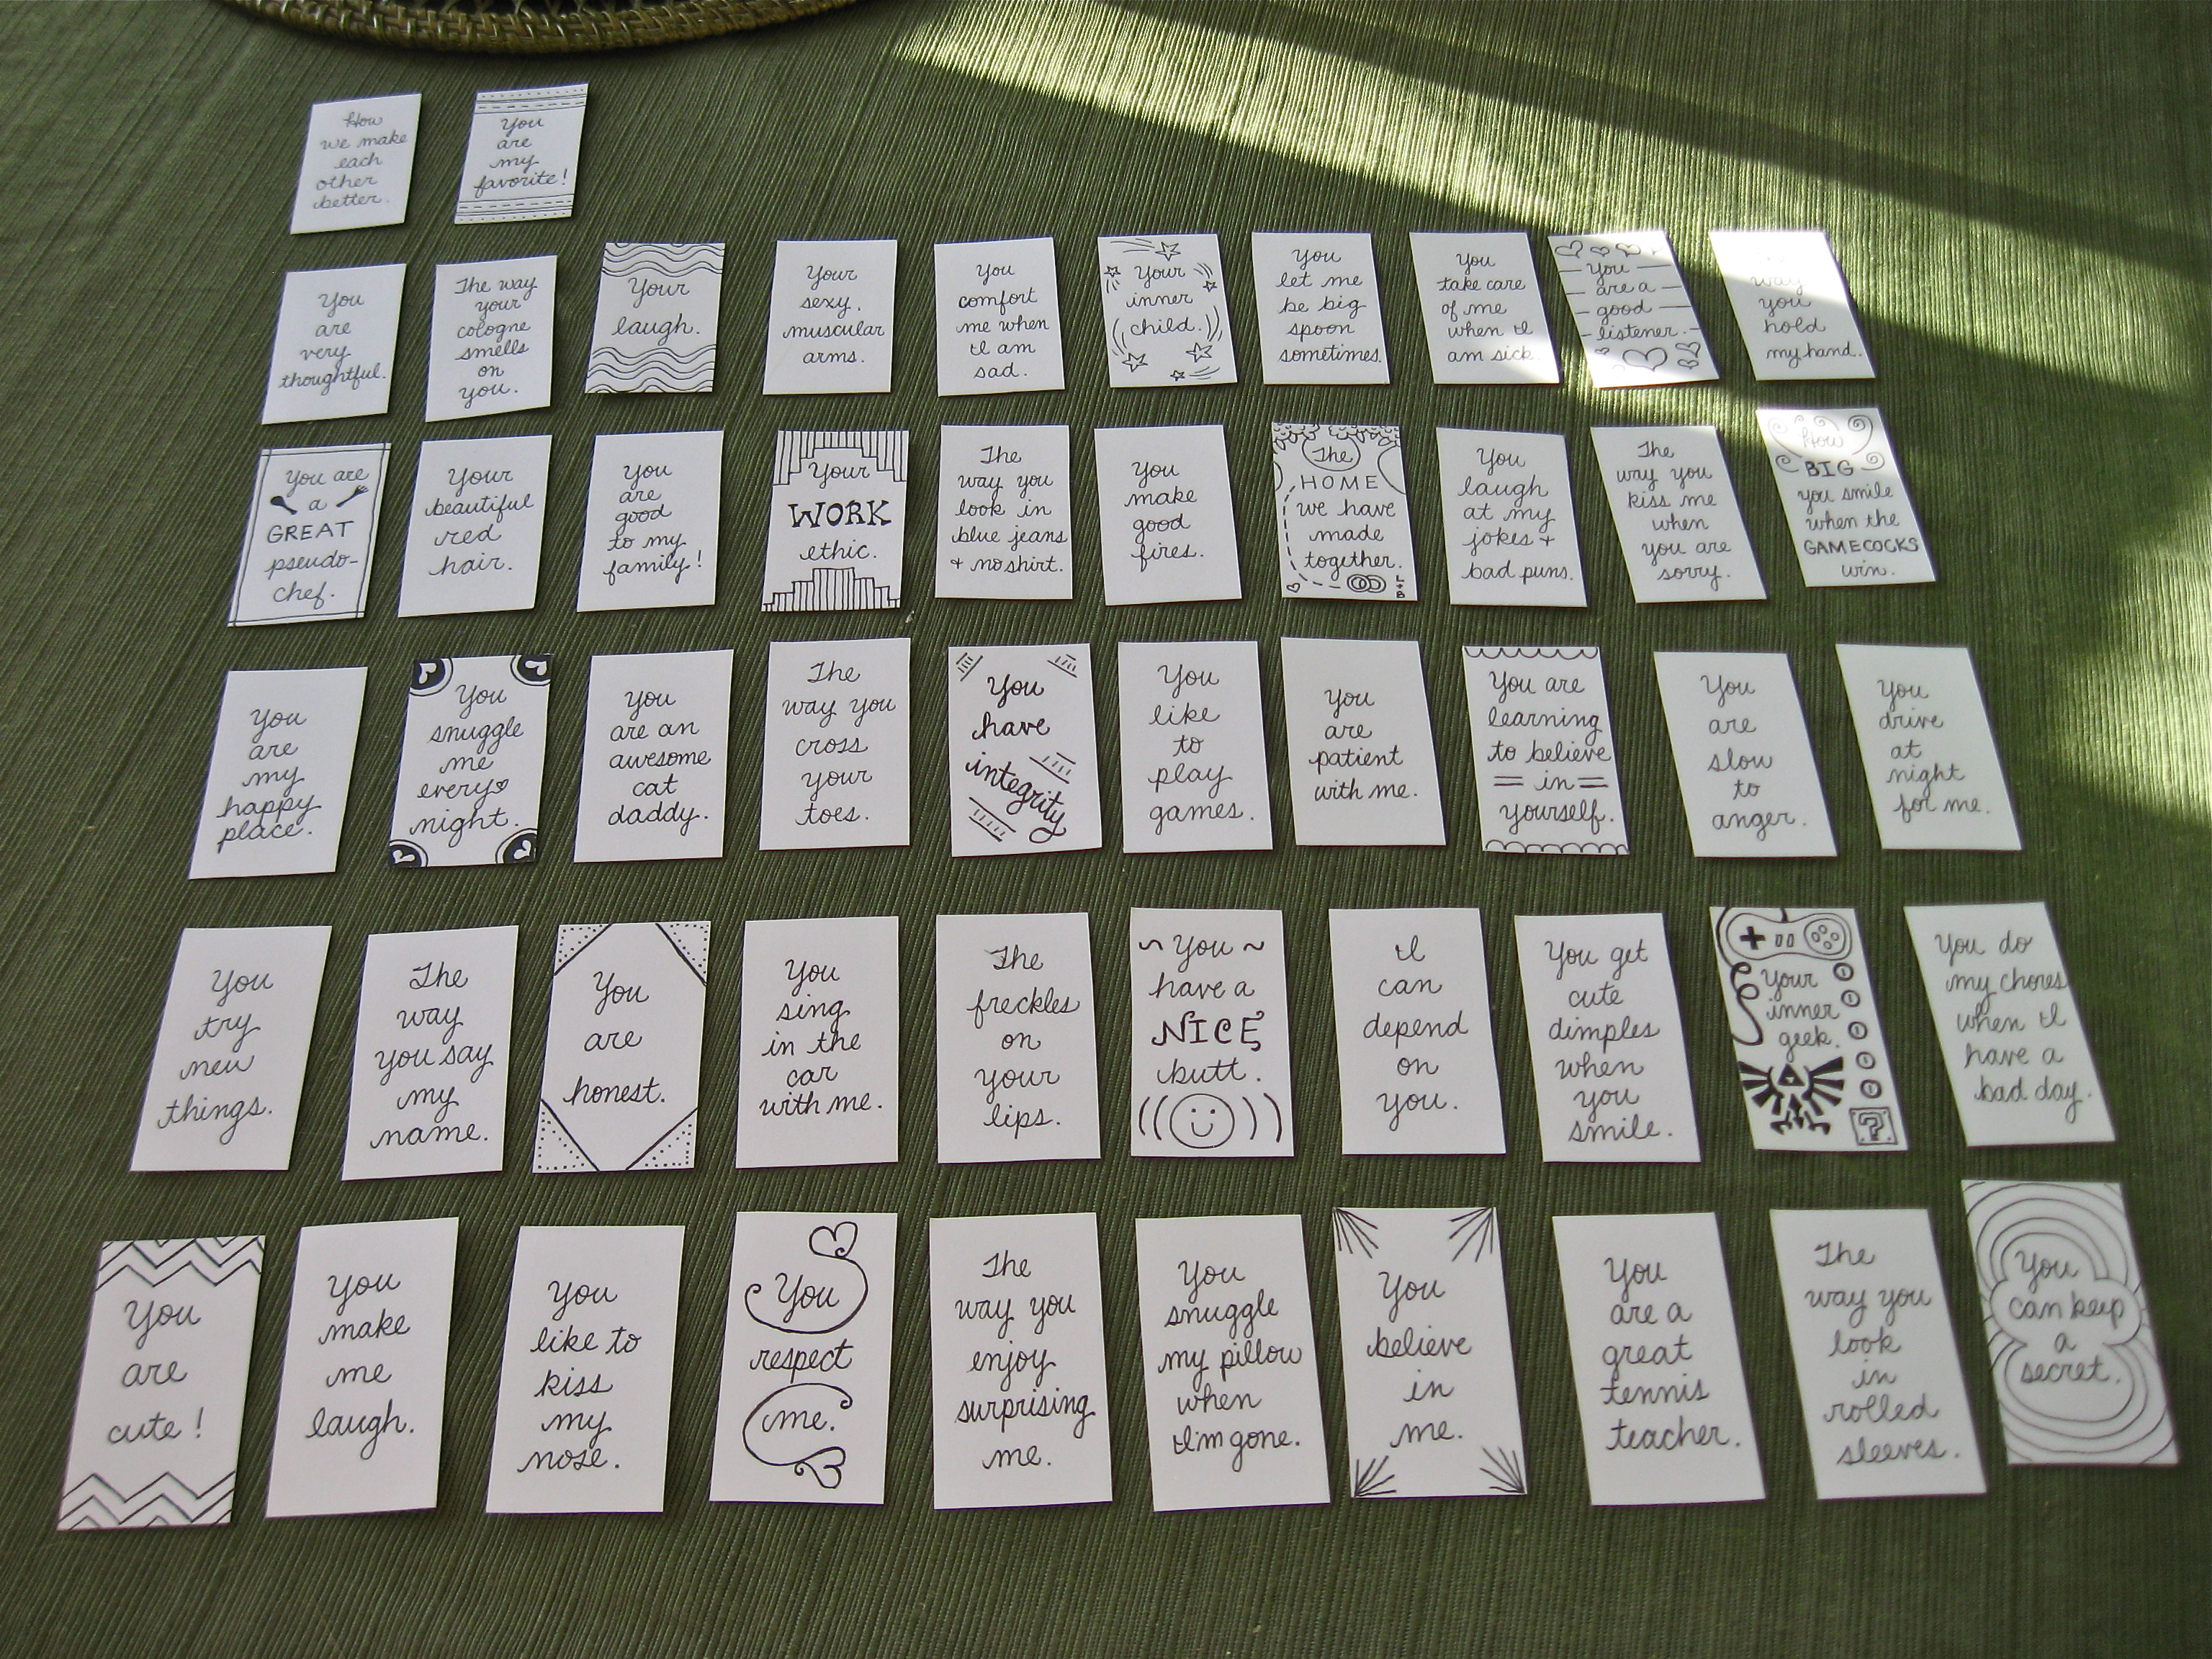
You could print the words on the card stock, but again, I prefer the personal touch of something handmade. I like that each card has my words for Bryan in my handwriting.
52 Reasons I Love You
To attach the card stock recantgles to the playing cards, I used an adhesive spray. Some people find it hard to work with, but I like the even, light coating it provides much more than other pastes which can be too thick and warp the paper. Just get some cardboard from the recycling and go outside.
After I finished gluing, I split the deck into four and put weights on for a few hours to secure the bond. Double check that your cards are in the right order (and none have stuck together) and then put on your binder rings. Voila!
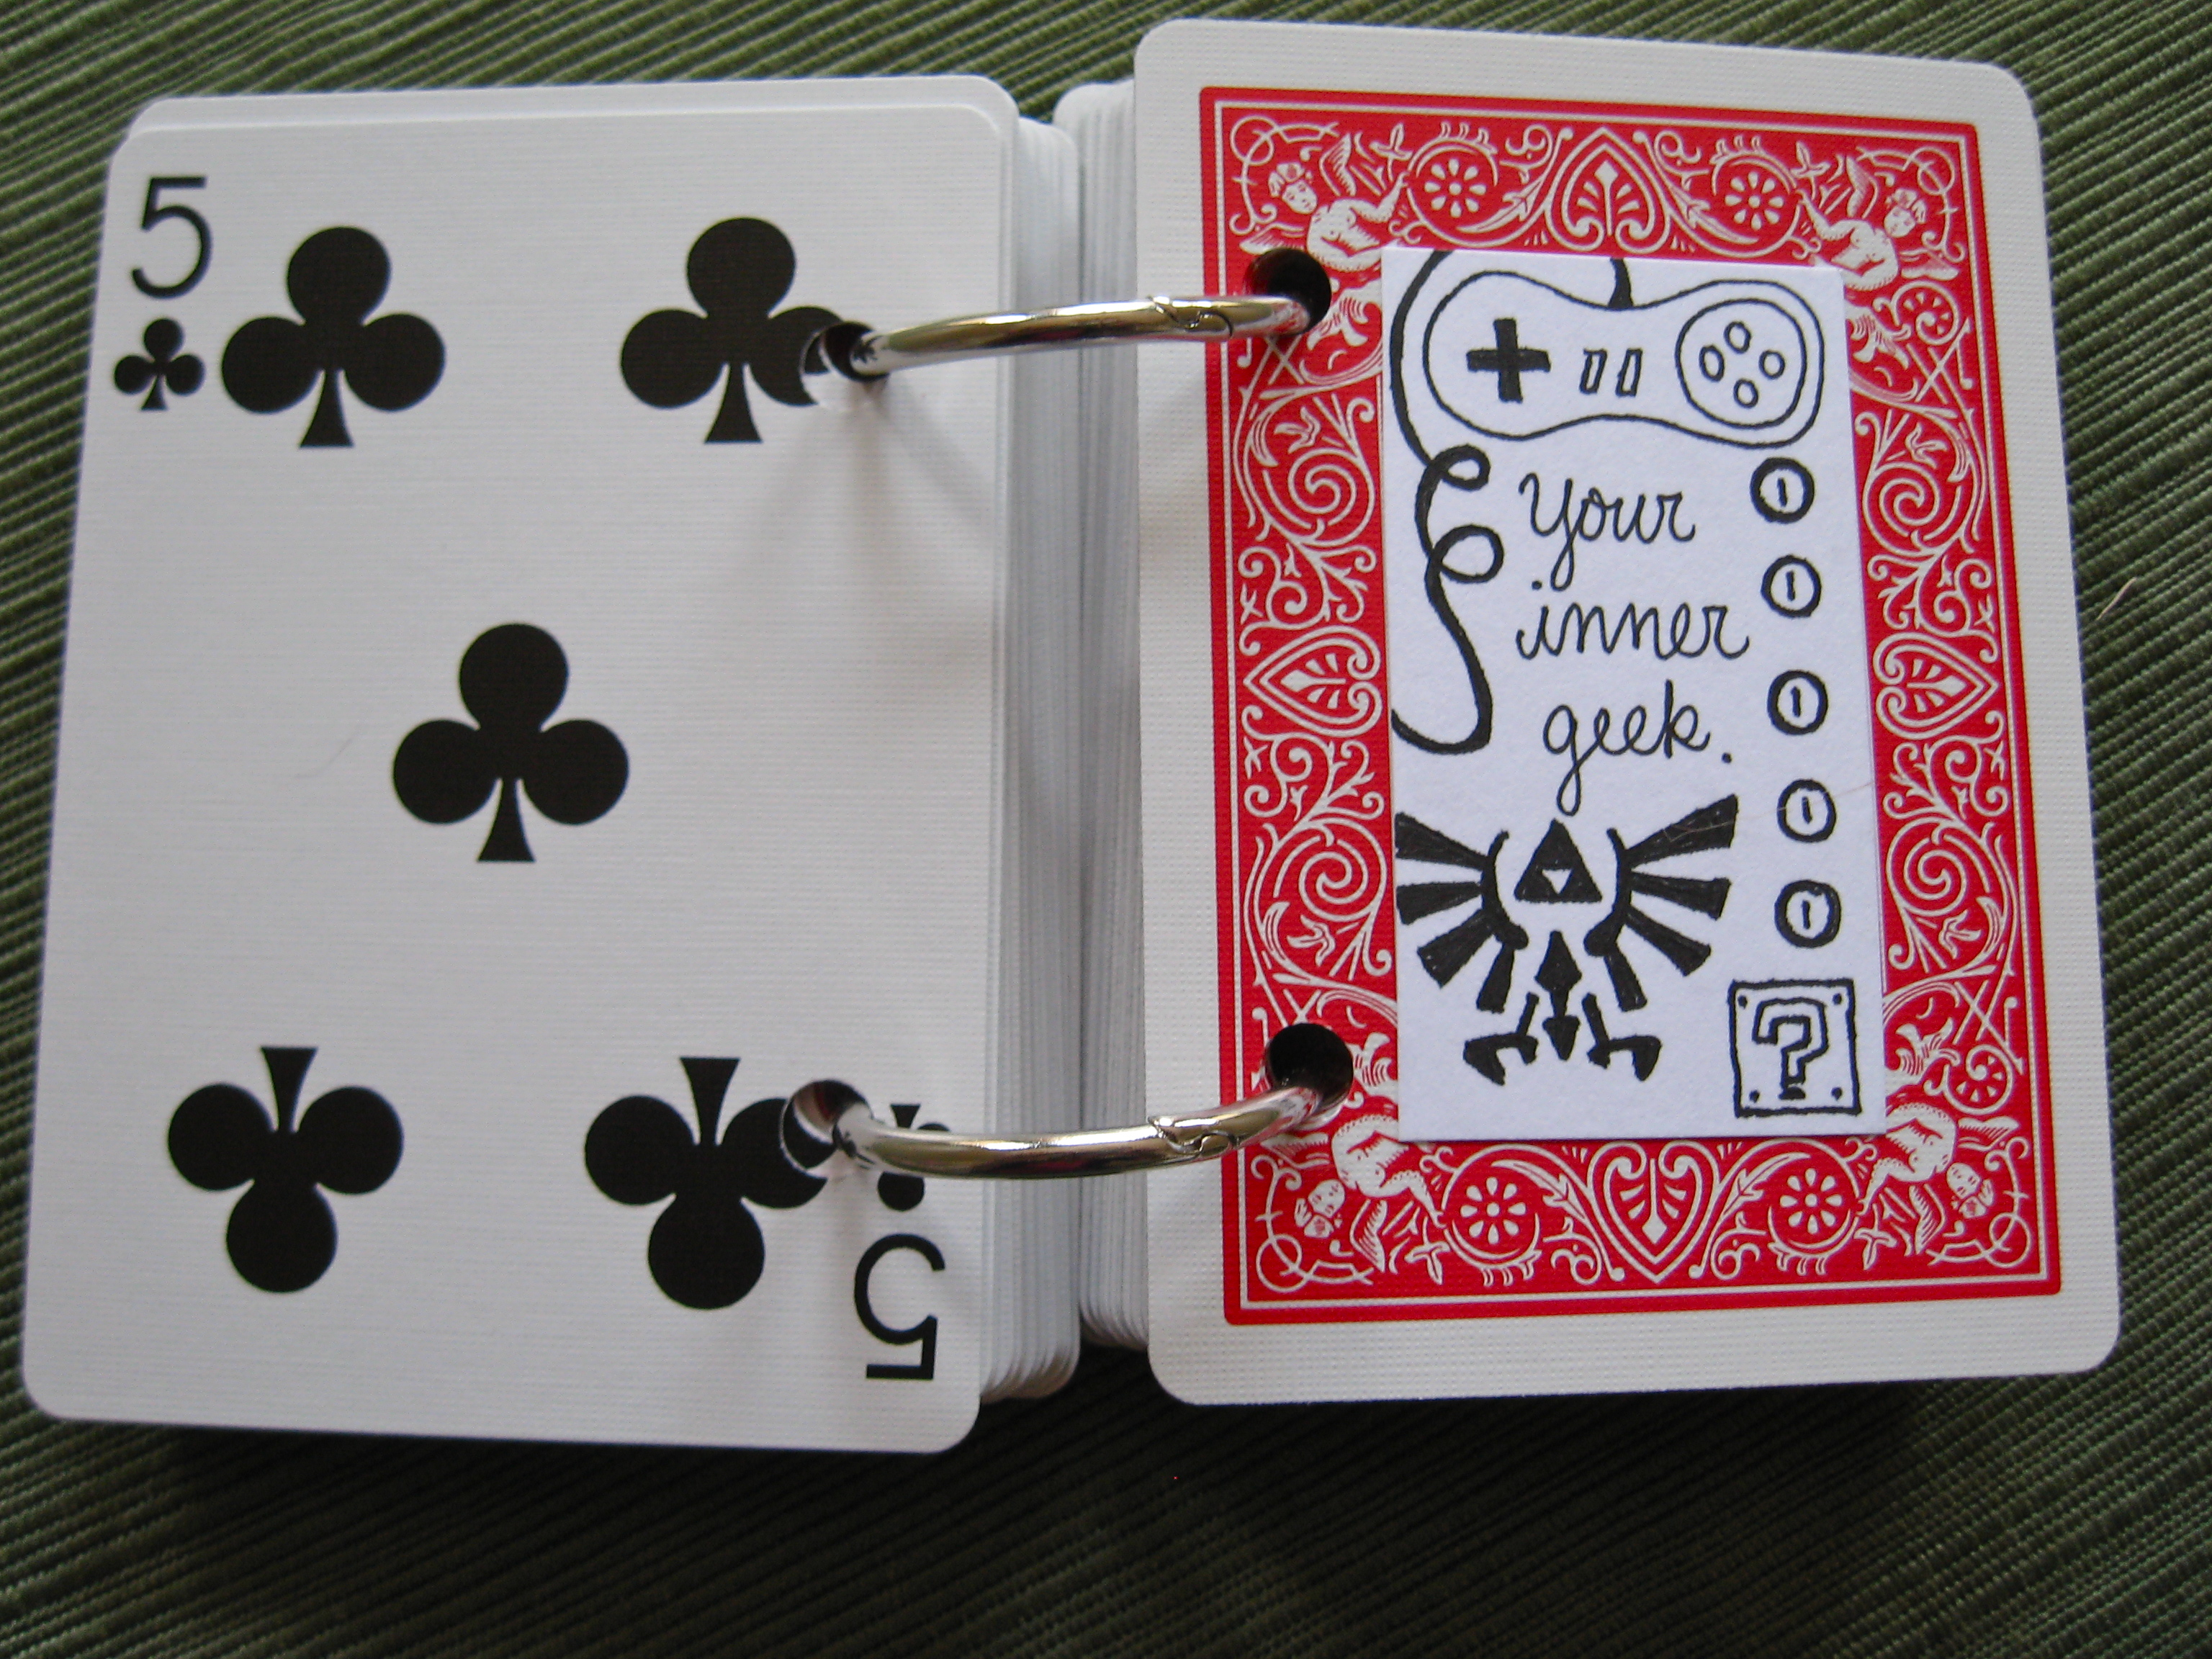
Deck of Love
I also used some name tag stickers on the inside and back covers to write a personal message.
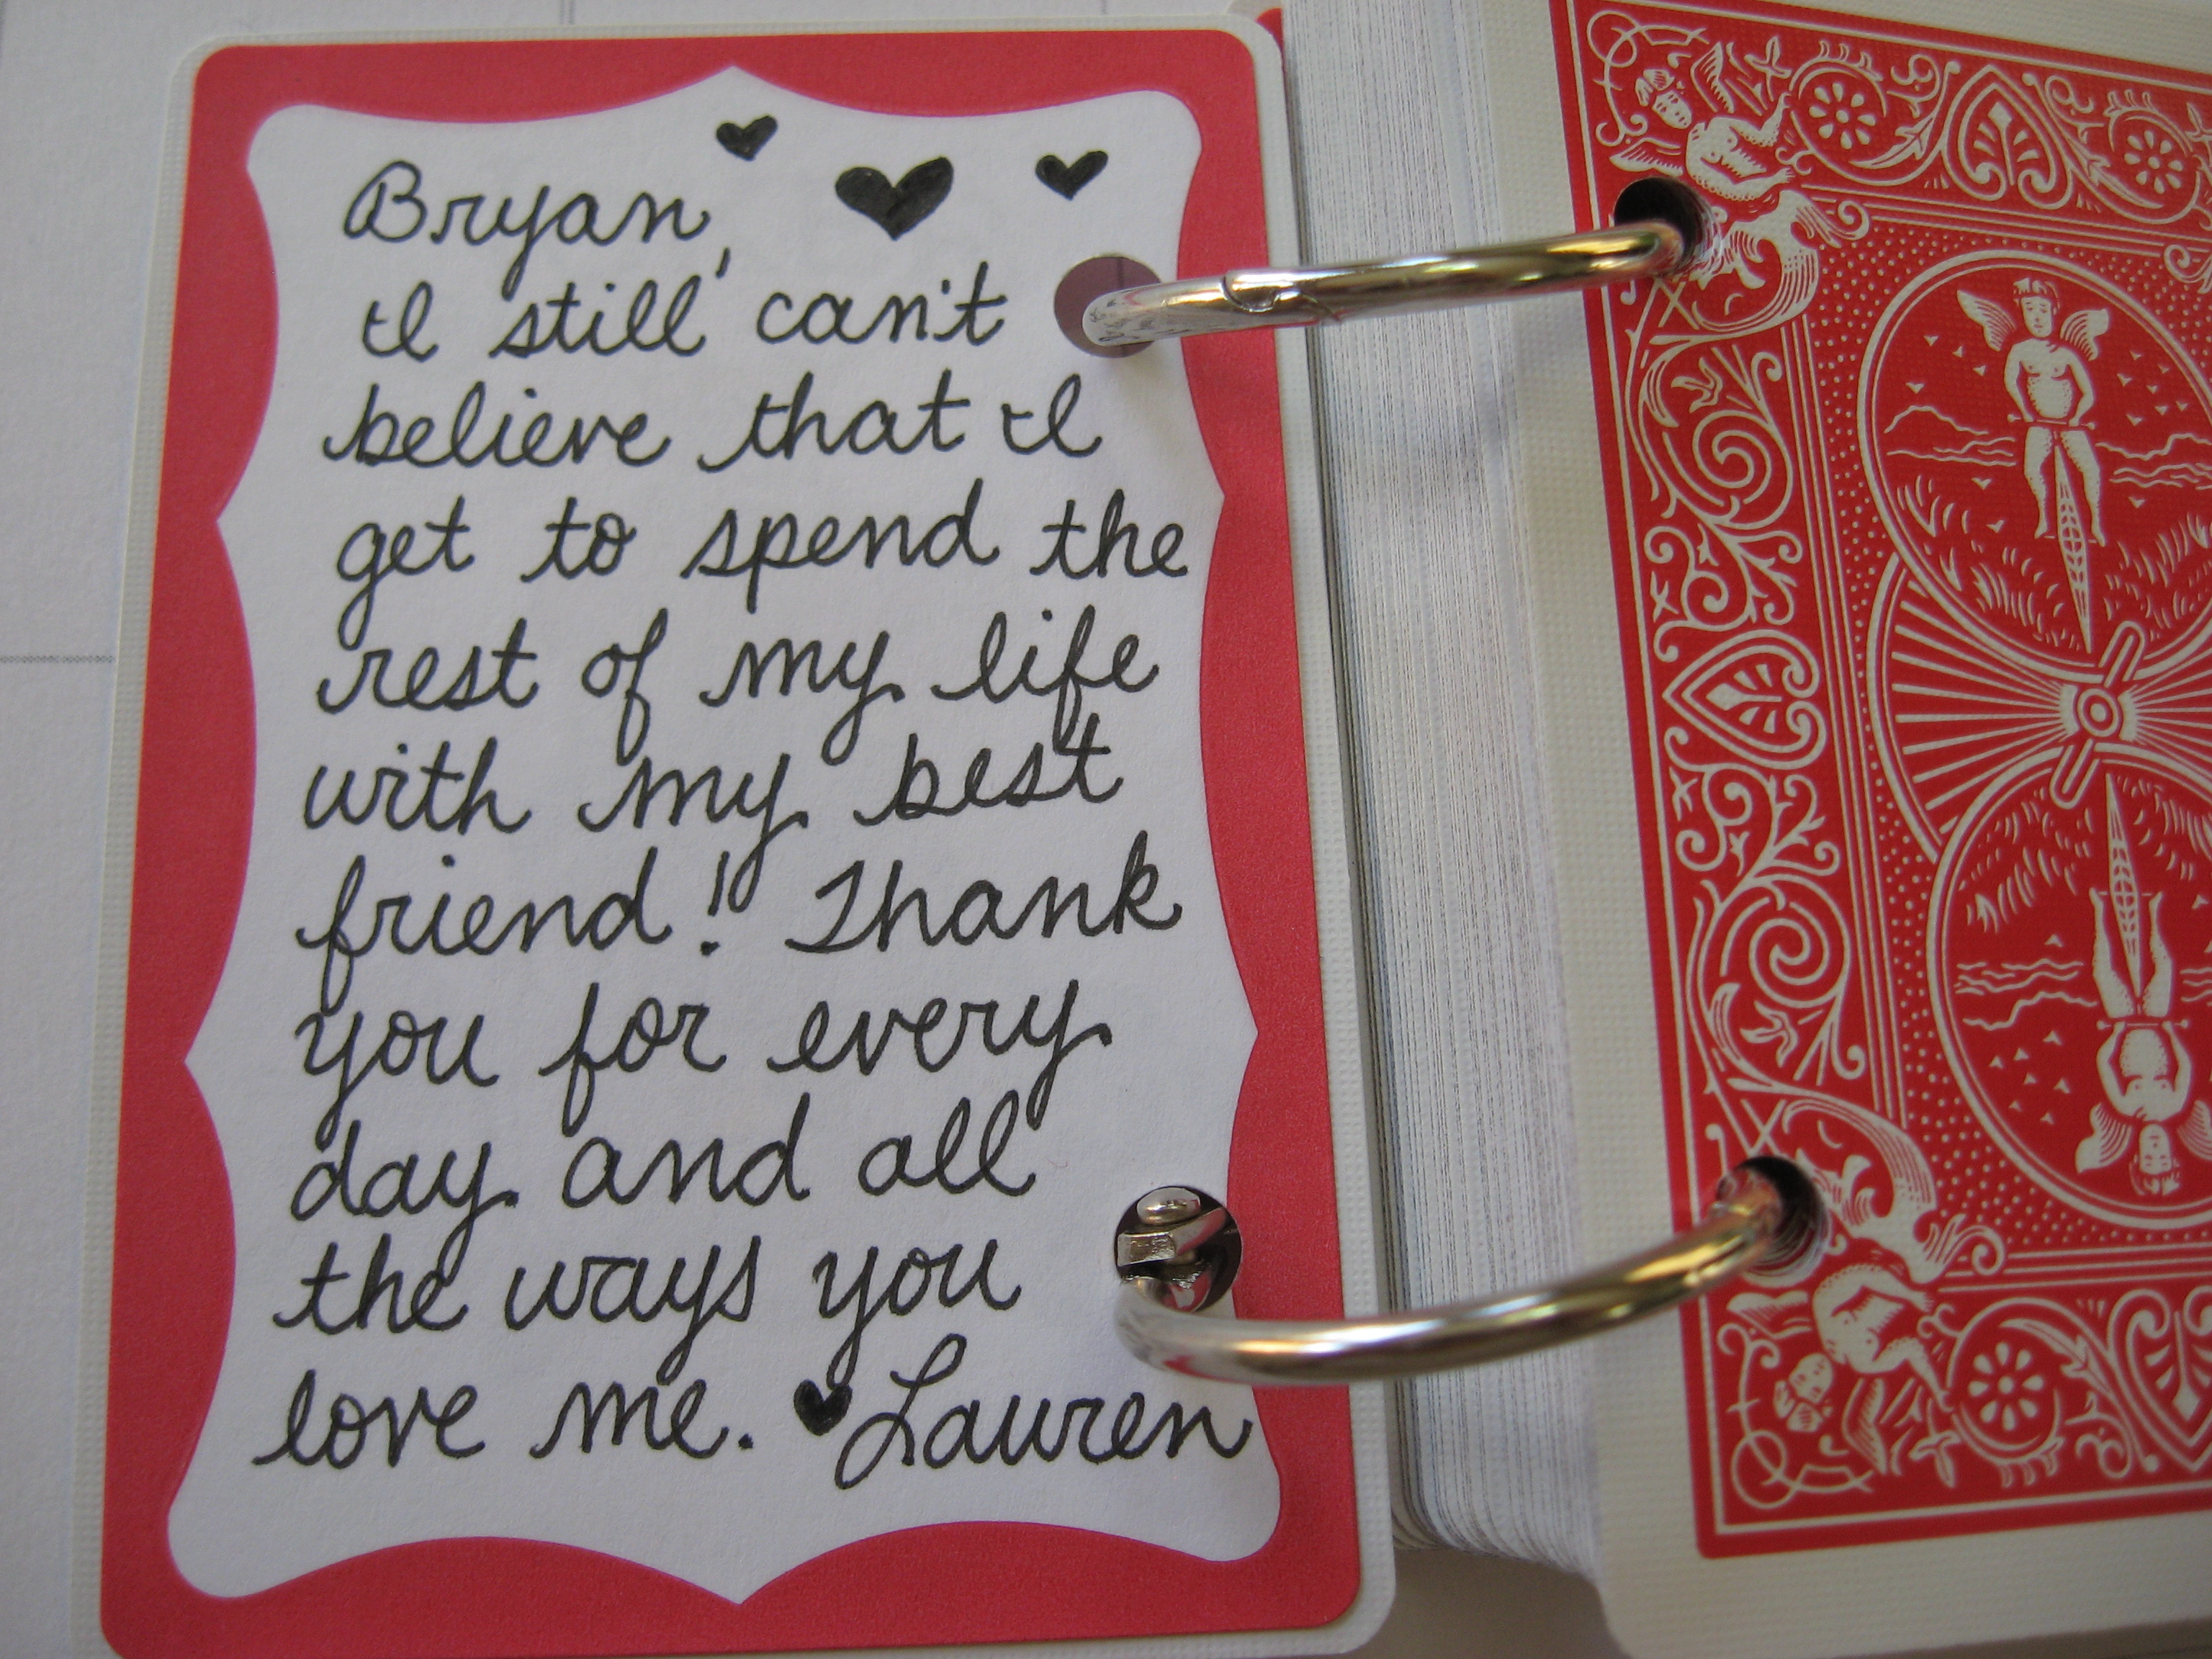
All in all, I am thrilled with how this project turned out! It is a wonderful affirmation of our relationship, and I hope it will be something my husband can turn to on rough days for a boost of self-esteem or a reminder of how much I love him.
I would call this a Pinterest WIN — and a marriage WIN! 🙂
