Some recipes carry memories better than others. From the taste and smell to all the little steps and directions, this Caramel Apple Chunk Cake recipe reminds me of time spent in the kitchen with my mother — and learning how to make caramel roses.
As I scooted around in my own kitchen this Easter, listening to music and hoping my cake would turn out, I could see the story of this recipe making another loop. This time, it was just me cutting the apples and sifting the flour. I worked alone but confidently through the directions, with no second guessing or uncertainty.
Even so, as I softened the caramels and rolled them out into petals I could see my mother’s hands, beautiful and strong, showing me how to do it that very first time. I felt connected to her and grateful that she had taken the time to make those memories with me, because the most wonderful gift you can give to your children is your time.
I will always have that day and carry that piece of her with me. And it makes my heart so happy to think that in 10 years or so the story will come full circle, and I will be teaching my own daughter (or son) how to make caramel roses.
ShinyHappyPeebles
Caramel Apple Chunk Cake
Let me begin by saying that this is a decadent and rich cake — a destroyer of diets! However, in my own curvy opinion, it doesn’t hurt to indulge in some homemade goodness once in a while. 🙂
Ingredients:
- 2 and ½ cups flour
- 1 teaspoon baking soda
- 1 teaspoon salt
- 1 and ¼ teaspoon cinnamon
- ¼ teaspoon nutmeg
- 1 cup vegetable oil
- 2 cups granulated sugar
- 3 large eggs
- 1 and ½ teaspoon vanilla
- 3 tablespoons orange juice
- 3 tart apples
- 1 cup chopped pecans
- 1 stick unsalted butter
- 1 cup packed brown sugar
- ¼ cup whipping cream
1) Preheat oven to 350º and make sure the rack is in the center of the oven.
2) Peel and cut the apples into ½ inch chunks. You should get about 3 and ½ cups of apples.
3) Generously grease a 12 cup sponge cake pan. Coat with flour, tapping out any excess. I like to use a Bundt pan that I inherited from my grandmother. I love the shape and the weight of it!
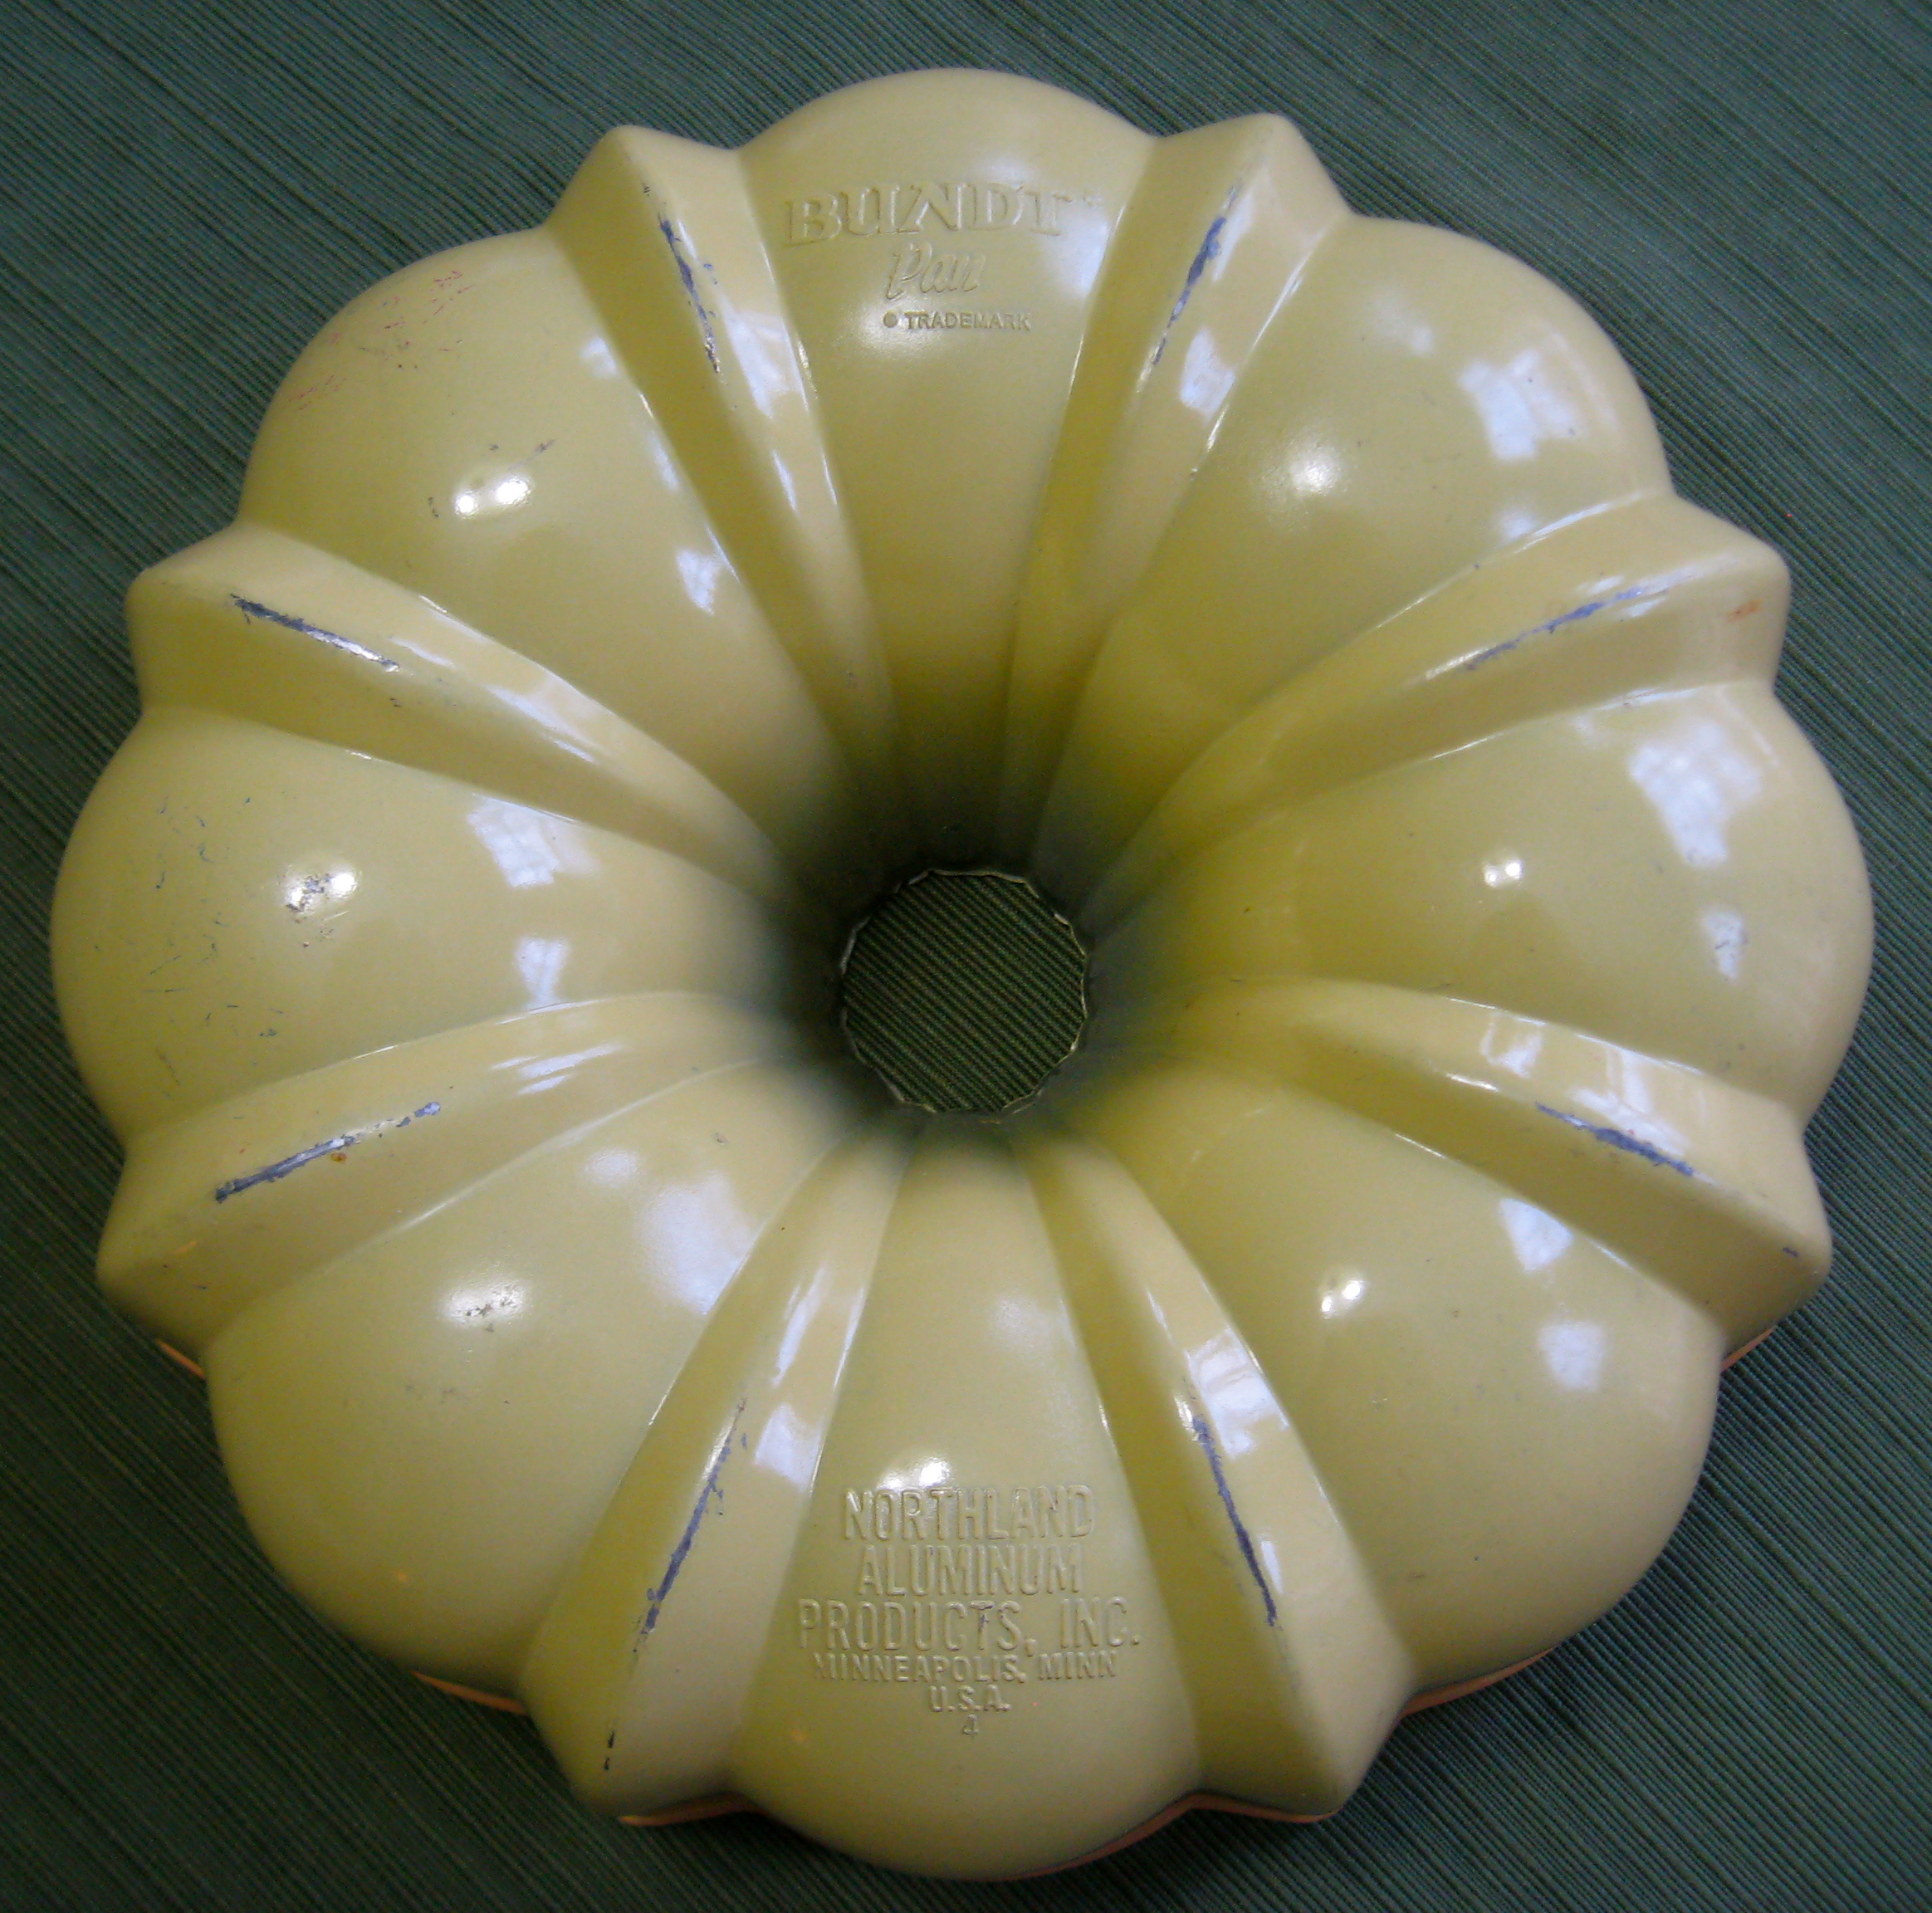
Just think of all the cakes this baby has seen!
4) In a medium-sized bowl, sift together the flour, baking soda, salt, and spices.
5) In a separate large bowl, combine the vegetable oil, granulated sugar, eggs, and vanilla. Beat until thick and smooth — about 3 minutes.
6) Add orange juice to the large bowl, followed by the sifted dry ingredients. Mix completely.
7) Toss the apples and chopped pecans in 1 tablespoon of flour, then add into the batter.
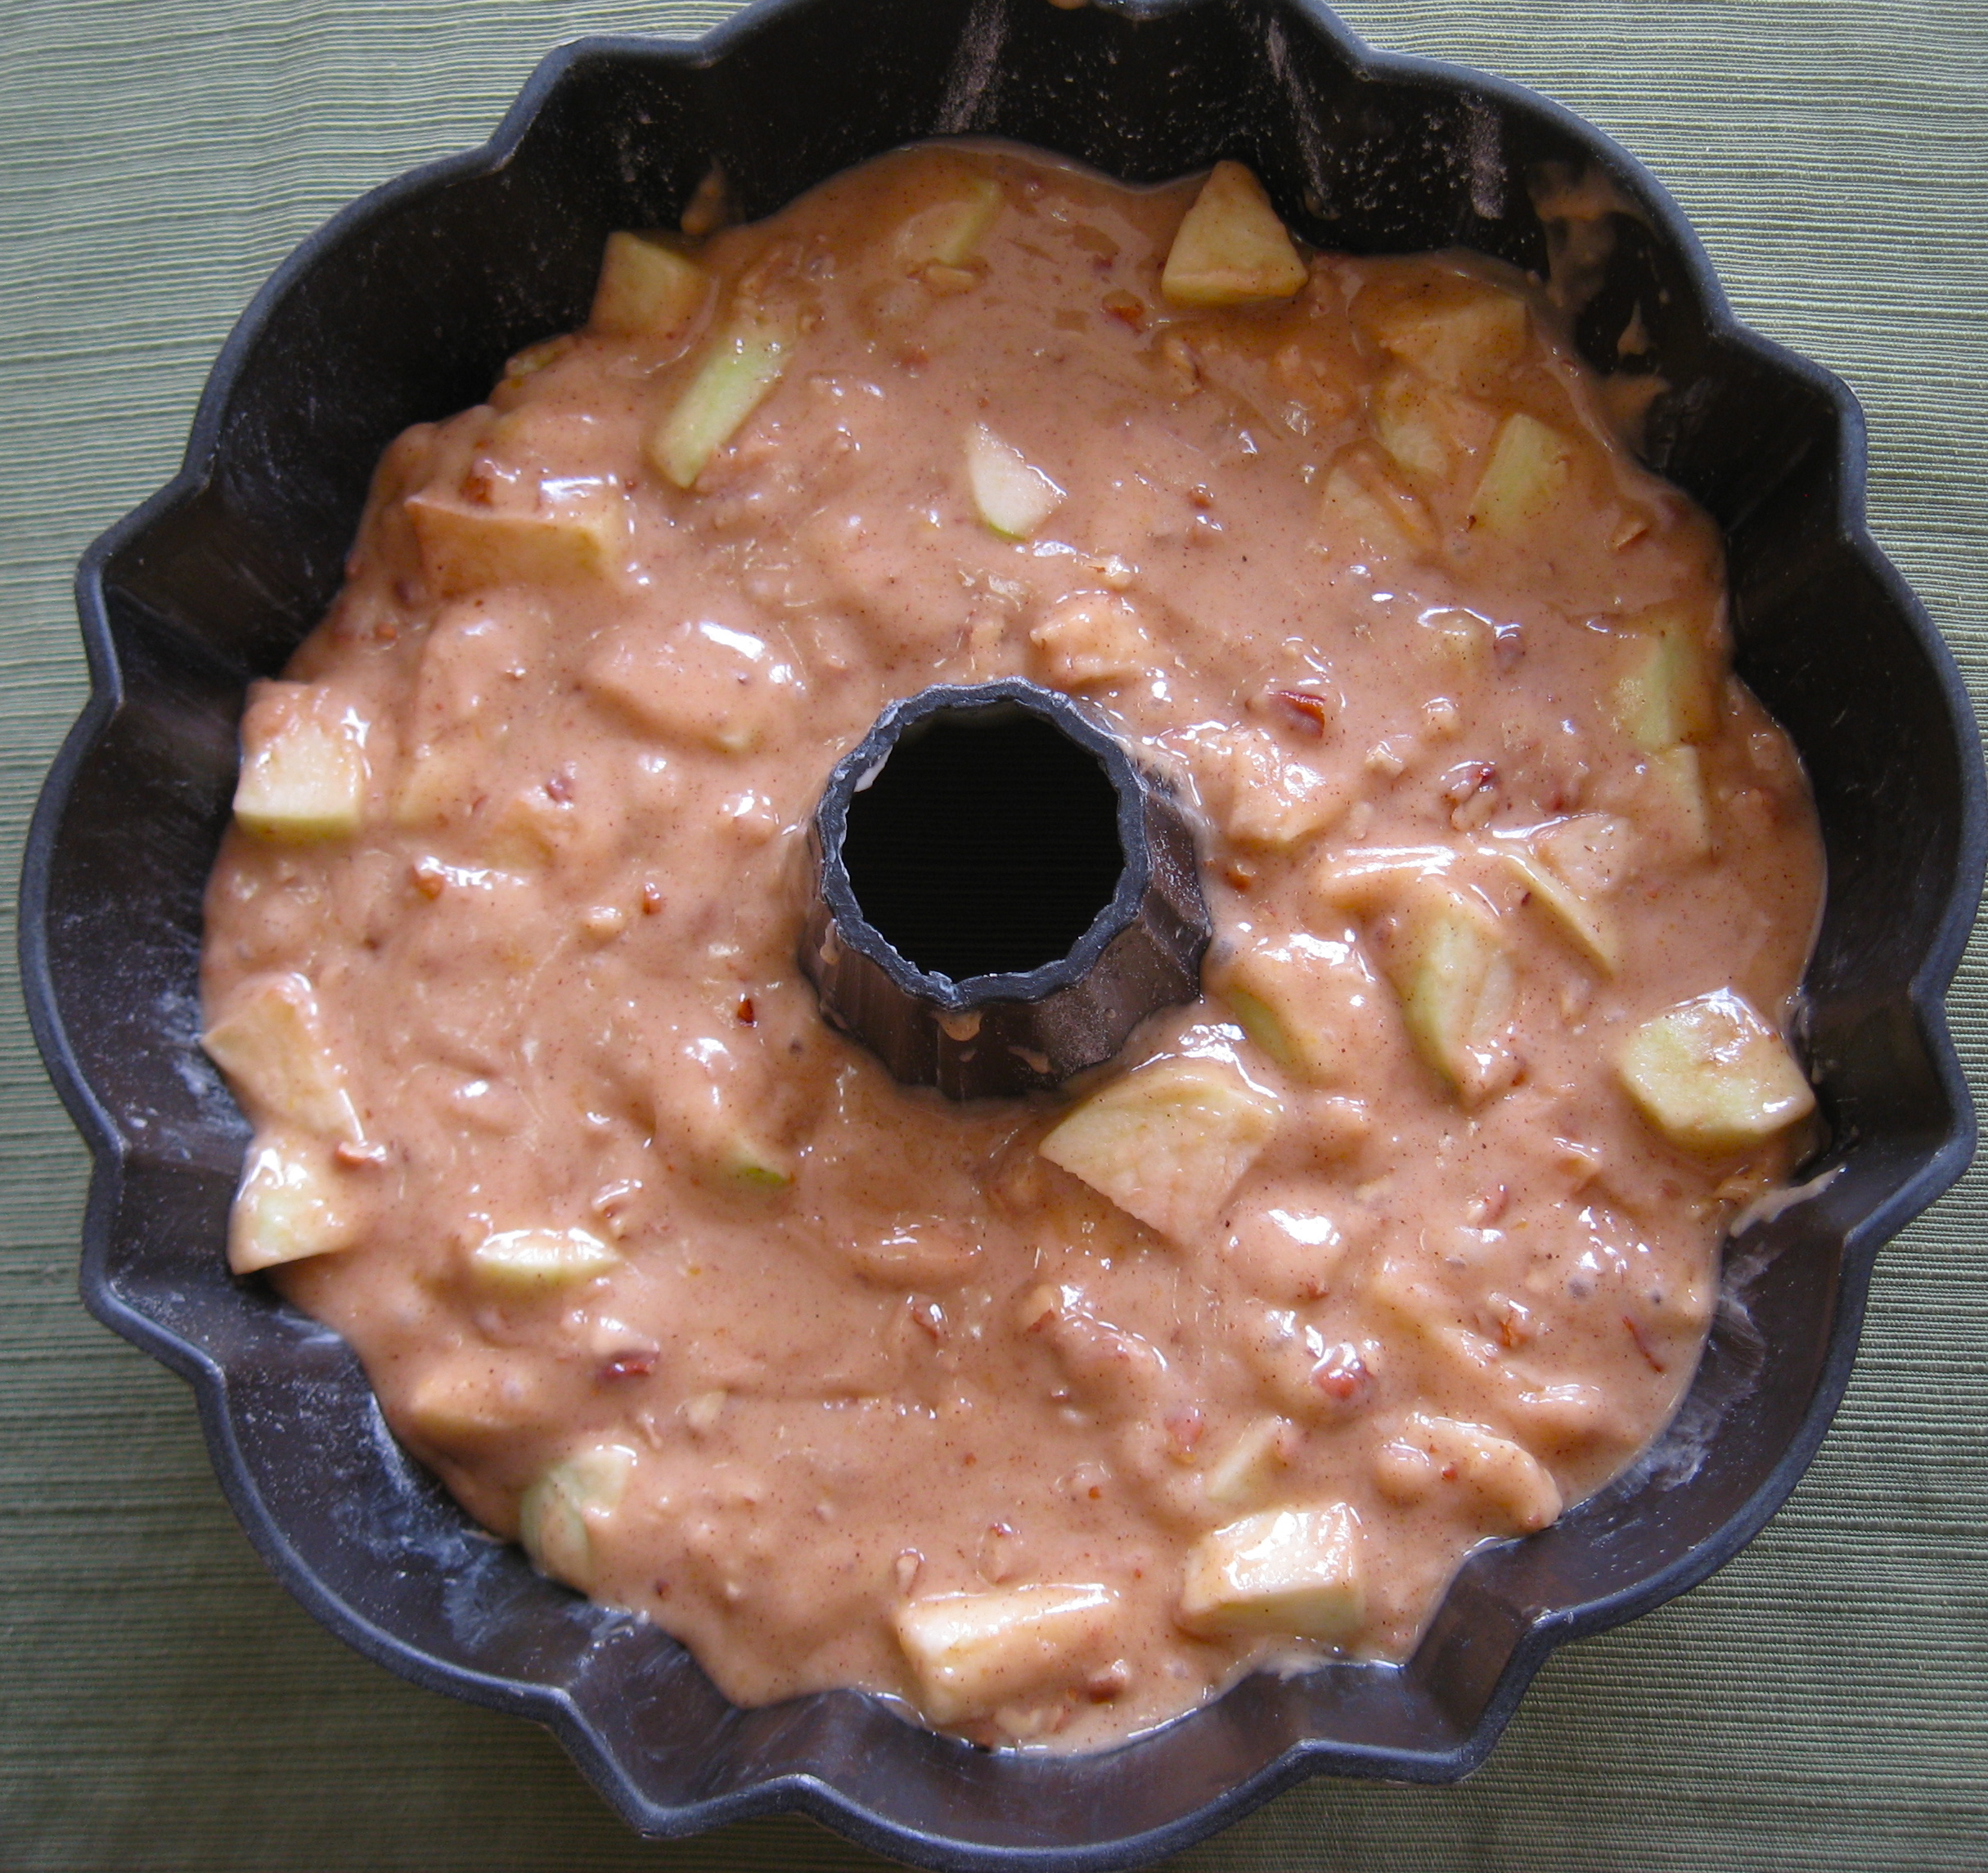
The batter will be very thick.
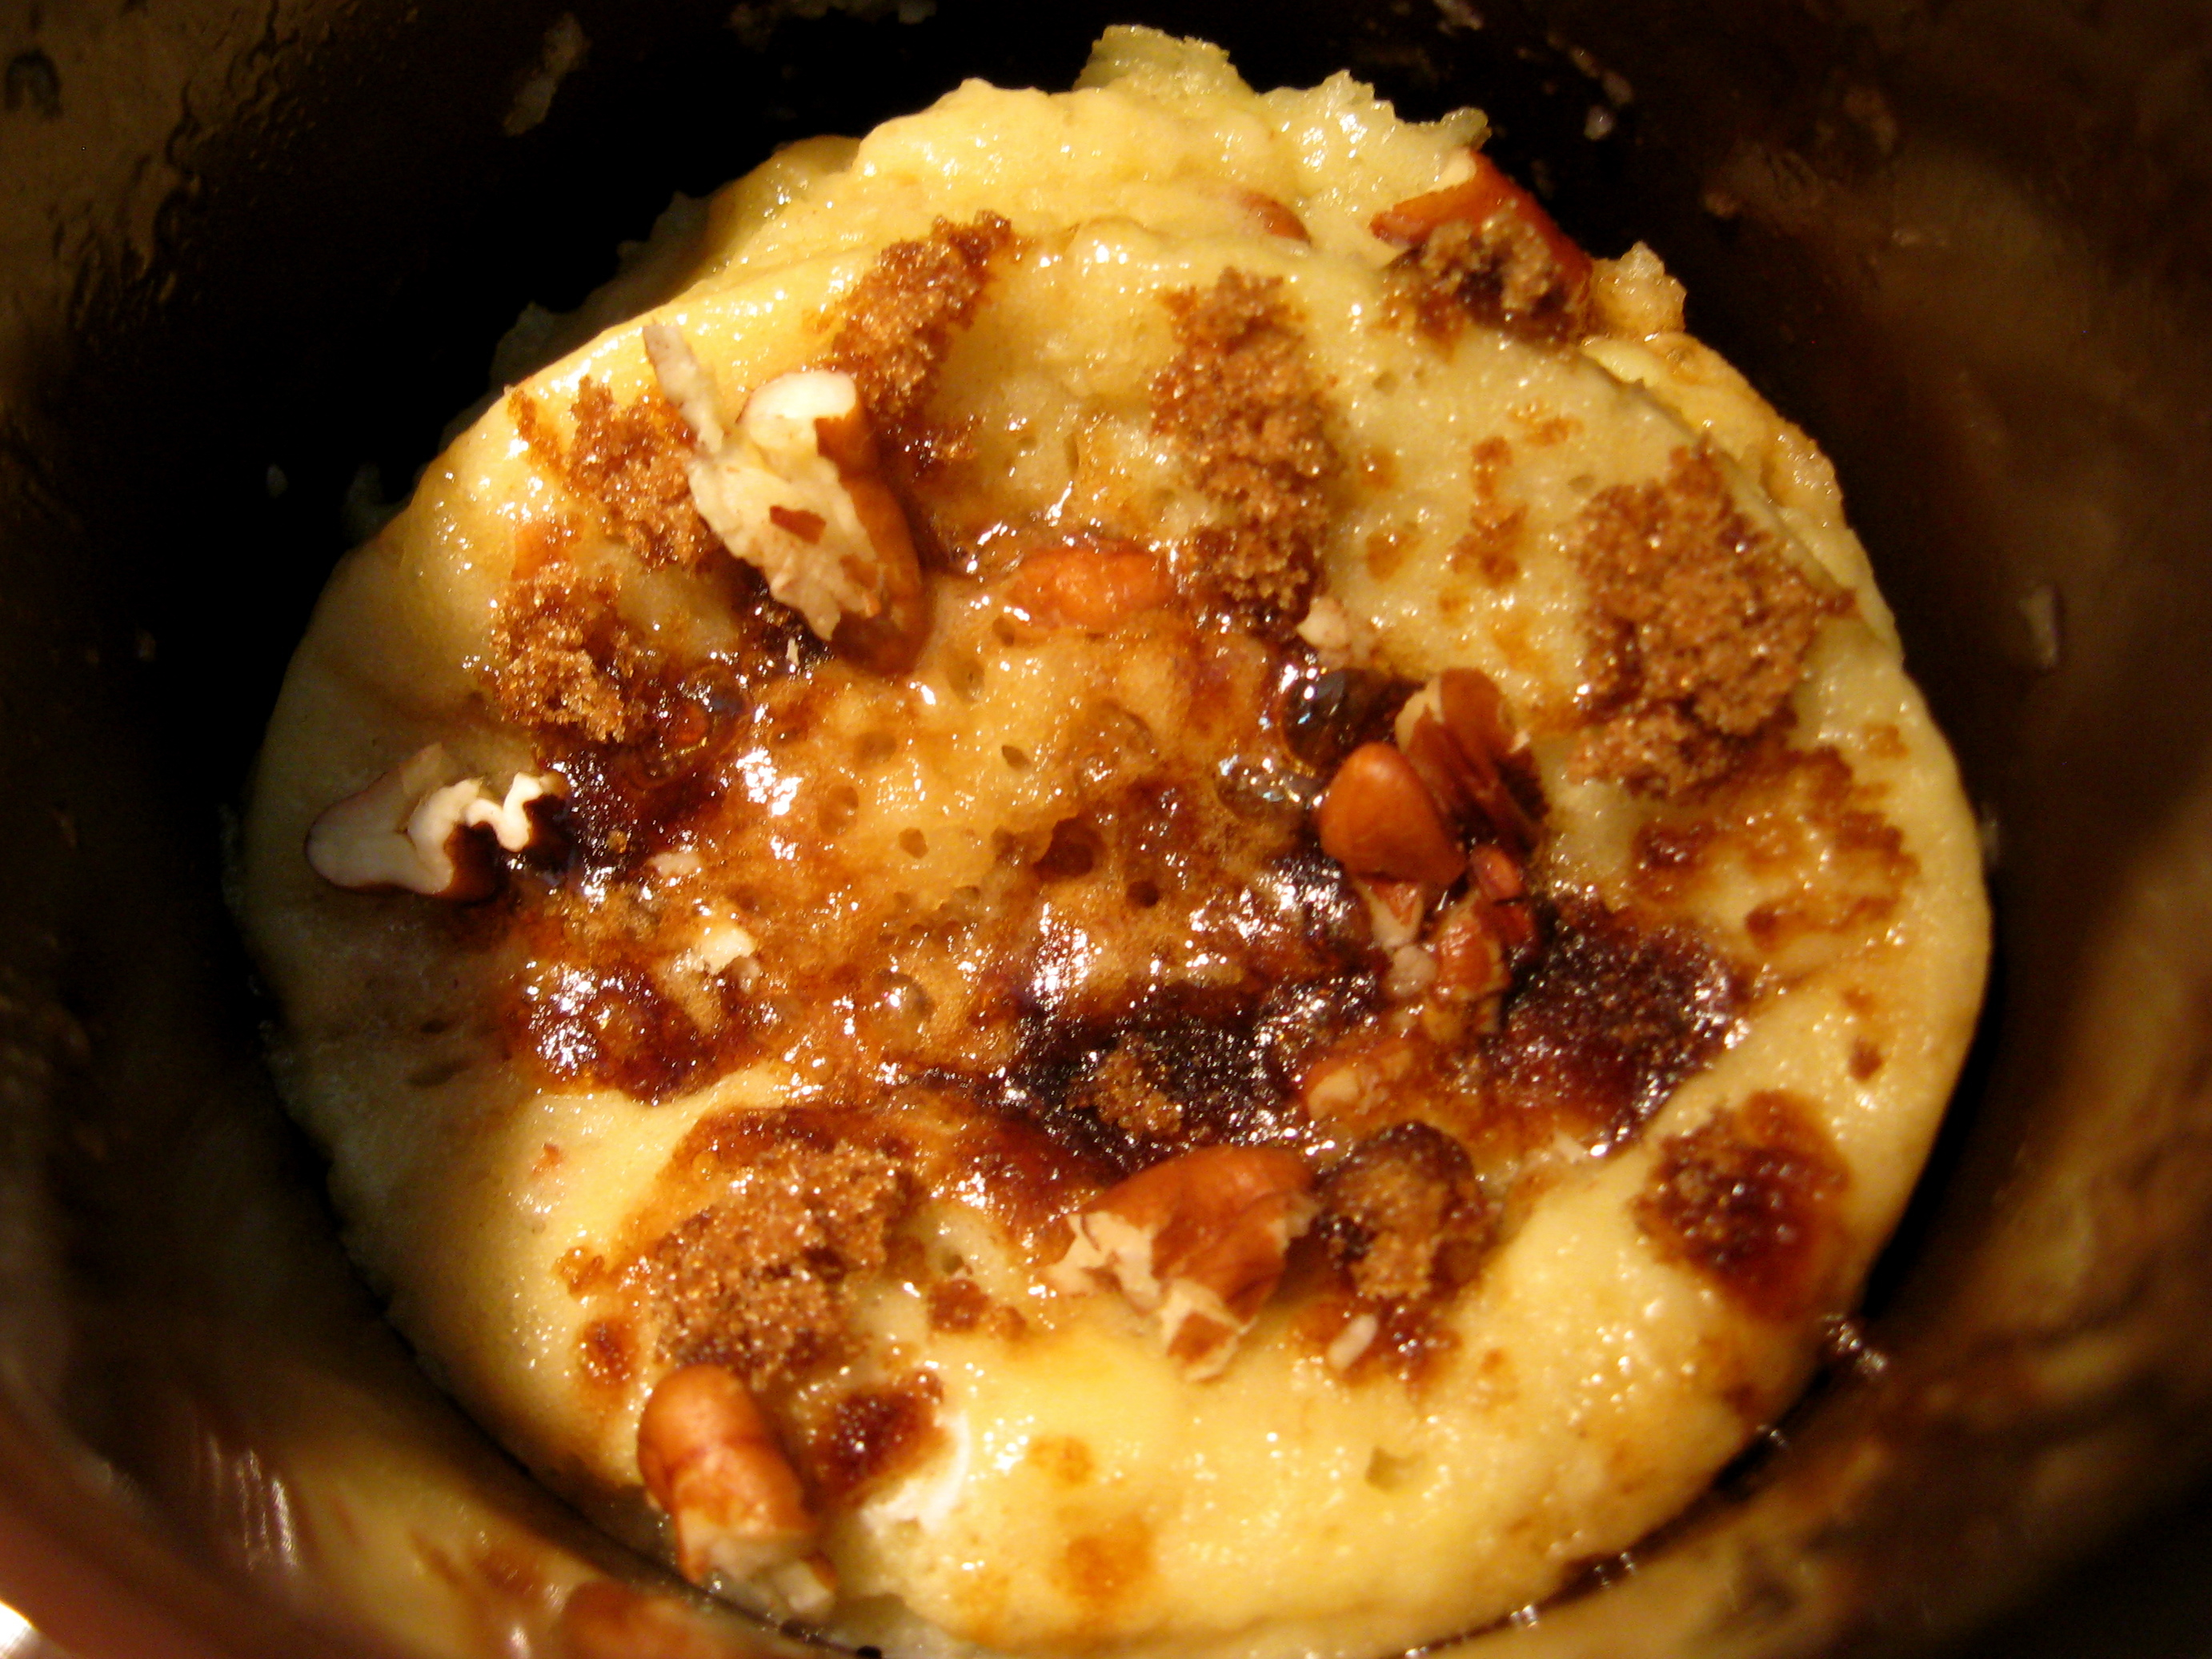
8) Transfer the cake batter to your pan and smooth out the top. Cook about 1 hour. Let cool 5 minutes before glazing.
9) To make the glaze, mix the butter, brown sugar, and whipping cream in a small saucepan and bring to a boil – about three minutes. This is honestly the best part of the whole, darn cake!
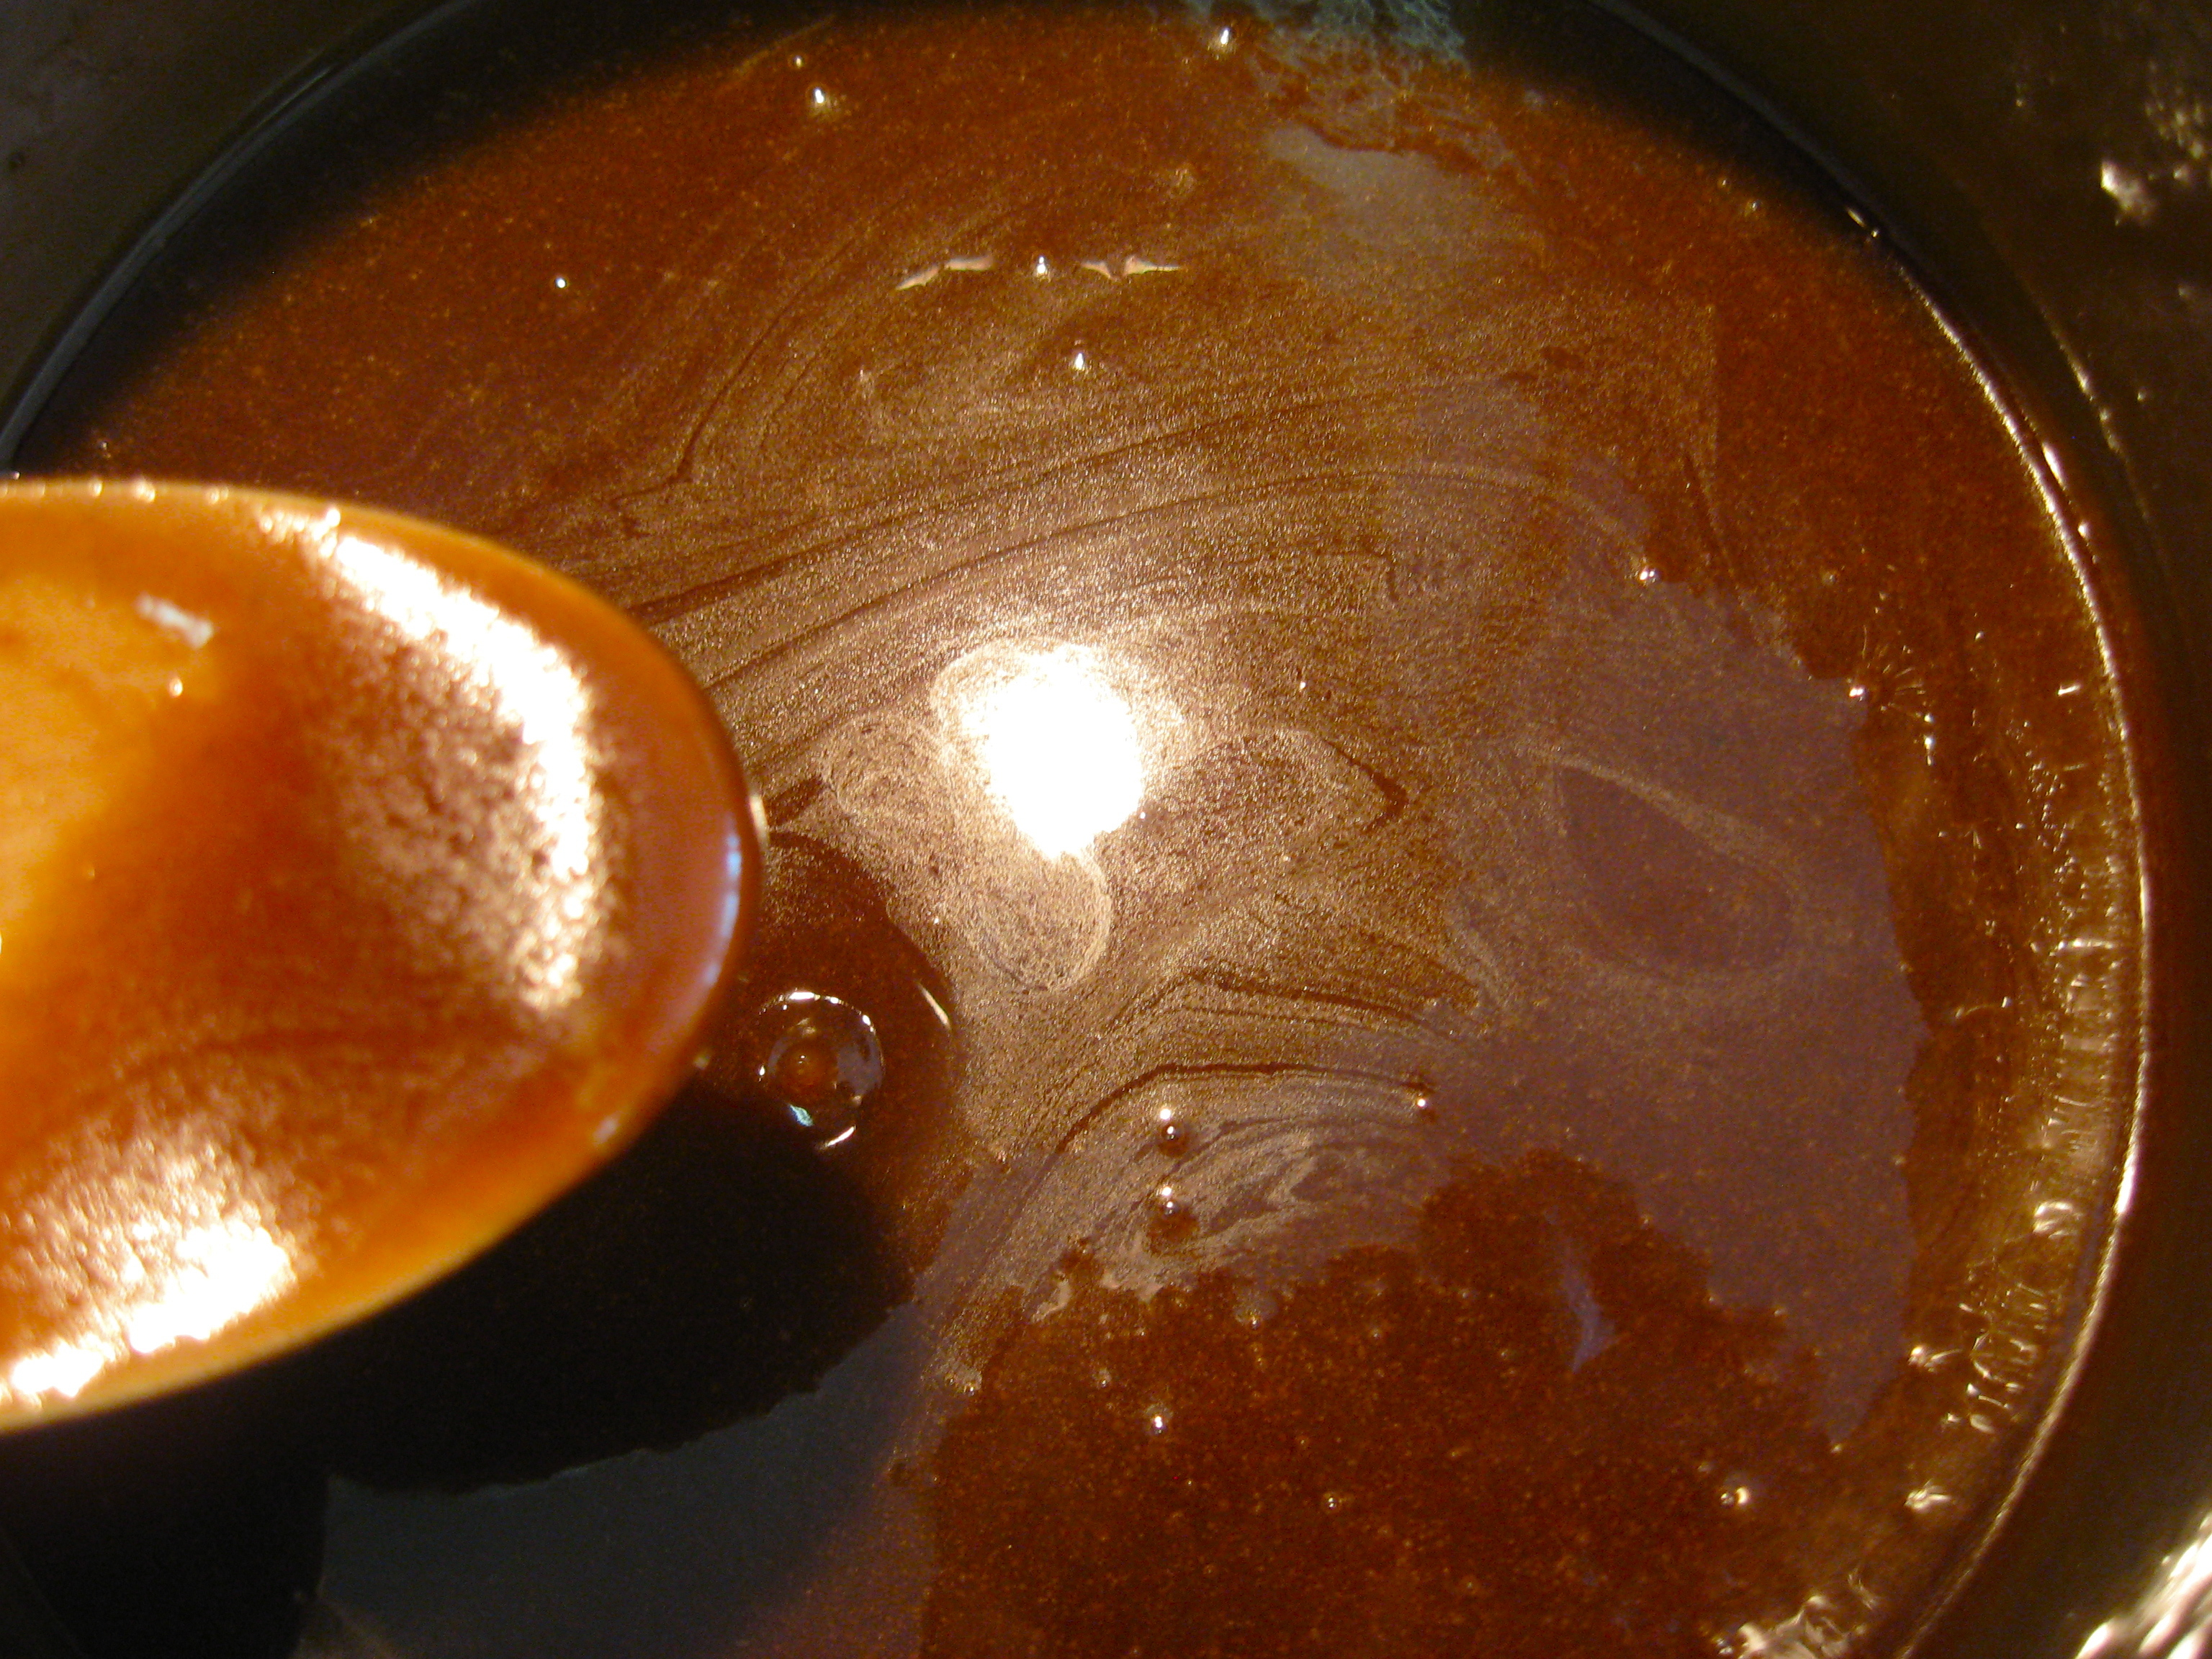
You could put this on cardboard and it would taste like heaven!
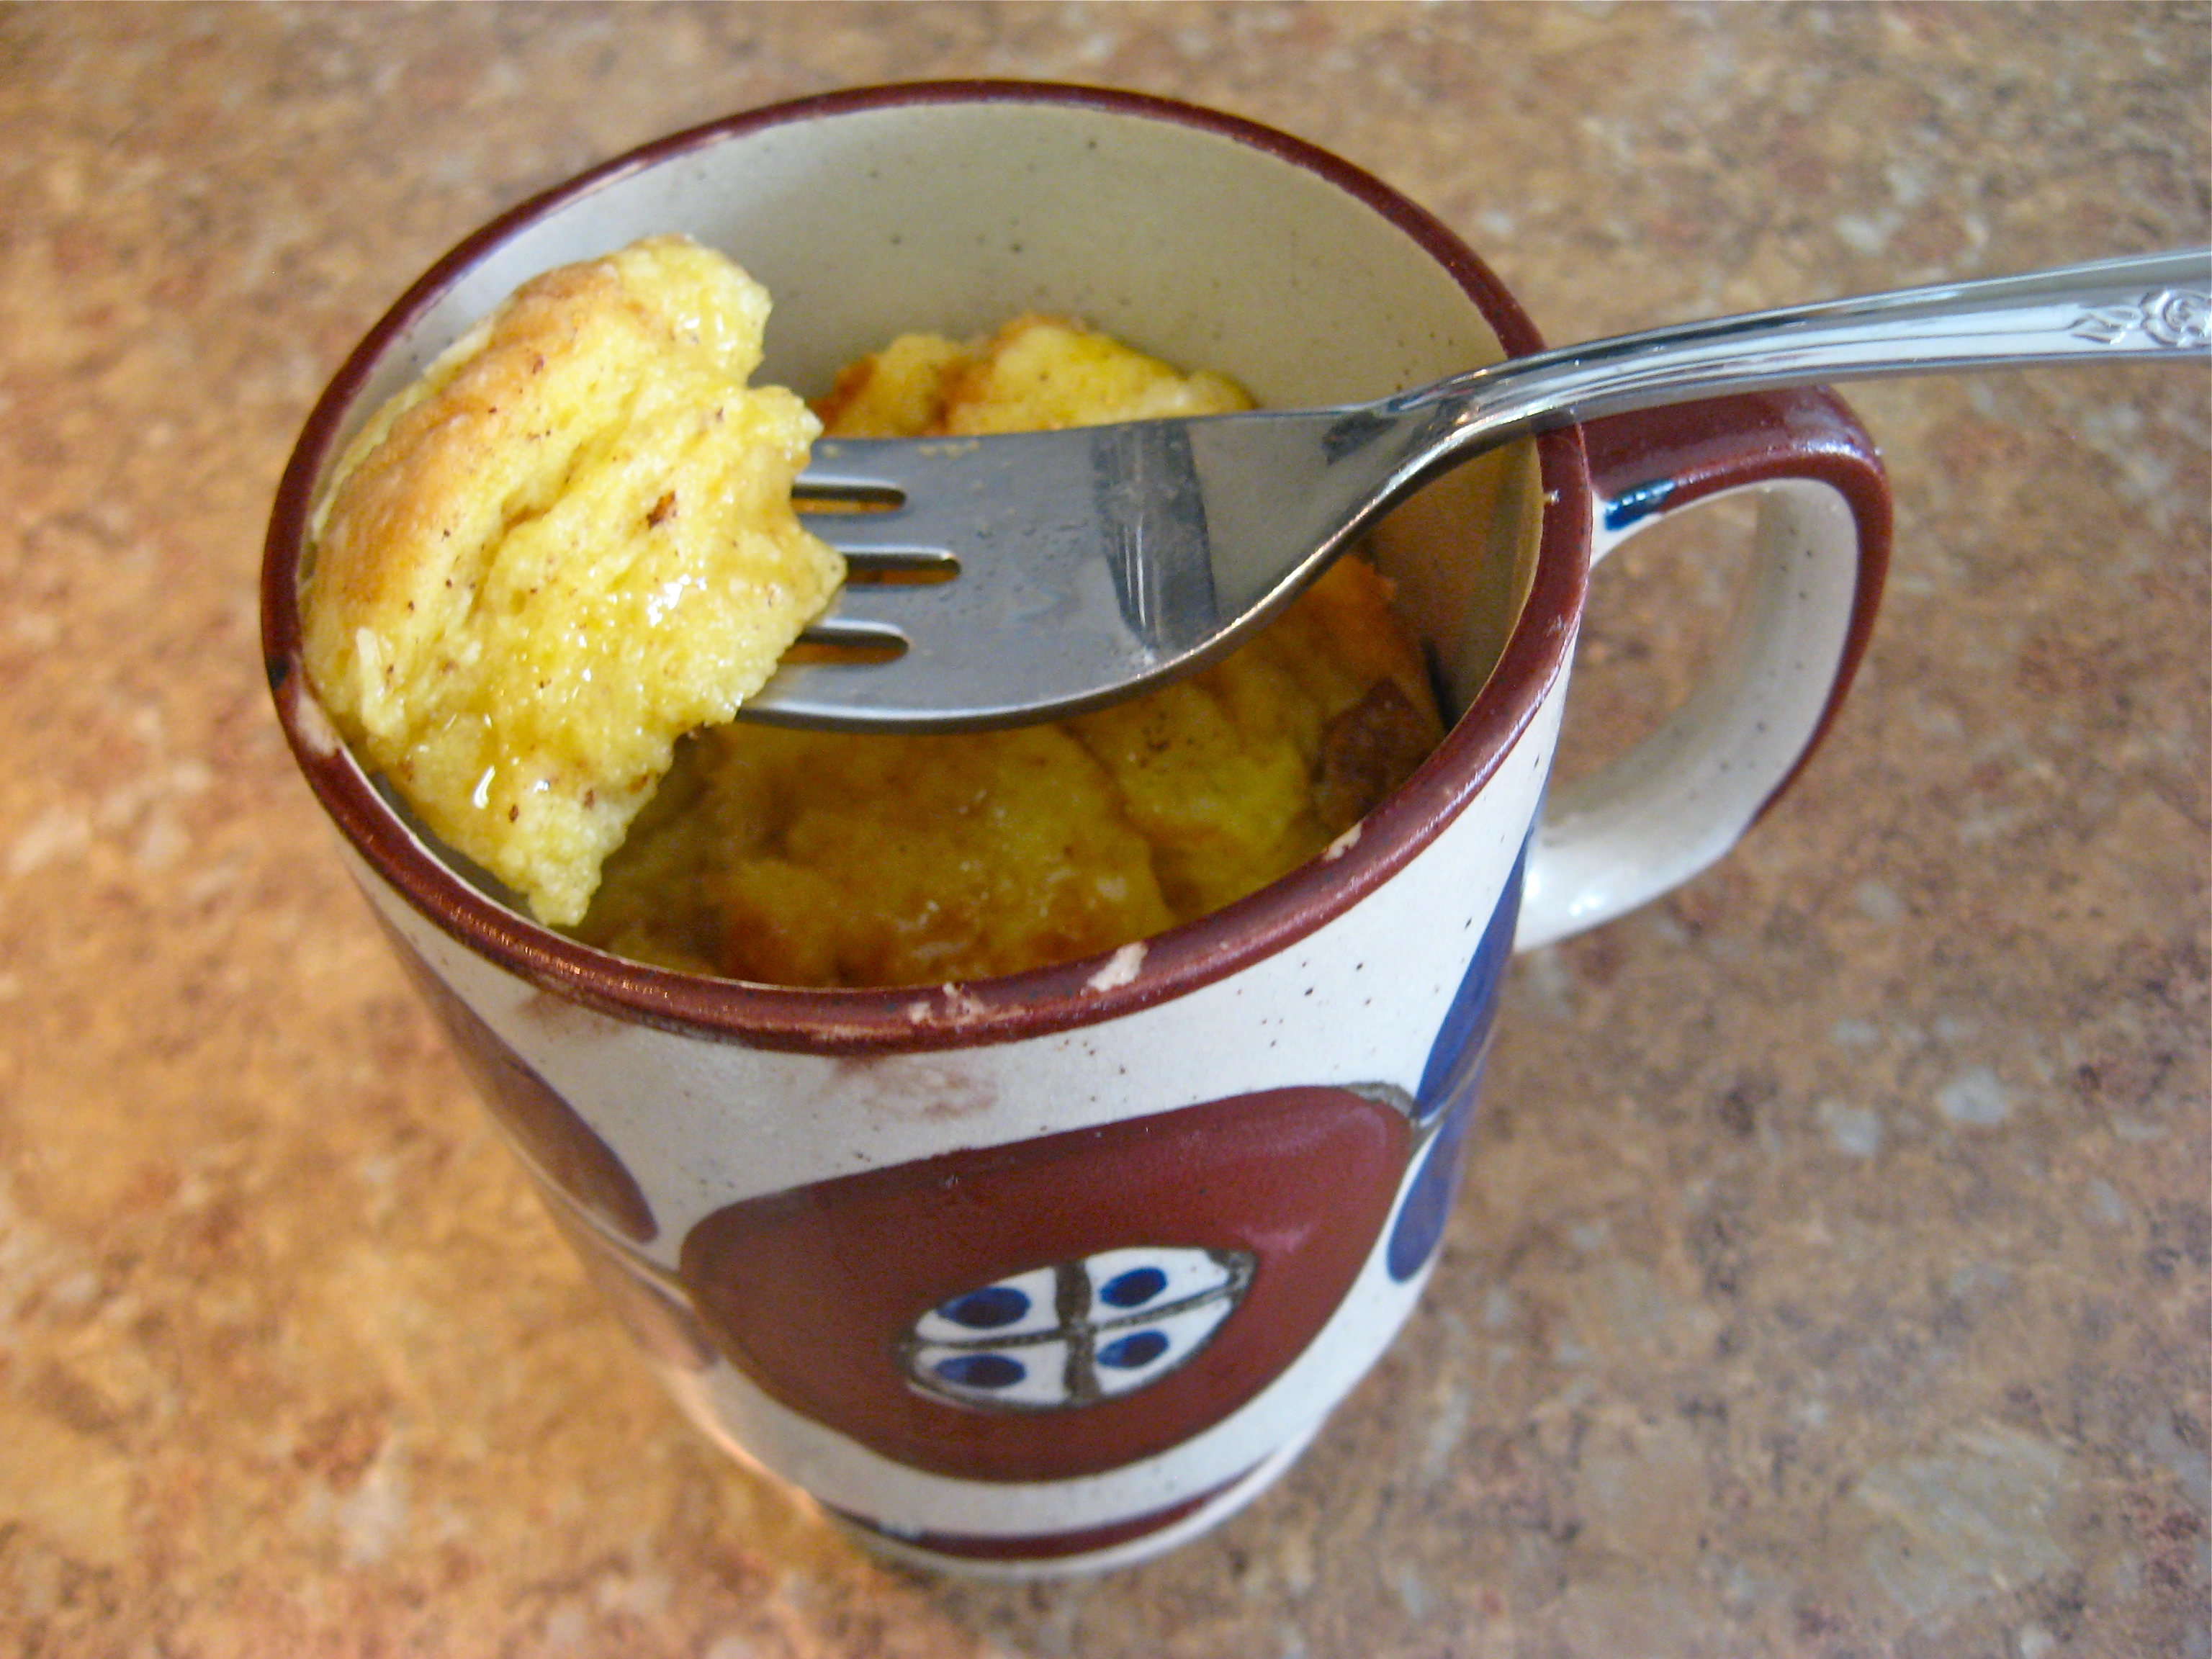
10) Drizzle the glaze onto cake after it cools, reapplying as it drips down. Best served warm!
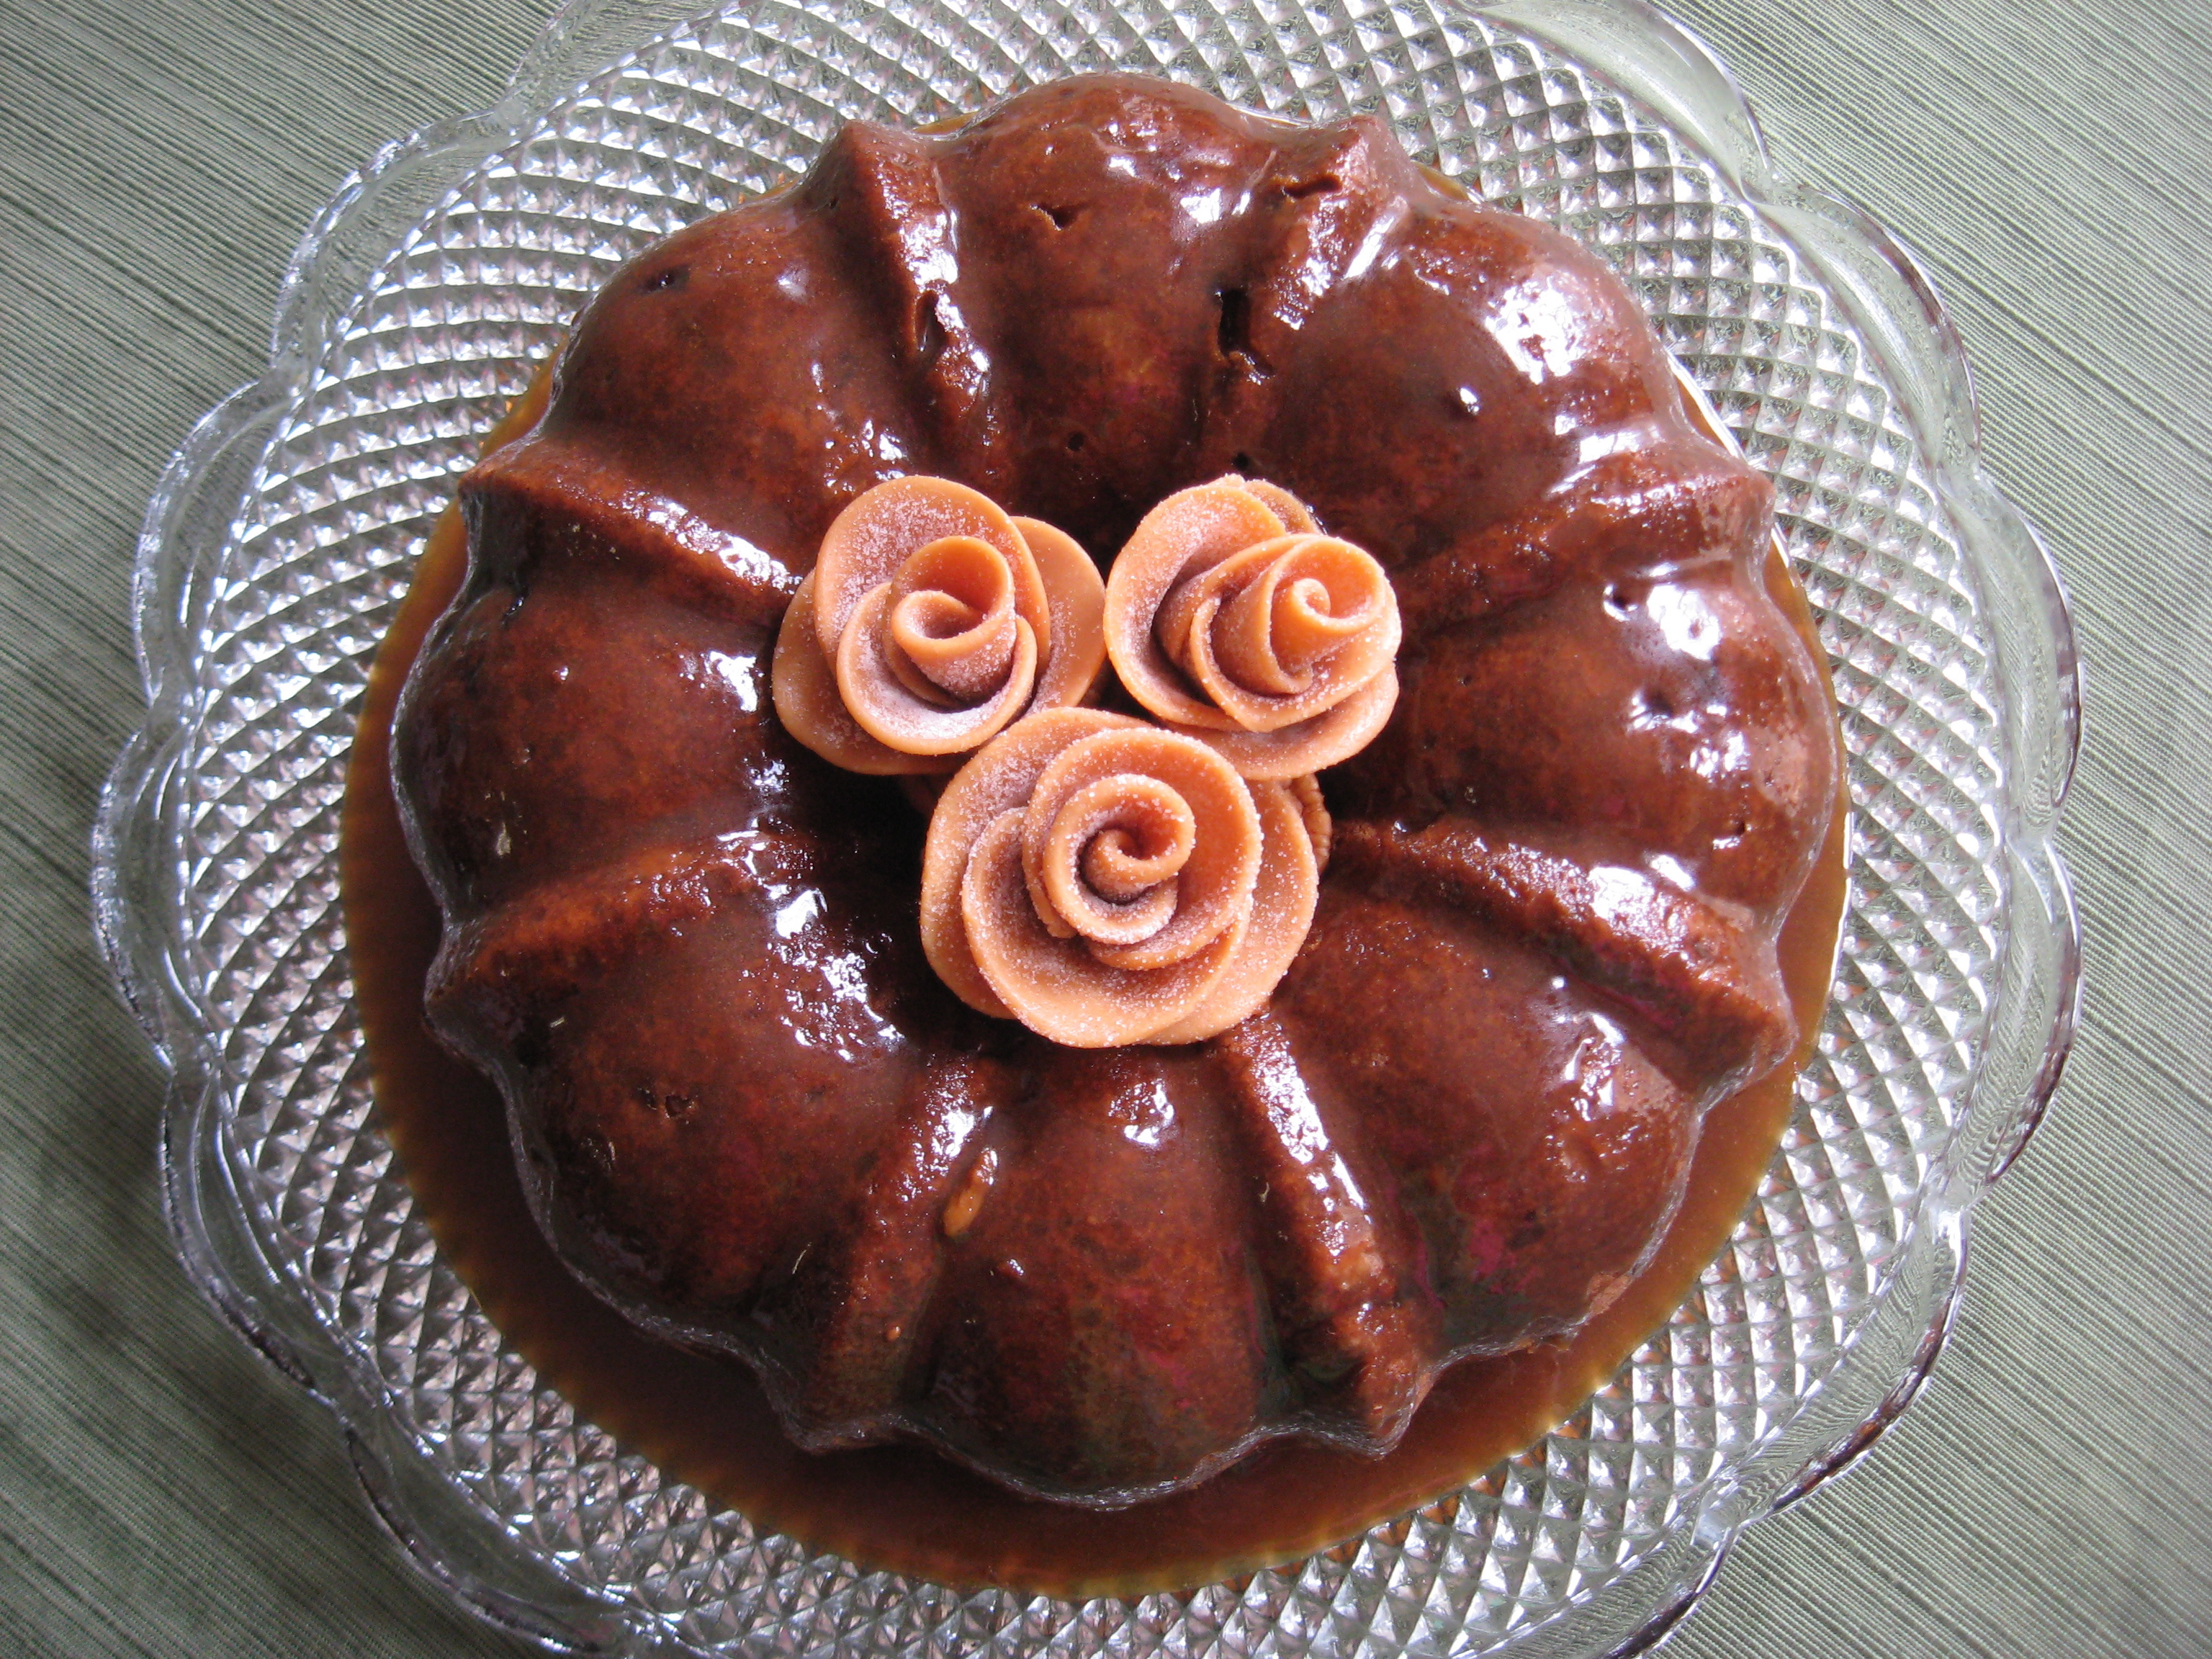
Caramel Apple Chunk Cake
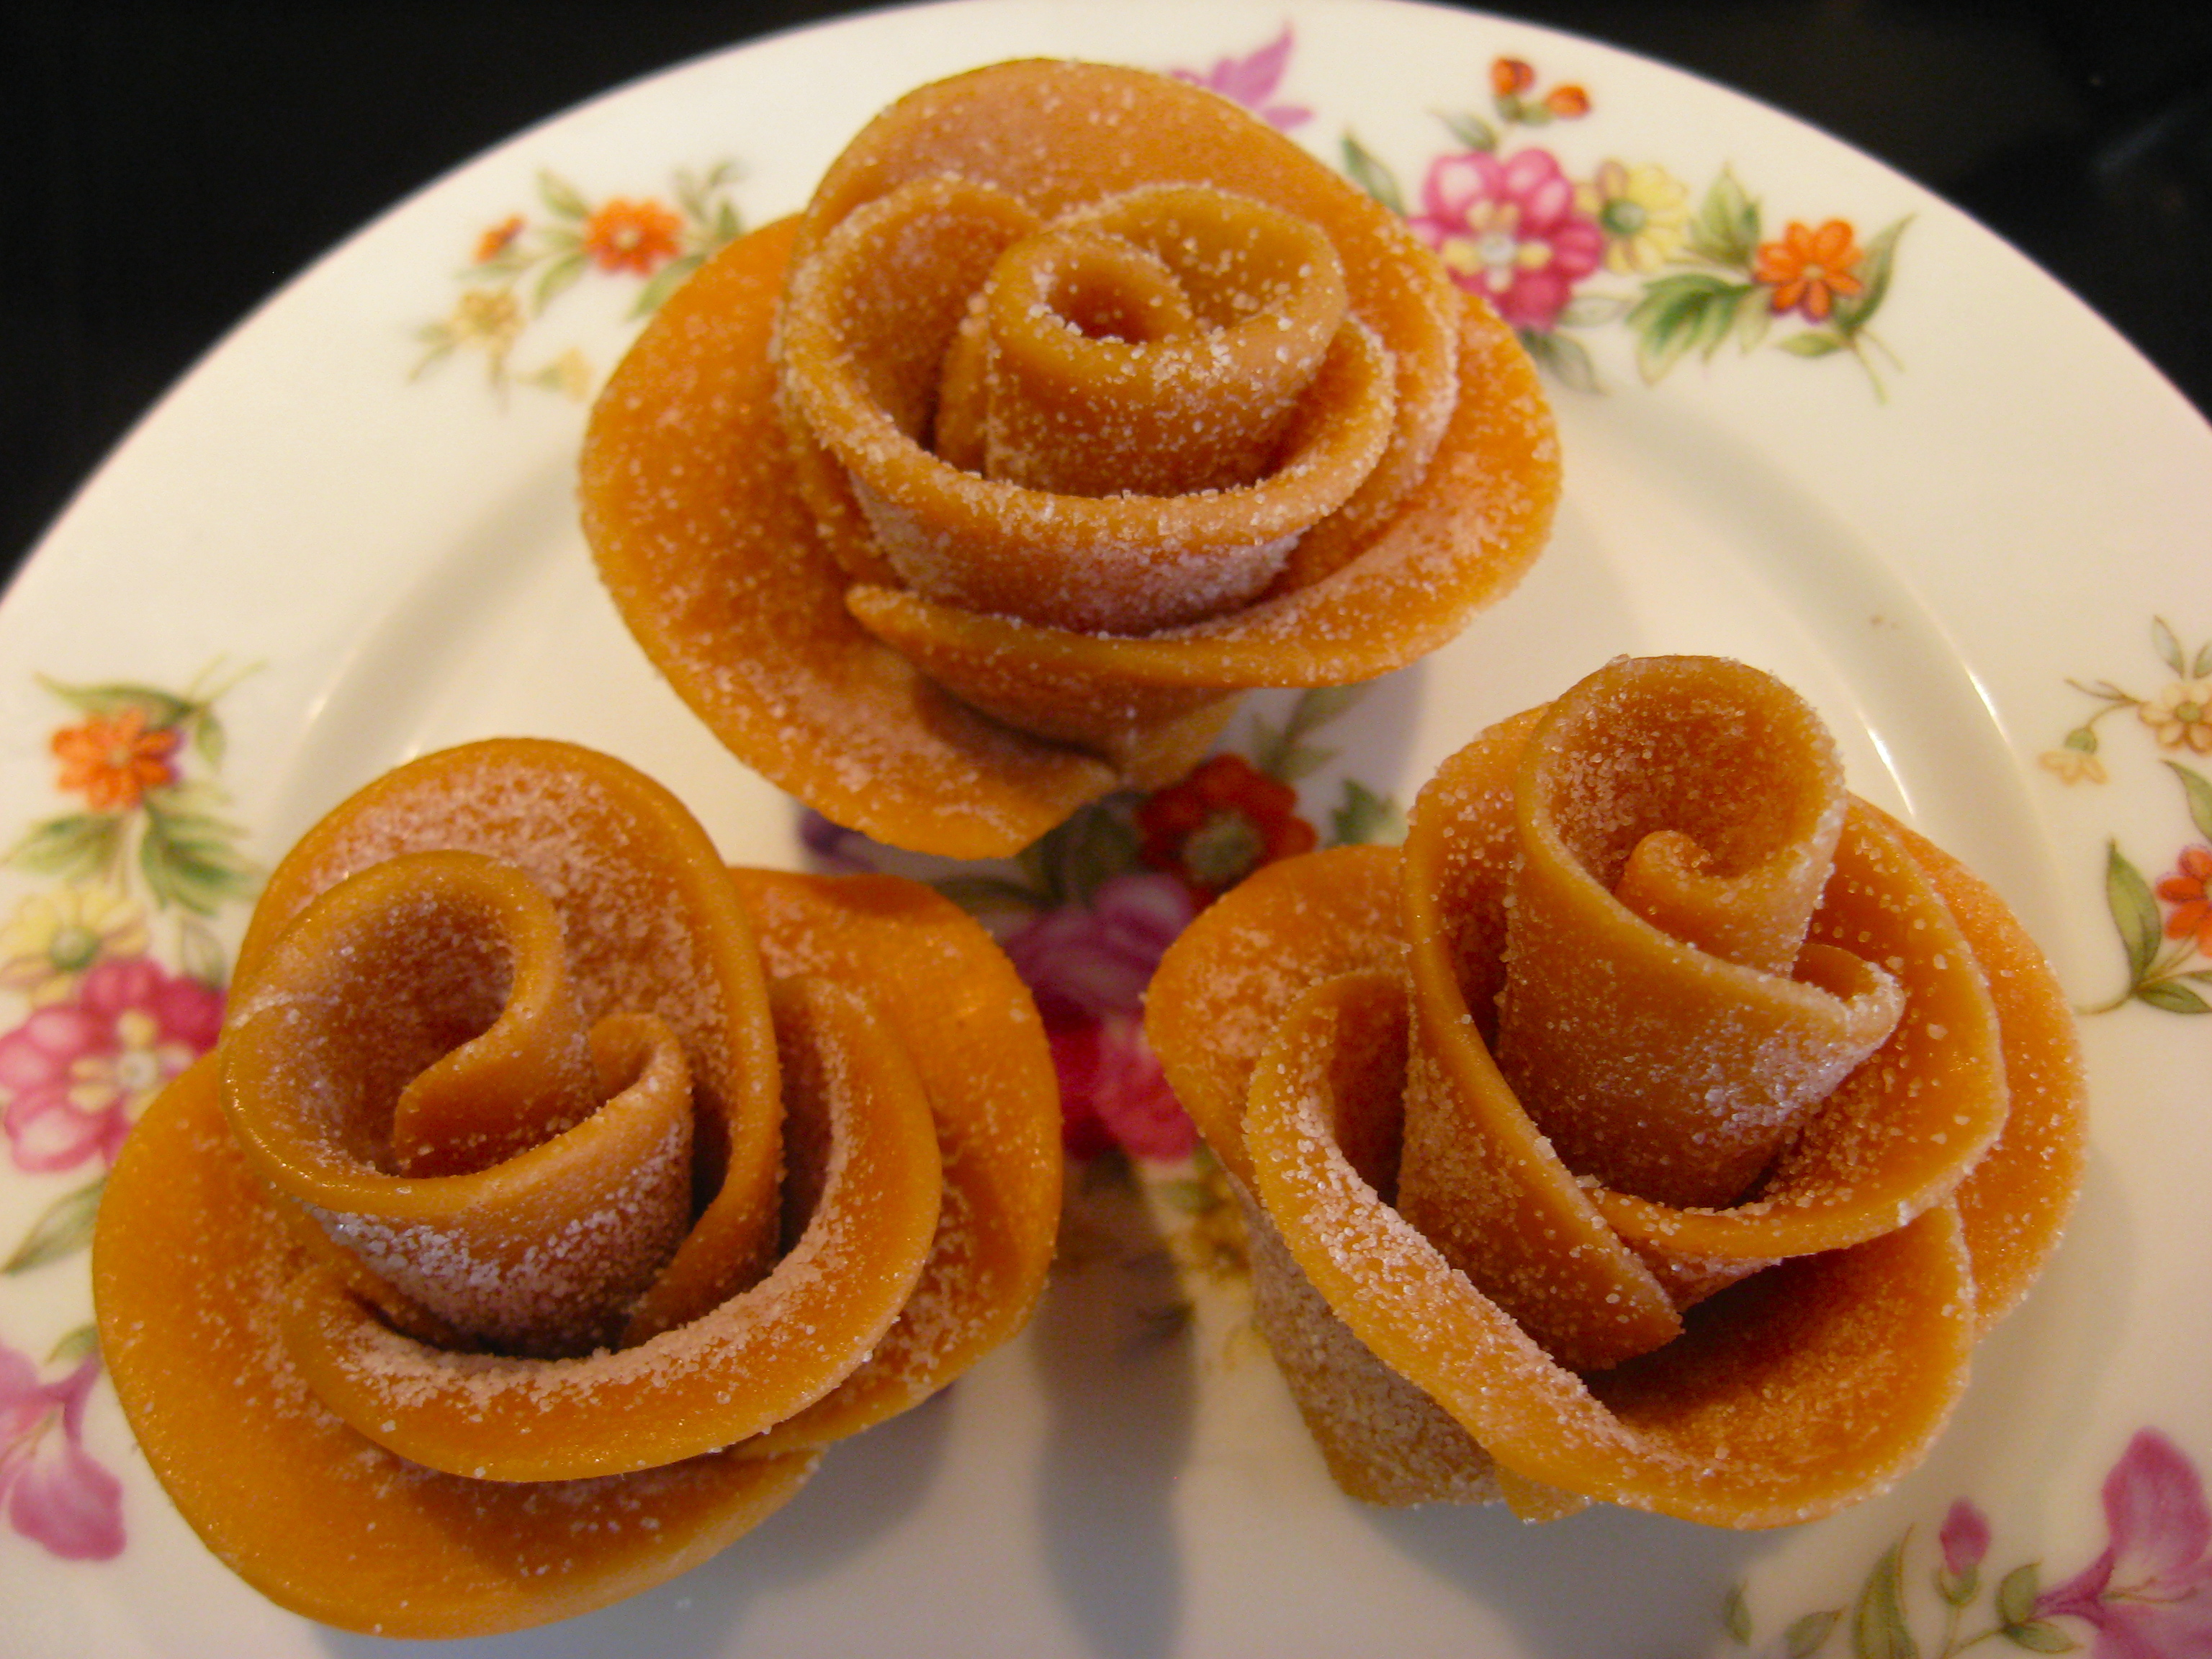
The caramel roses are just a garnish, so if you don’t have the time or the patience, the cake will still taste fabulous without them!
Caramel Roses:
I use the individually wrapped Kraft Caramels, the same kind I use to make Caramel Apples at Halloween.
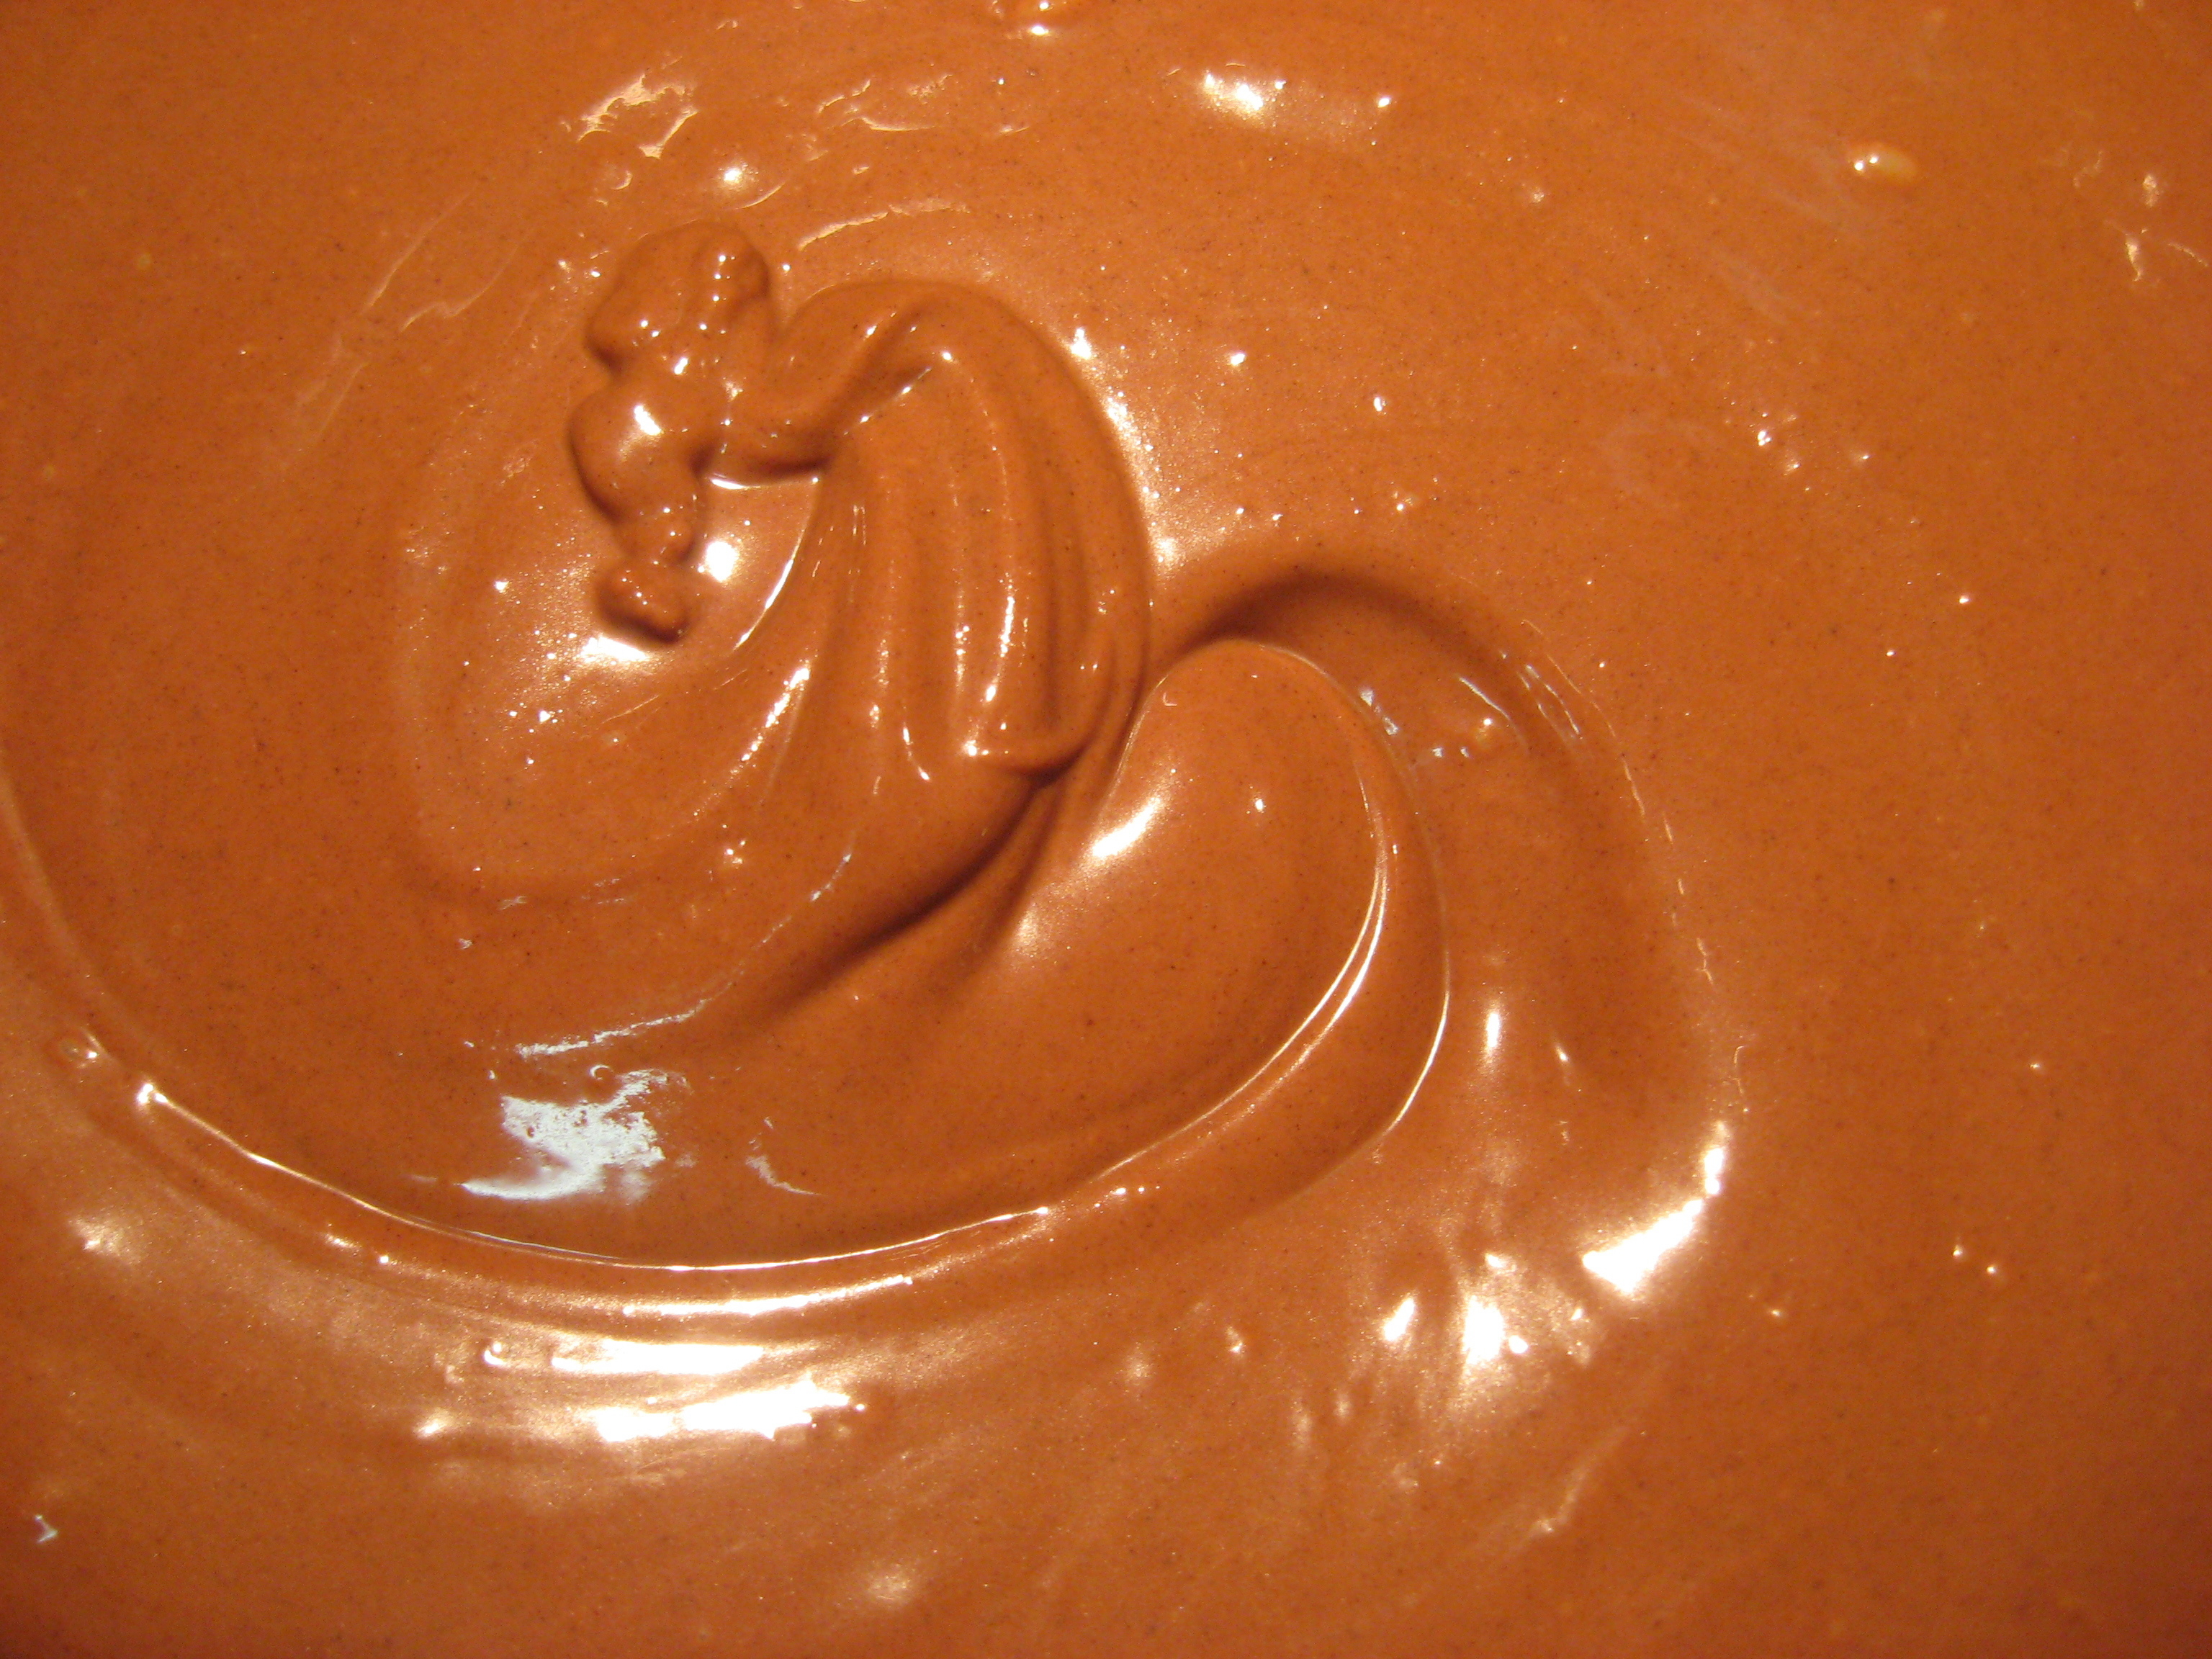
1) Unwrap one caramel and knead it between your fingers and palms until it gets soft. Roll the softened caramel into a small ball.
2) Coat the ball lightly in granulated sugar and use a rolling pin to shape it into a petal. Press the petal in the sugar and set aside. It usually takes 4-5 caramels to make enough petals to create a rose.
3) Jelly roll one petal into a spiral to create the center of your rose. Wrap the other petals around the center, pinching at the bottom to secure them. Adjust and open the petals as needed.
4) Use a knife to cut off the excess at the bottom and create a flat surface for placing the flowers on and/or around the cake.
5) Chill them before adding to the cake — and make sure to add them at the last minute or they will literally wilt!
Caramel Roses