January is almost over. Christmas is long gone, and I’m still packing away the remnants of the holiday. These things take longer when you’re almost 8 months pregnant, right? 😉 As I box up my decorations and massive amounts of … Continue reading

January is almost over. Christmas is long gone, and I’m still packing away the remnants of the holiday. These things take longer when you’re almost 8 months pregnant, right? 😉 As I box up my decorations and massive amounts of … Continue reading
This is another idea I saw on Pinterest. Oh, my sweet, sweet addiction to that website!
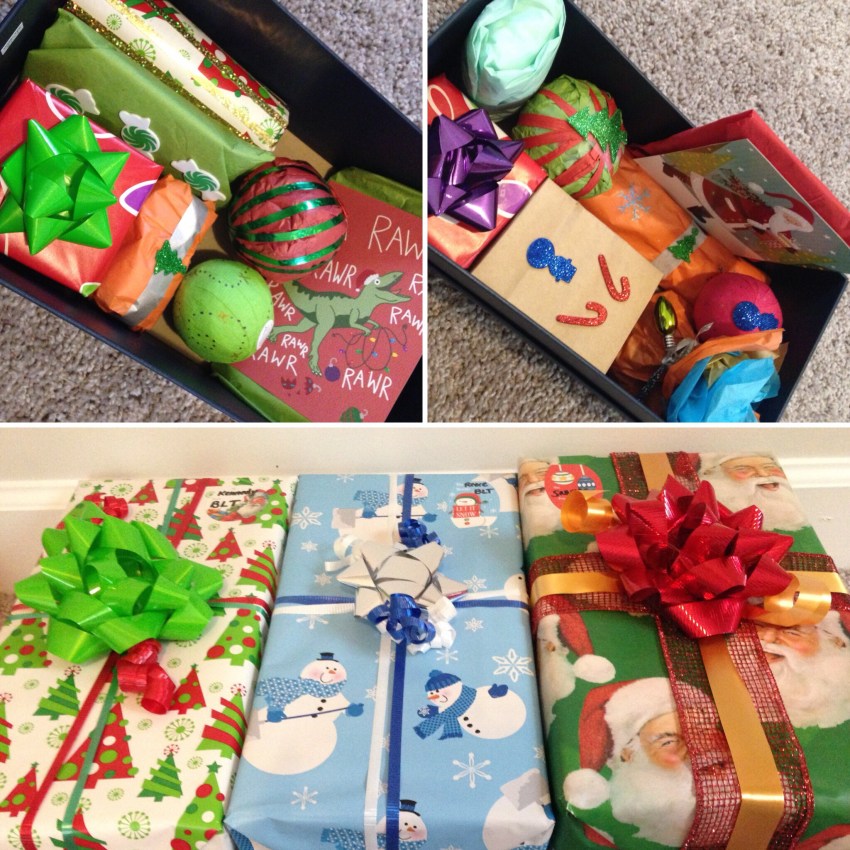
Anyway, I just happen to have two beautiful dusty blue vintage suitcases sitting around my house. Why? We used them in our wedding to hold our guest favors. See?

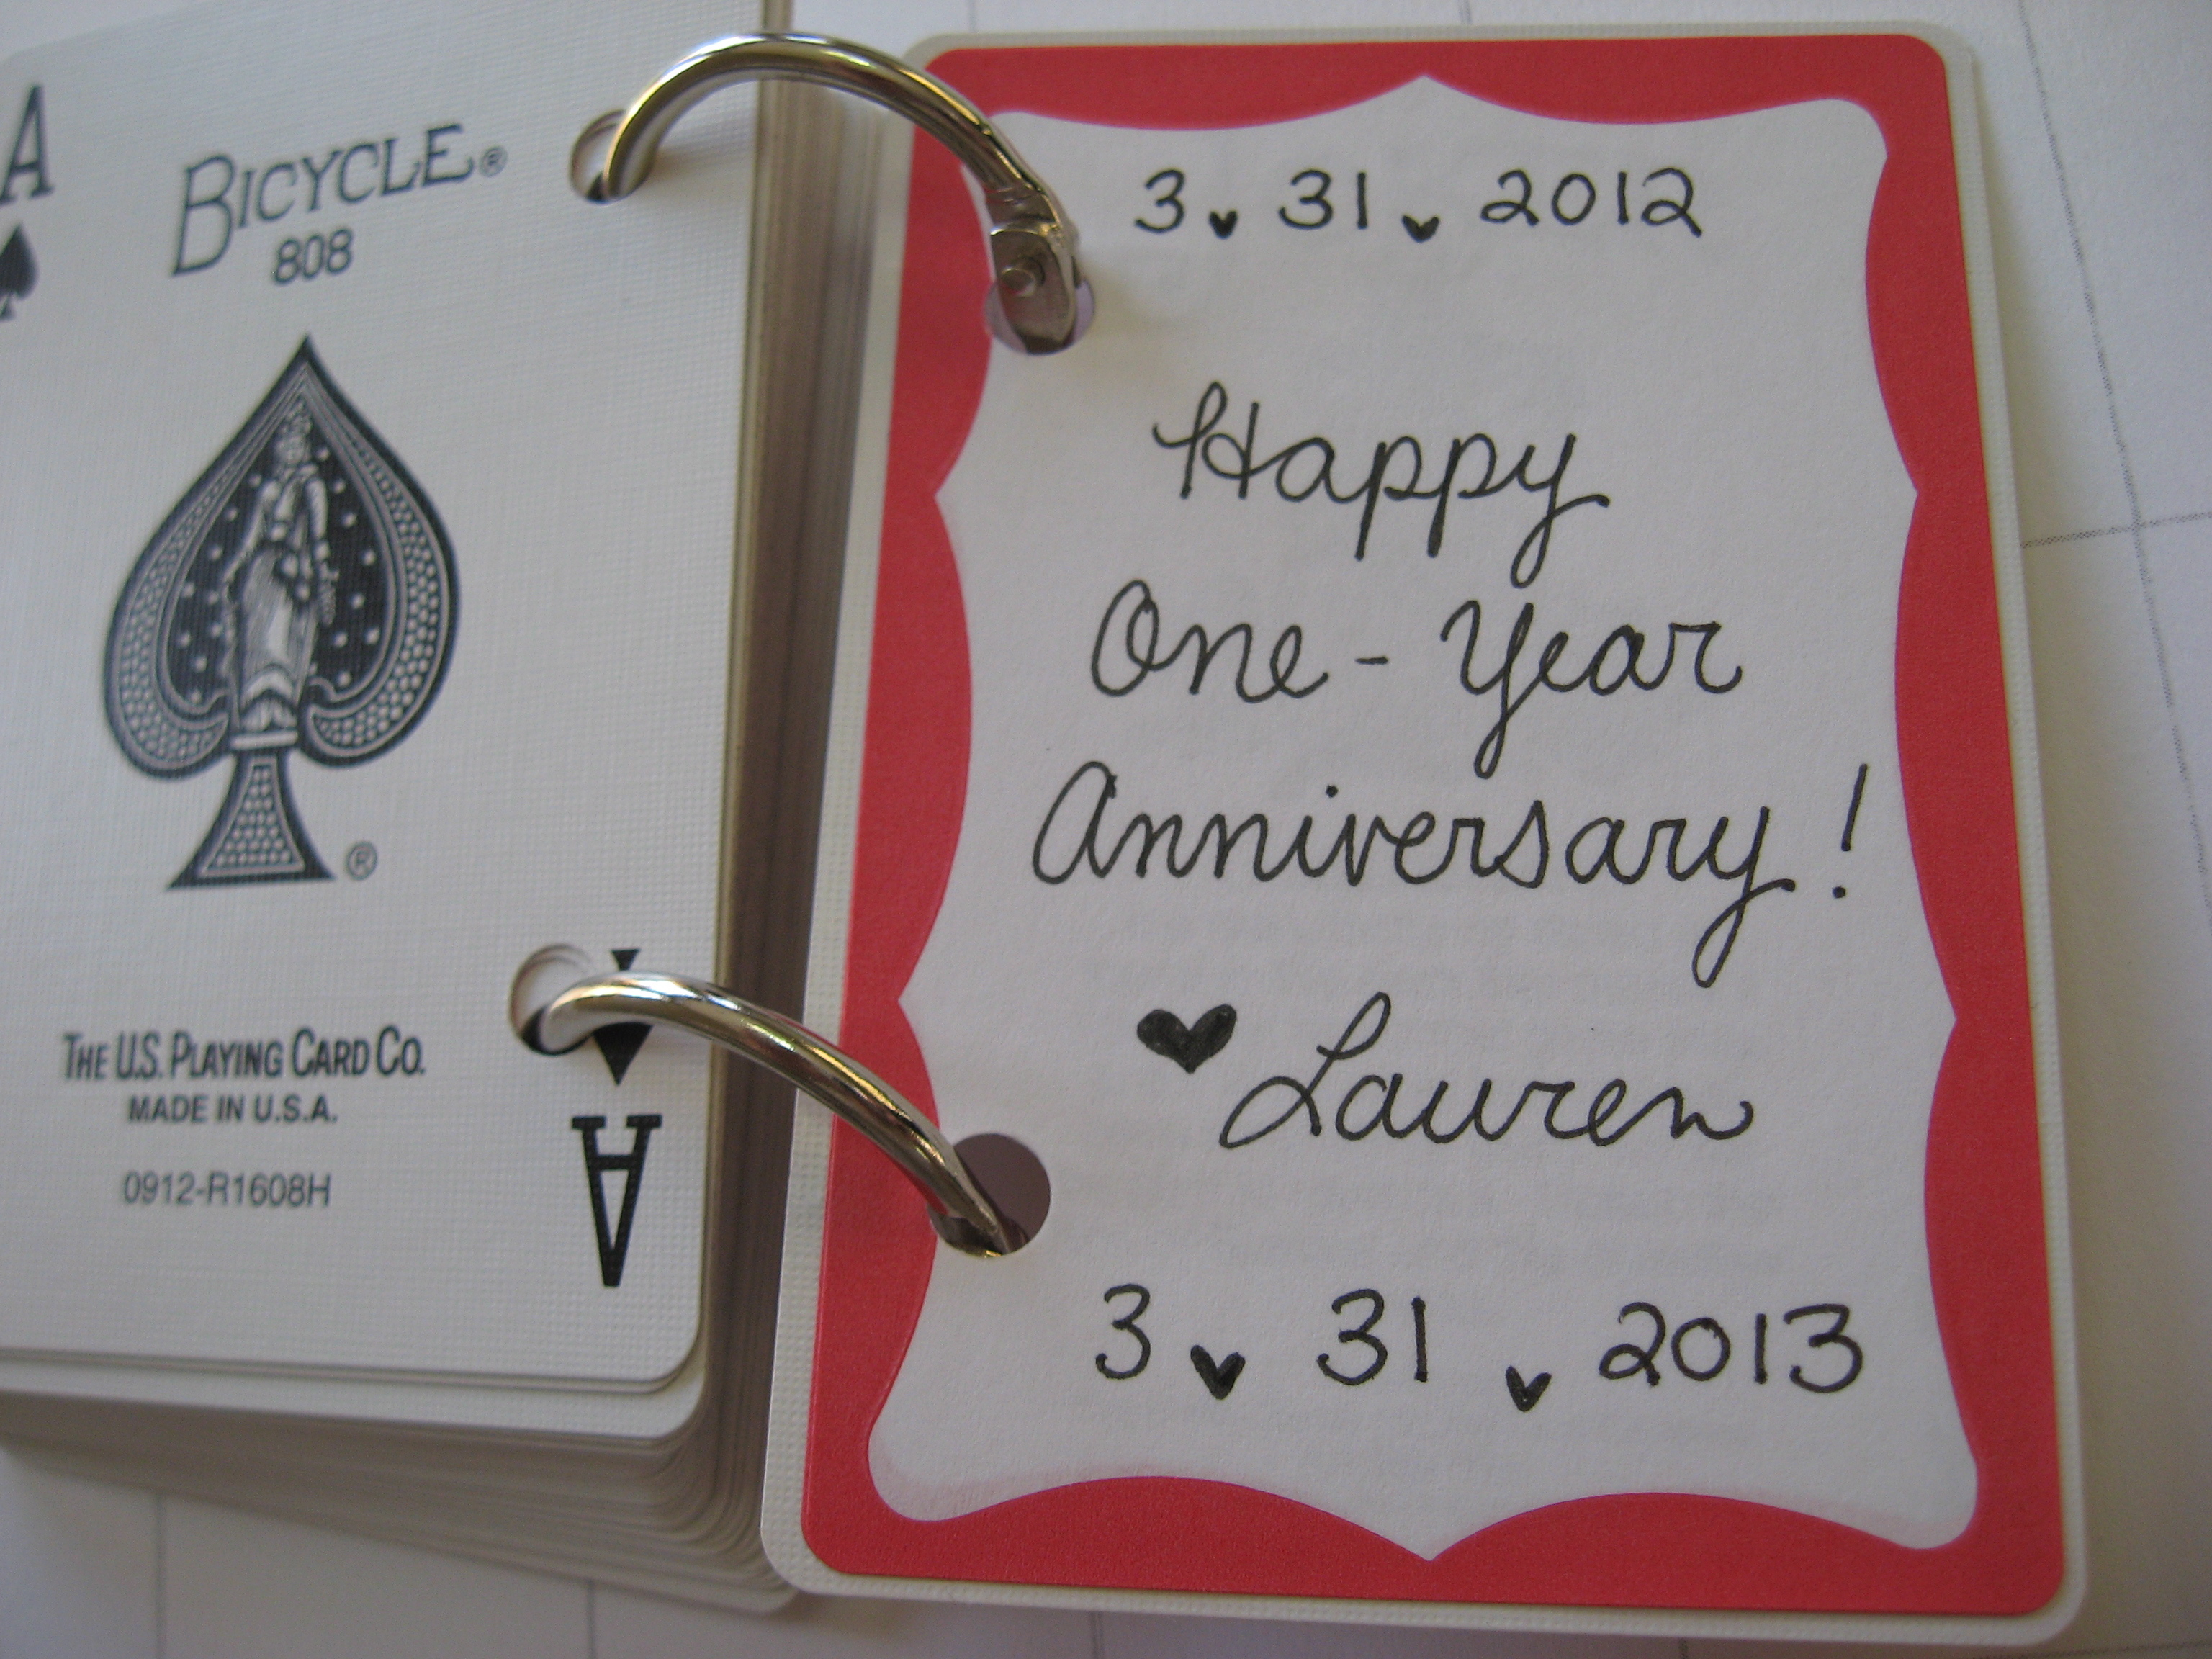
March 31, 2012
I snatched up these cuties the moment I spotted them in Ole Towne Antique Mall, but they have pretty much been sitting in a closet since the wedding. It’s a matching set with a large suitcase and a smaller one that fits inside.
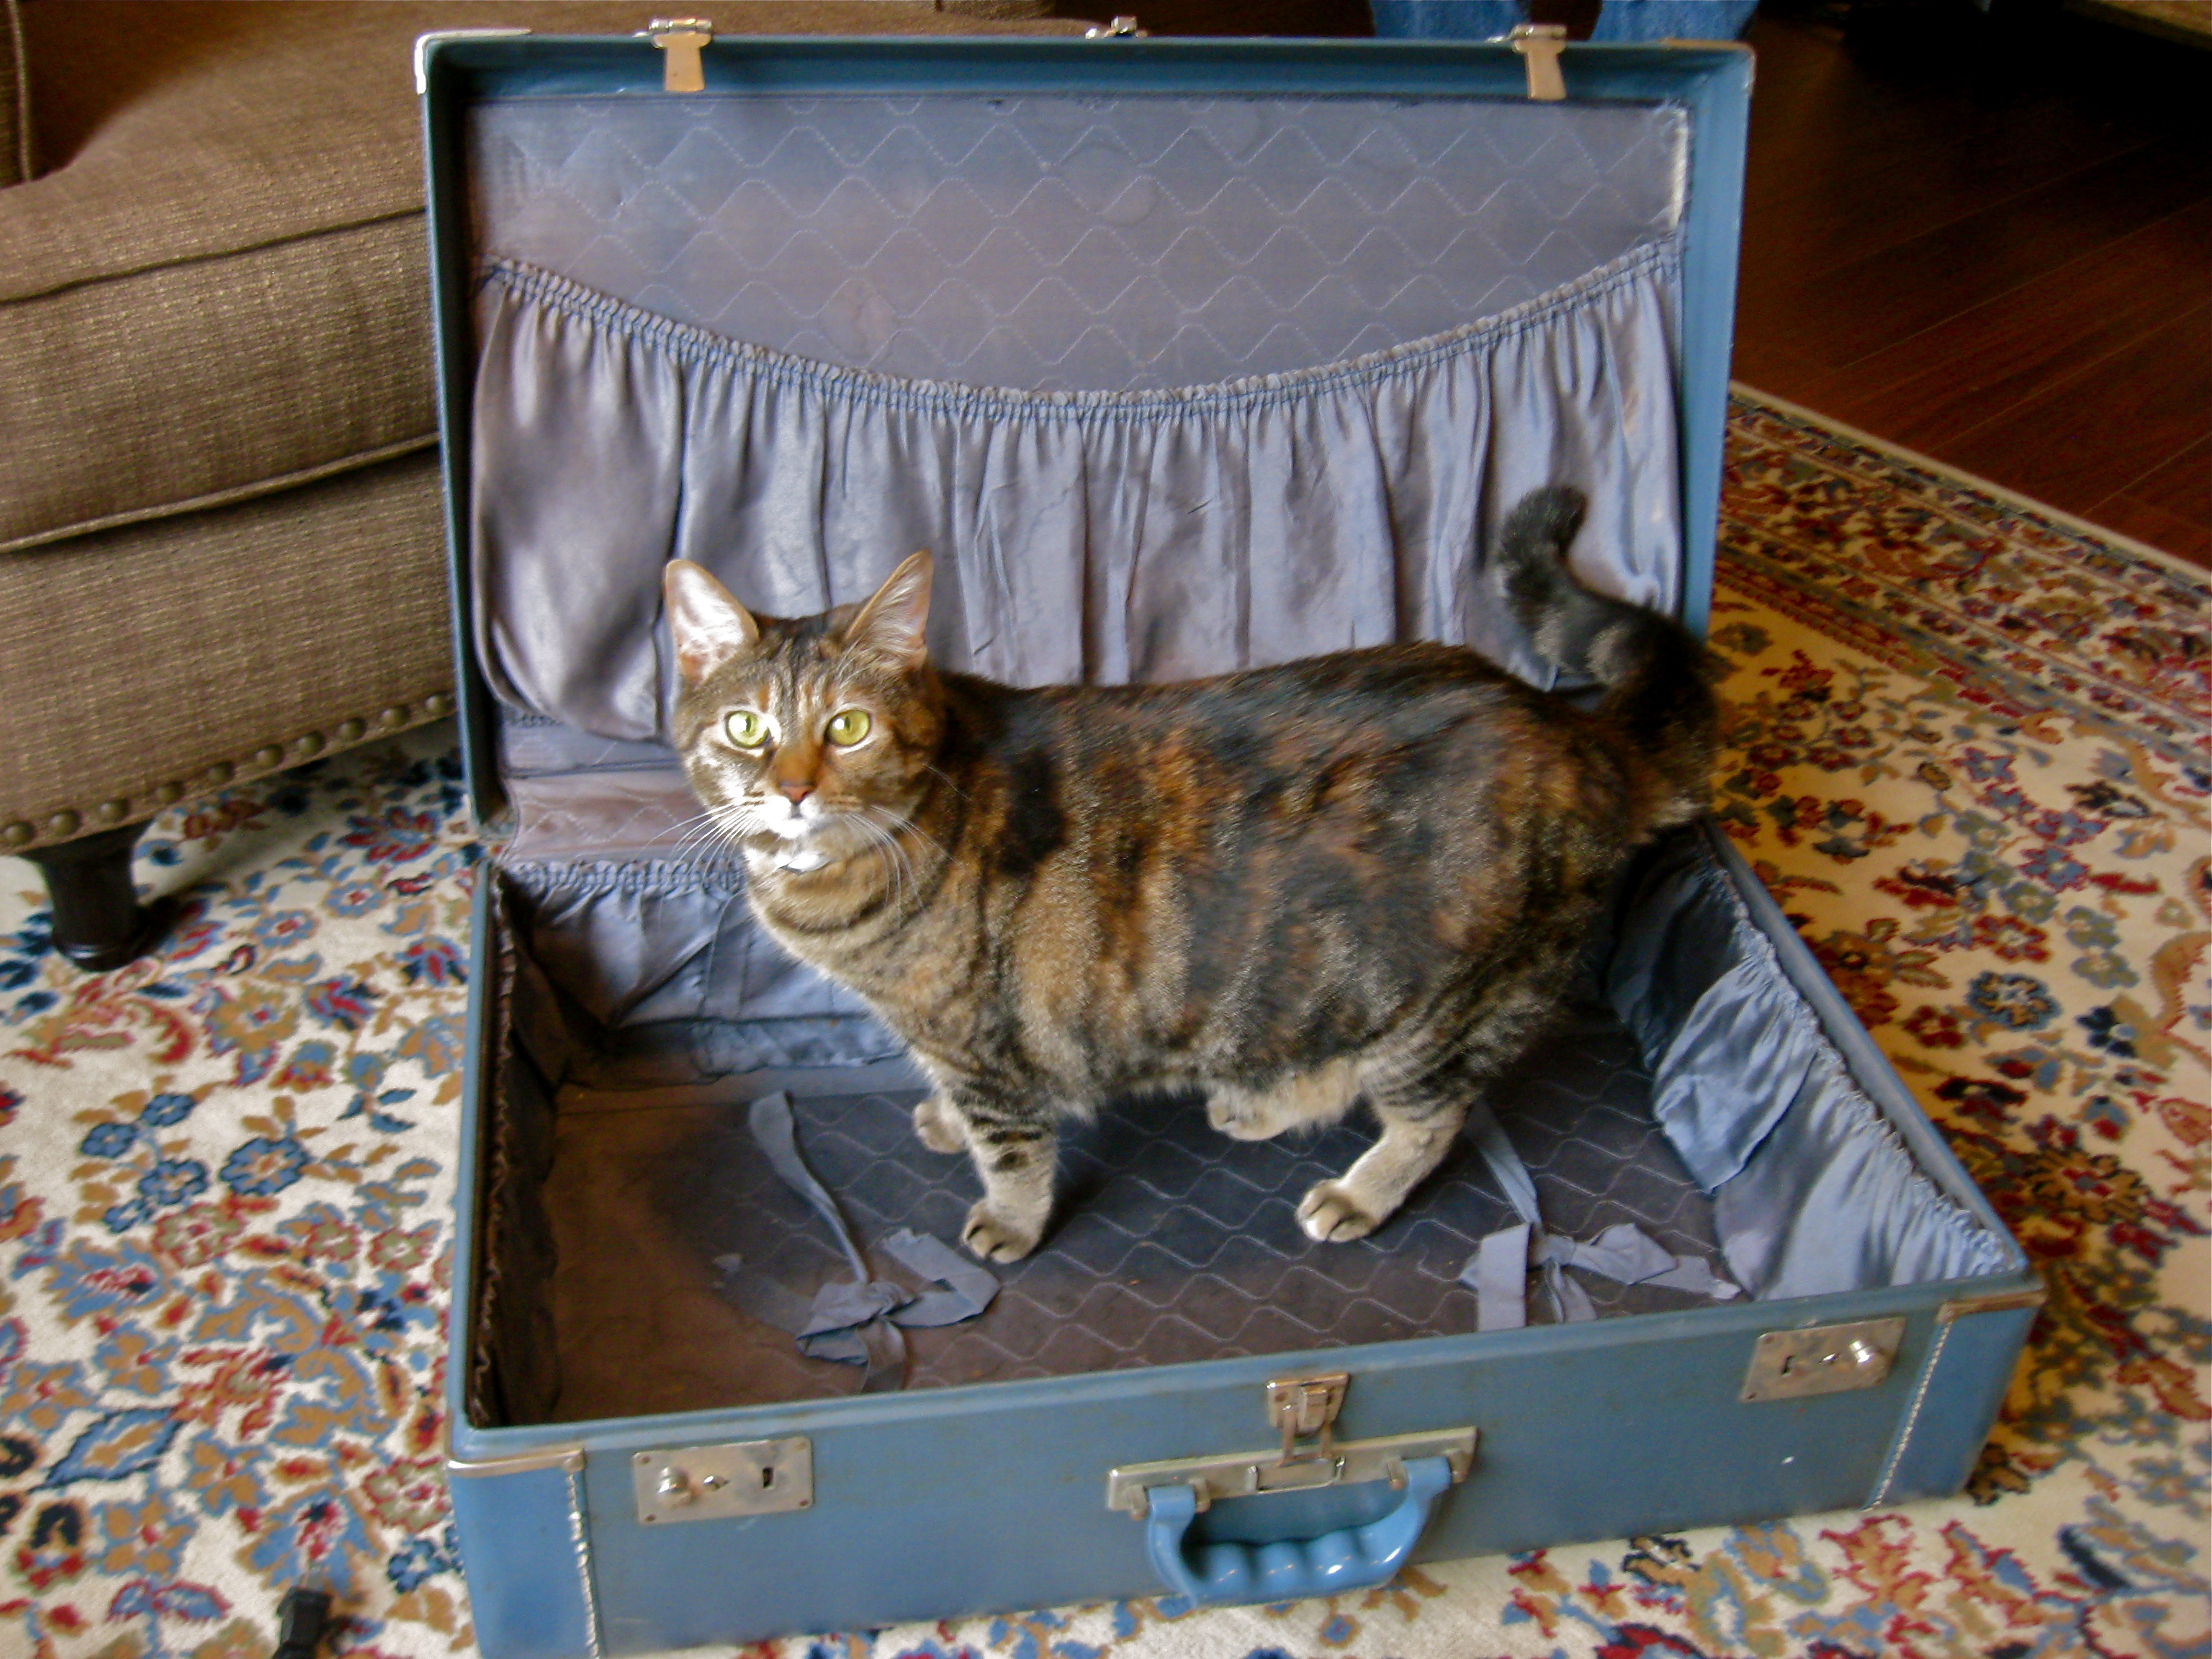
Miss Penny modeling the larger suitcase!
When I saw this pin and read the full post, I just knew it was the perfect solution for my suitcases! I love them, and they have special meaning for the part they played in our special day, and now I have a way to incorporate them into our new home. Nifty!
Checklist on this project:
We already had the suitcases and drill, so we headed out to Lowe’s for my other supplies. Let me tell you, table legs are expensive. We needed four 16-inch legs and four 24-inch legs, and at $10 to $15 each, we were looking at $100 just for the darn legs!
Thank the stars I grew up with the handiest woman on the planet: my mother, Margie. I sat there in that lumber aisle thinking, “What would Margie do?” She would find a way to do it cheaper. Behold, my crafty alternative: $3 for a 48-inch dowel rod and $2.50 a piece for adorable, carved feet.
We had one dowel rod cut into four 12-inch pieces. By the way, they will do measuring and cutting for free at Lowe’s on wood you purchase in the store. Add on the carved 4-inch feet, and we had 16-inch table legs for about $3.50 a piece! For the taller legs, we bought two dowel rods and had them each cut into three pieces: 20 inches, 20 inches, and 8 inches. We ended up with four 20-inch rods and two 8-inch rods. I’m sure I’ll find a use for the leftovers someday!
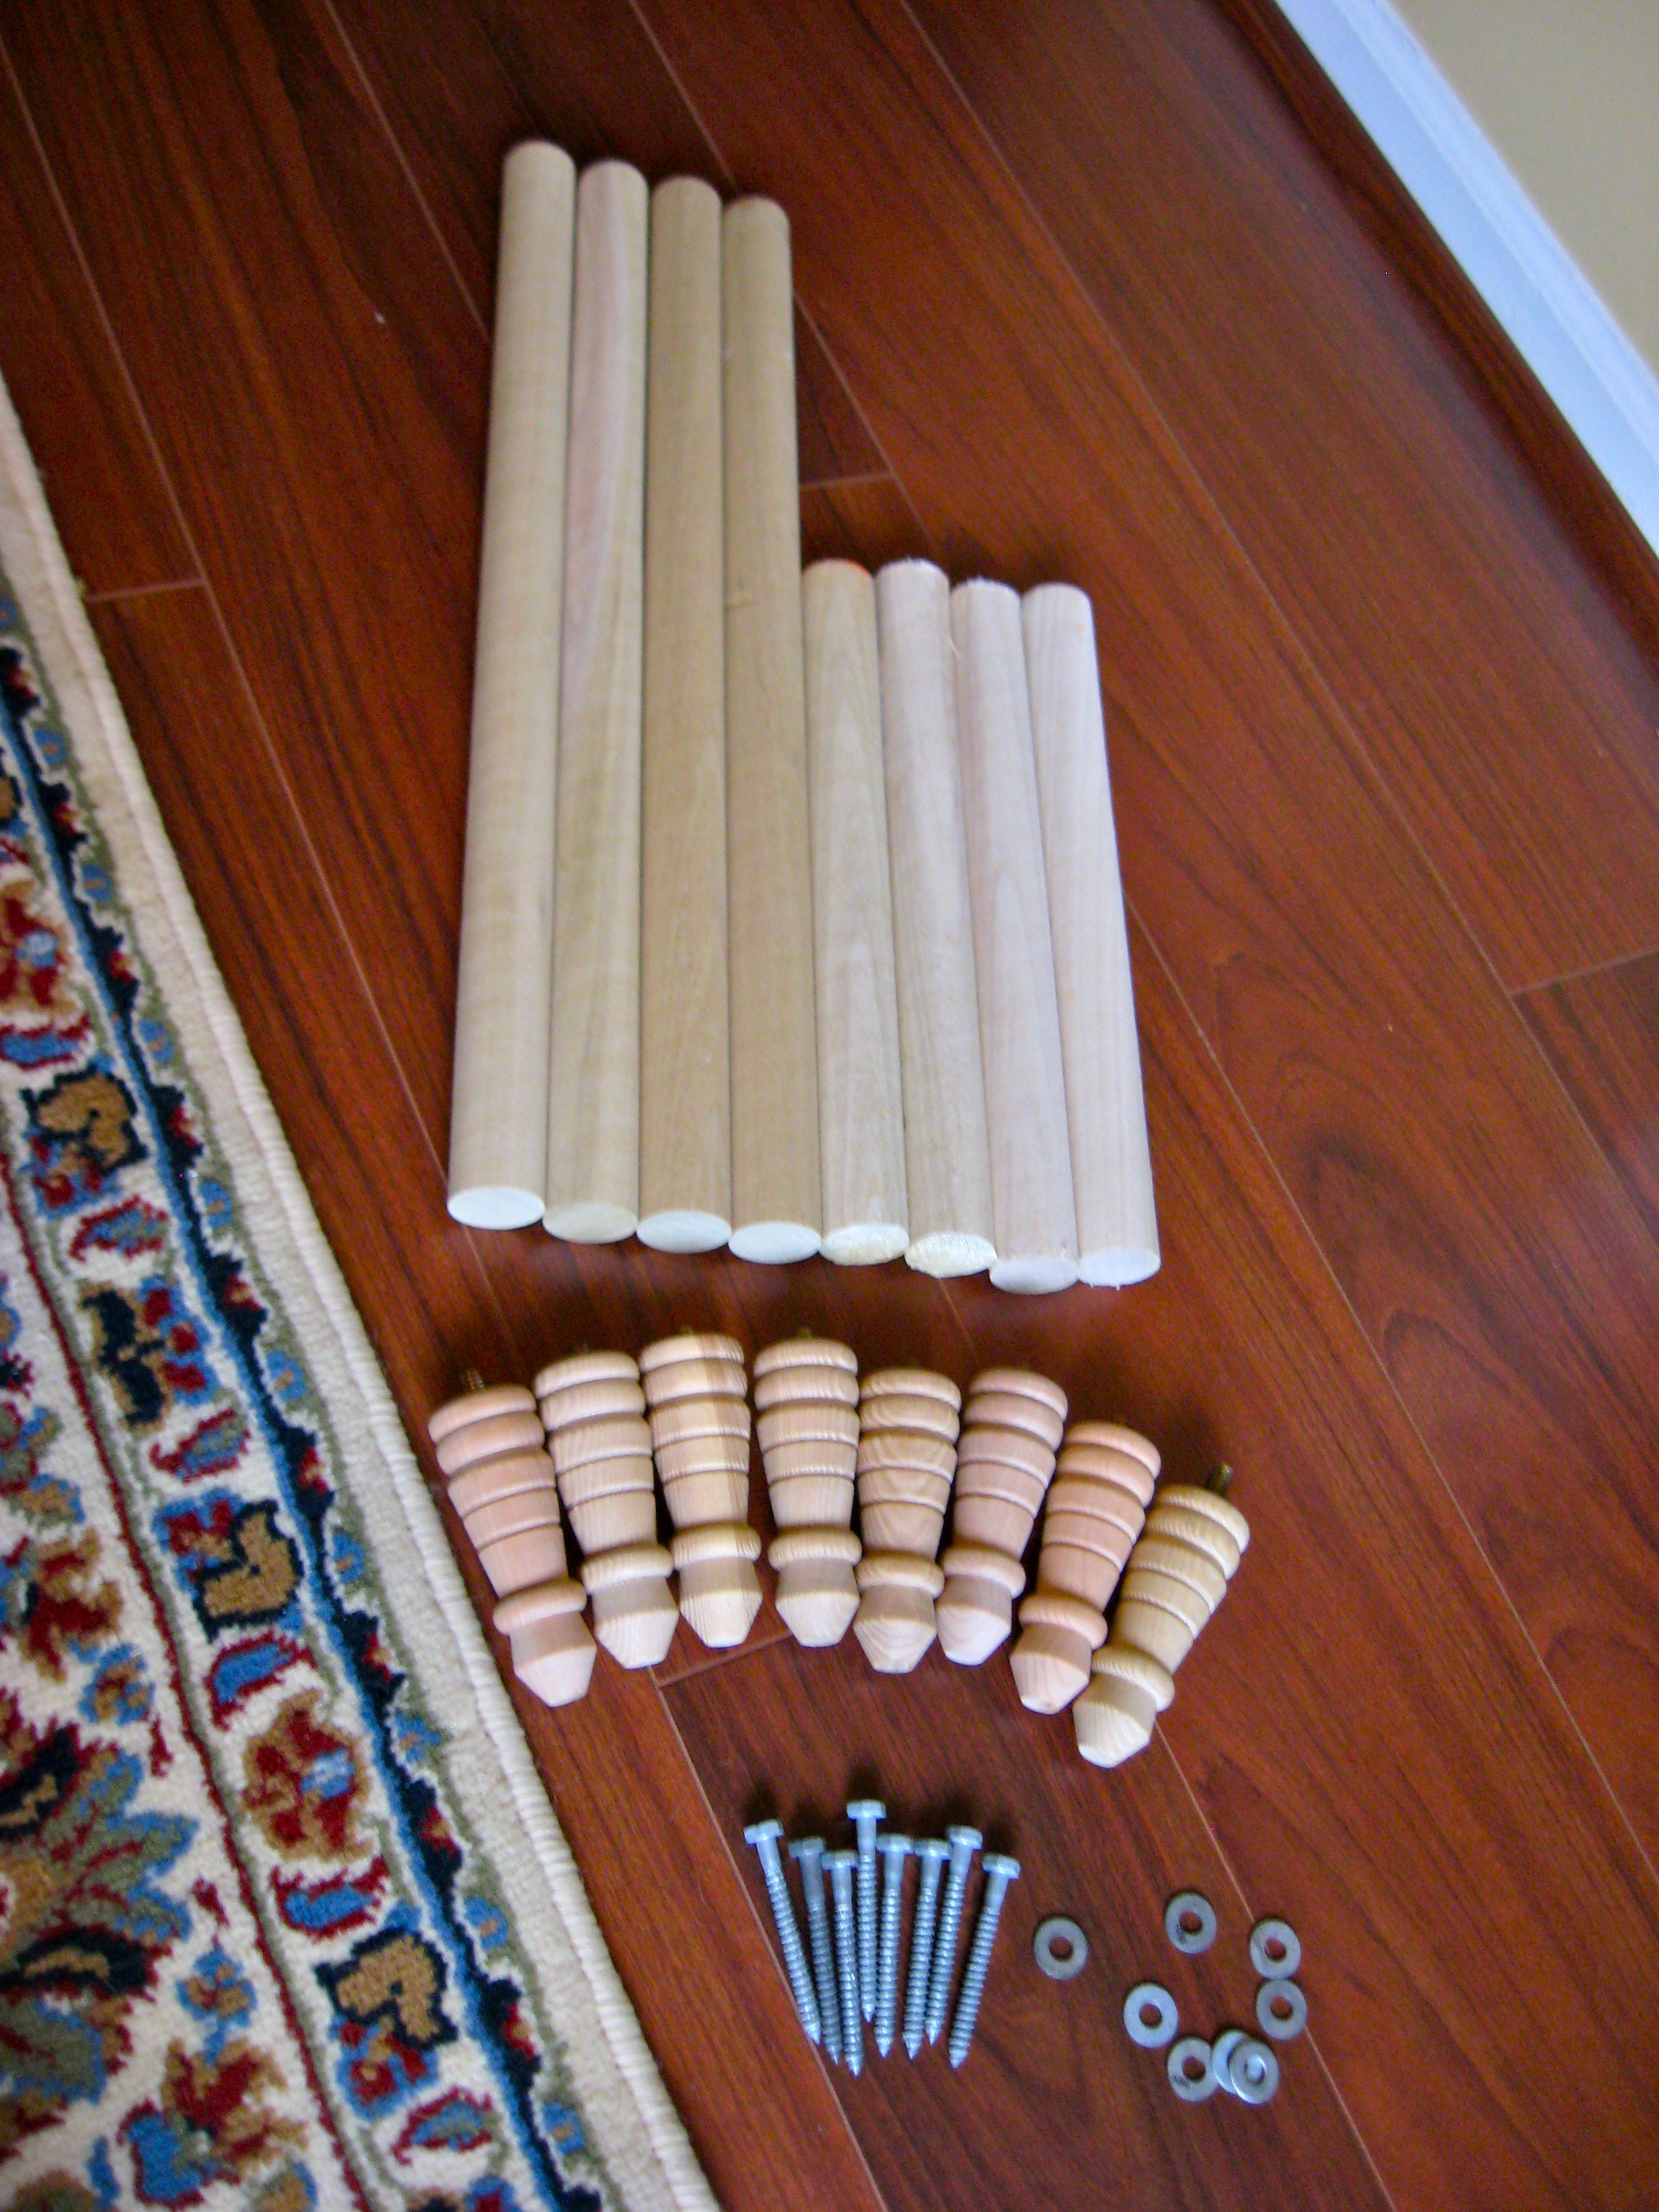
Supplies
After we screwed the feet into the dowel rods and sanded things down, I spray painted them black. Remember, don’t try to get it all done in one coat. The paint will look much better if you build up the layers in multiple coats.
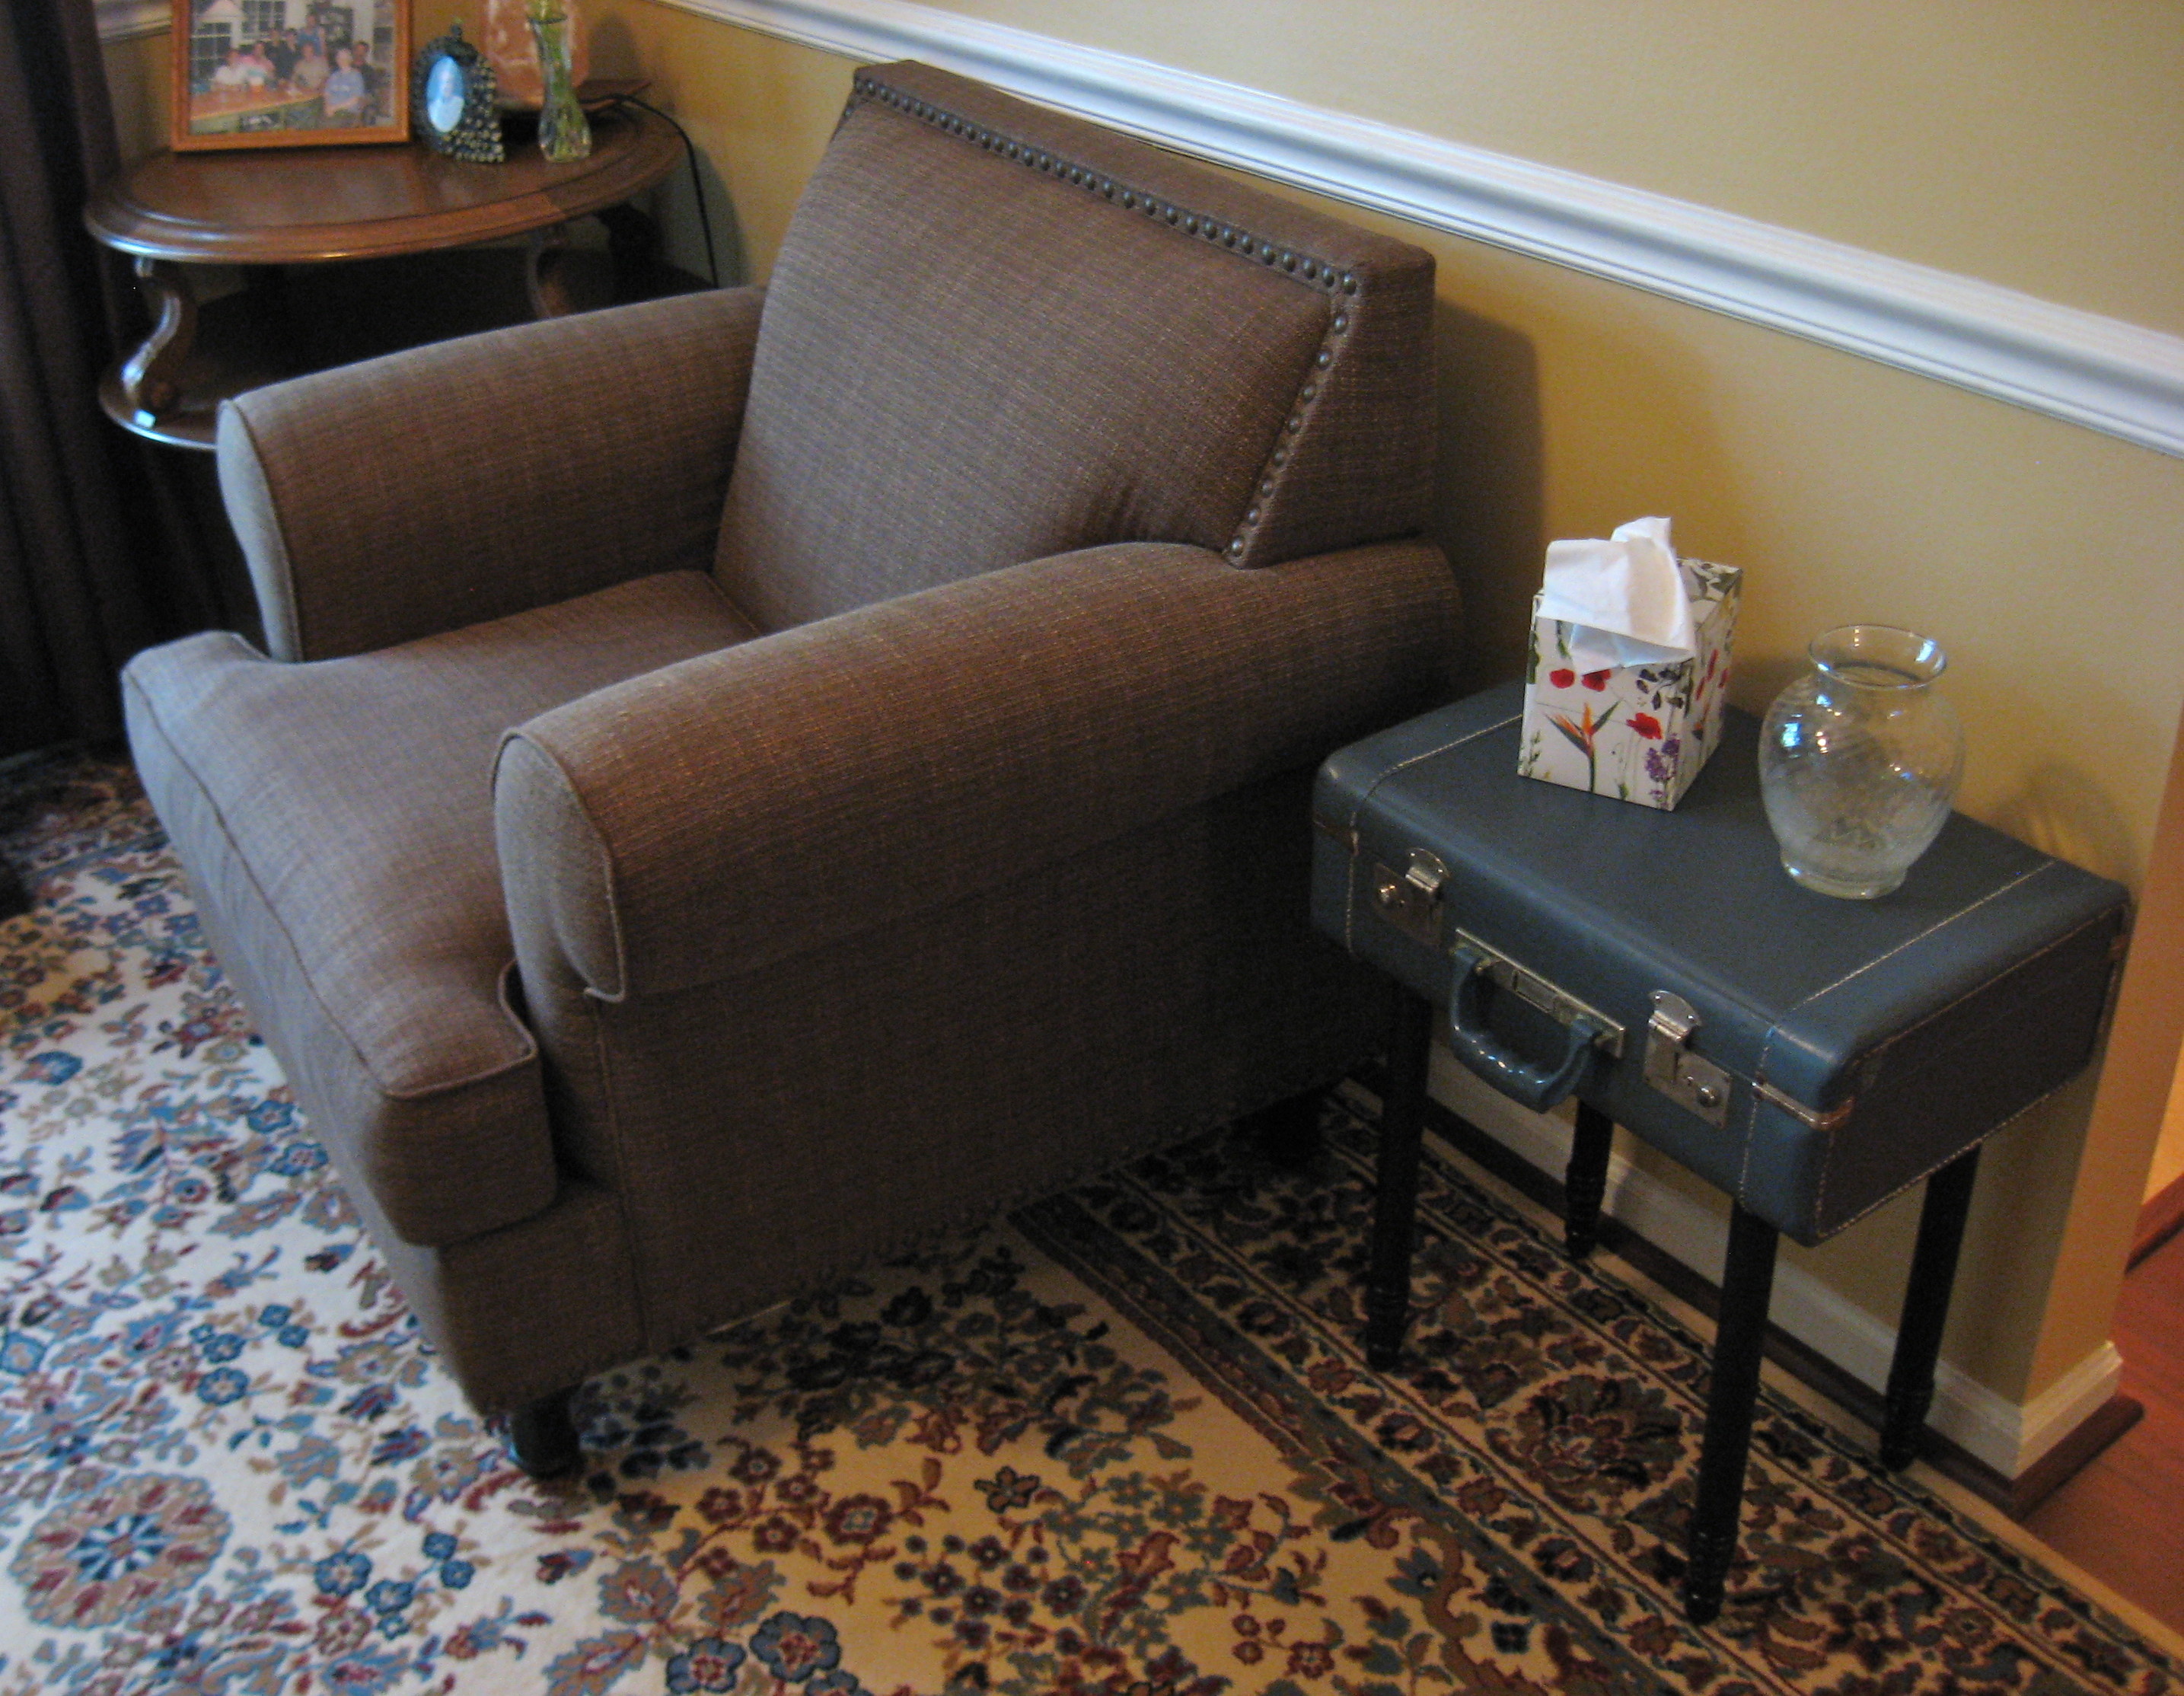
All in all, we spent about $35 in supplies (wood, sandpaper, spray paint, screws, and washers). We drilled holes into the bottom of the suitcases and also into the top of the table legs. Then, we secured them together with a screw and a washer. Voila!

They could be stacking tables!
I love my new suitcase side tables, and it was a fun project to do with the hubs. How great that we could re-purpose these sentimental items into something useful for our home — and only two weeks late for our anniversary! 🙂
I need better table toppers!
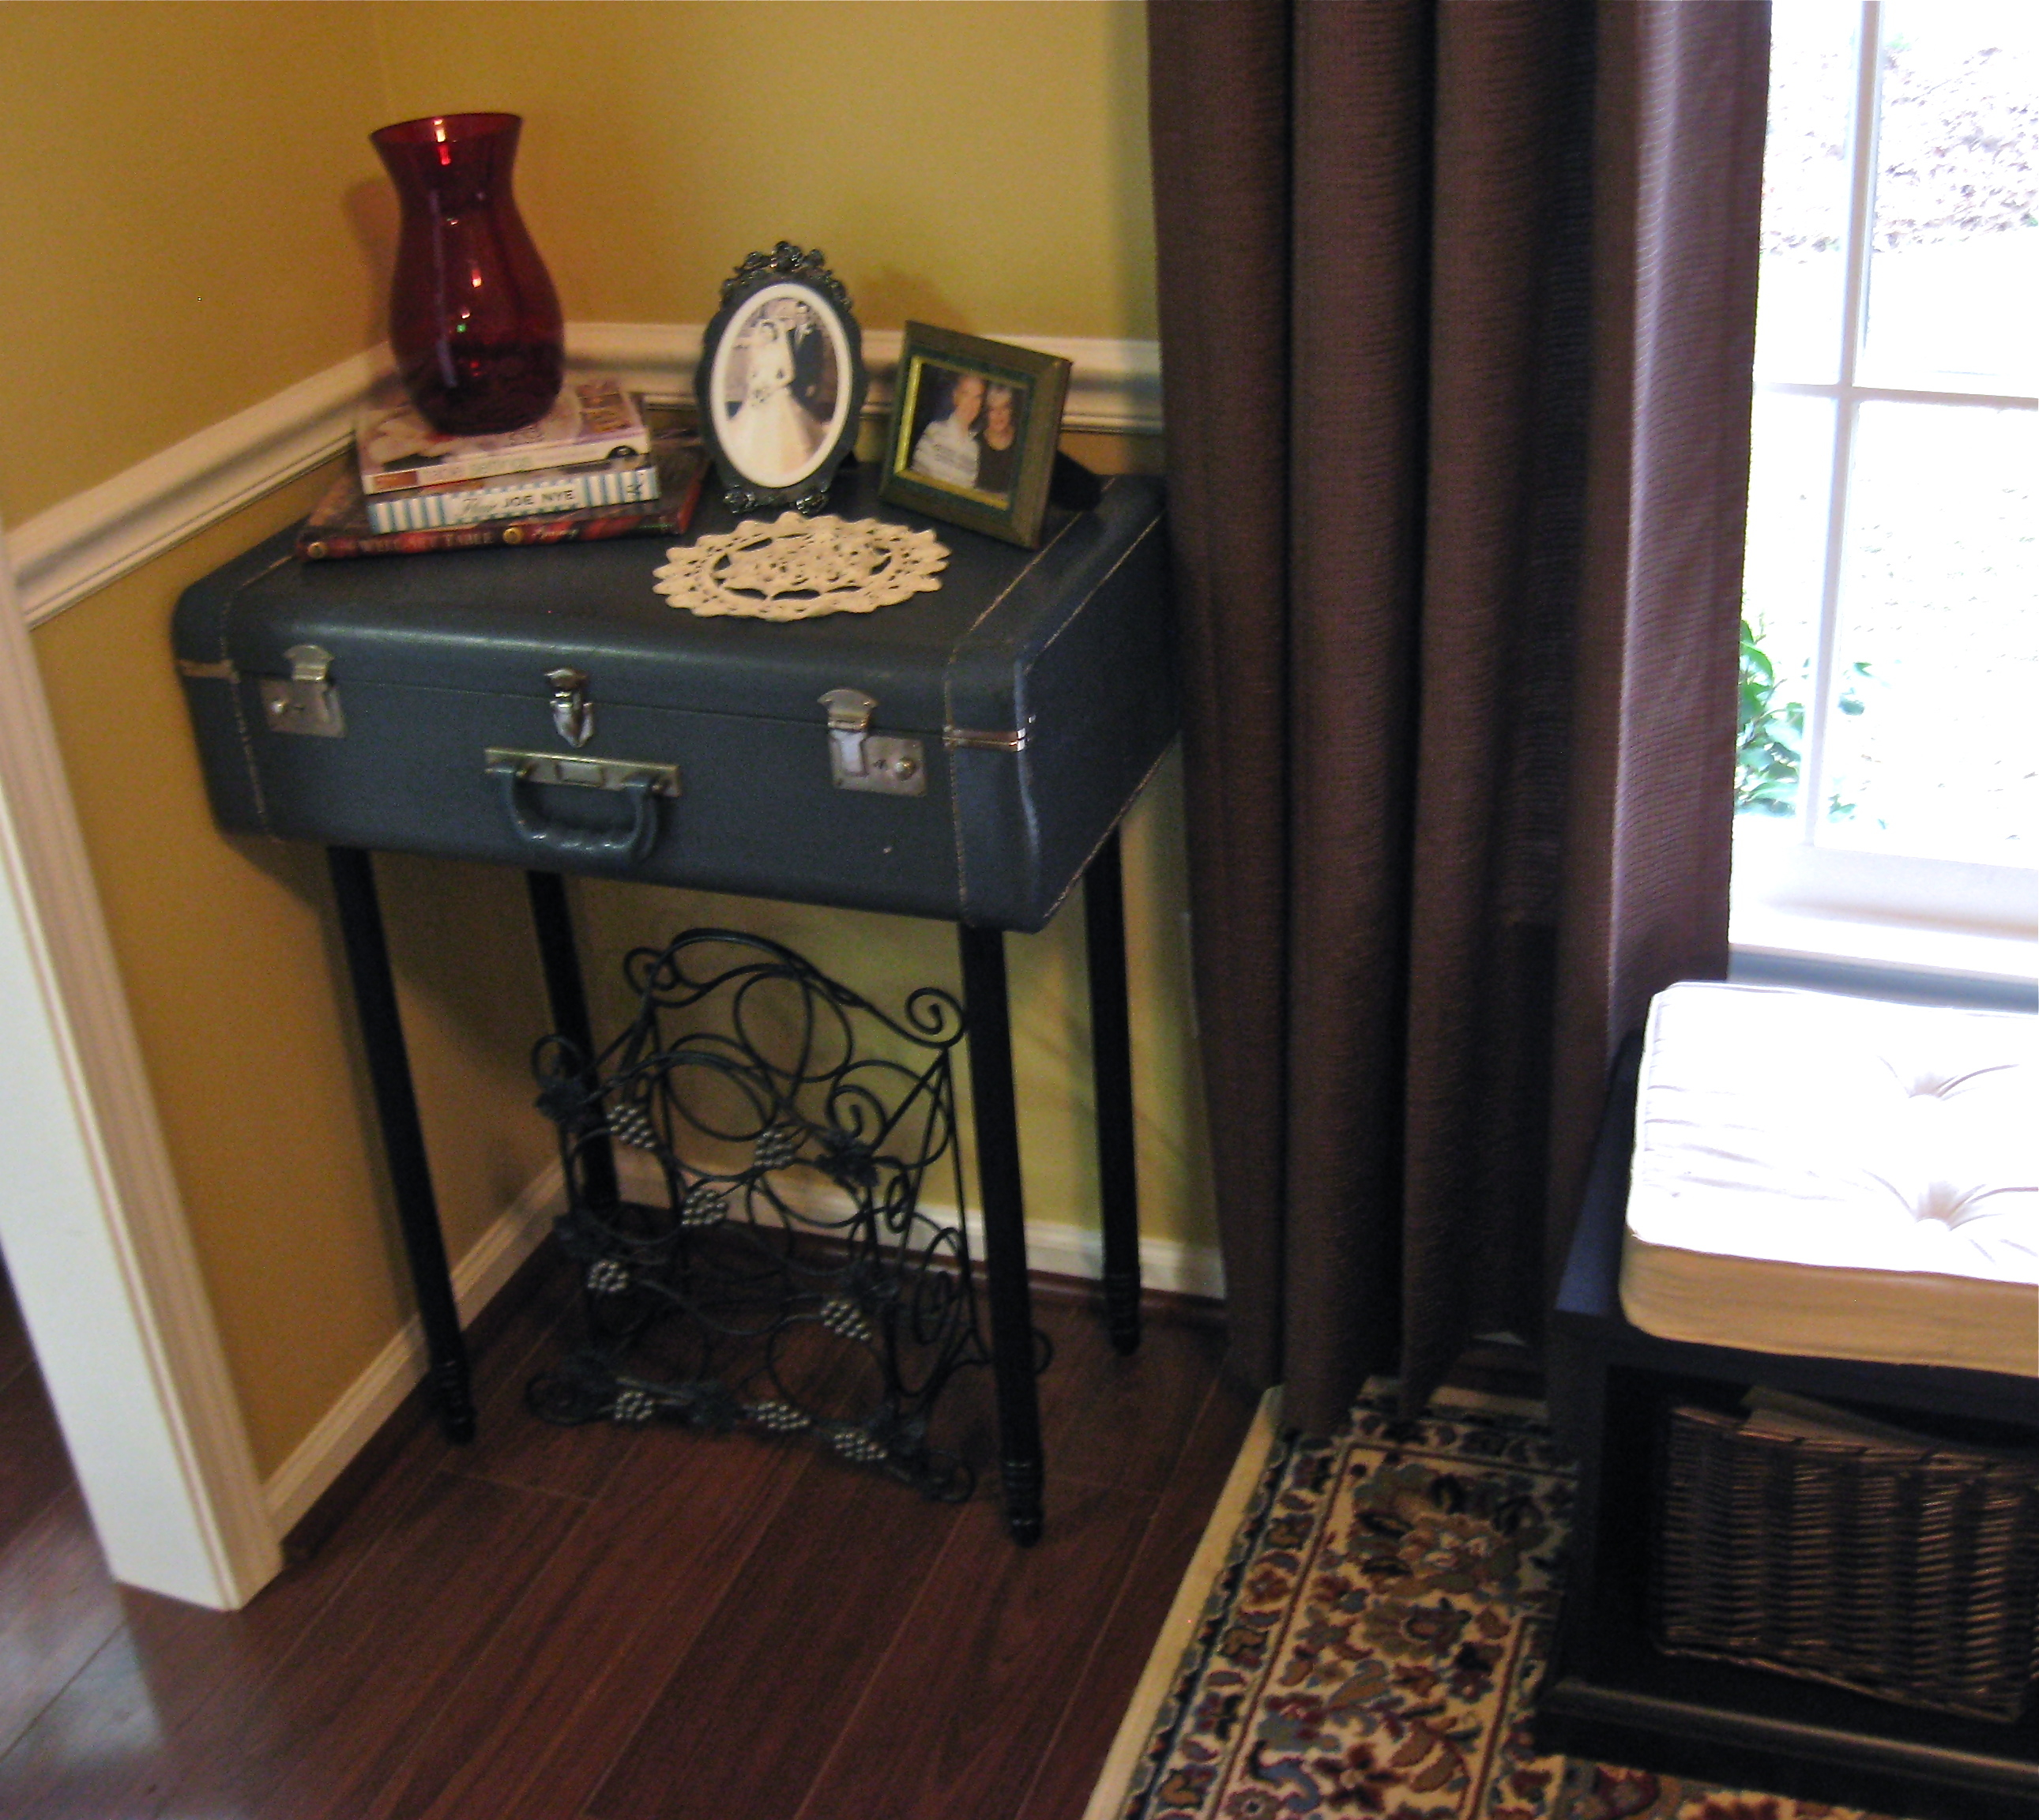
Suitcase side table!
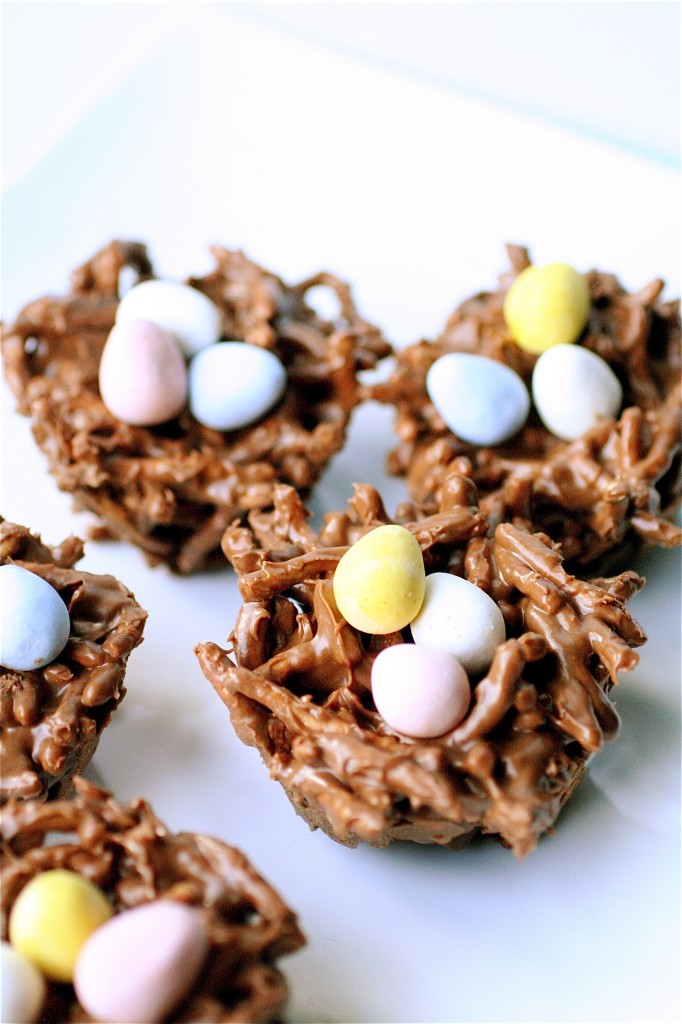
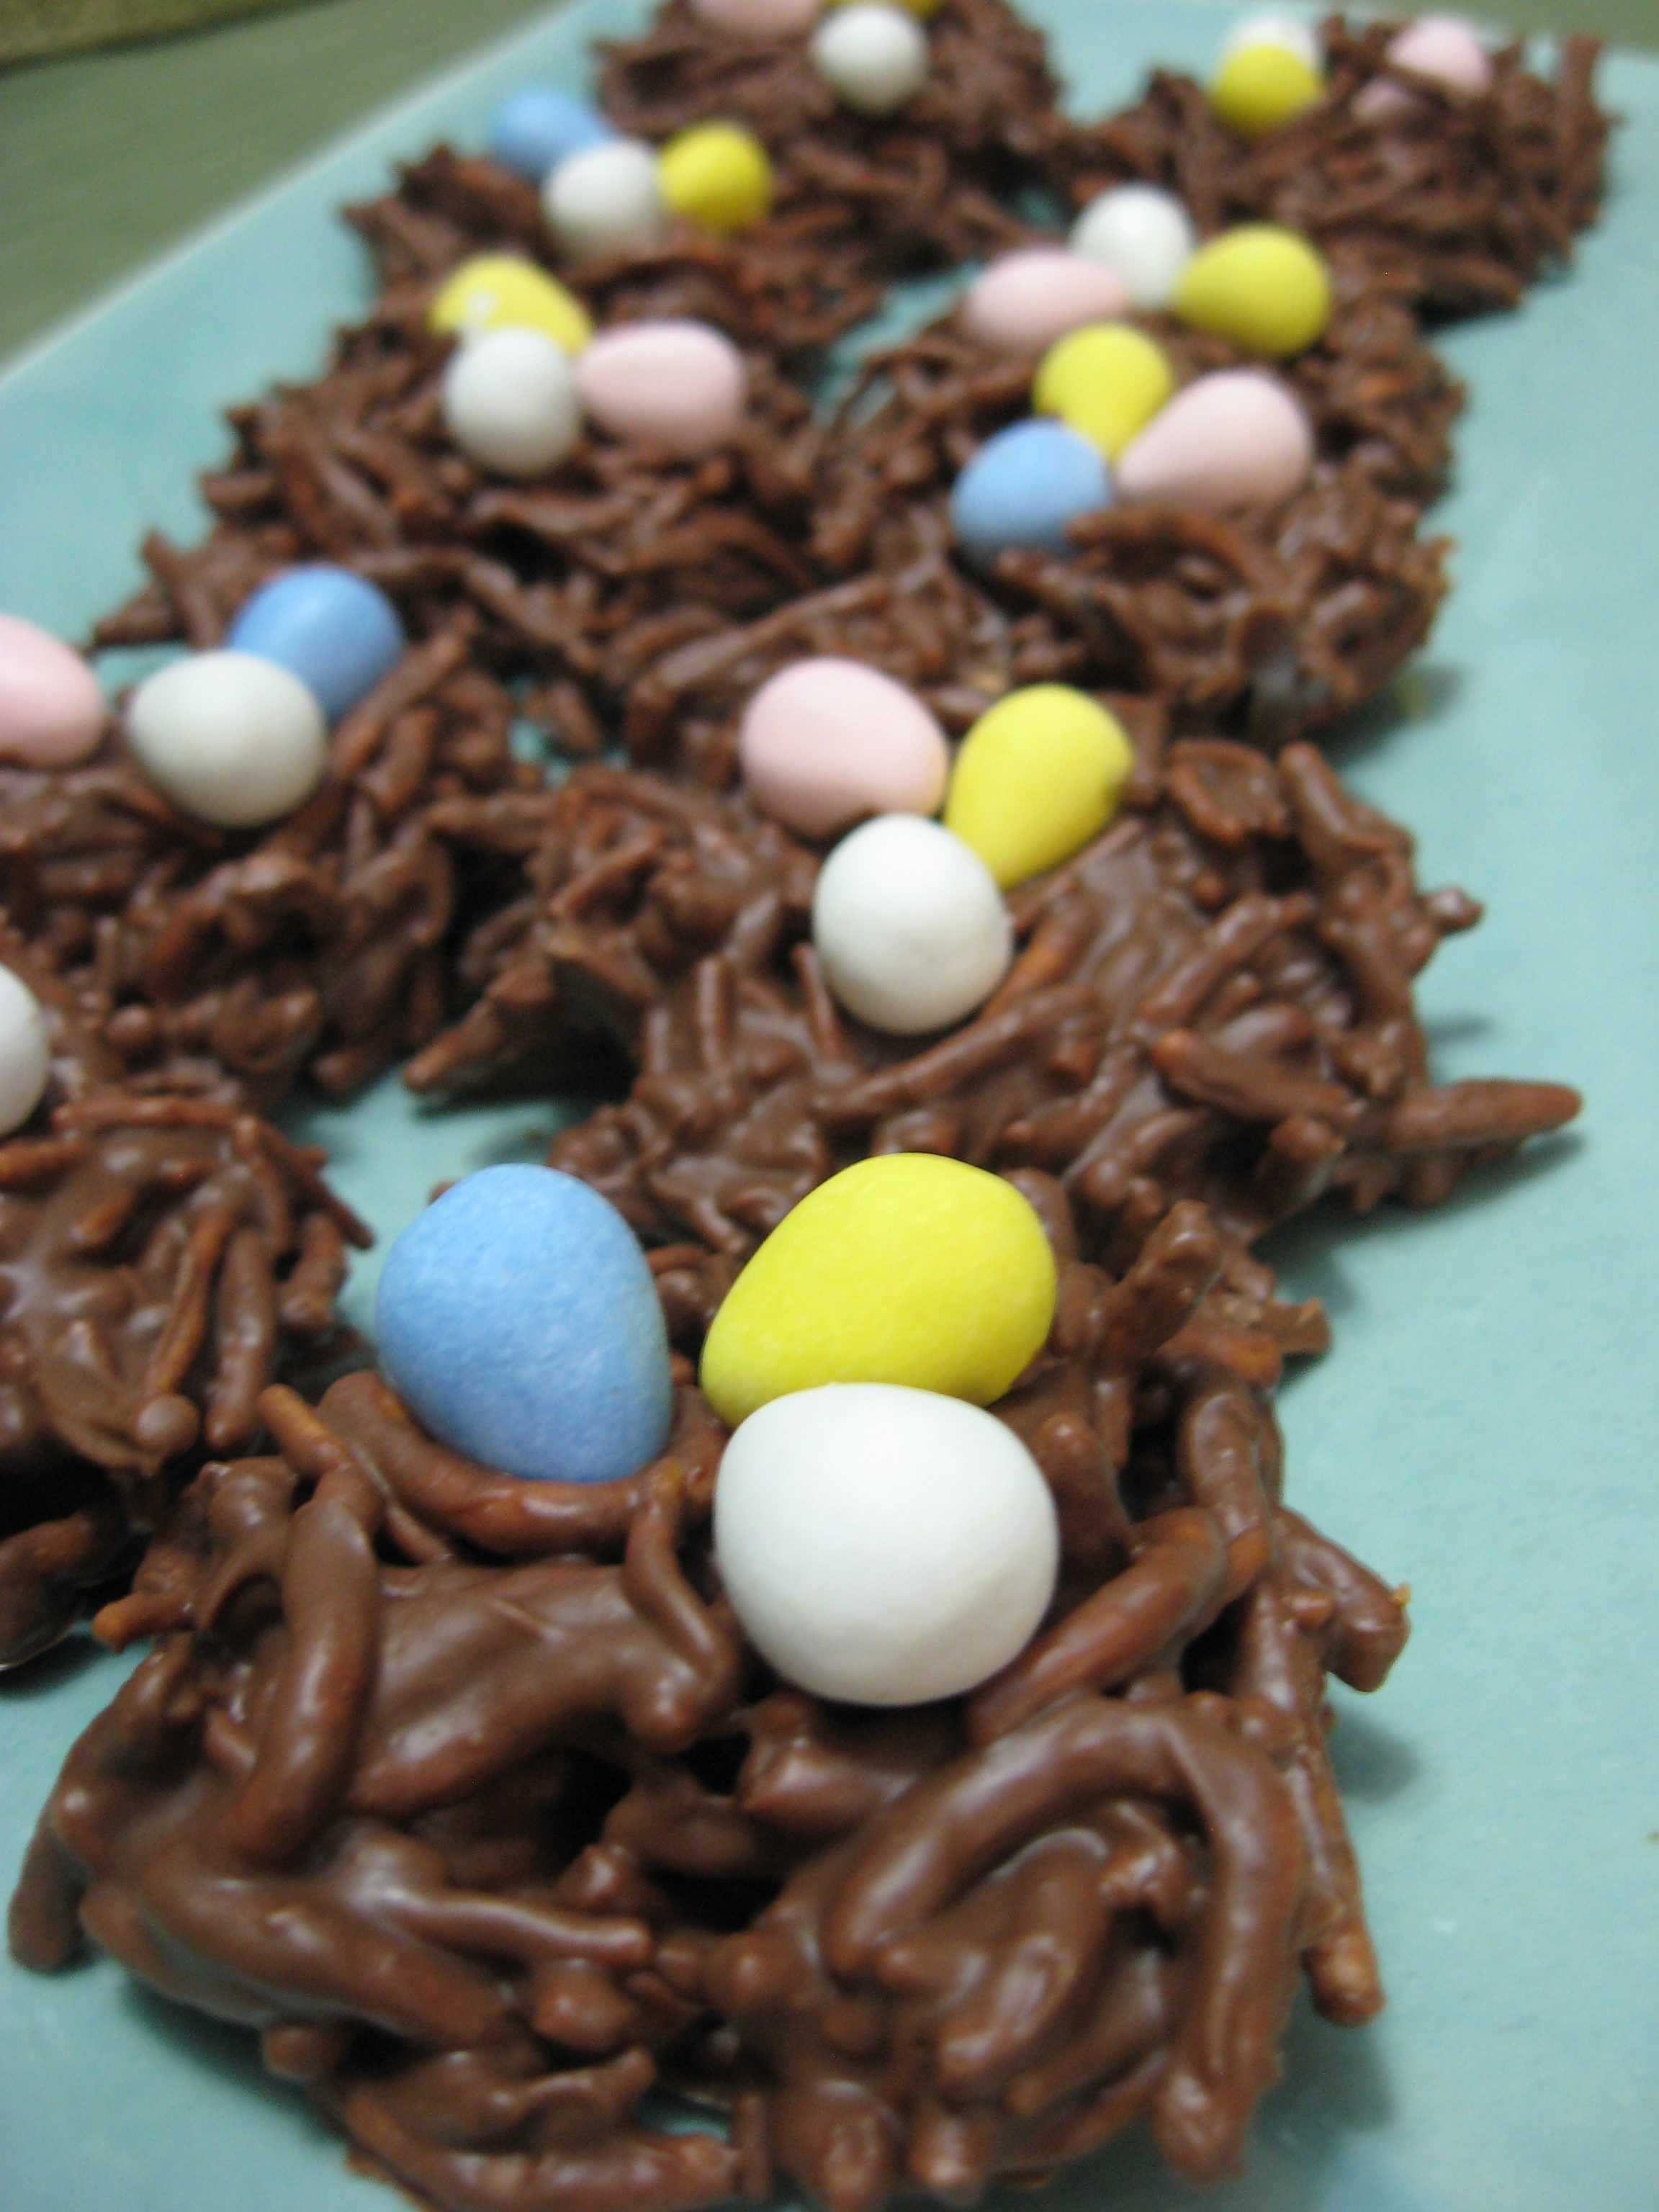
Happy Easter! To celebrate, here’s another Pinterest Challenge I’ve been saving: Birds’ Nests. Check out the original recipe by The Curvy Carrot here. Her version makes 12 servings, so I just doubled the recipe since I have several family functions to attend!
Ingredients:
1) Grease the wells of a muffin pan with butter or shortening.
2) In a large pot, melt the peanut butter and the chocolate and butterscotch chips. The original recipe says to microwave, but I’m always wary of burning chocolate. Stir on low heat until smooth and completely combined.
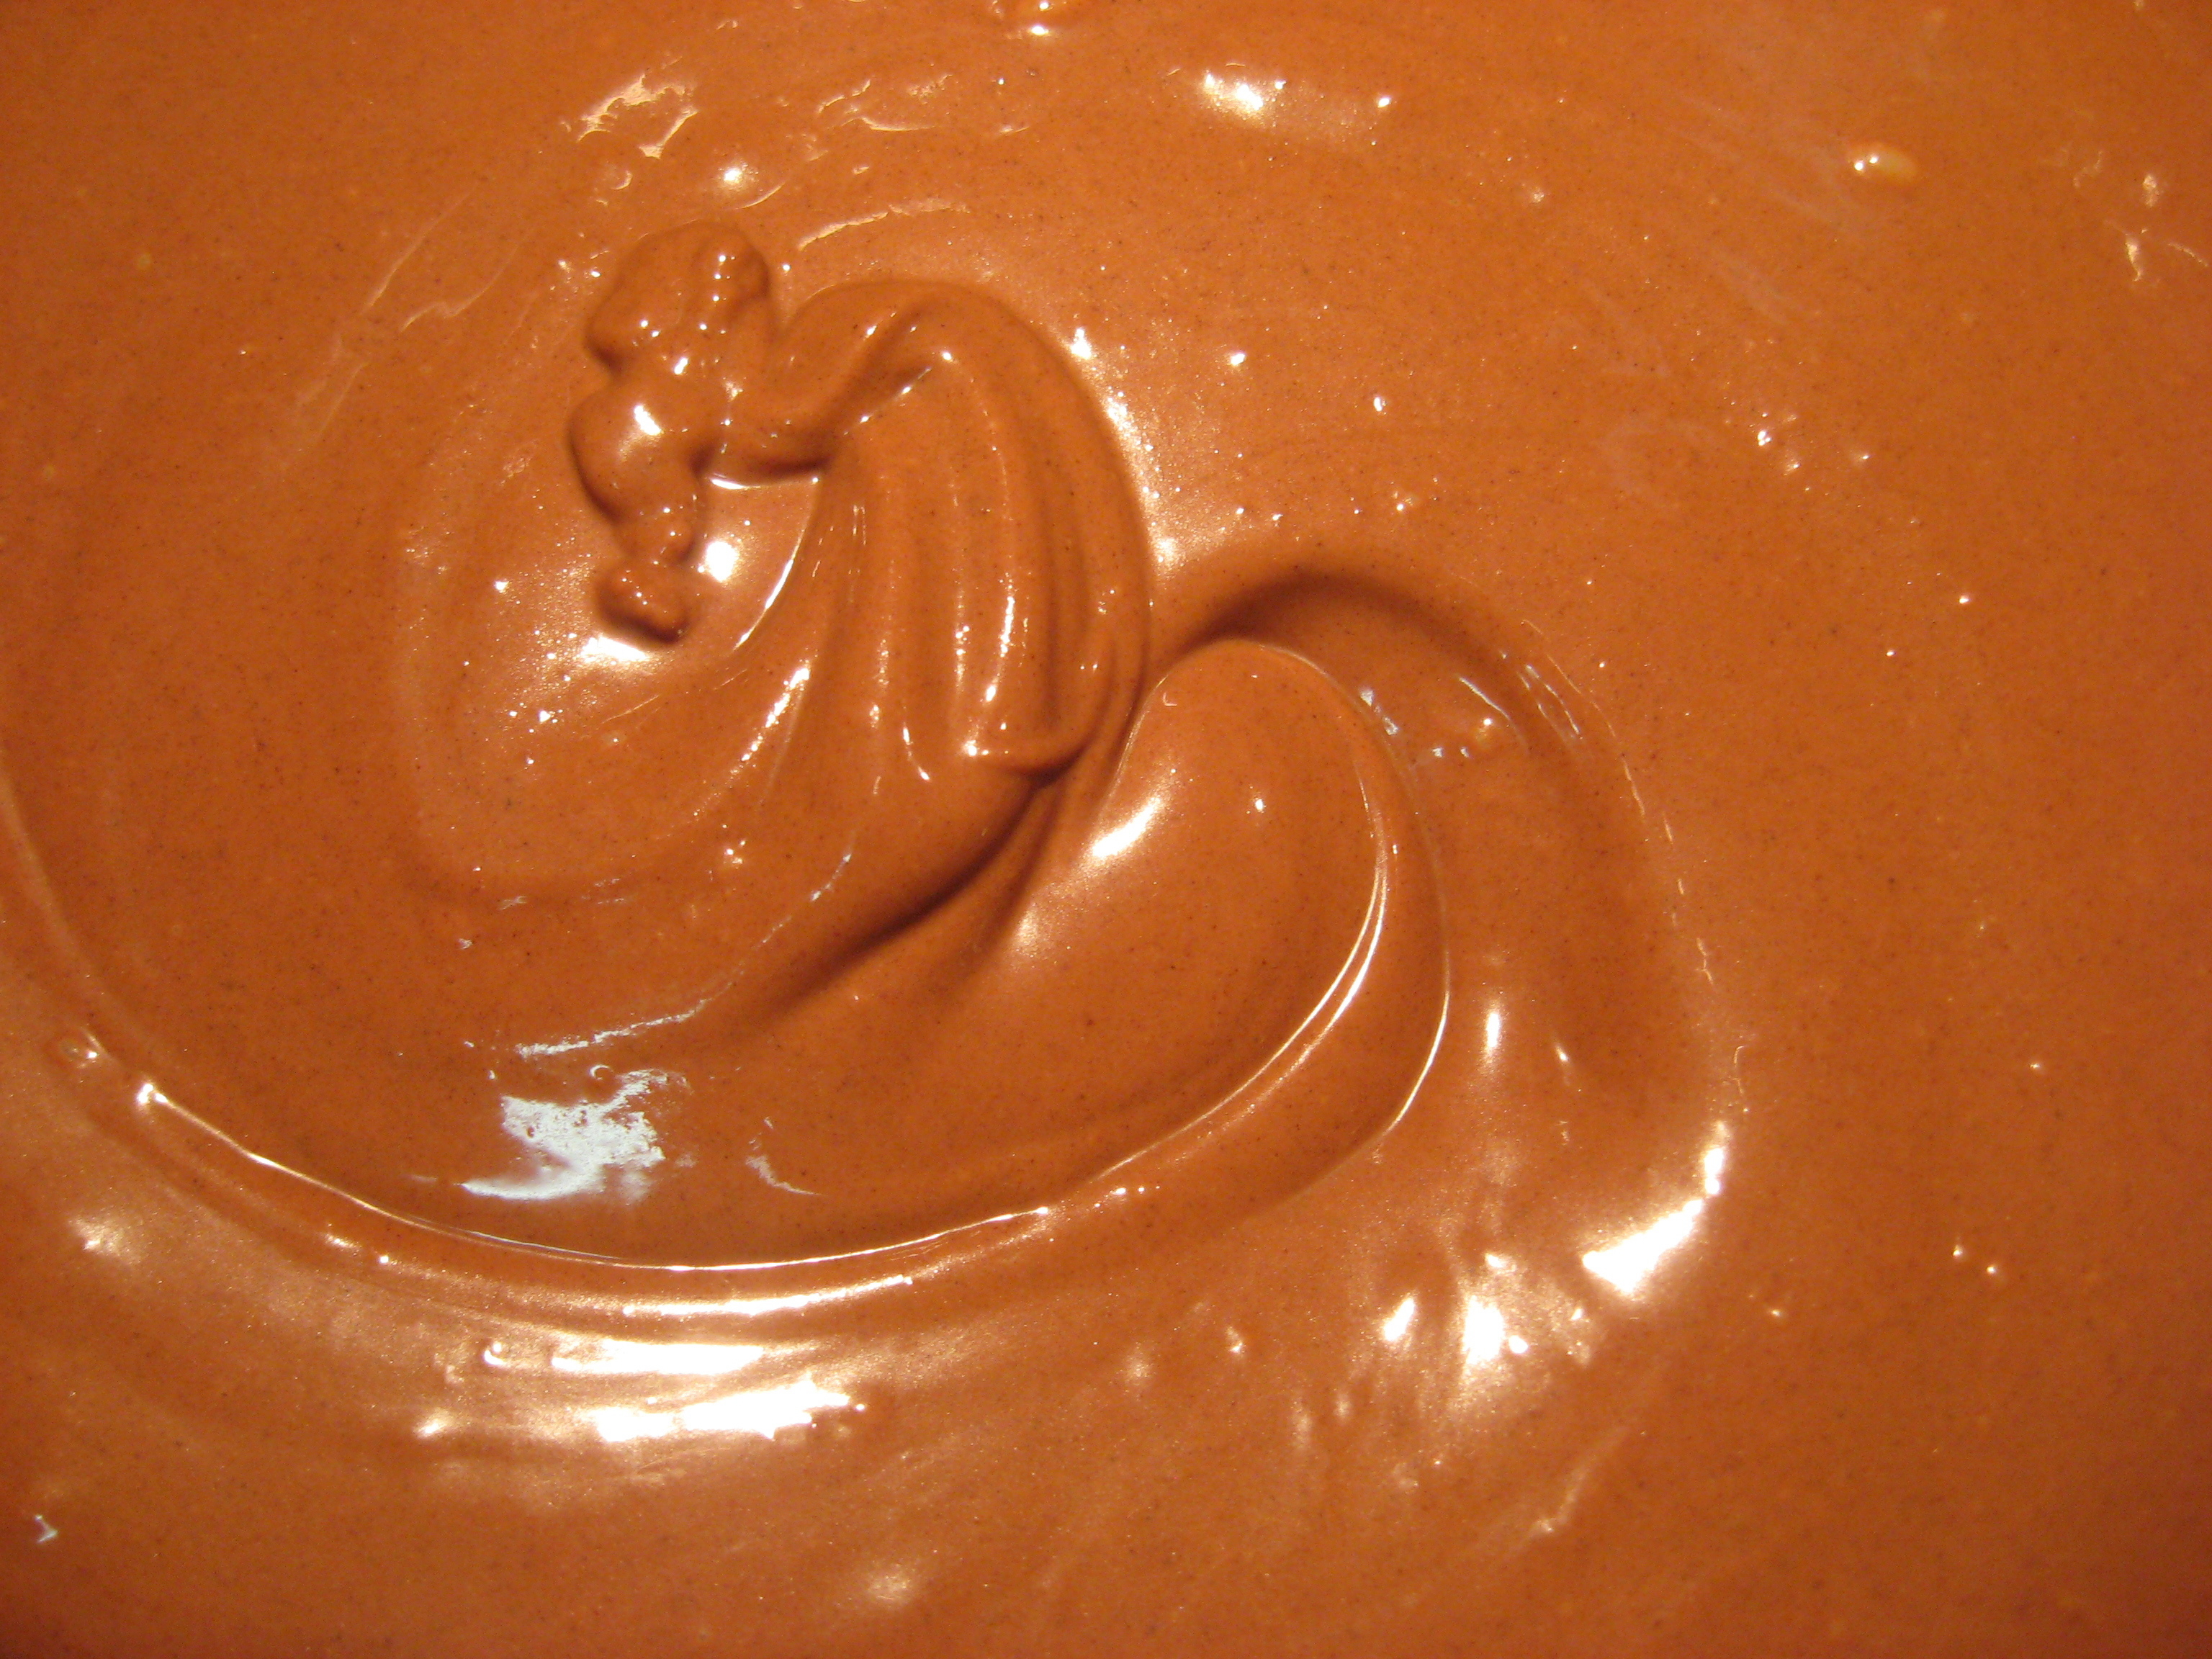
It’s like the opening scene to Willy Wonka!
3) Add the chow mein noodles, stirring carefully until completely coated.
4) Using a large spoon, fill the wells of your muffin tin, indenting the tops slightly with the back of the spoon. Press in three cadbury eggs on each nest. The original recipe says to add the eggs at the very end once the nests are chilled, but I prefer them to be slightly secured to the chocolate coating.
5) Chill the nests for 1 hour, or until hardened.
Relatively easy instructions, but I will say this is definitely a messy recipe — though I didn’t really mind having to lick chocolate or peanut butter off my fingers!
TheCurvyCarrot’s Birds’ Nests
After tasting them, I think these are more appropriately catergorized as a candy versus a cookie.

ShinyHappyPeebles’s Birds’ Nests
ShinyHappyPeebles’ Birds’ Nests
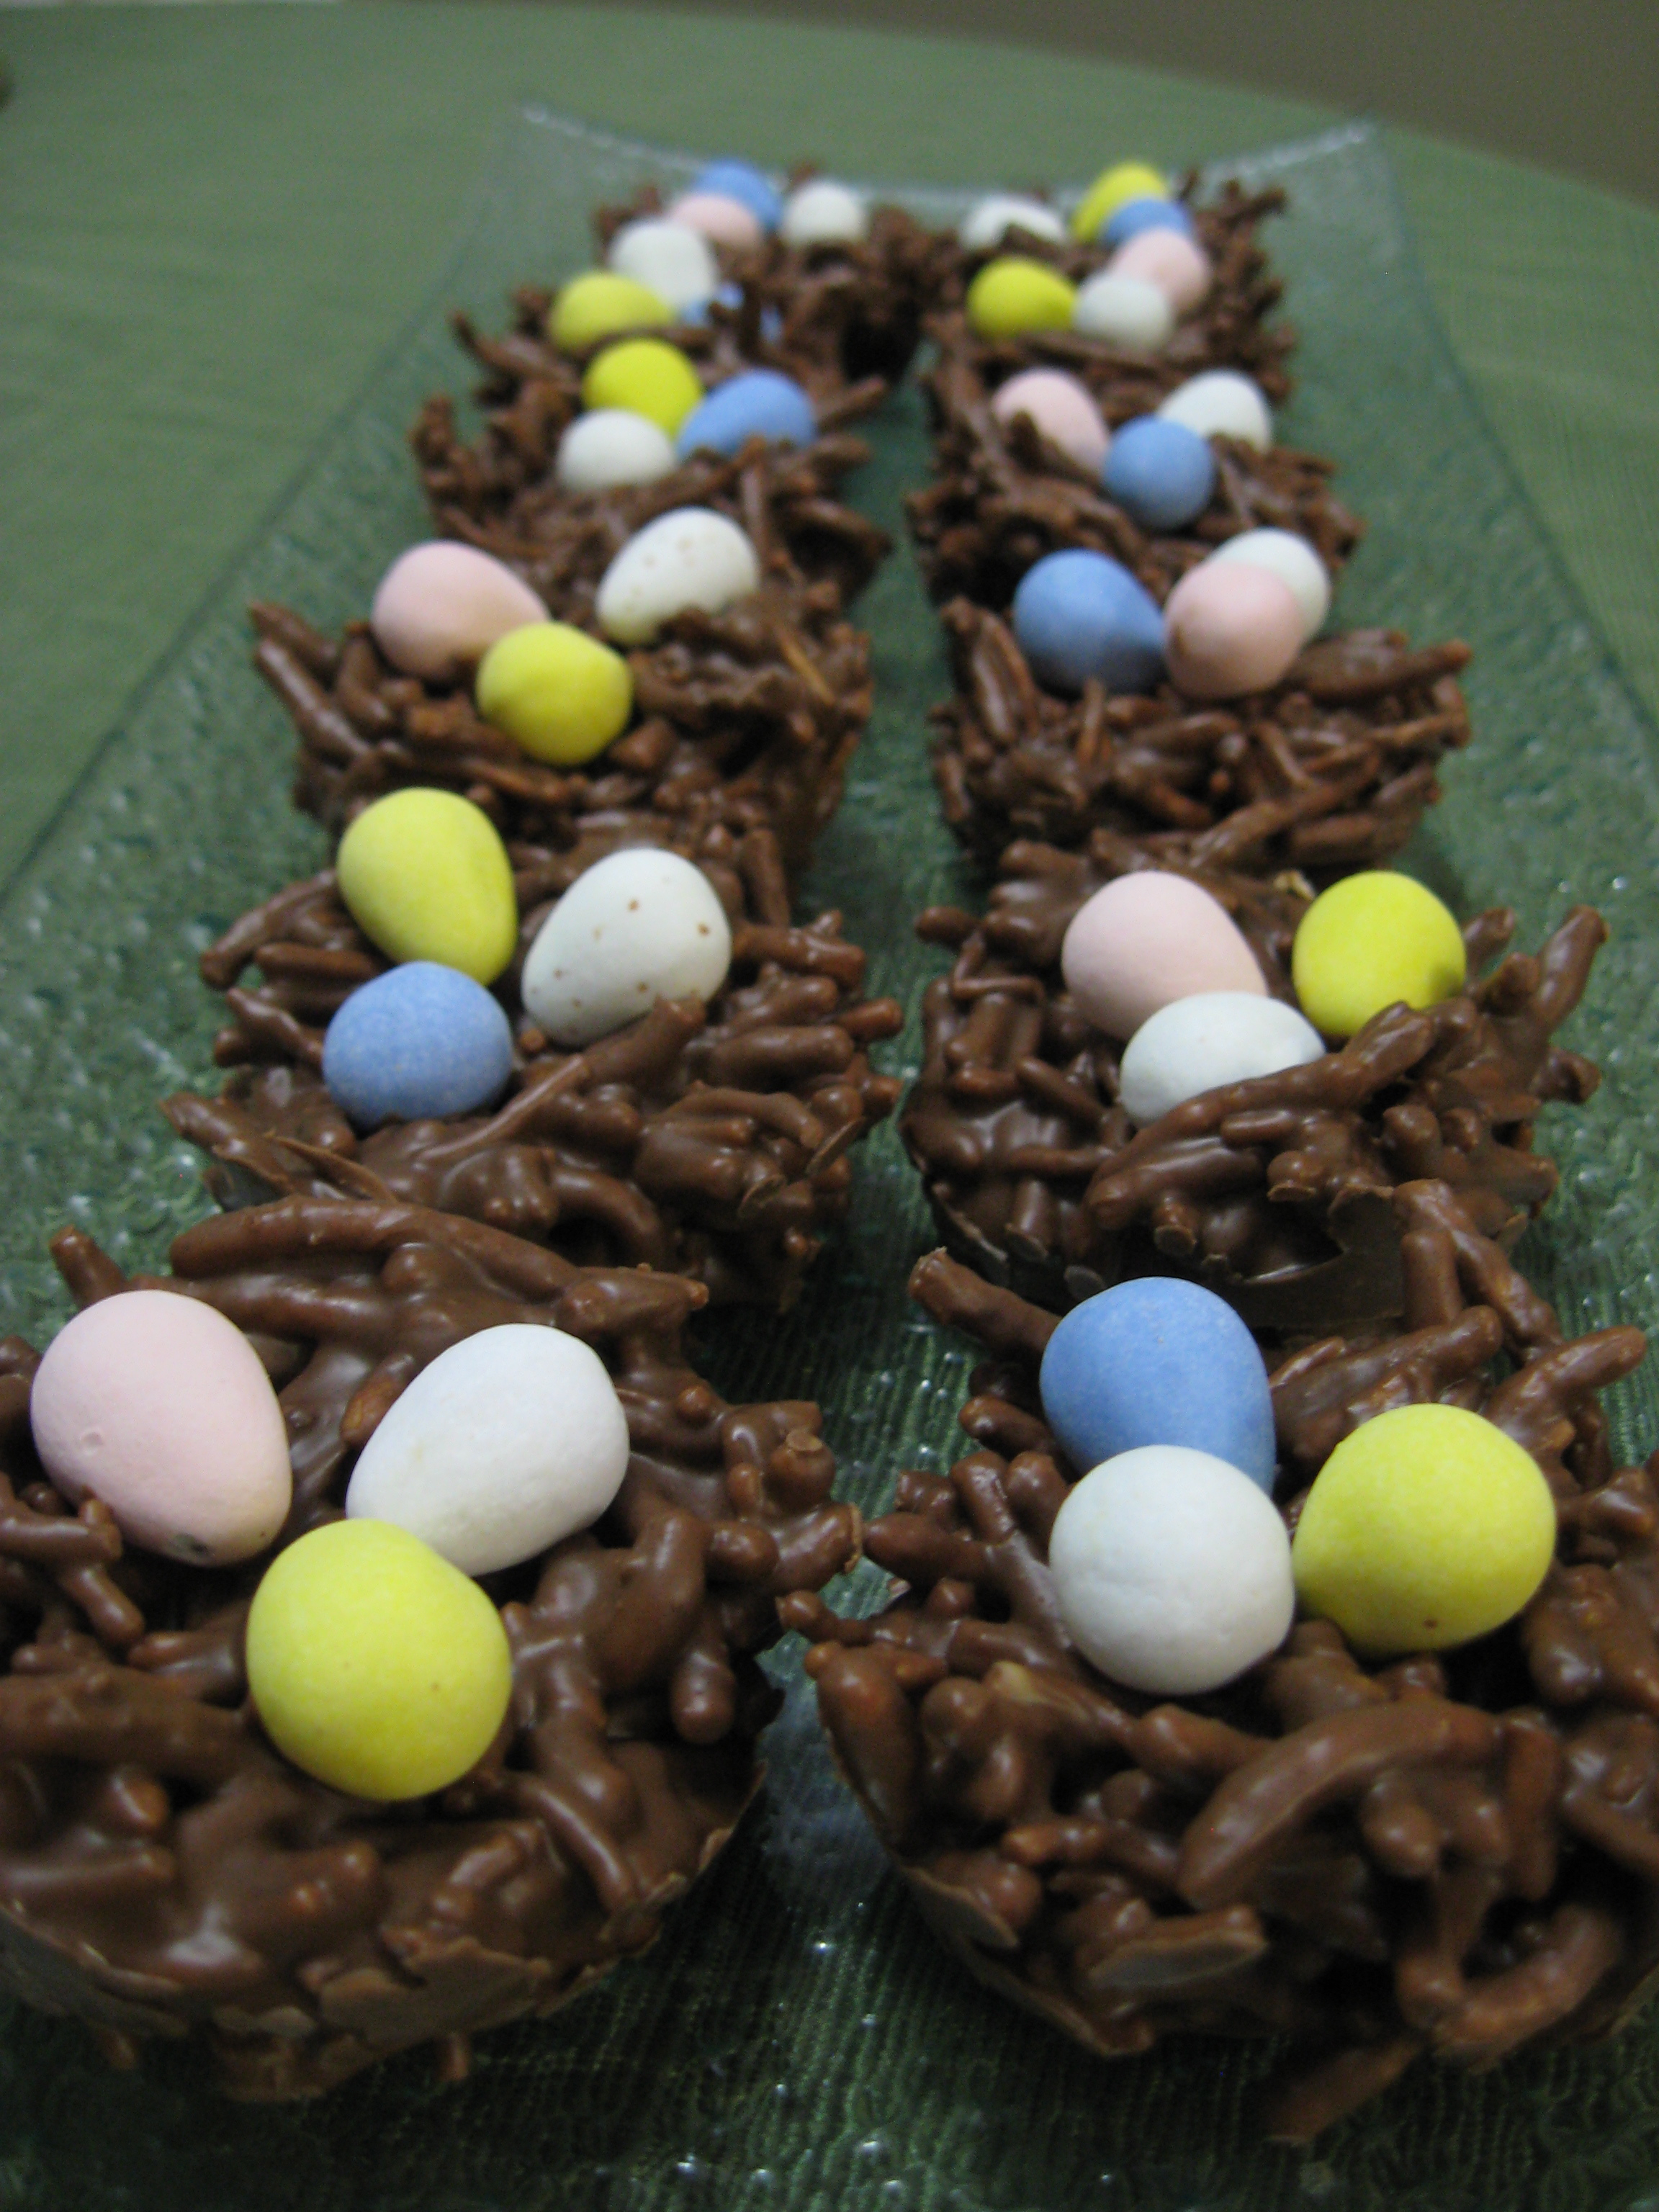
Now, halfway through making these I realized I only have one muffin tin … so the last half of the batch looks more like nests for baby pterodactyls.
It’s the Easter pterodactyl!
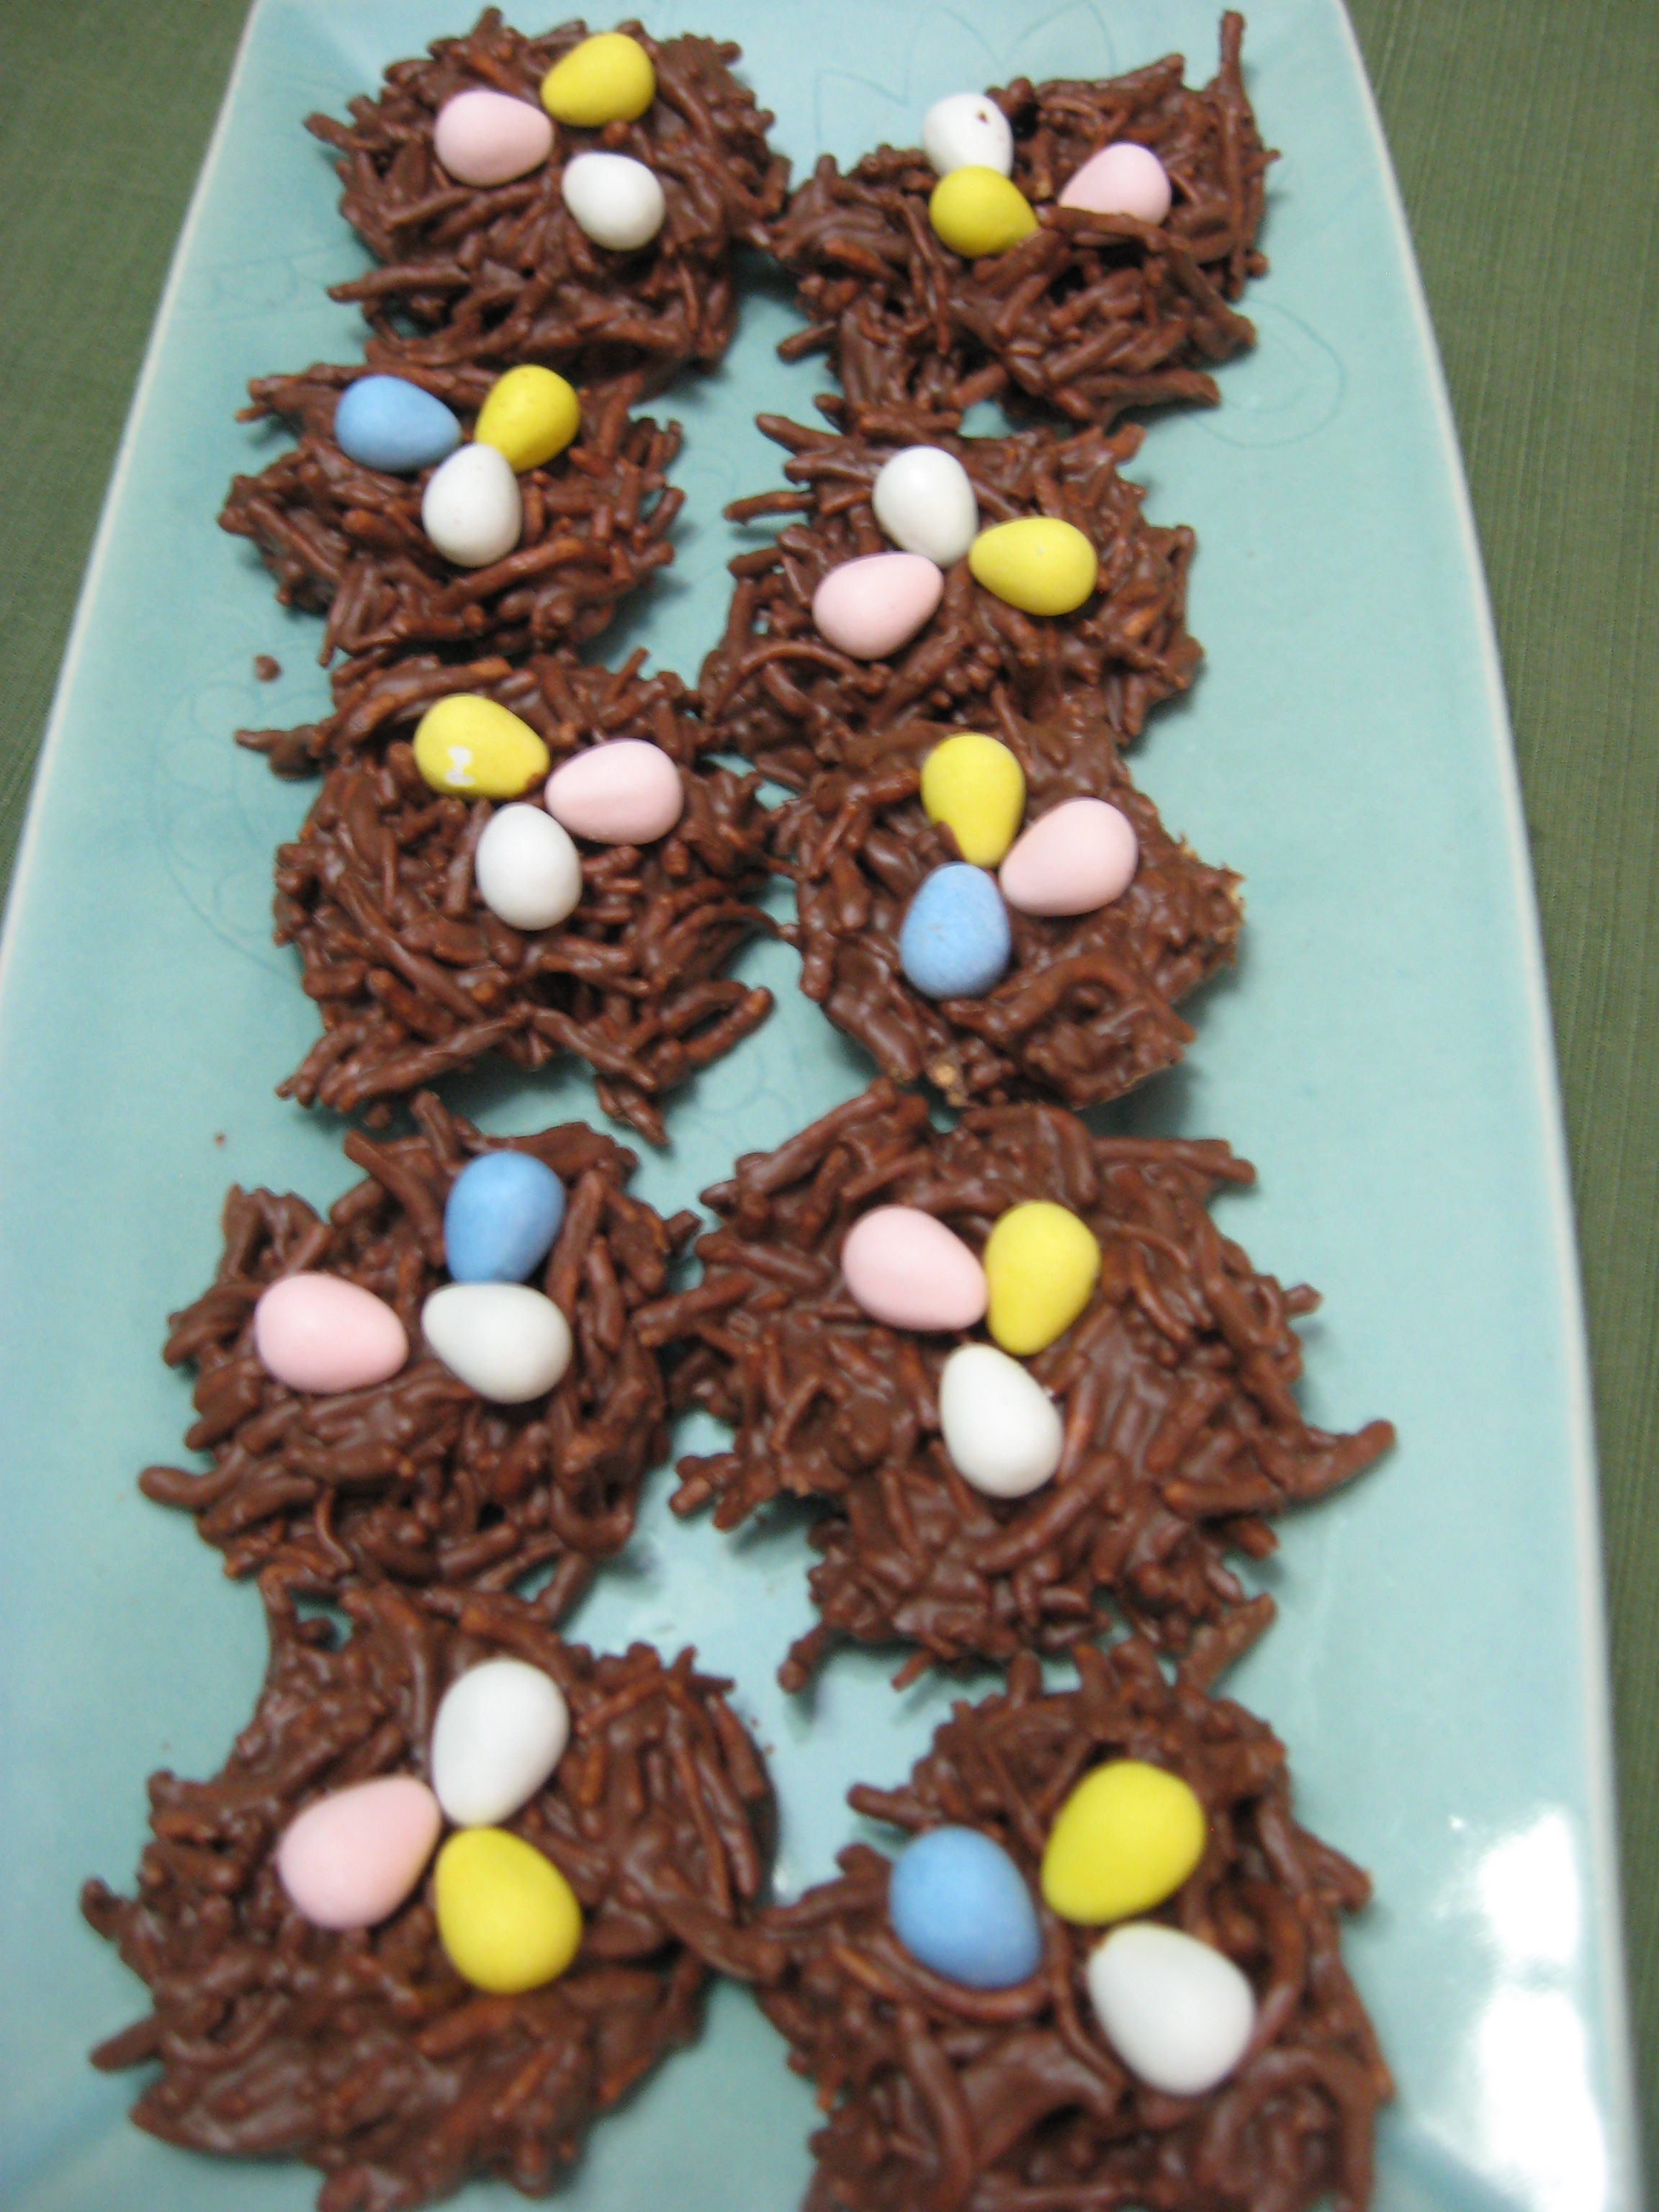
Actually, these look even more like real nests.
Pinterest WIN on this one, for sure! I think this is the closest I’ve come to making something that actually looks like the beautiful picture with the original recipe. An Easter miracle, indeed!
I have been saving this project from my Pinterest Challenge for a very special occasion: our 1-year anniversary! Since the traditional gift for your first anniversary is paper, it seemed like the perfect present for my other half.
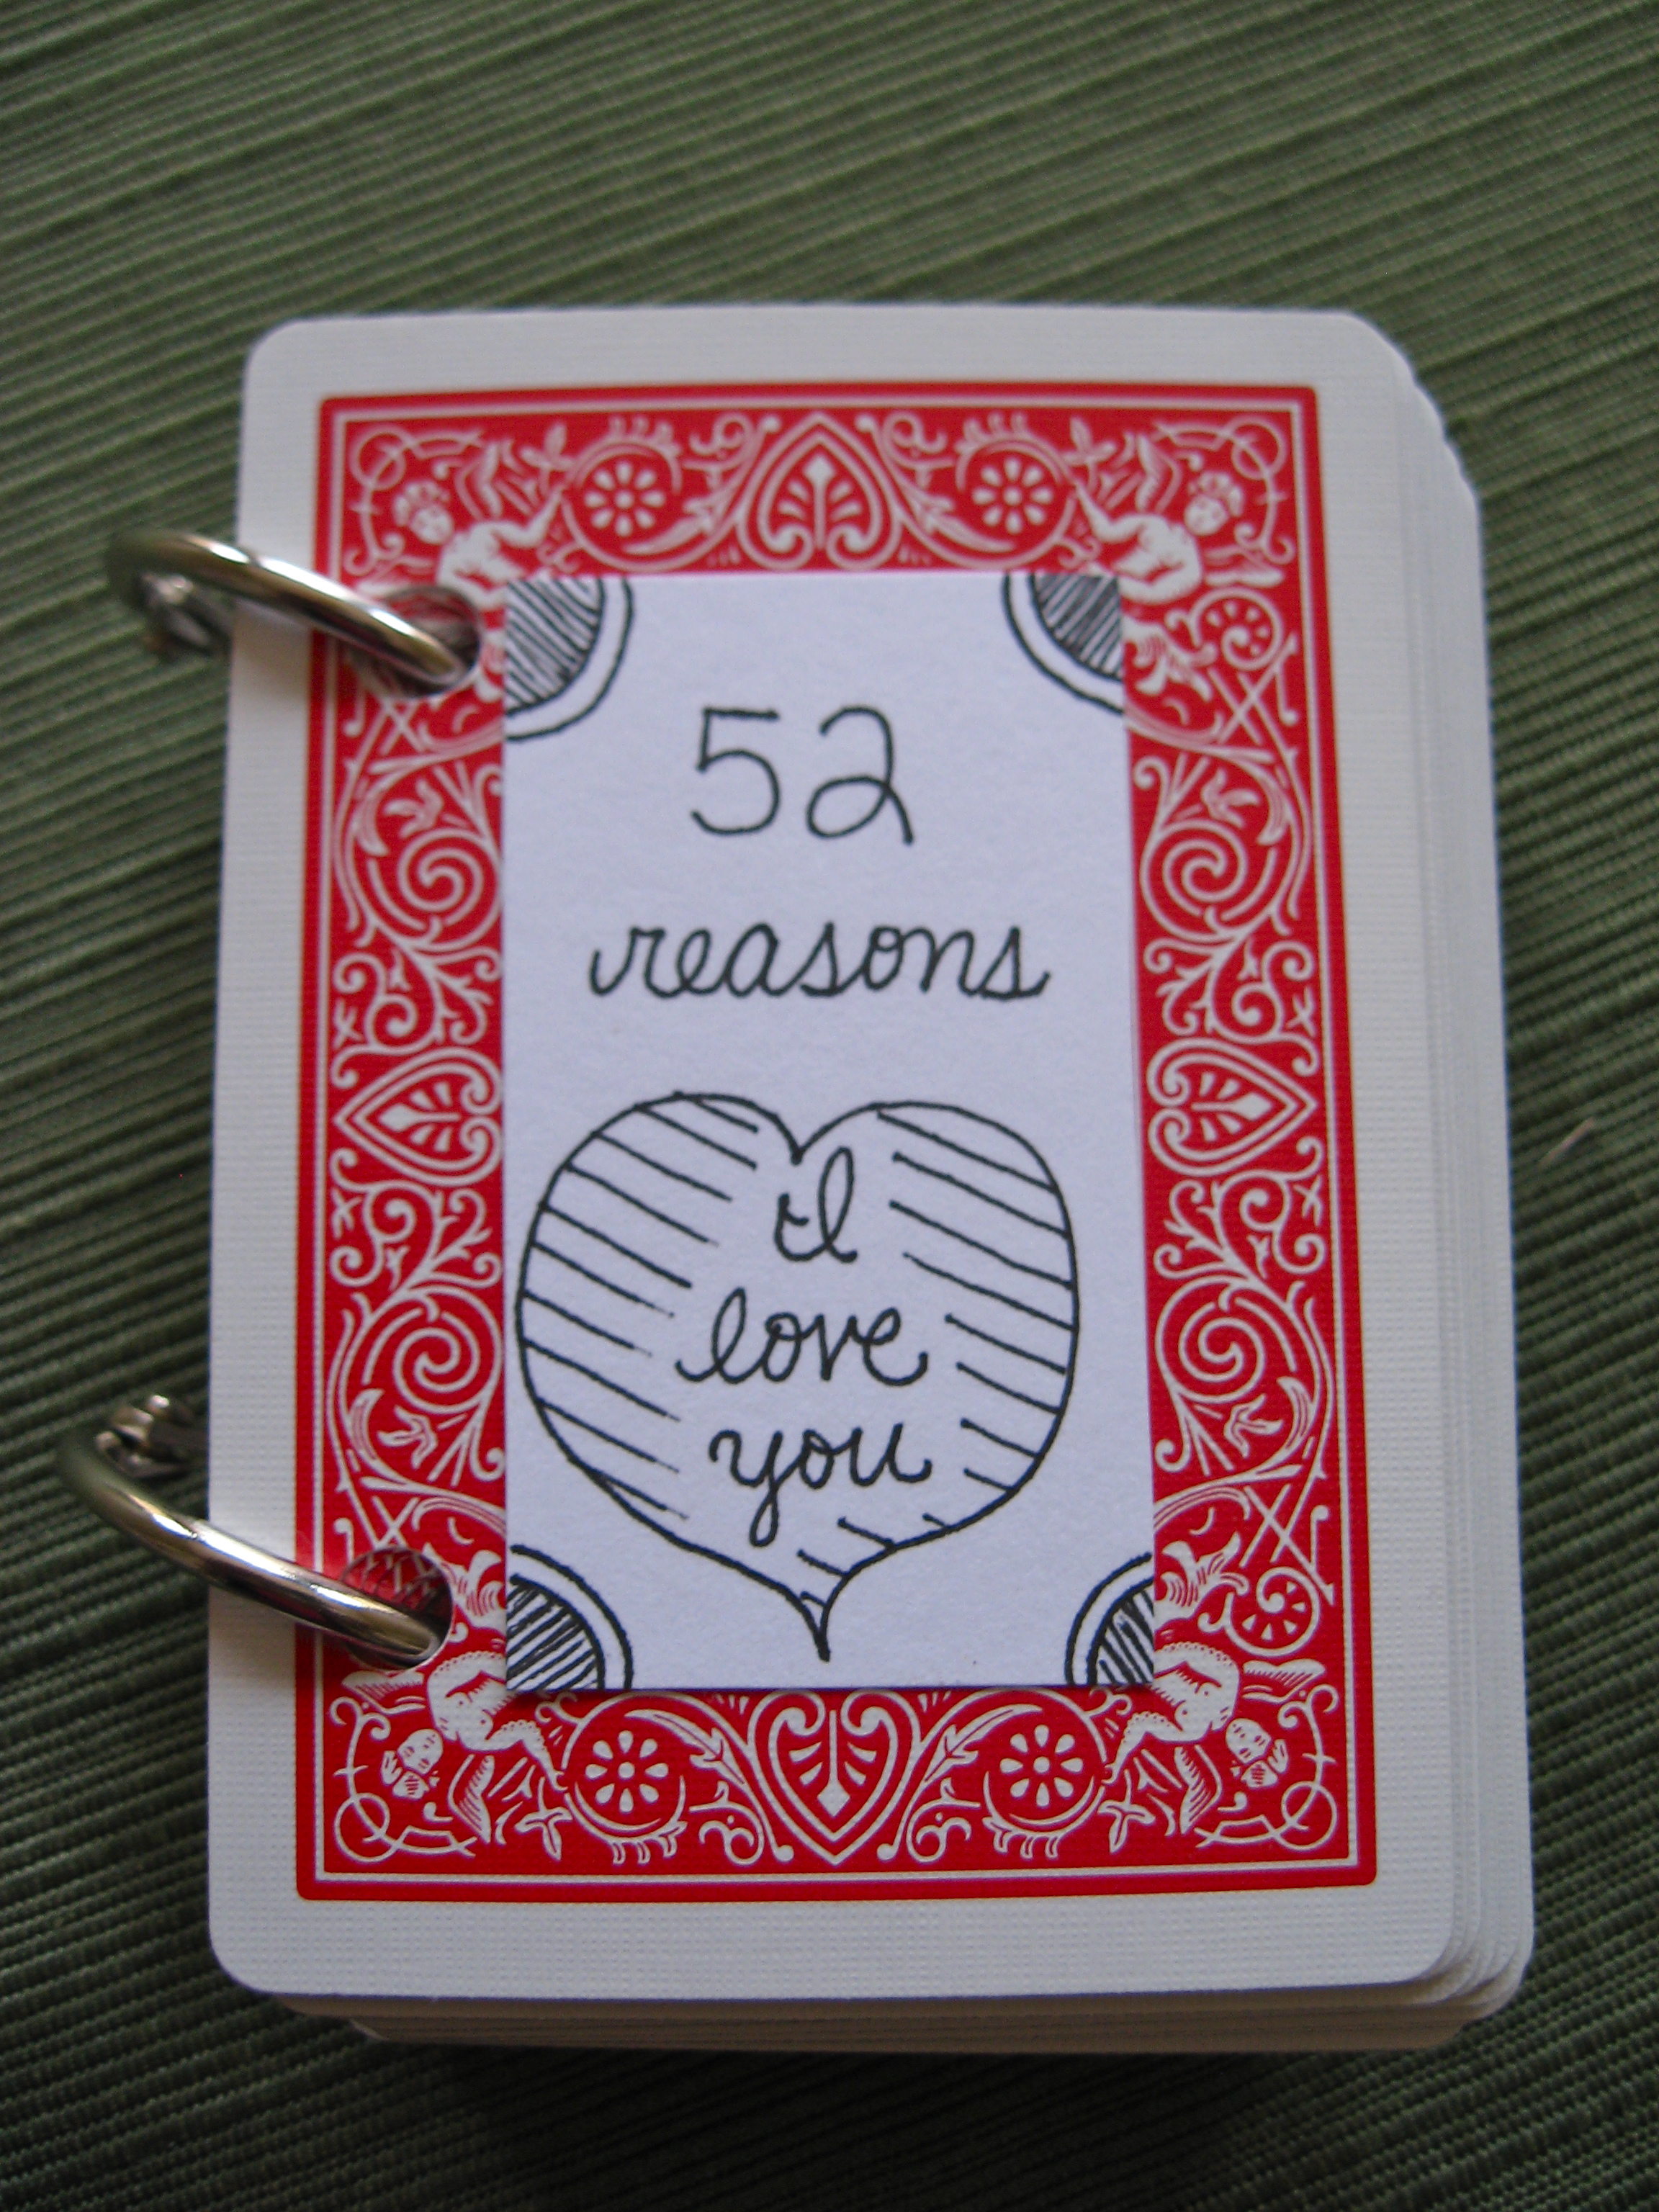
ShinyHappyPeebles’ Deck of Love
I love handmade presents! Plus, this is such an unconventional use of an every day item. 🙂 While the time investment is substantial, the cost is minimal.
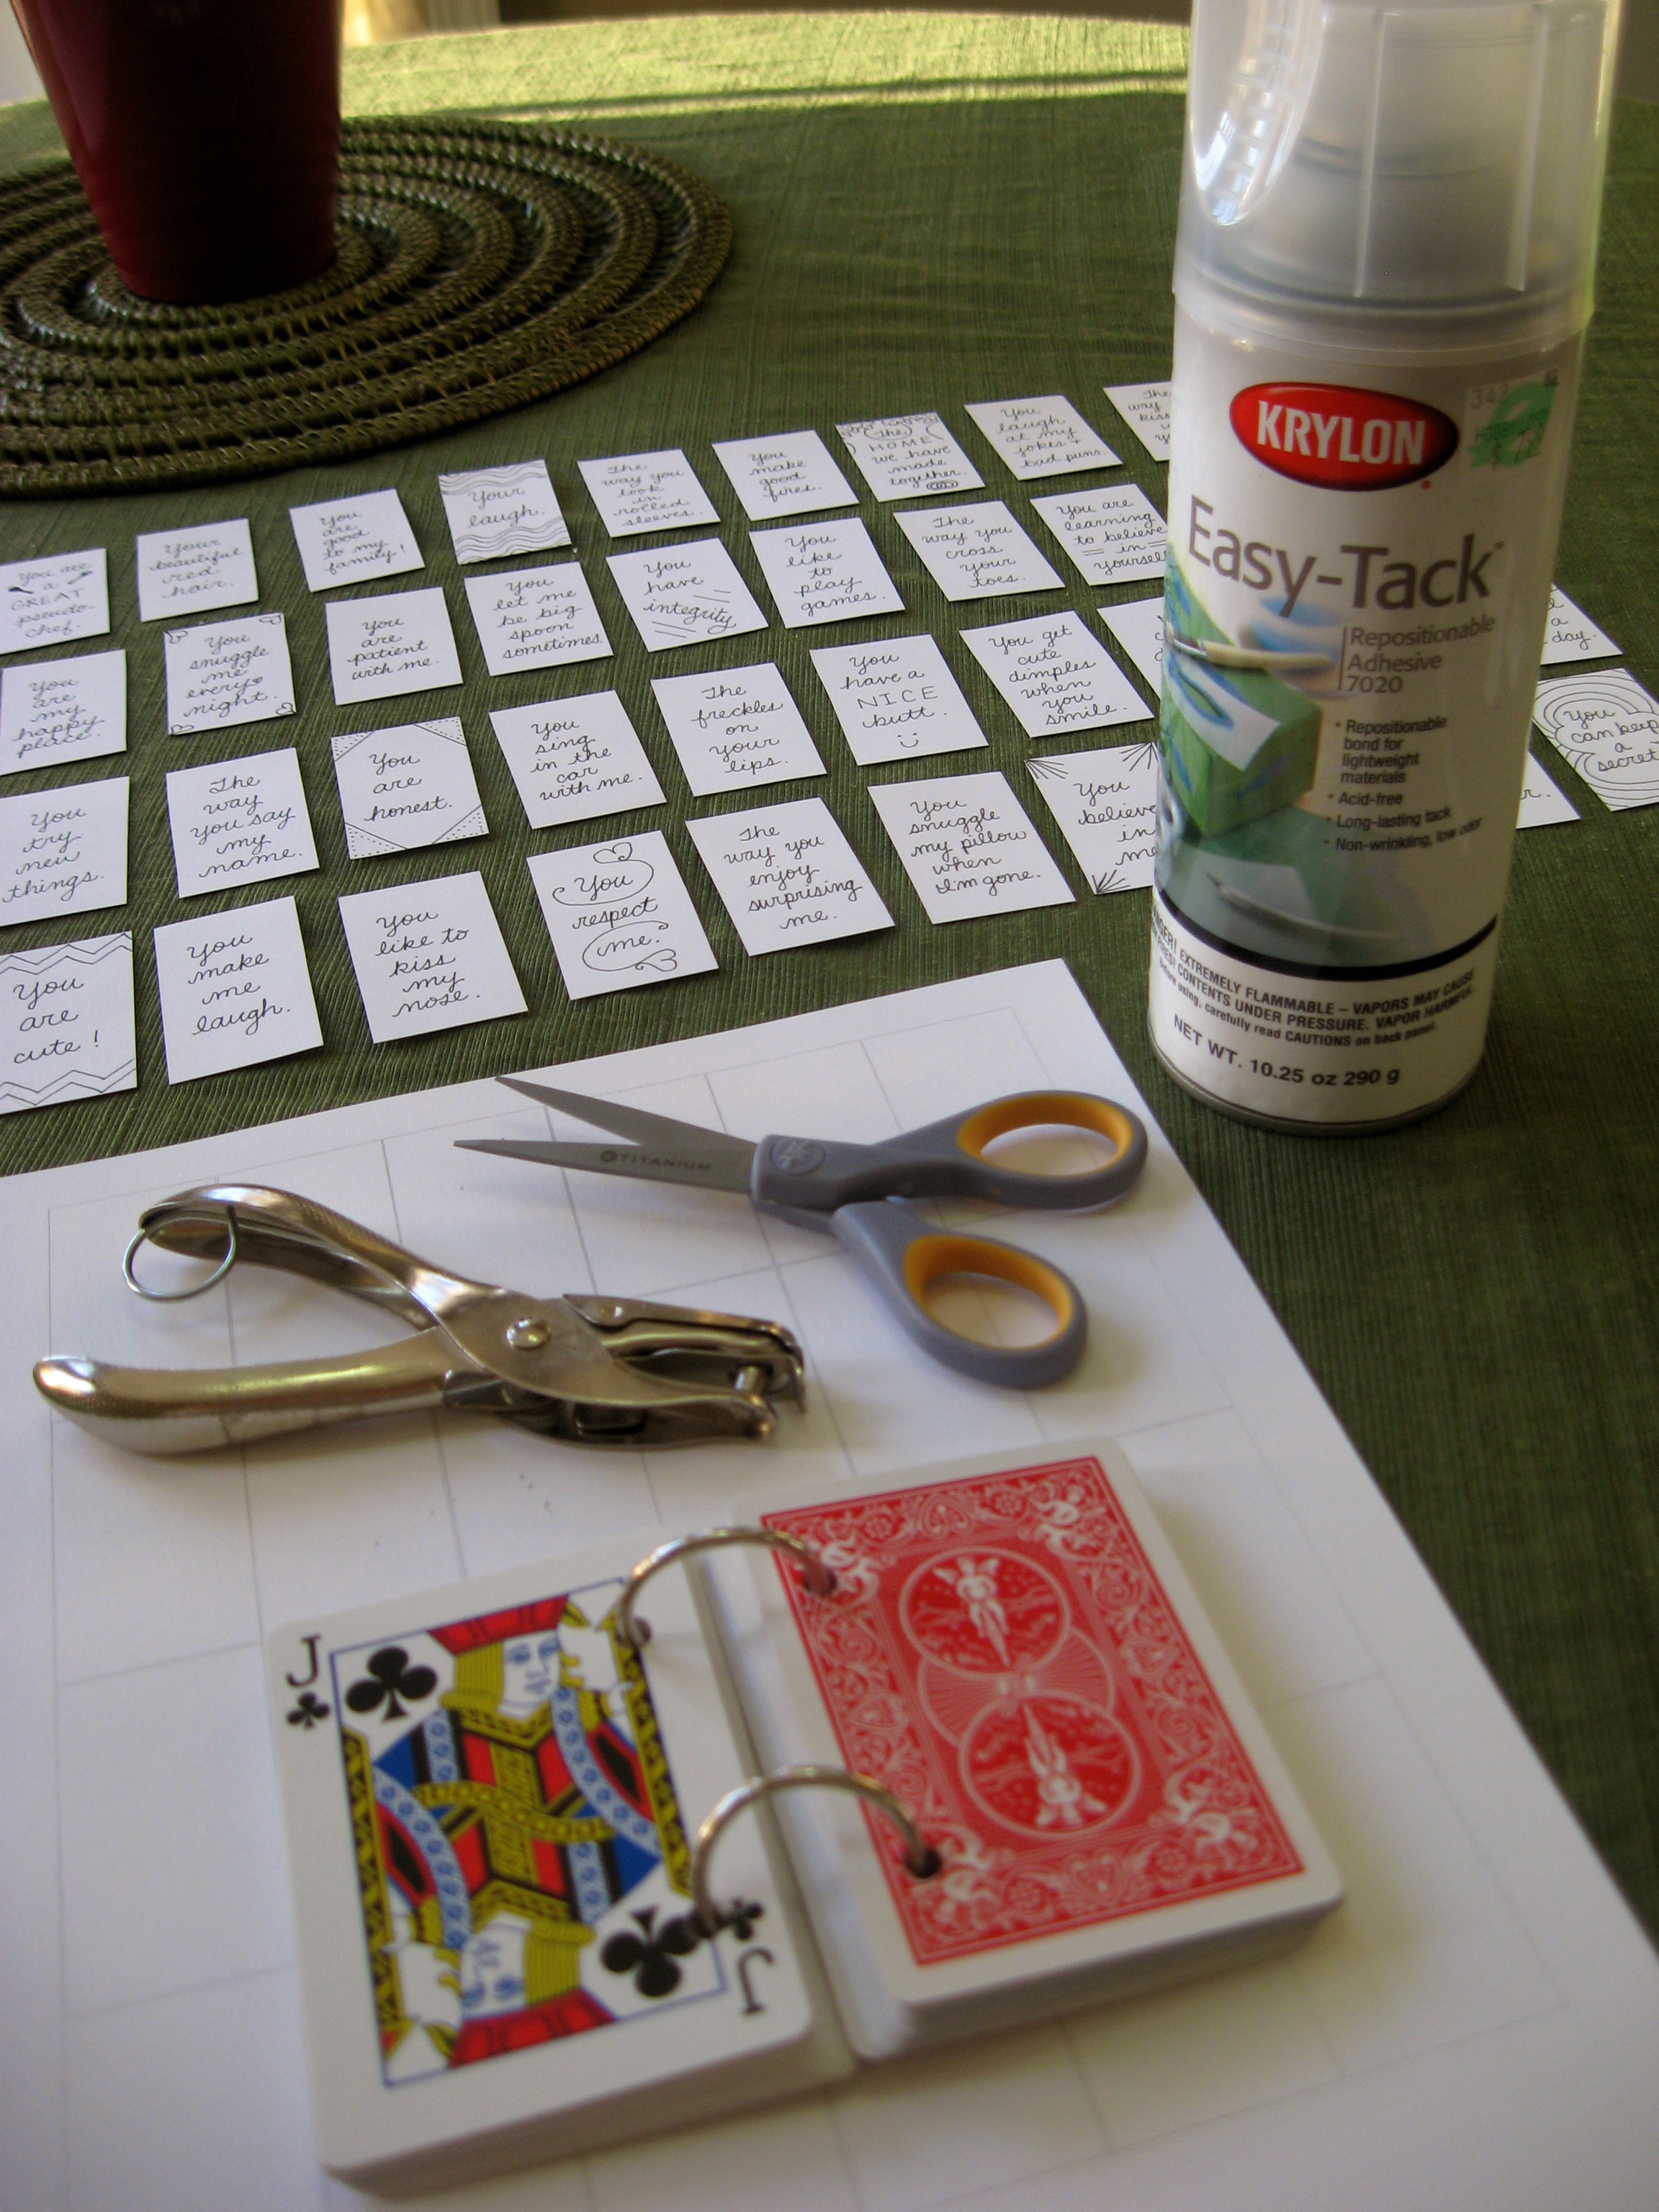
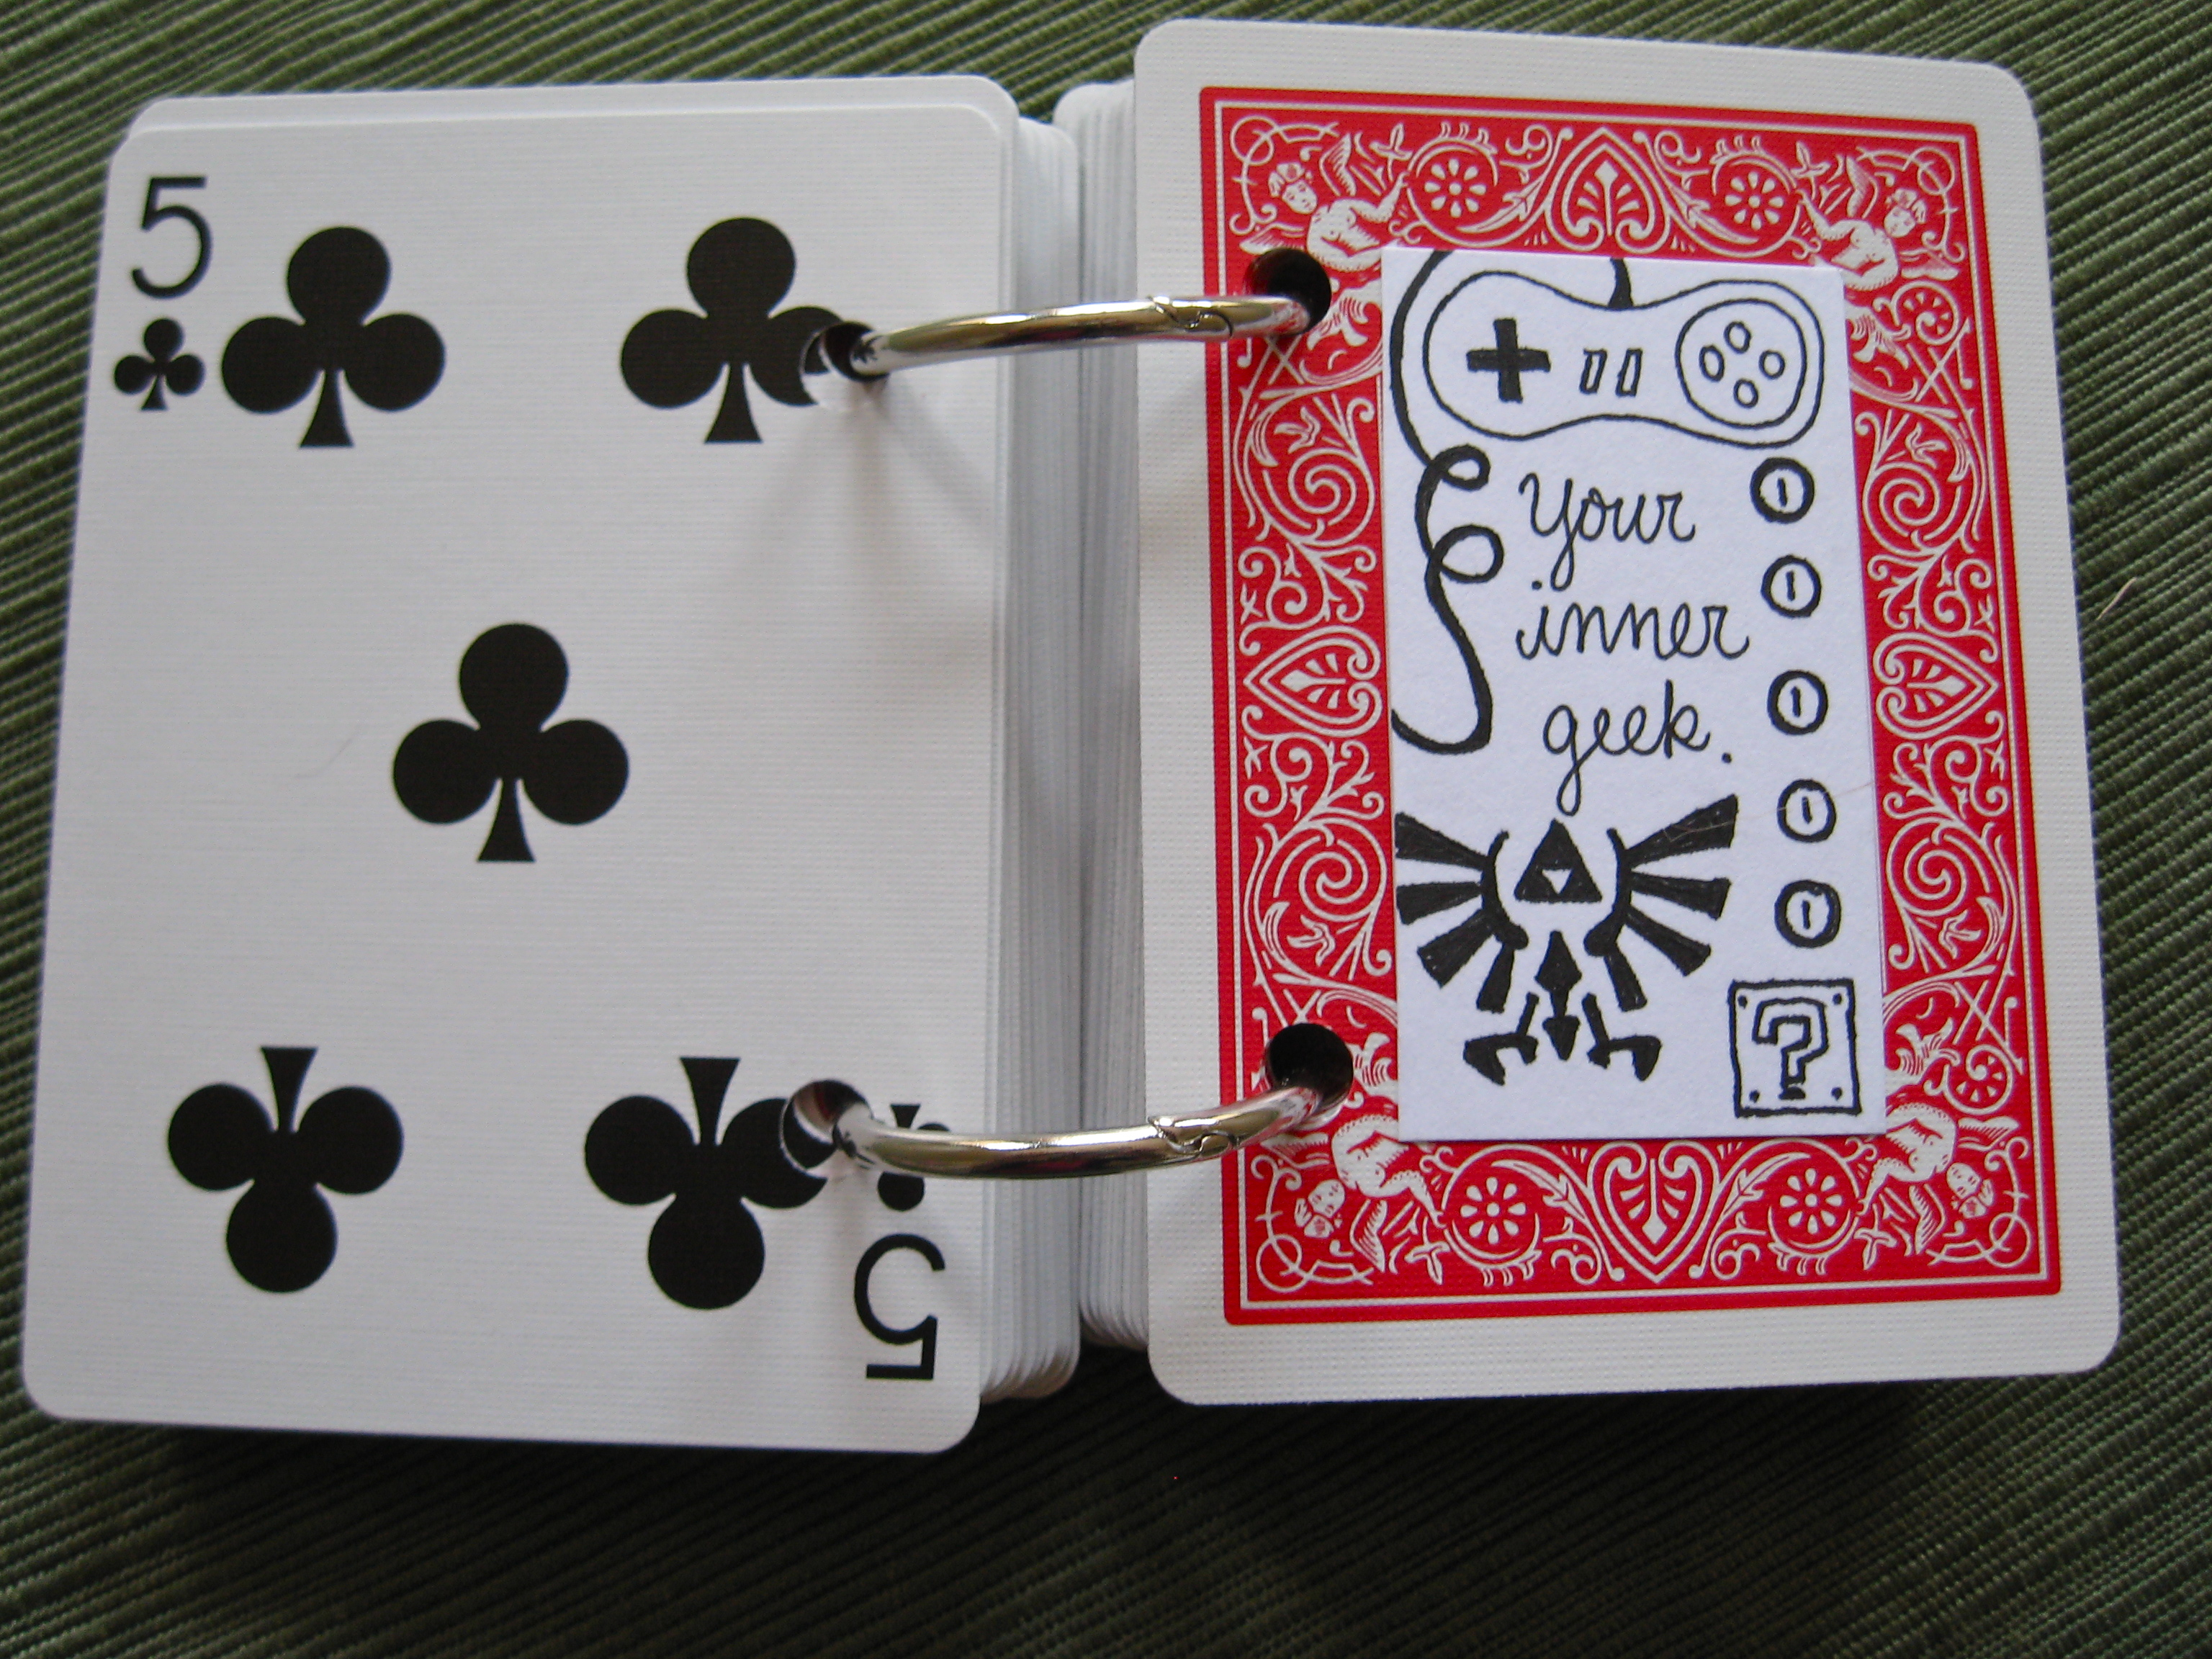
Here is what you need: deck of cards, hole punch, binder rings, card stock, adhesive spray.
Supplies: less than $20
Take one of the joker cards from the deck to create a stencil for punching the holes in the other cards. Using a printer or a ruler, create a table of 1.25 by 2.25 inch rectangles on the card stock. I would recommend making more than 53 because you will make mistakes!
You could print the words on the card stock, but again, I prefer the personal touch of something handmade. I like that each card has my words for Bryan in my handwriting.
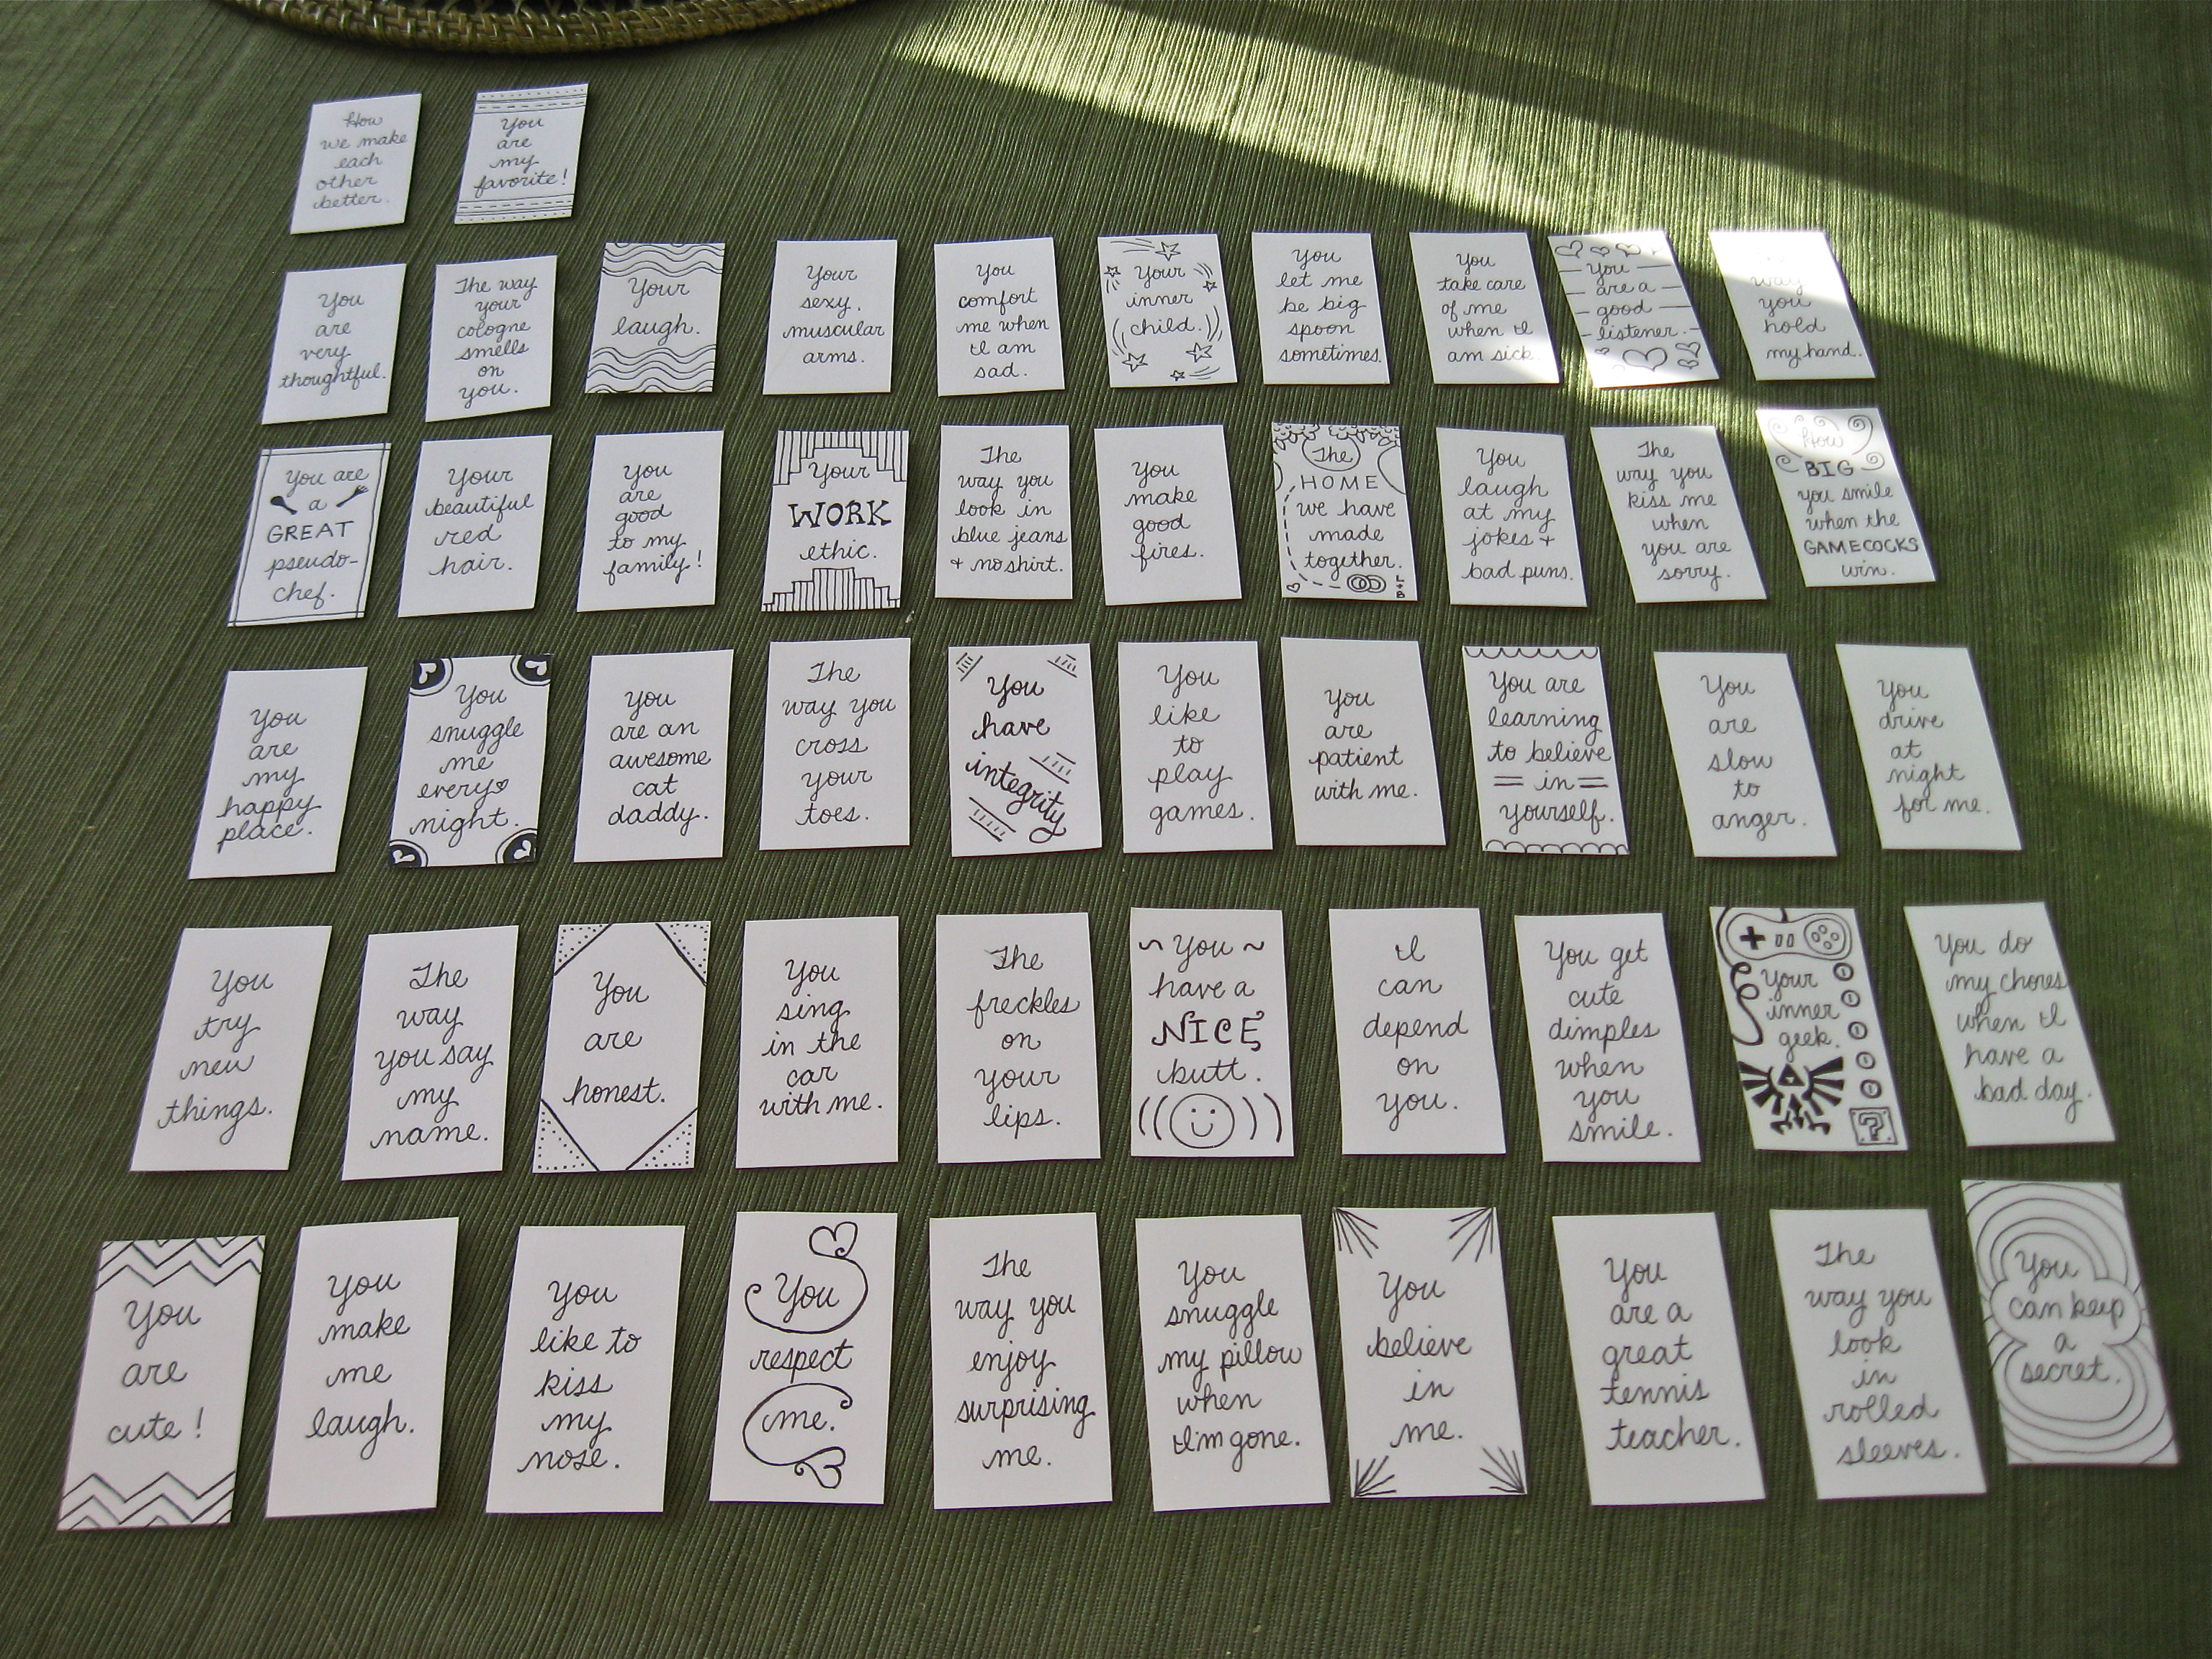
52 Reasons I Love You
To attach the card stock recantgles to the playing cards, I used an adhesive spray. Some people find it hard to work with, but I like the even, light coating it provides much more than other pastes which can be too thick and warp the paper. Just get some cardboard from the recycling and go outside.
After I finished gluing, I split the deck into four and put weights on for a few hours to secure the bond. Double check that your cards are in the right order (and none have stuck together) and then put on your binder rings. Voila!
Deck of Love
I also used some name tag stickers on the inside and back covers to write a personal message.
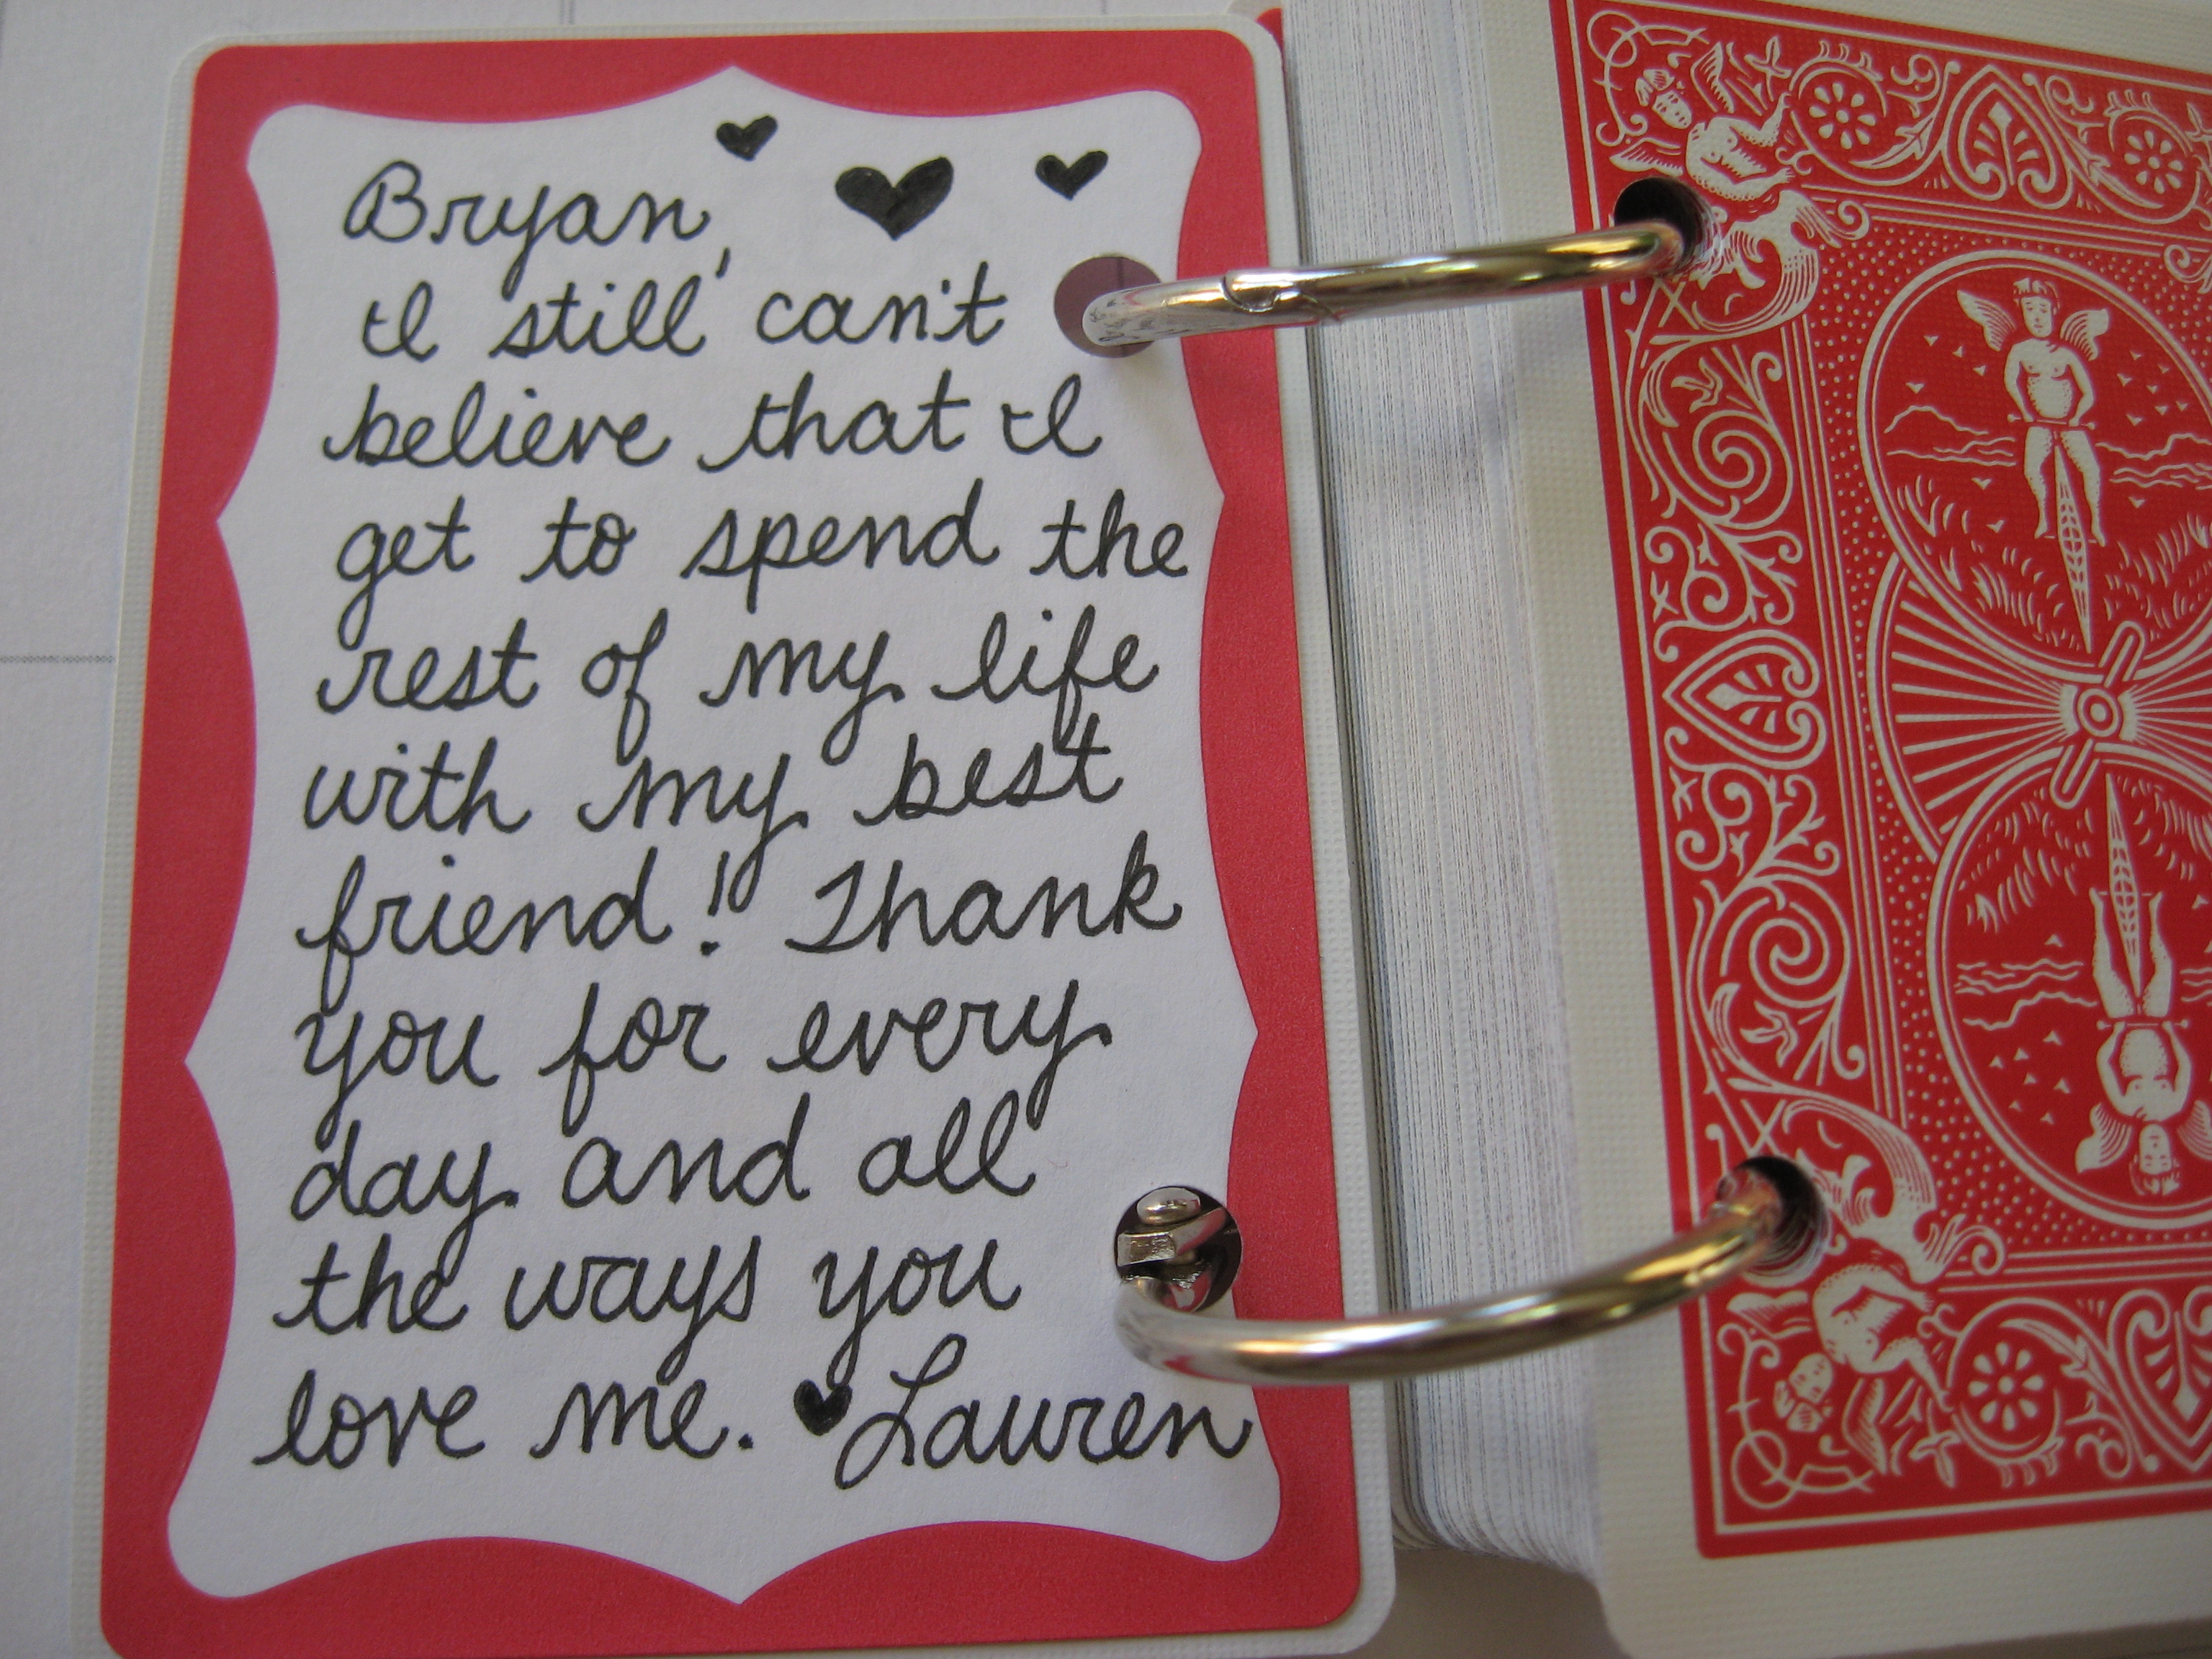
All in all, I am thrilled with how this project turned out! It is a wonderful affirmation of our relationship, and I hope it will be something my husband can turn to on rough days for a boost of self-esteem or a reminder of how much I love him.
I would call this a Pinterest WIN — and a marriage WIN! 🙂
I love fruit snacks!!! Always have, always will. So, when I saw this recipe from Six Sisters Stuff for DIY Jello Fruit Snacks on Pinterest, I couldn’t resist adding it to my Pinterest Challenge!
Here is what you need: whisk, saucepan, liquid measuring cup, rubber mold, unflavored gelatin, flavored Jello, and water.
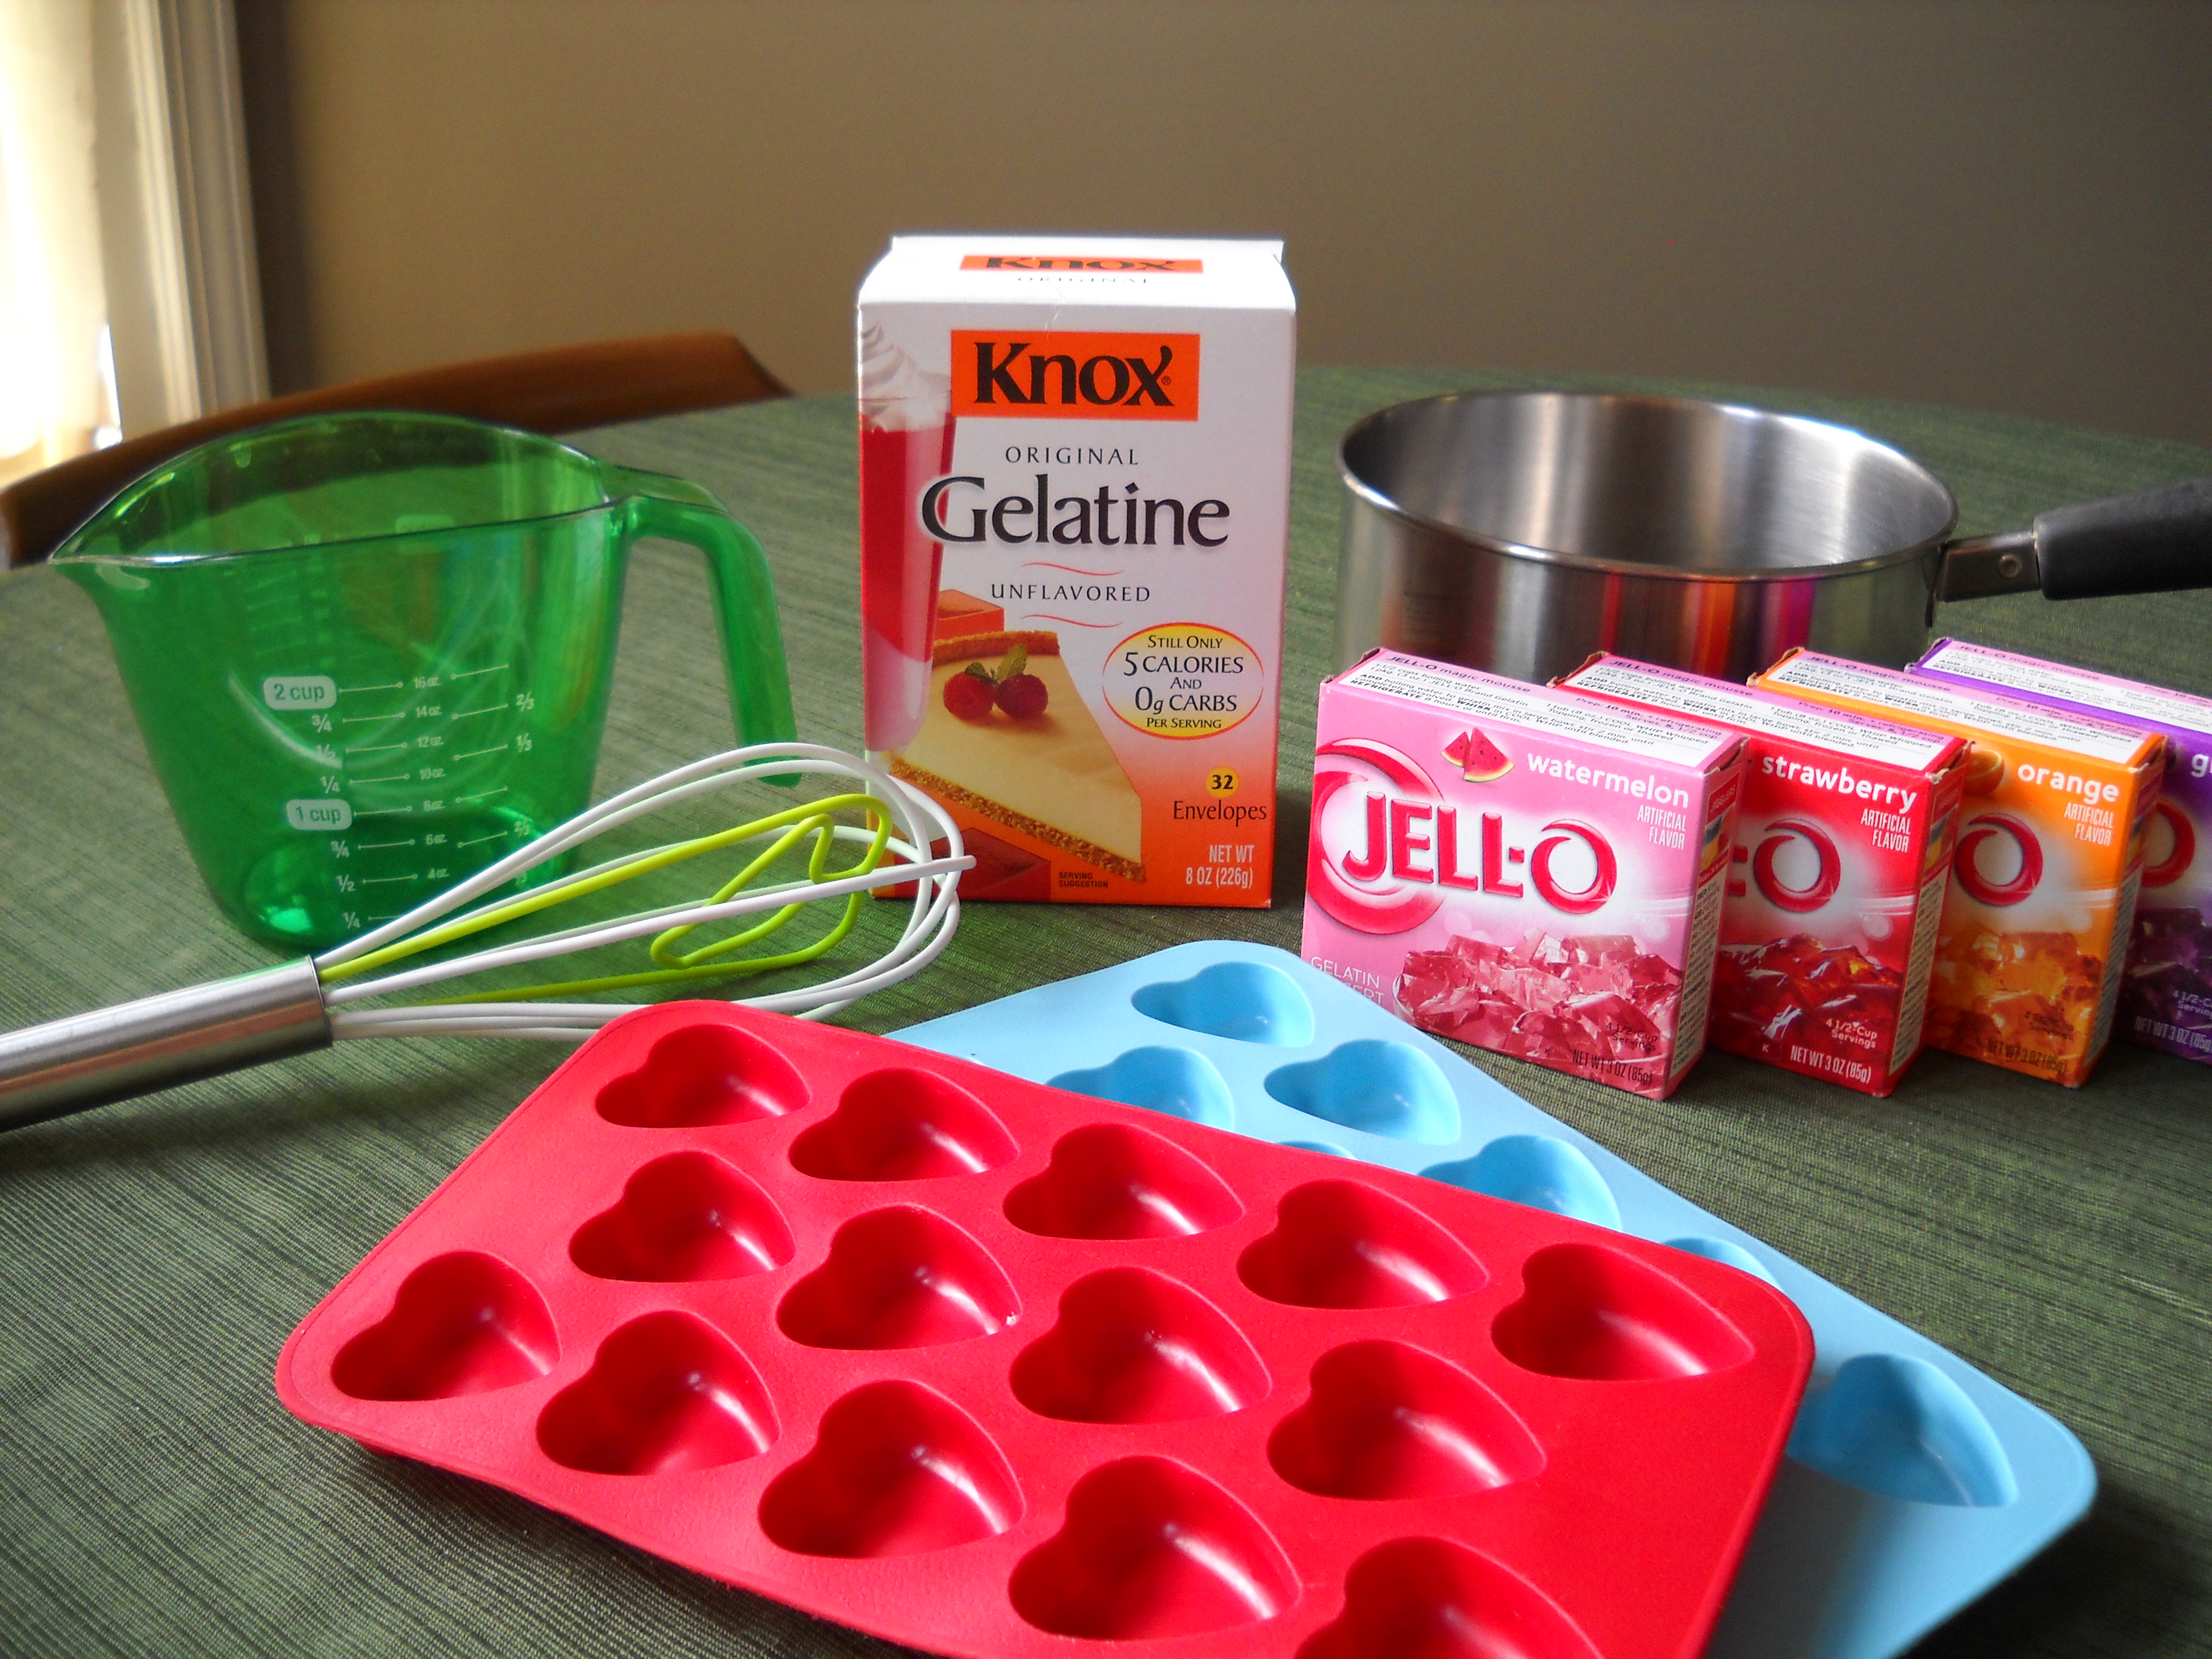
What a lovely coincidence that Valentine’s Day is coming up, and I just happened to own some heart shaped ice cube molds from IKEA that I have only ever used once! ♥
I used the Knox brand of unflavored gelatin which is packaged in small envelopes. You just need one package of Jello, but I selected my four favorite flavors of Jello to make several versions.
Recipe:
Sprinkle the gelatin over the water in a small saucepan. Heat over medium heat and stir until gelatin is completely dissolved. Pour into molds and allow to set at least 20 minutes.
It seems like a very small amount of water, but it will all mix together and dissolve. Just keep whisking. And whisking. 🙂 Use a small spoon to fill the tray. I only filled the hearts halfway and came out with 20 fruit snacks, about one and a half trays. The trick here is to work quickly. If you pause too long, let’s say to take pictures for your blog, the last few spoonfuls will be mighty goopy!
So, was this a WIN or a FAIL?
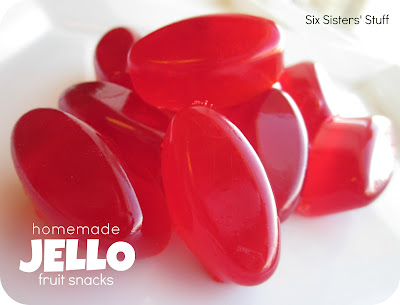
Six Sisters Stuff’s fruit snacks.
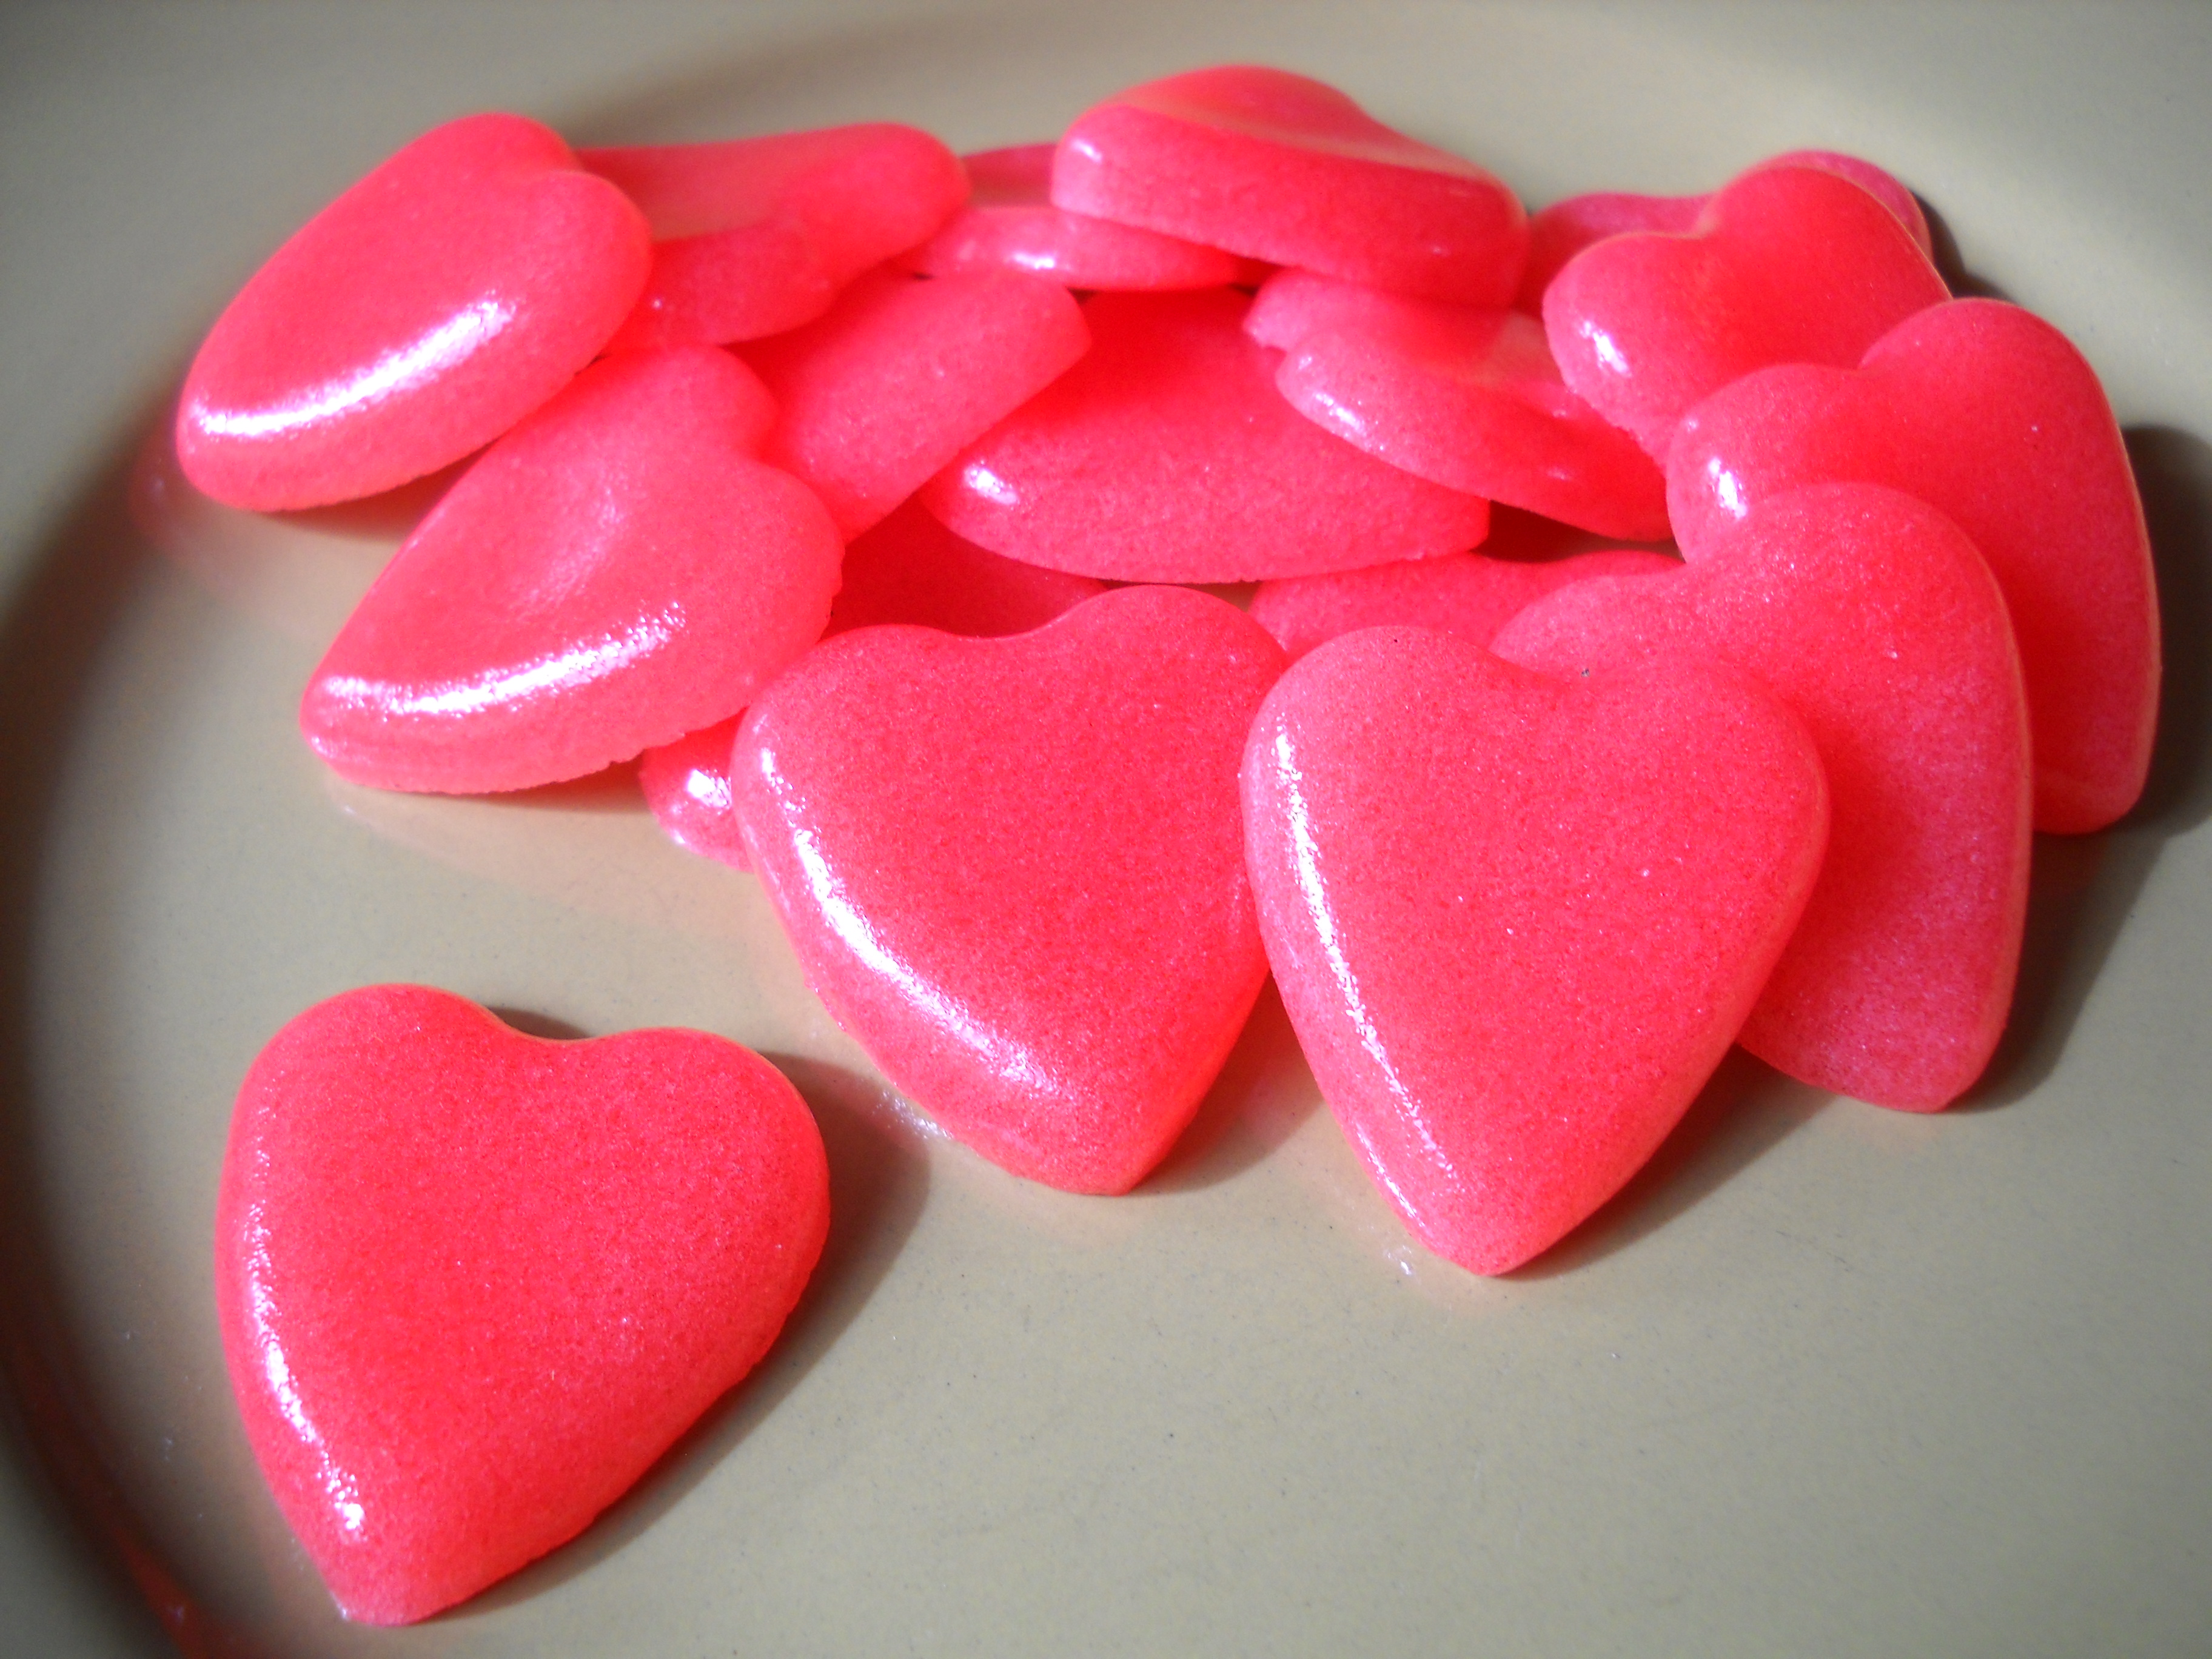
Shiny Happy Peebles’ fruit snacks.
I’d say a WIN! Flavor-wise, they taste really yummy. I think if I had cooked them longer, they might have become clearer, but in my opinion, they don’t look half bad! 🙂
Except for this one.
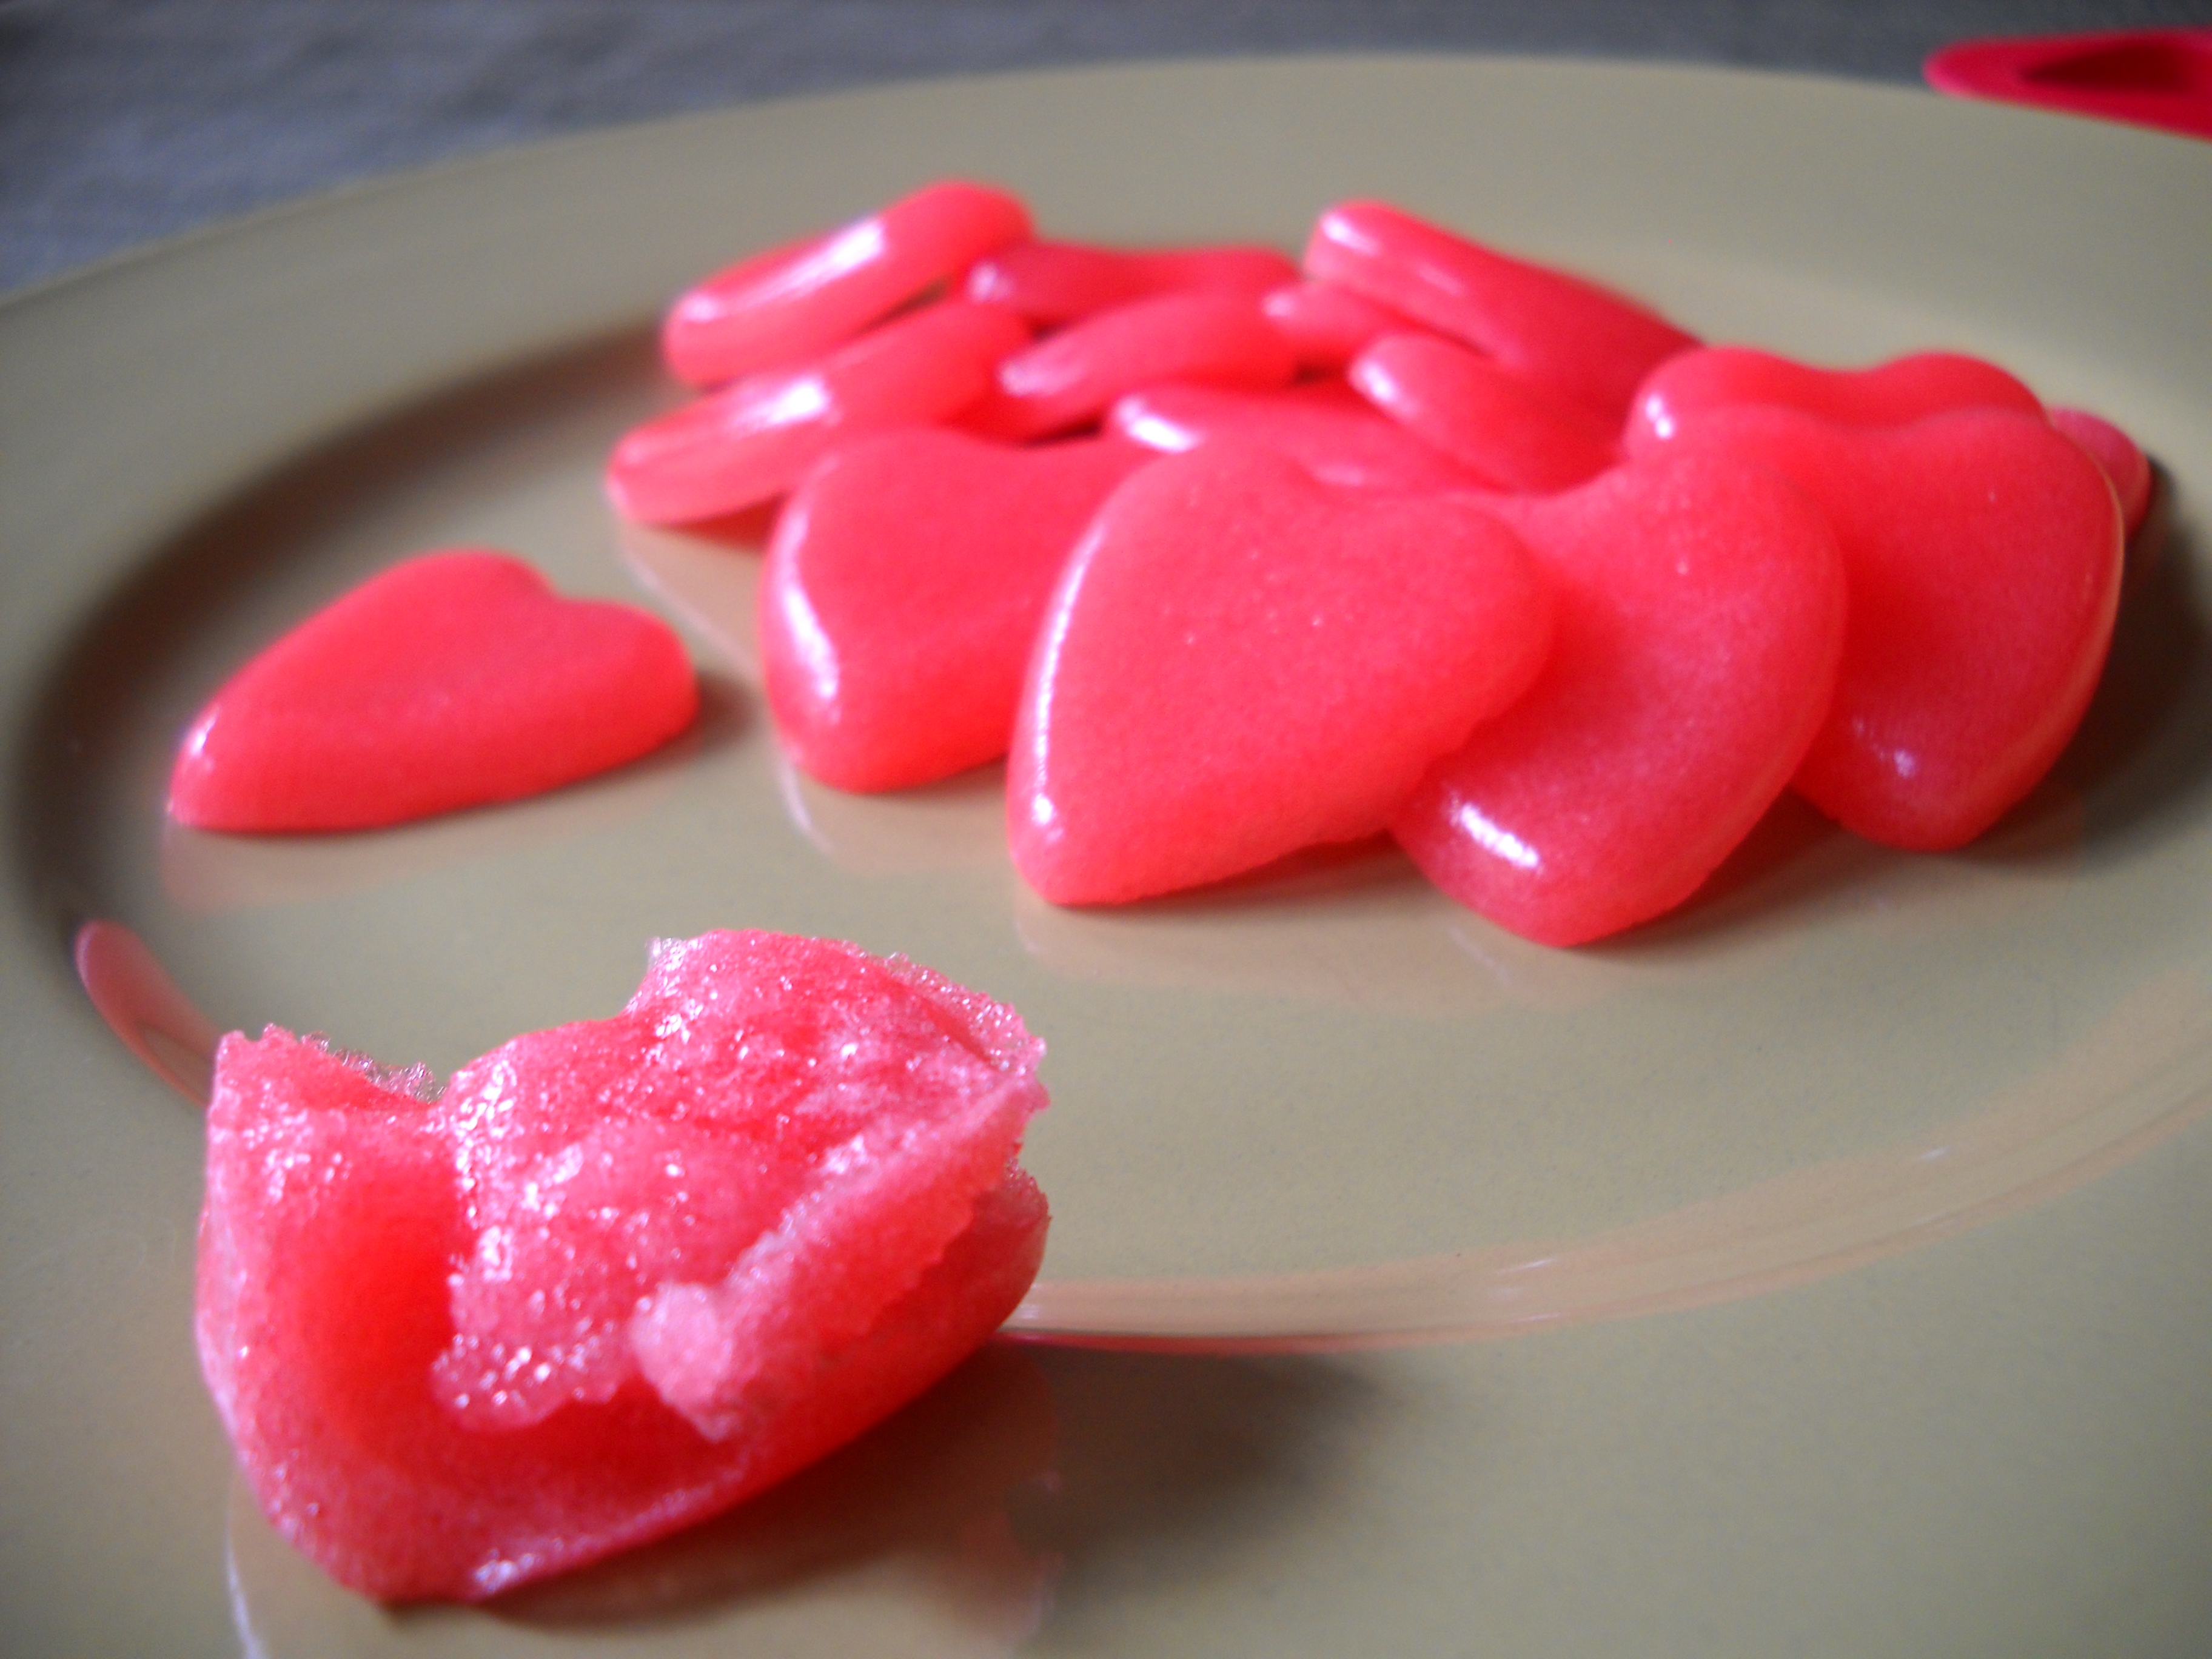
This one actually looks like a human heart.
Update: I made the other flavors and tried cooking them a little longer; definitely improved the look and the texture!
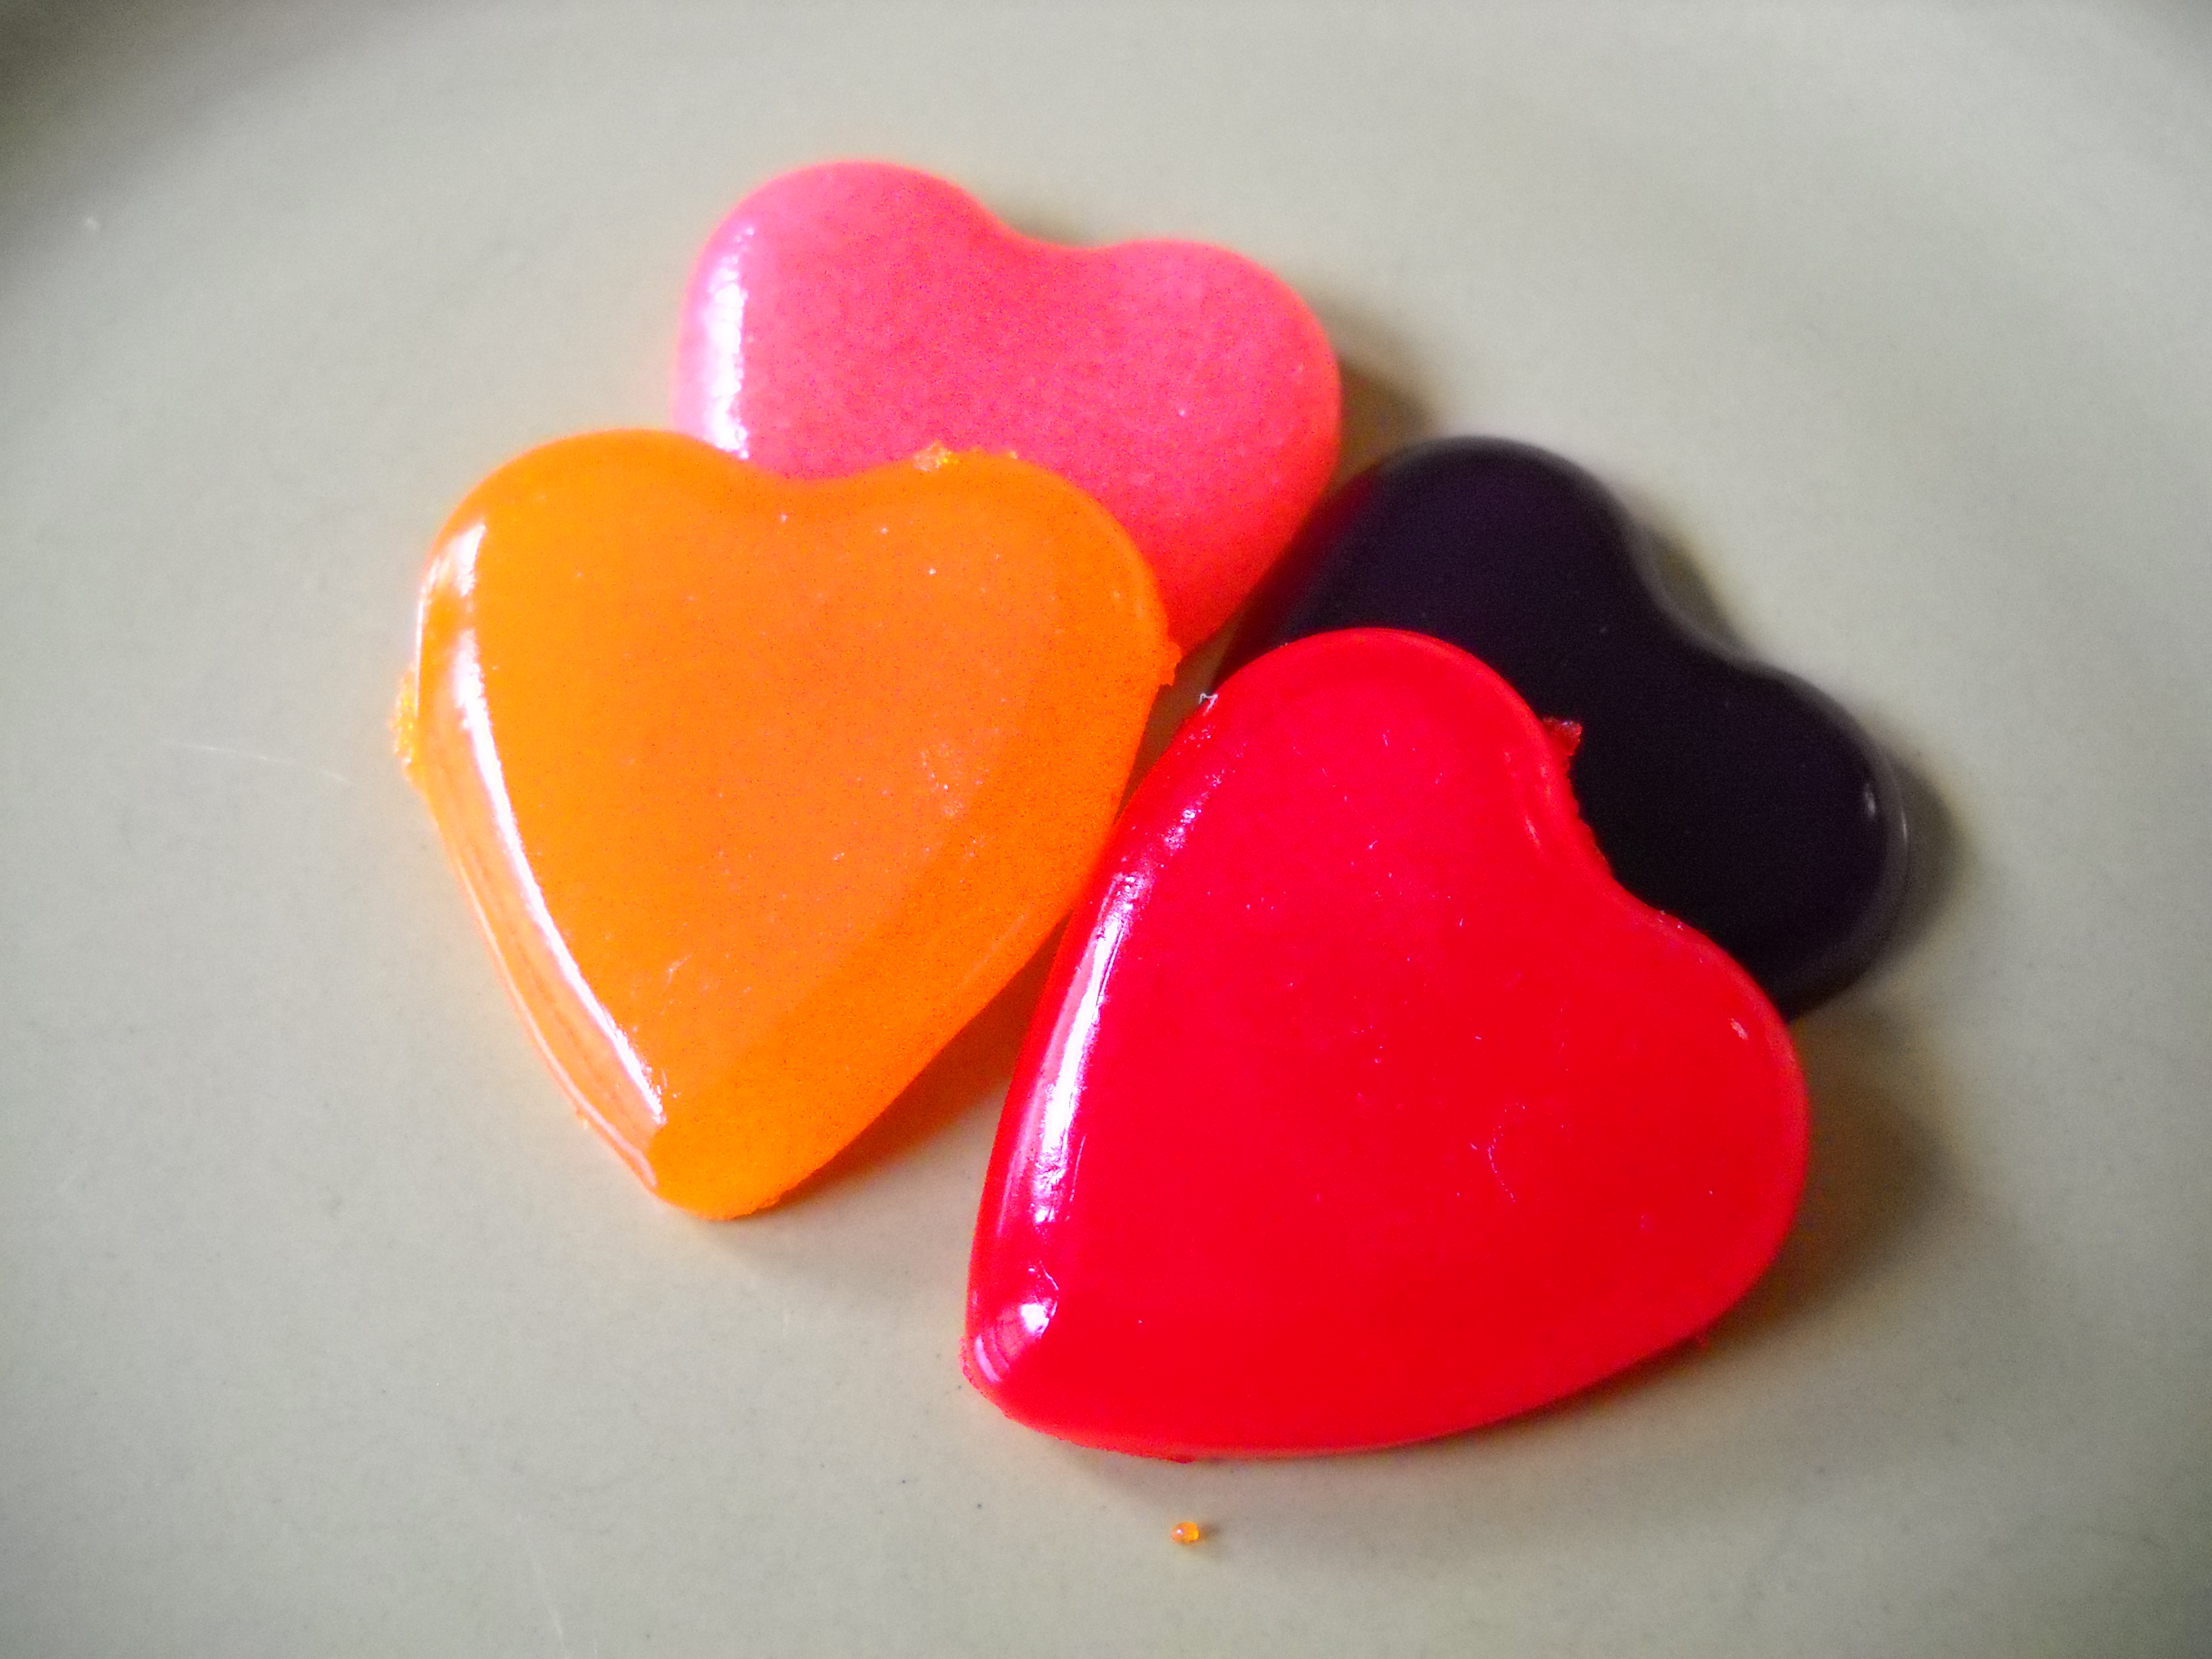
Strawberry, orange, grape, and watermelon!
This pin was very easy to check off my Pinterest Challenge. In fact, I have literally made it a dozen times in the last month. I may or may not have the recipe memorized. I mean, instant comfort food? It doesn’t get better than that! It is also nice for a two-person household that does NOT need an entire batch of brownies sitting around.
I find the portion to be a little big for one person, so usually I scoop out half of the brownie for the hubby and fill that little nook with ice cream. Also, I would recommend making it with vegetable oil instead of olive oil. The olive oil is a bit strong for me, and the flavor can come through the chocolate. Which is weird. Like a chocolate covered garlic breadstick. 😦
Another nice tweak is to plop a spoonful of Nutella on that sucker after it’s done in the microwave! Ooey-gooey brownie covered in melty Nutella goodness. Yes, please!

Source: toppicjunk.com via whatkatyatenext on Pinterest
