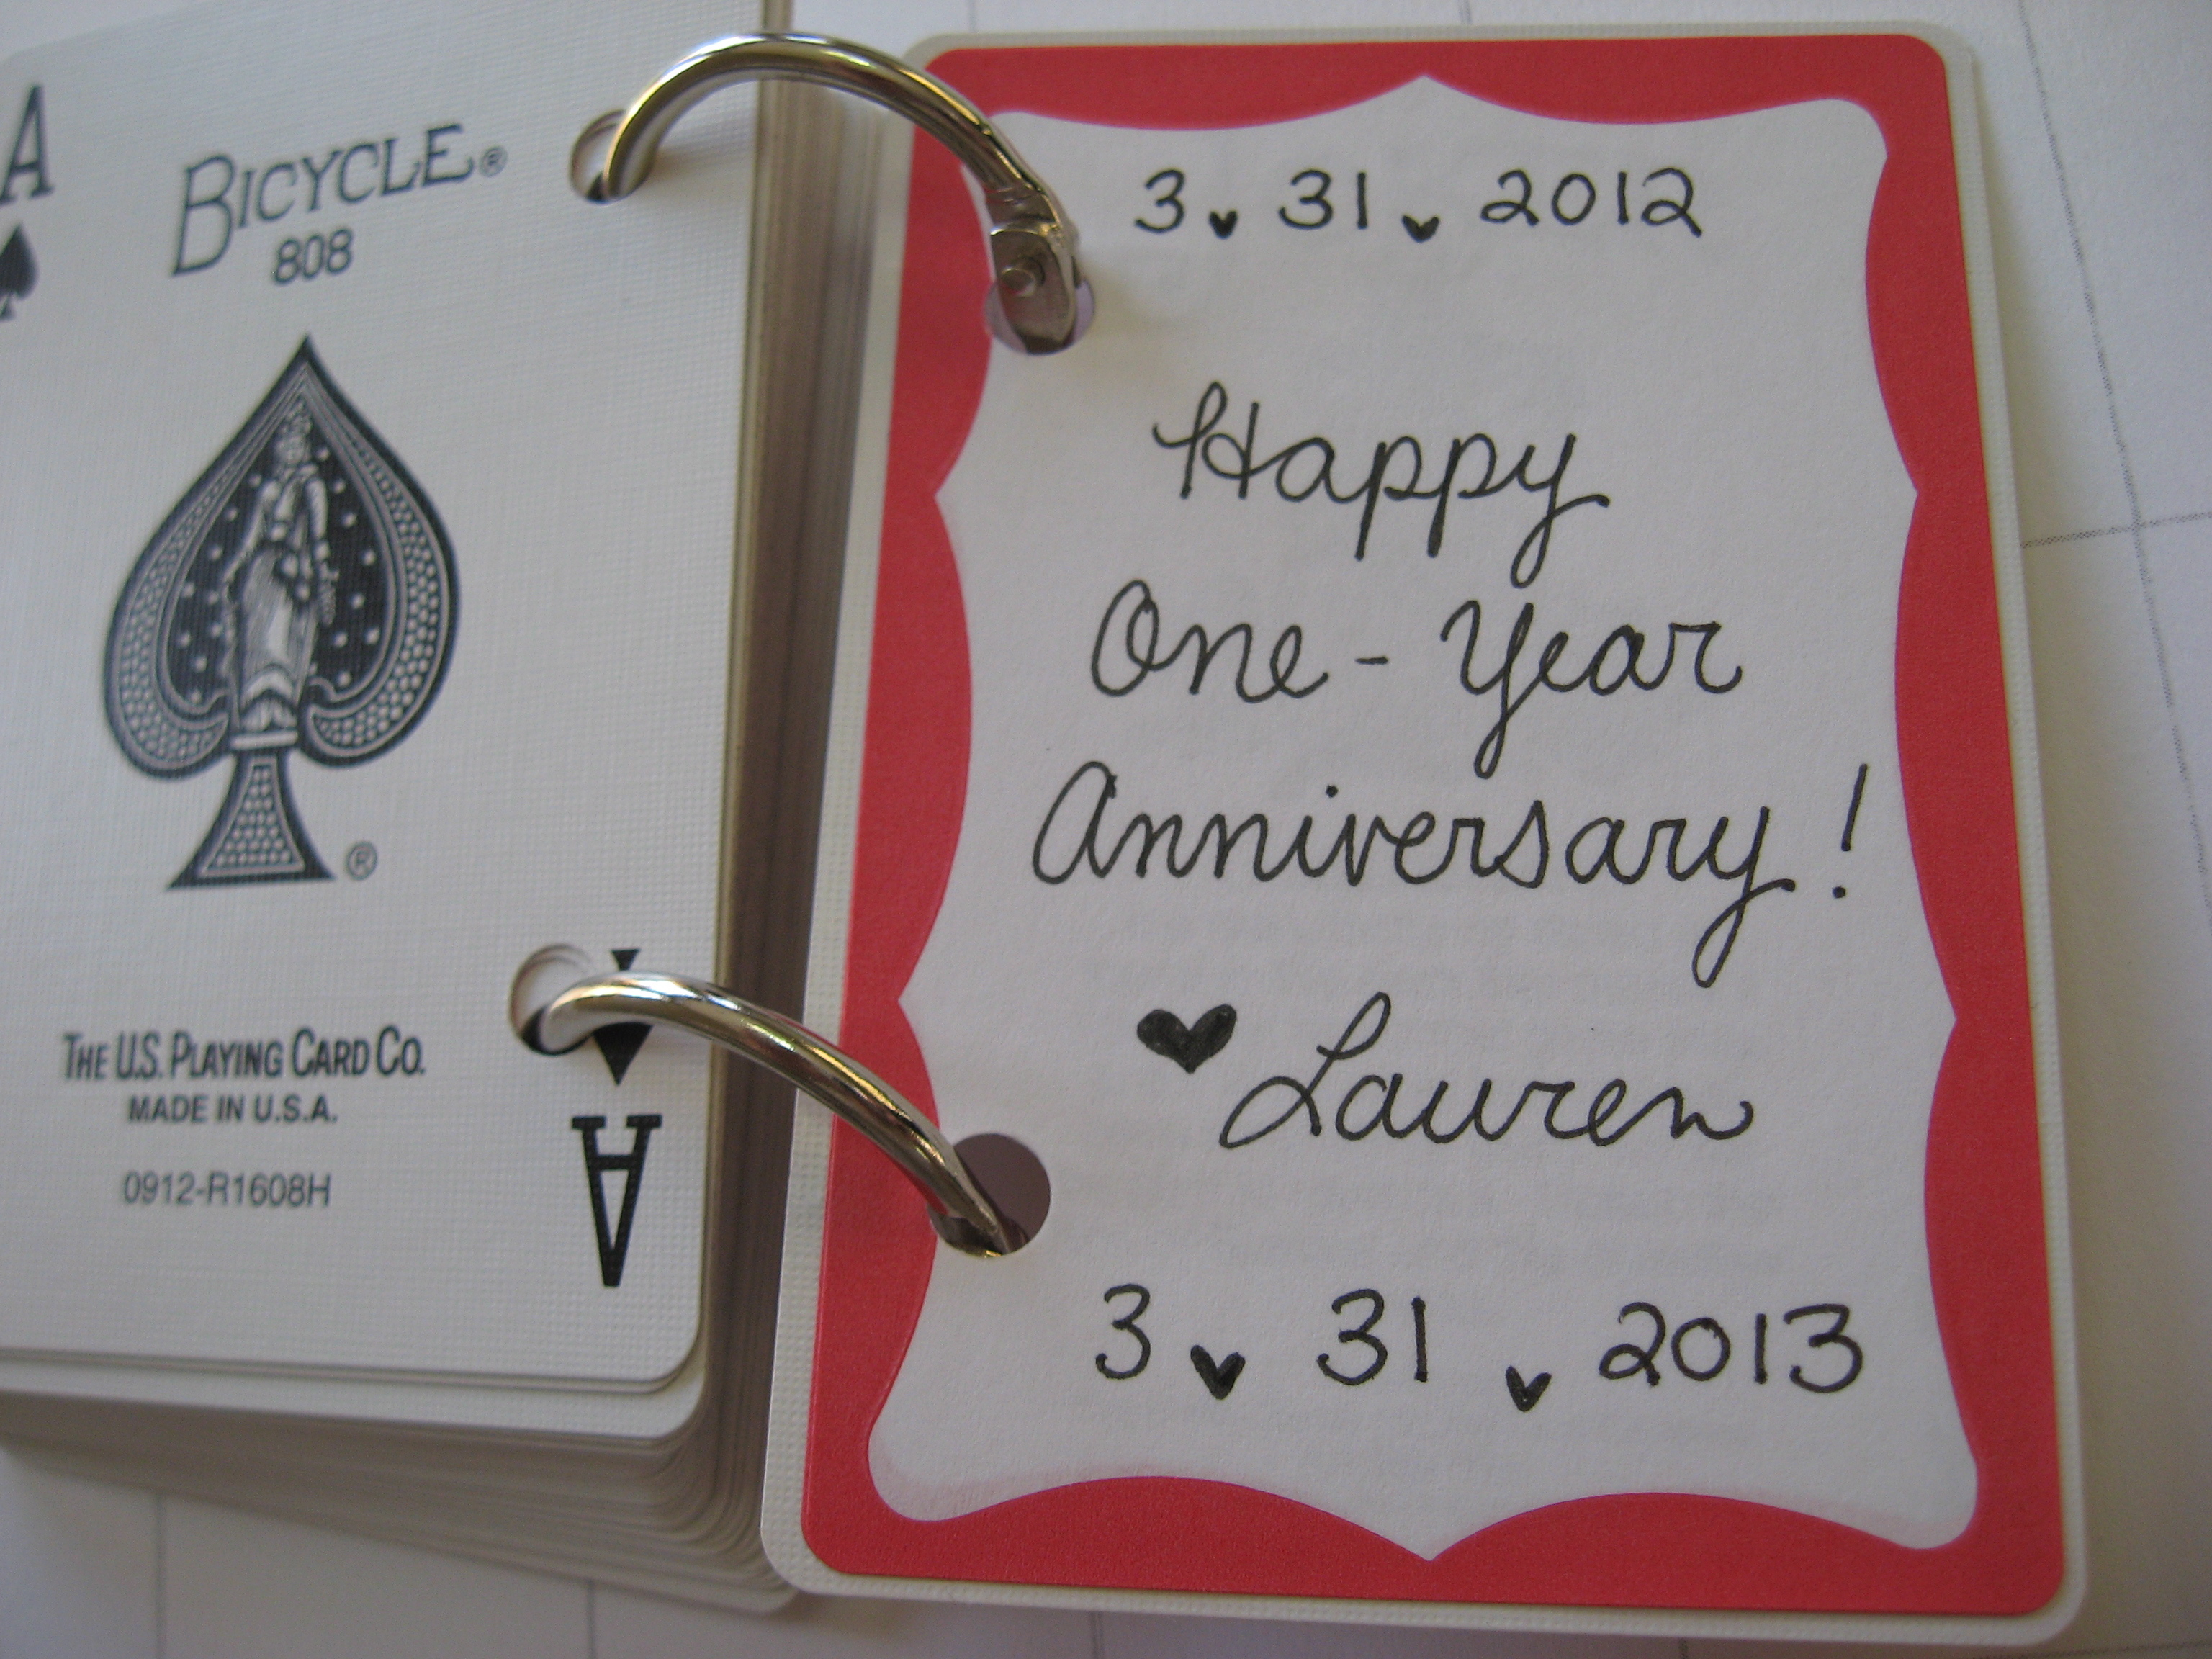
I have been saving this project from my Pinterest Challenge for a very special occasion: our 1-year anniversary! Since the traditional gift for your first anniversary is paper, it seemed like the perfect present for my other half.

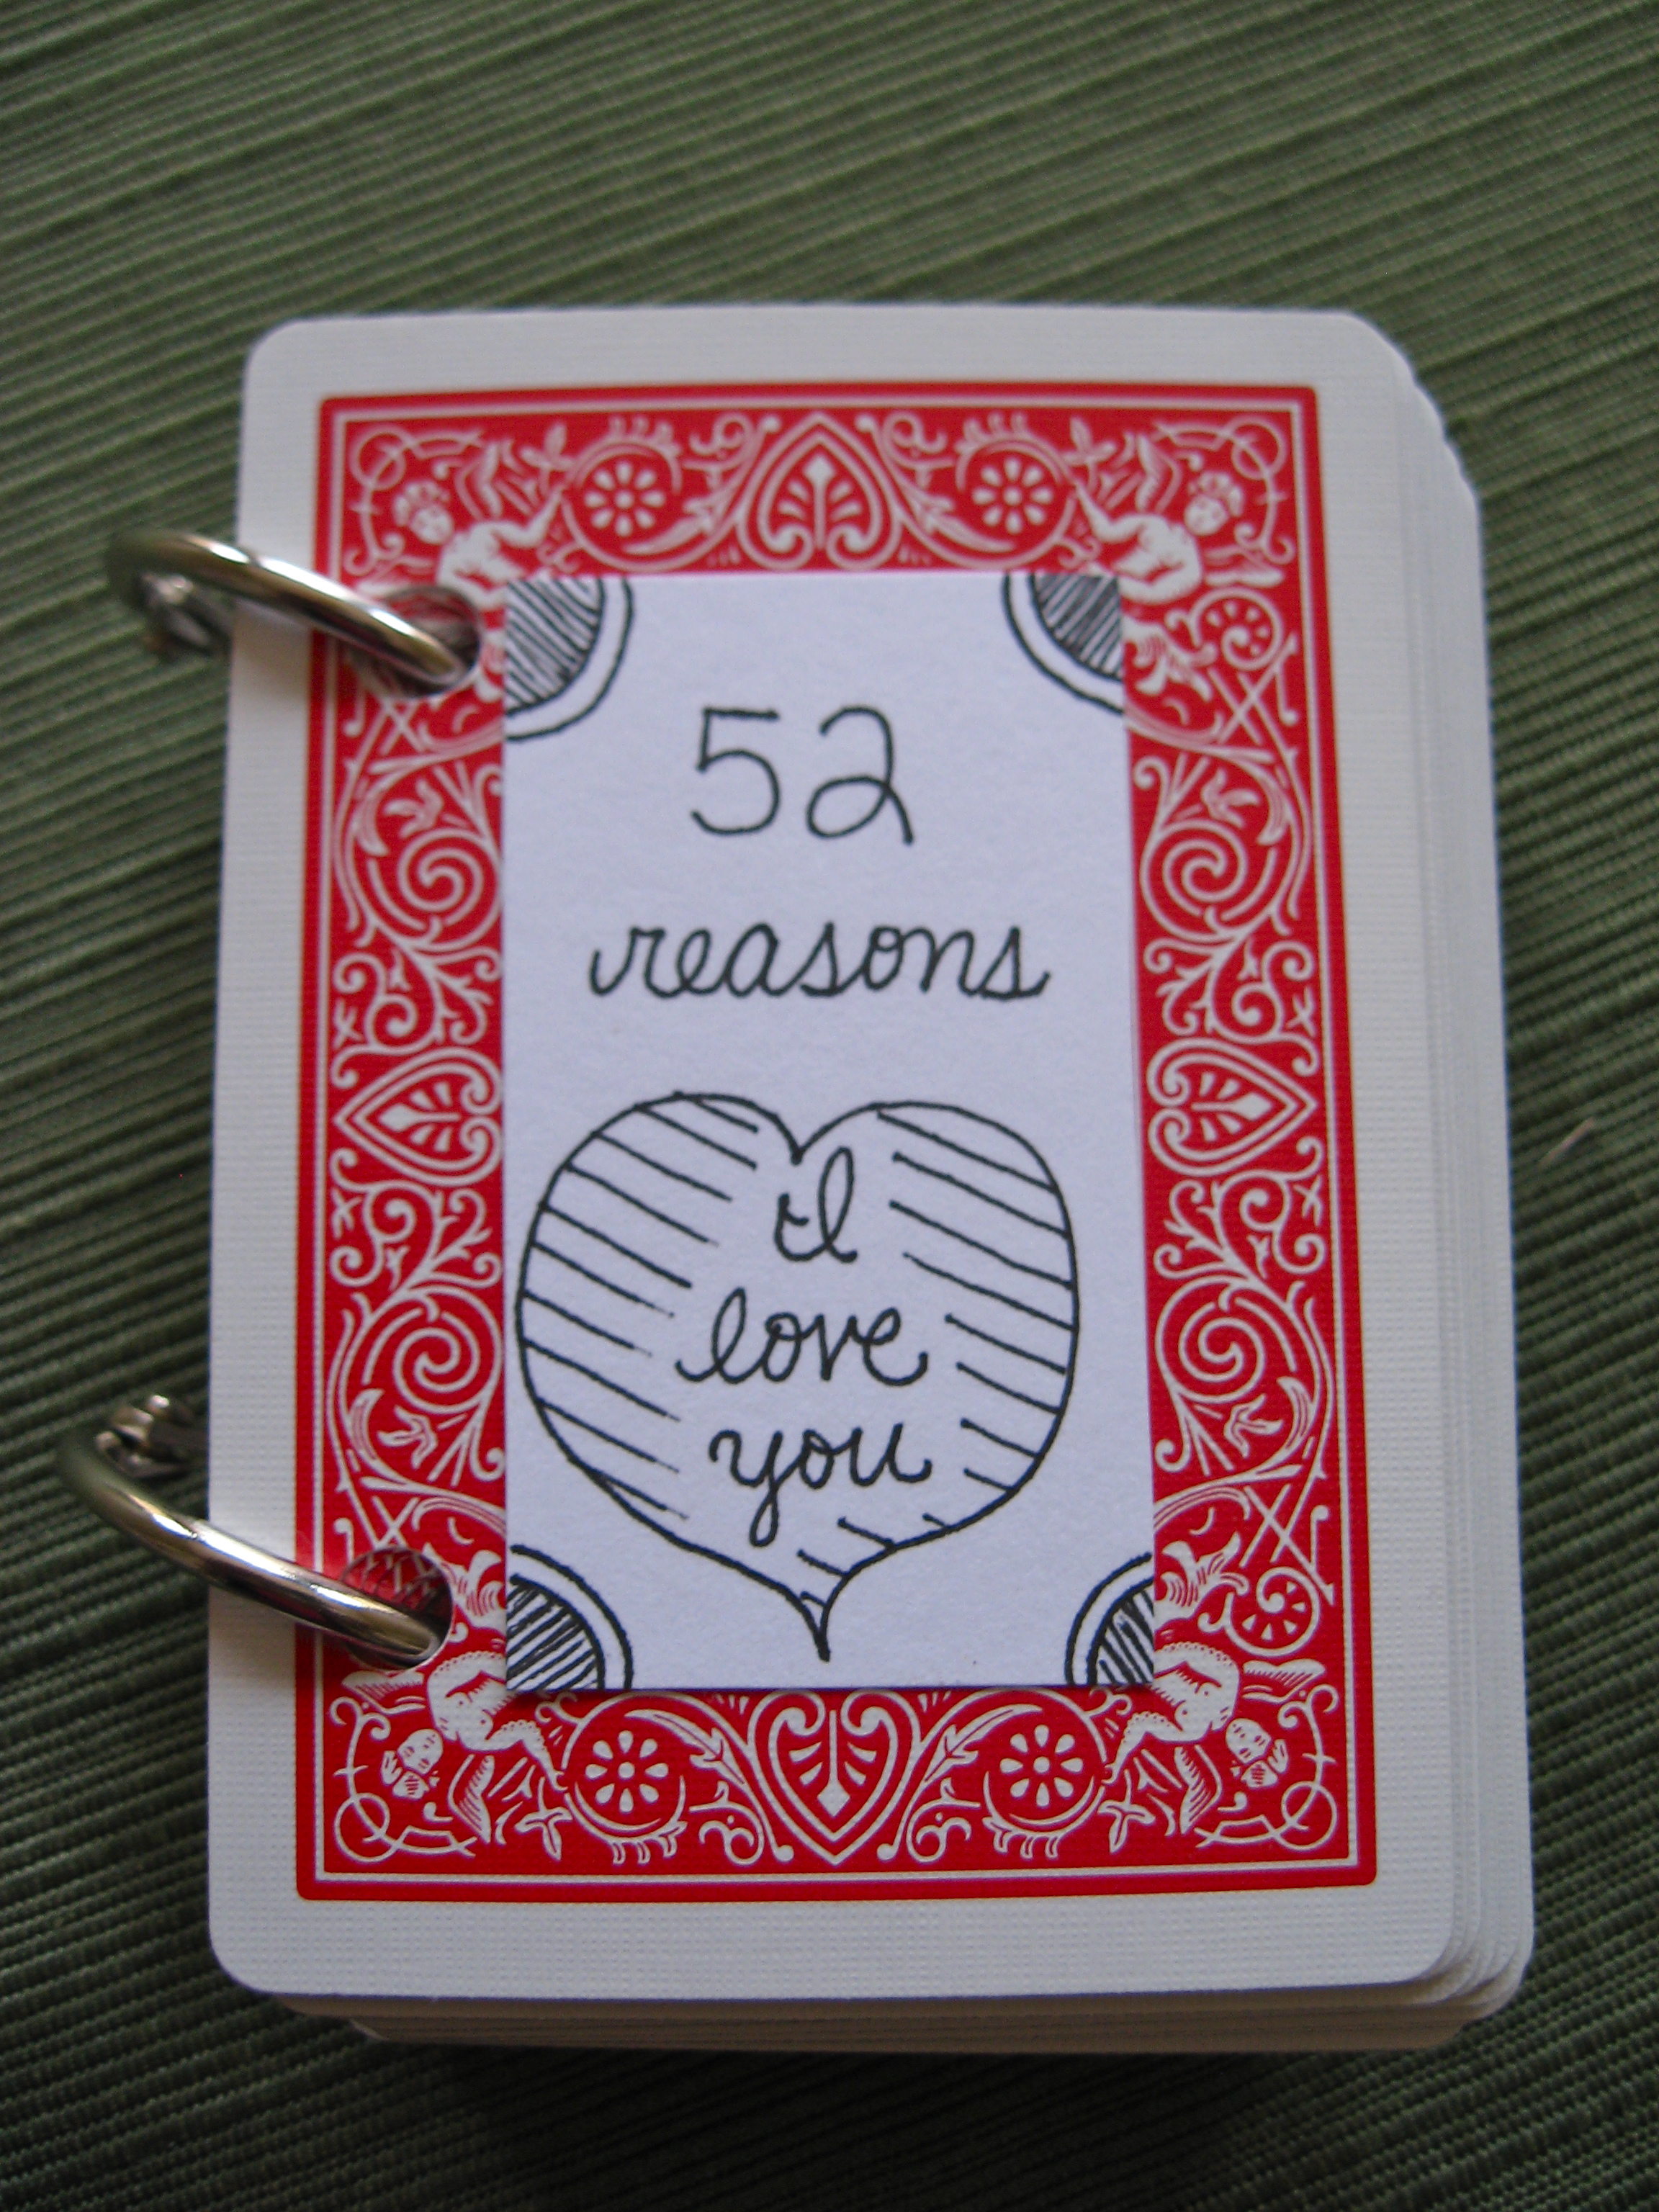
ShinyHappyPeebles’ Deck of Love
I love handmade presents! Plus, this is such an unconventional use of an every day item. 🙂 While the time investment is substantial, the cost is minimal.
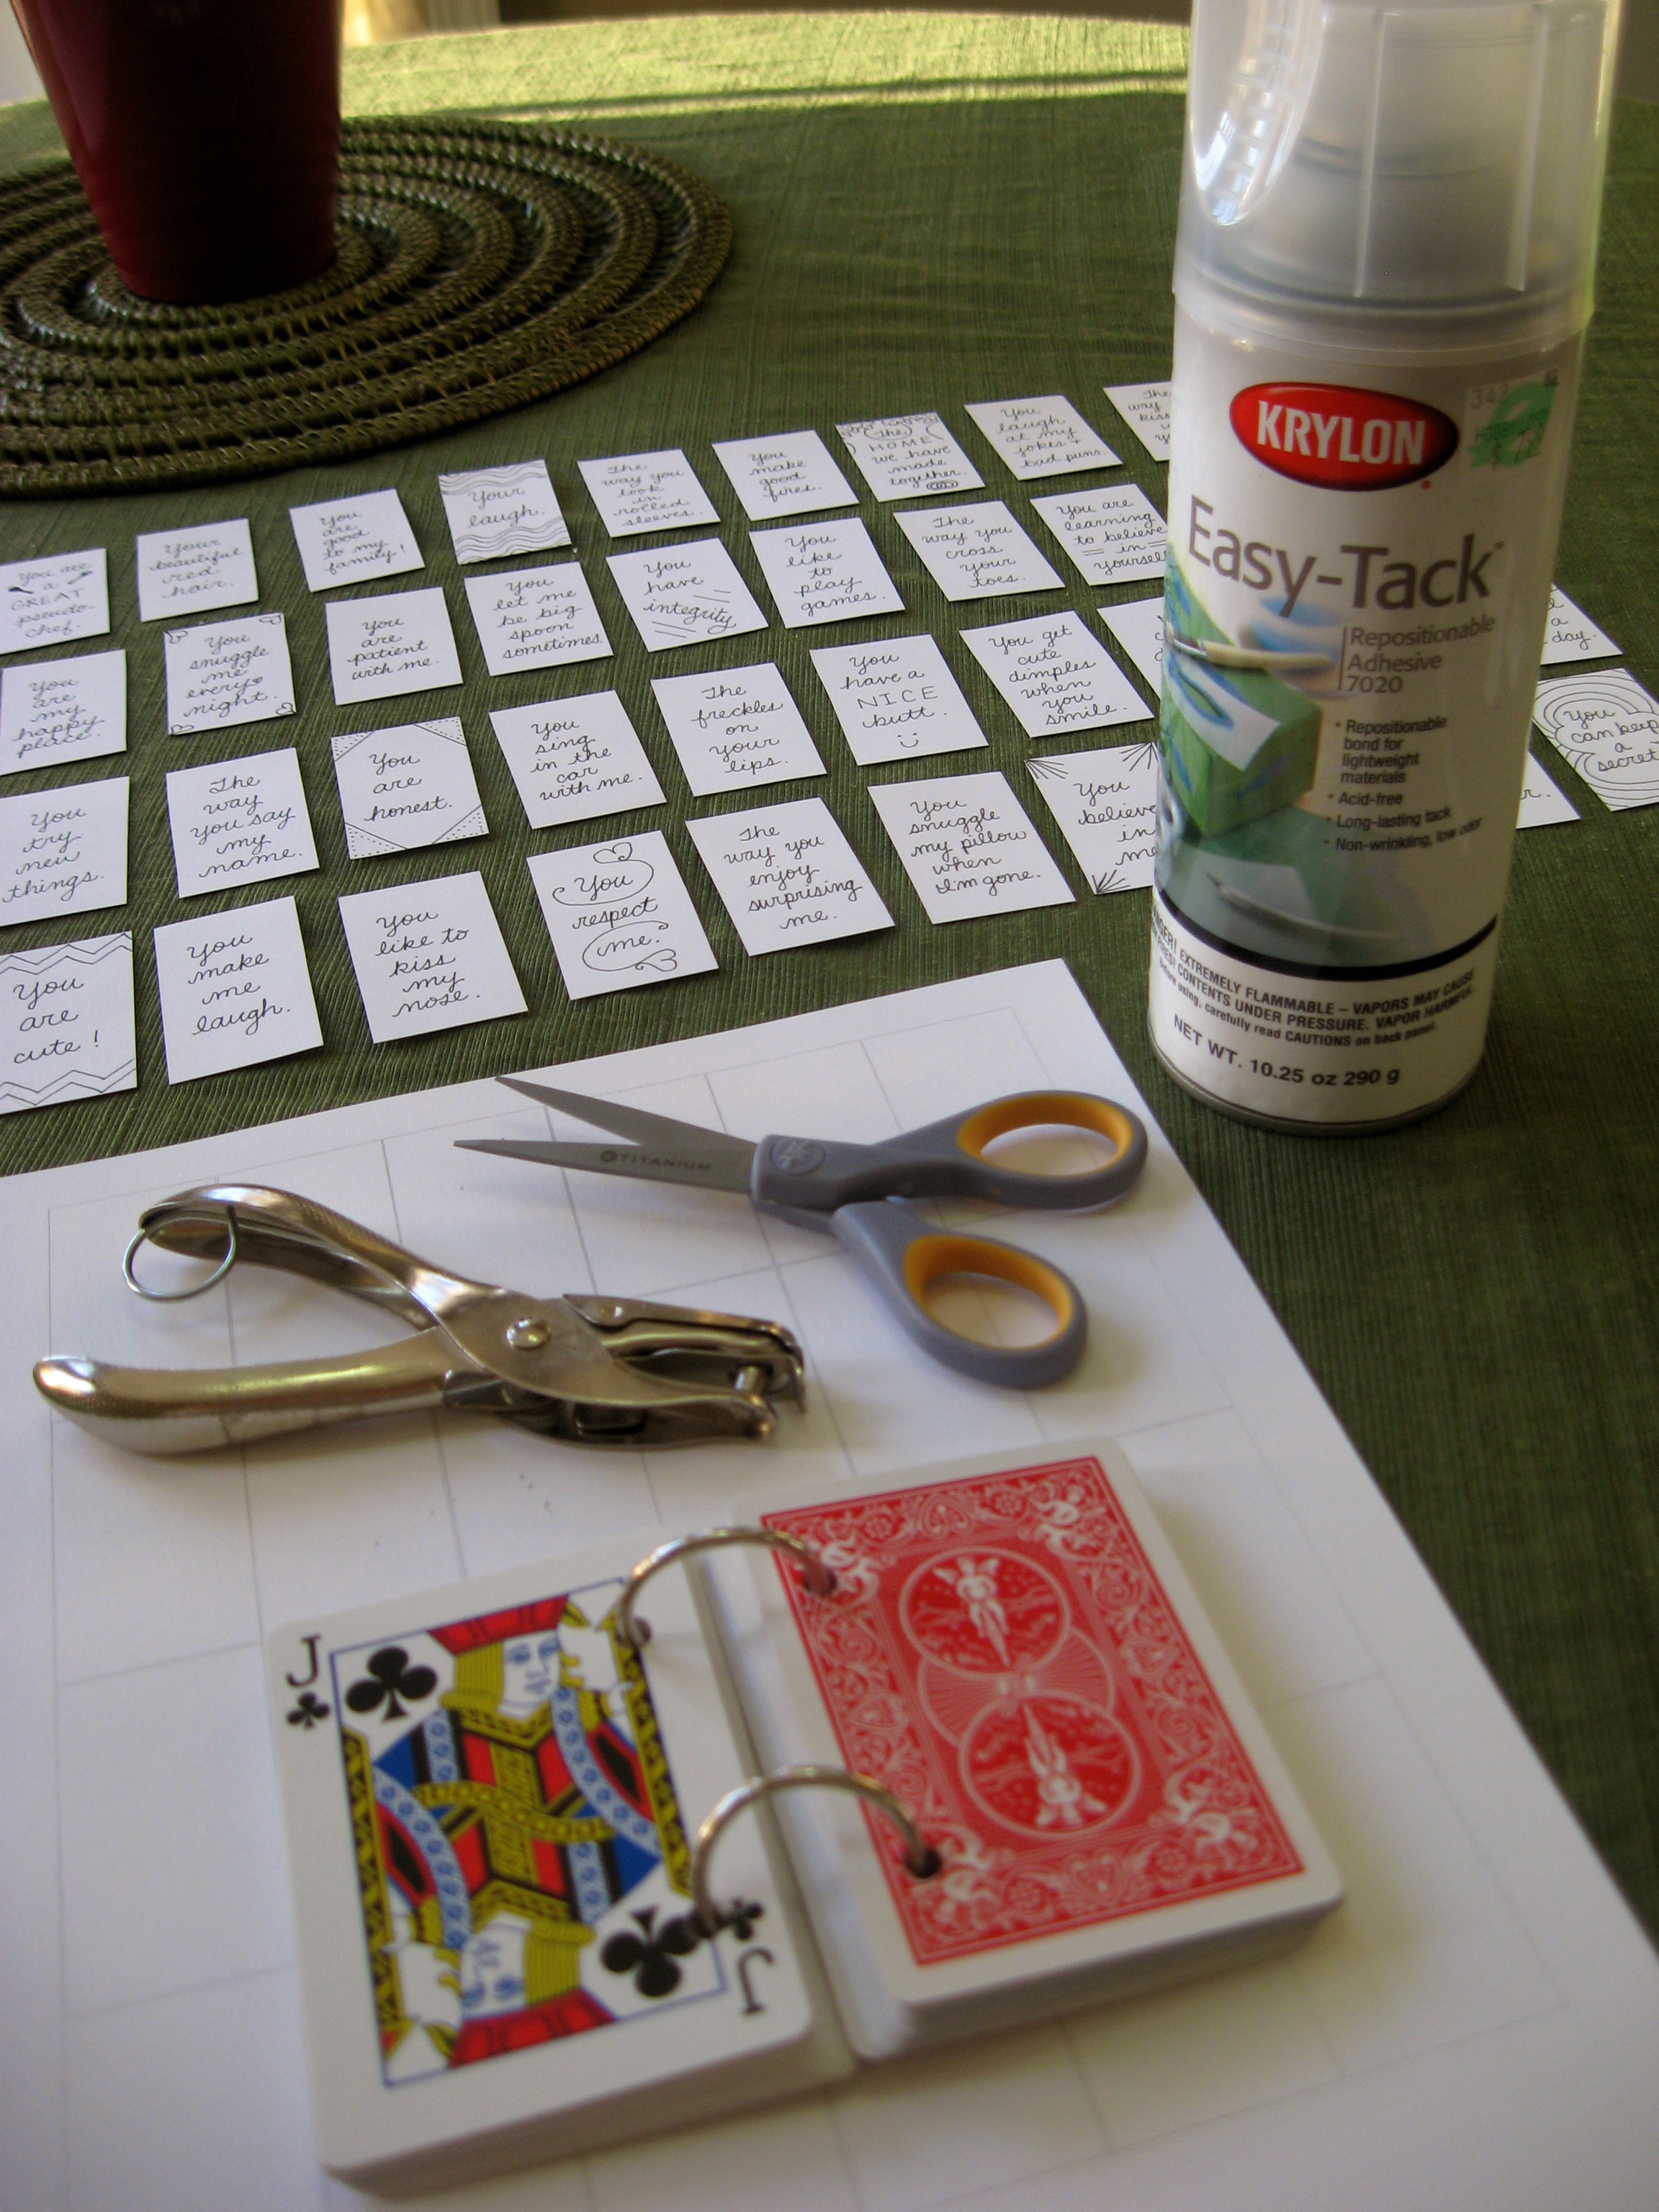
Here is what you need: deck of cards, hole punch, binder rings, card stock, adhesive spray.

Supplies: less than $20
Take one of the joker cards from the deck to create a stencil for punching the holes in the other cards. Using a printer or a ruler, create a table of 1.25 by 2.25 inch rectangles on the card stock. I would recommend making more than 53 because you will make mistakes!
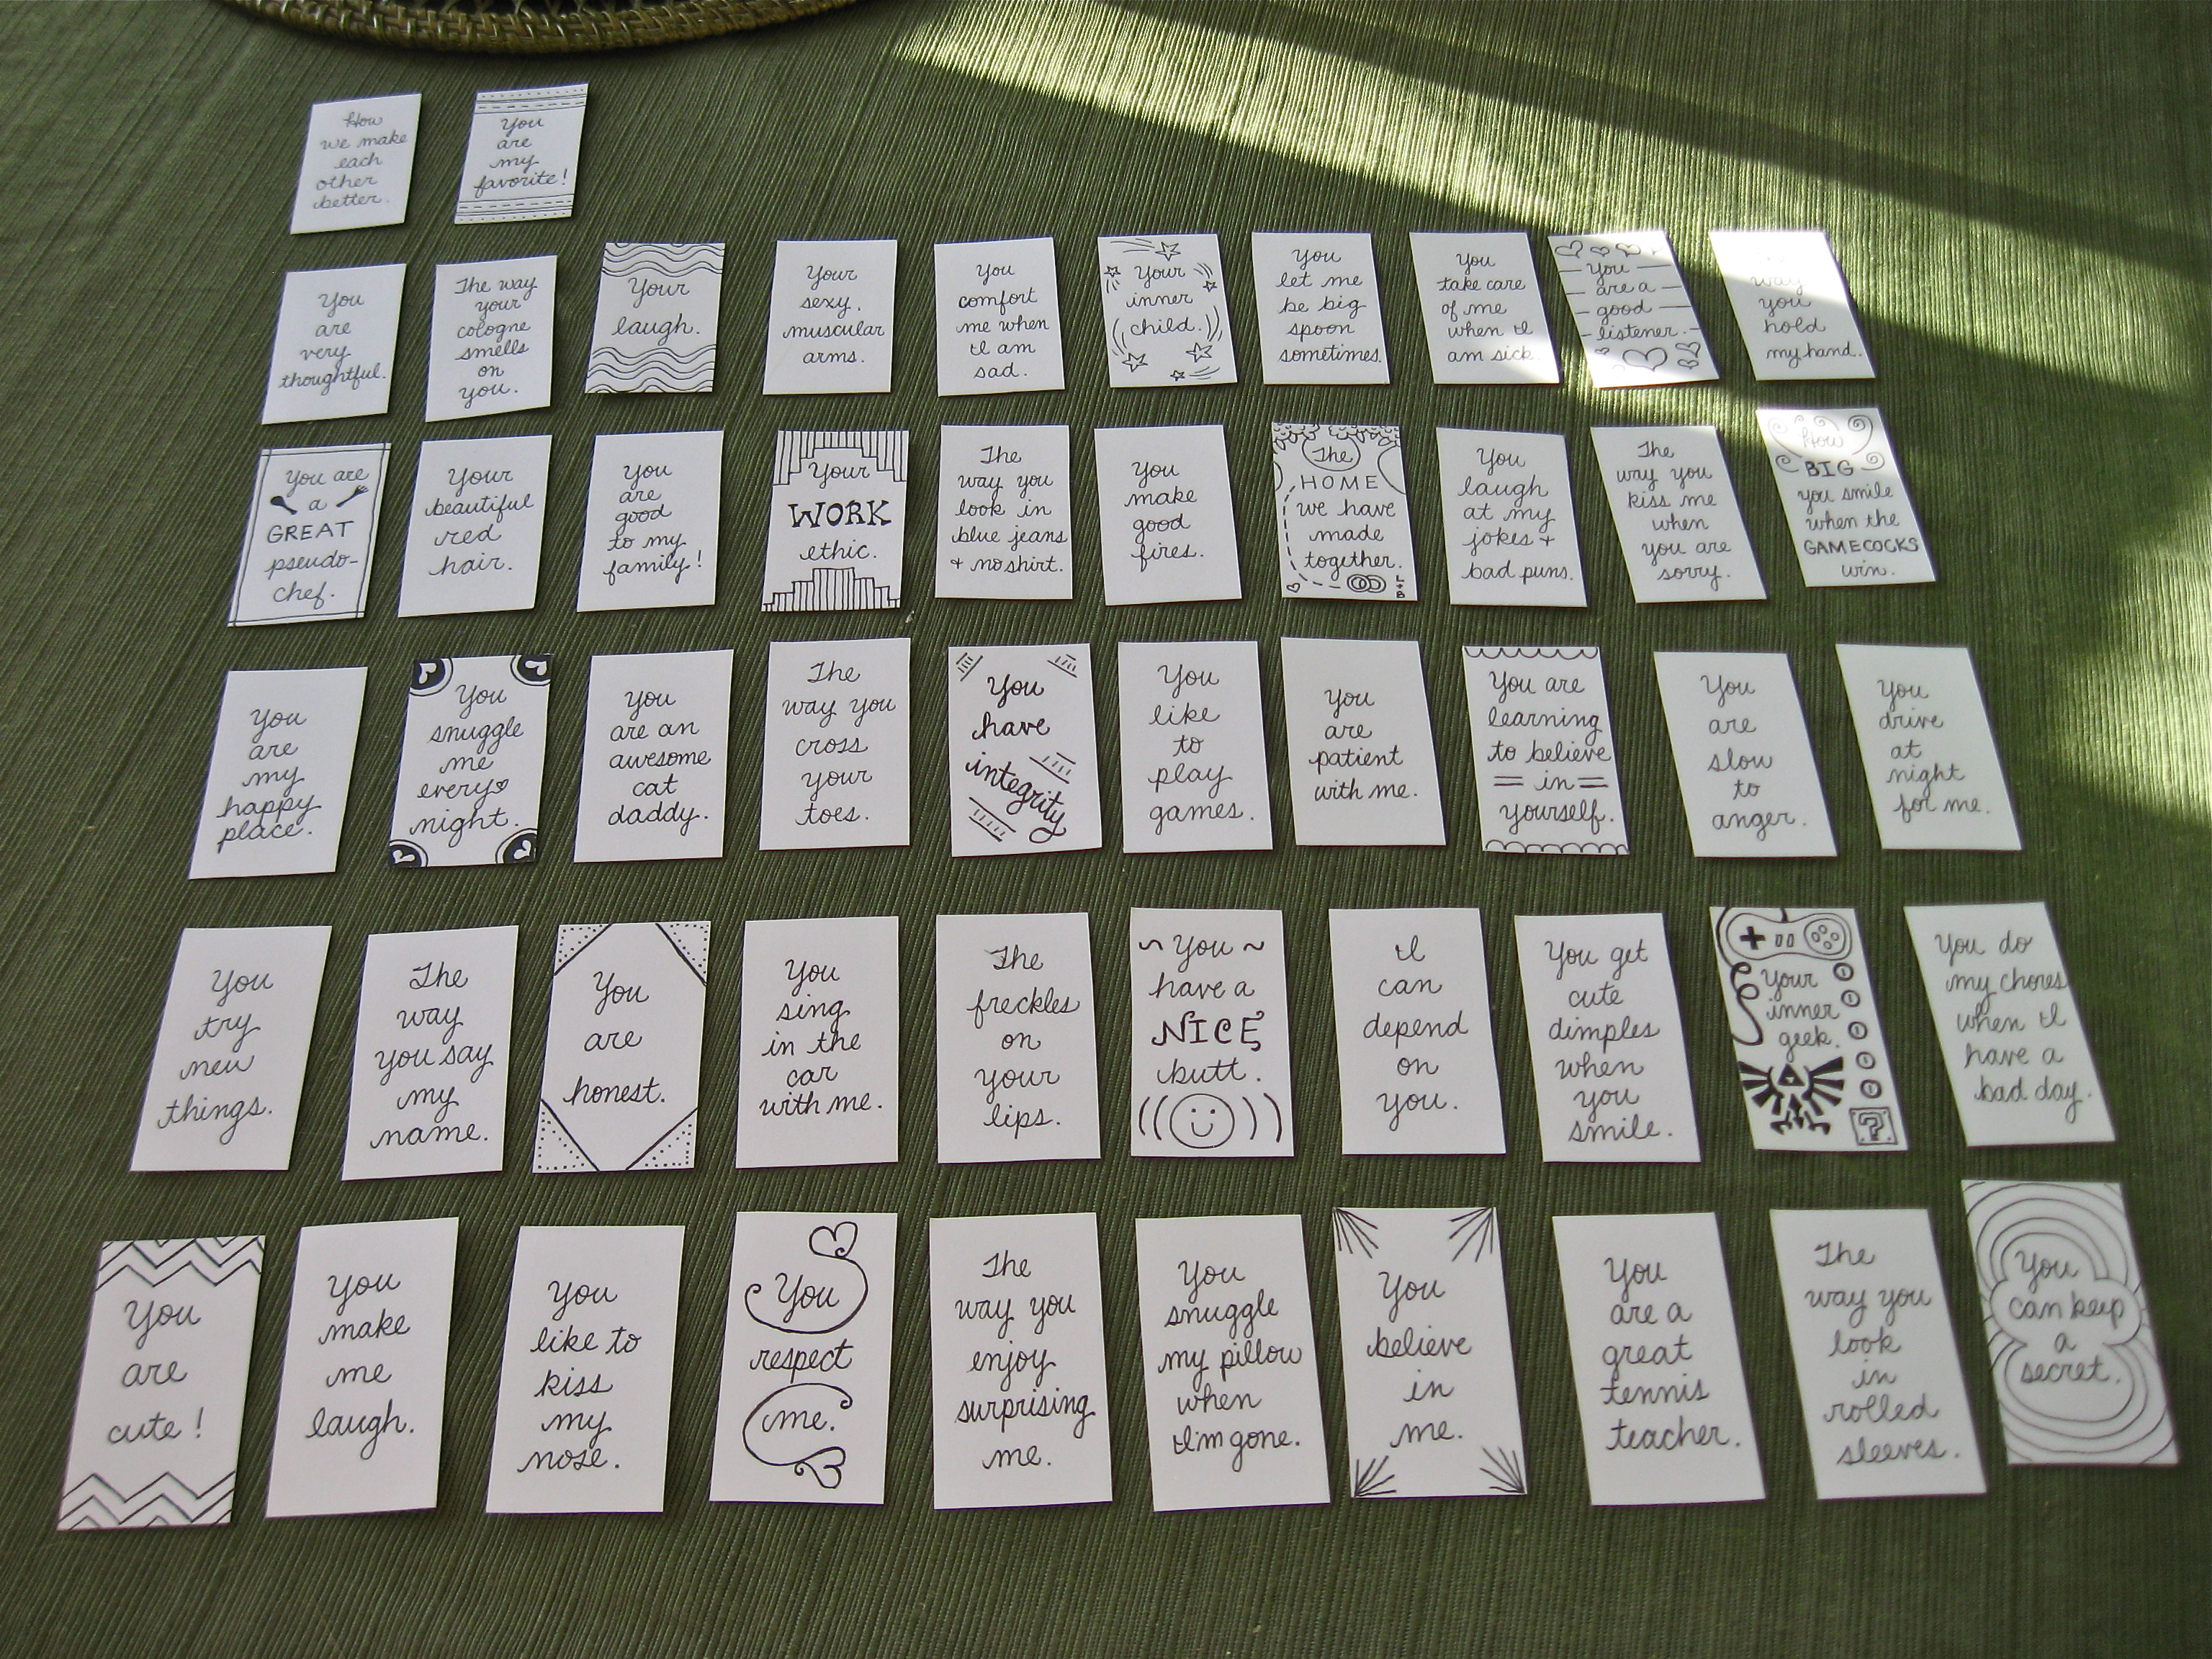
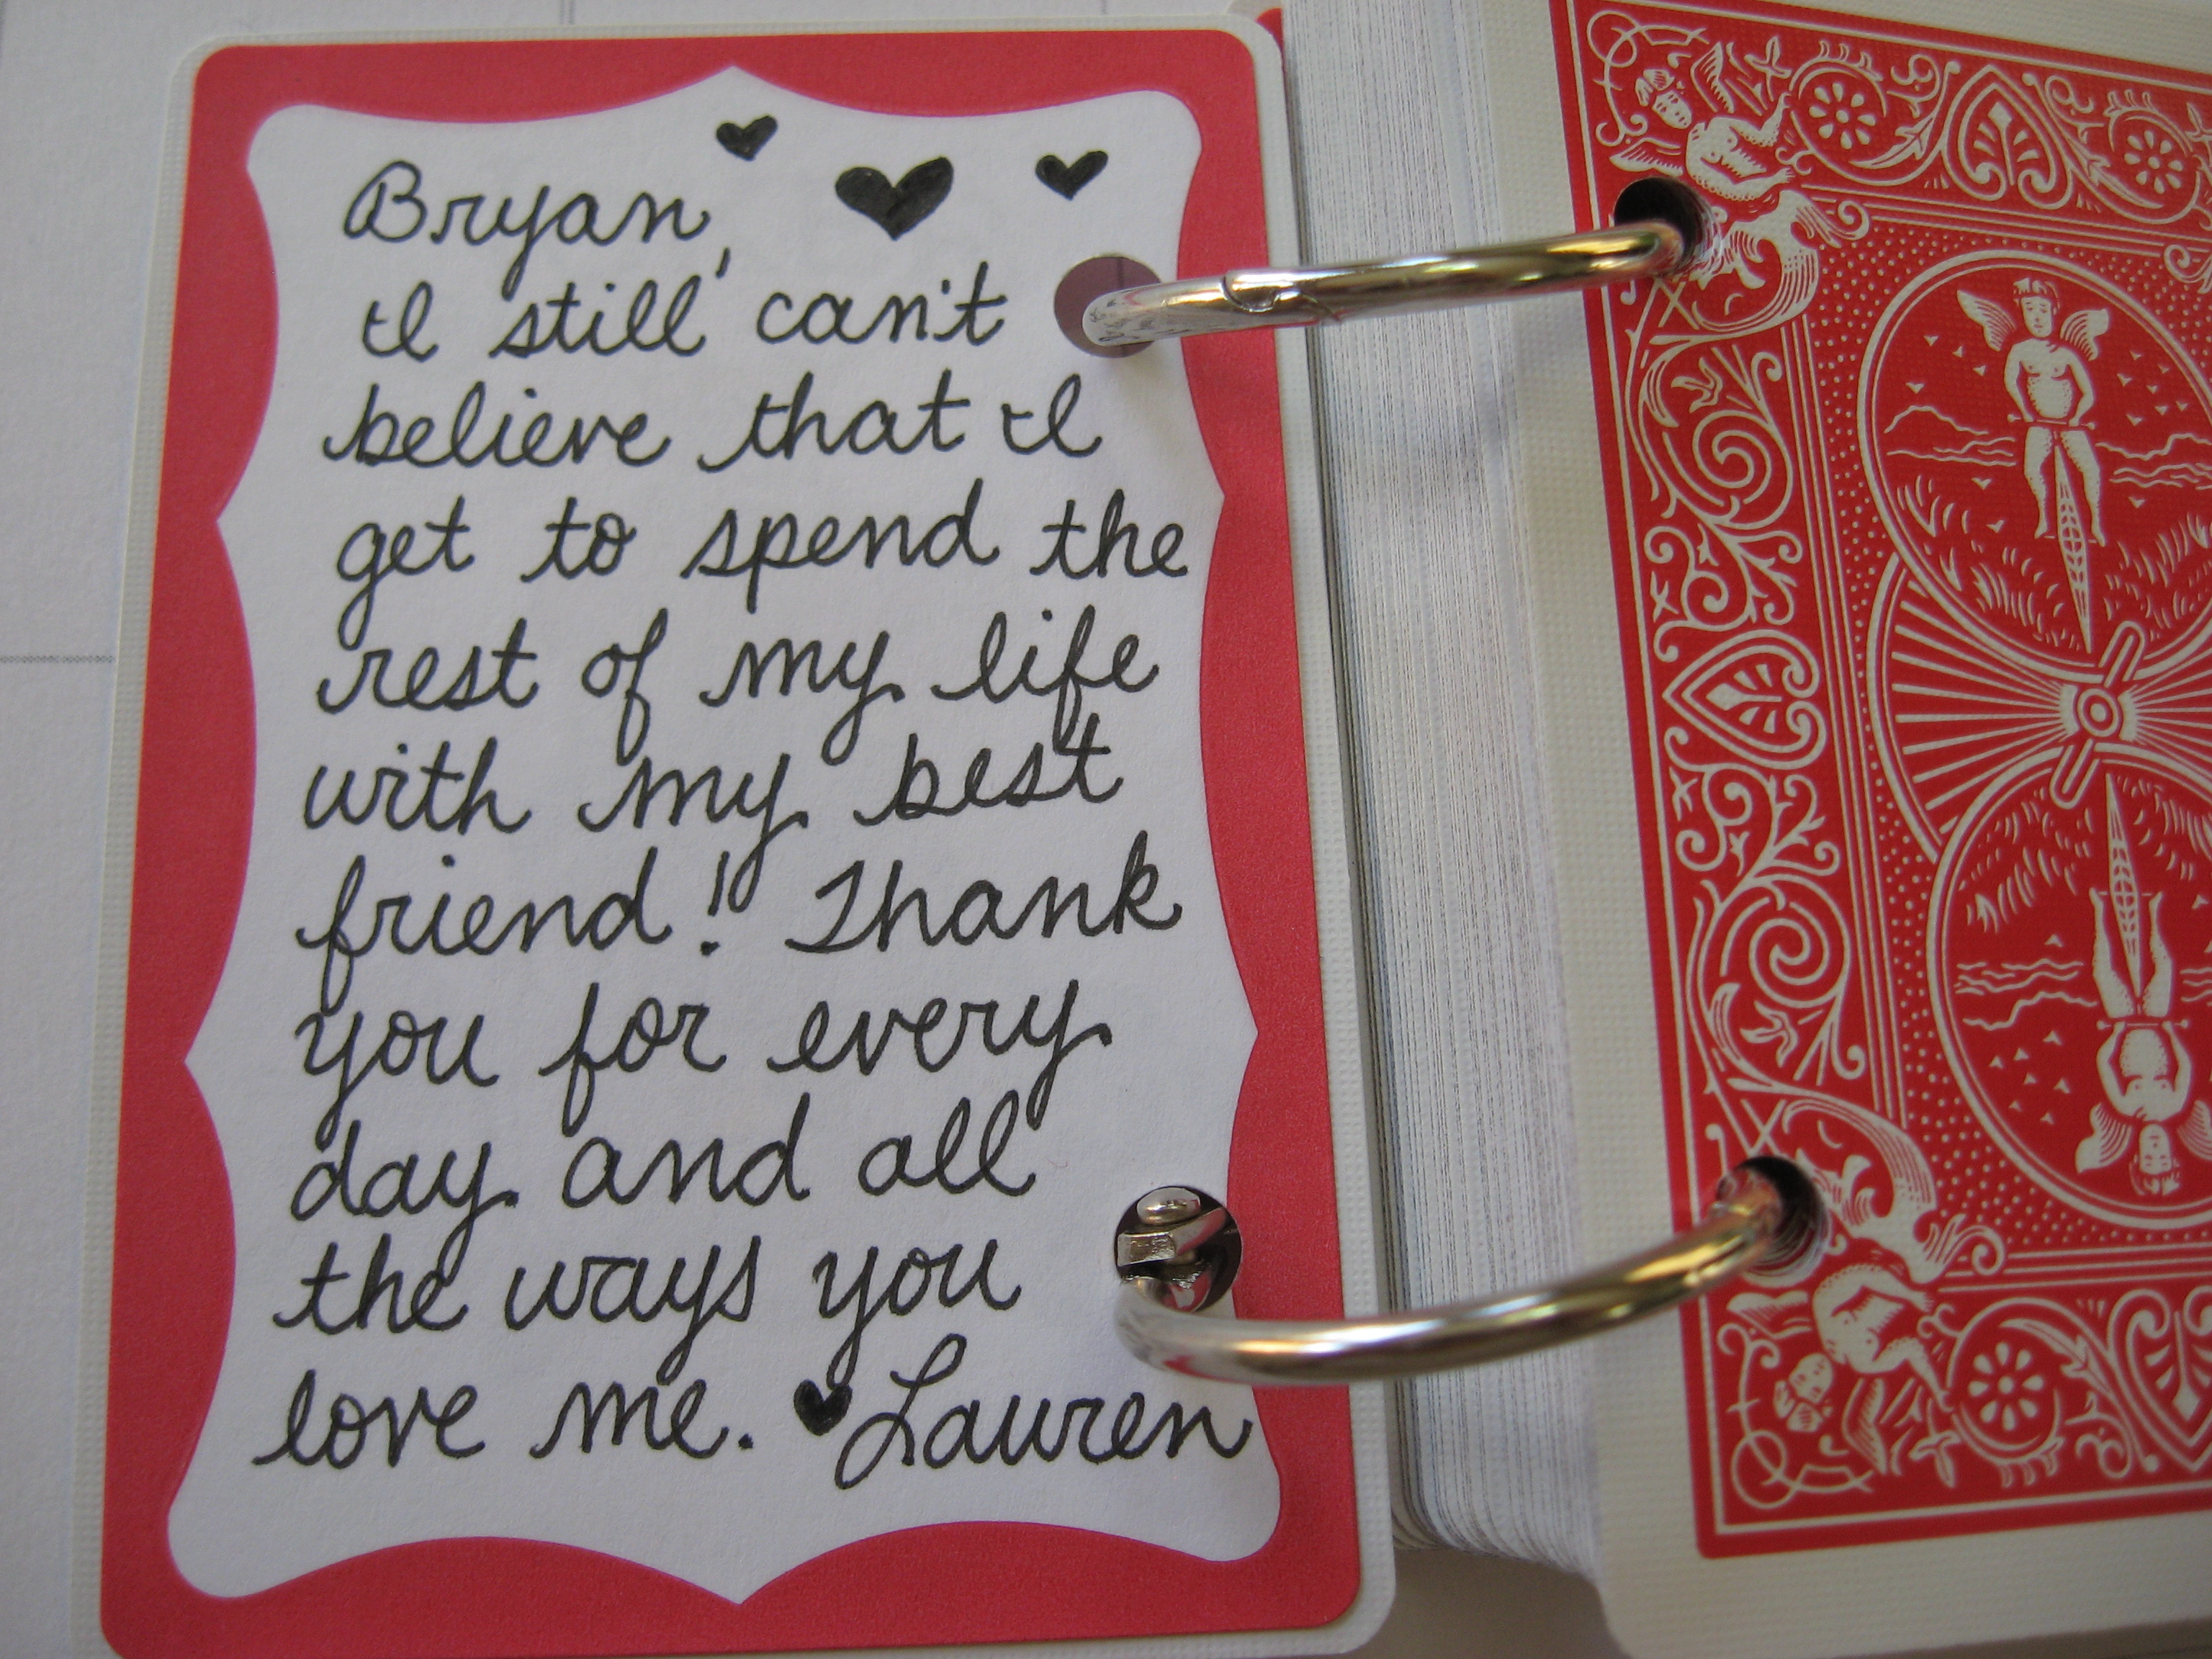
You could print the words on the card stock, but again, I prefer the personal touch of something handmade. I like that each card has my words for Bryan in my handwriting.

52 Reasons I Love You
To attach the card stock recantgles to the playing cards, I used an adhesive spray. Some people find it hard to work with, but I like the even, light coating it provides much more than other pastes which can be too thick and warp the paper. Just get some cardboard from the recycling and go outside.
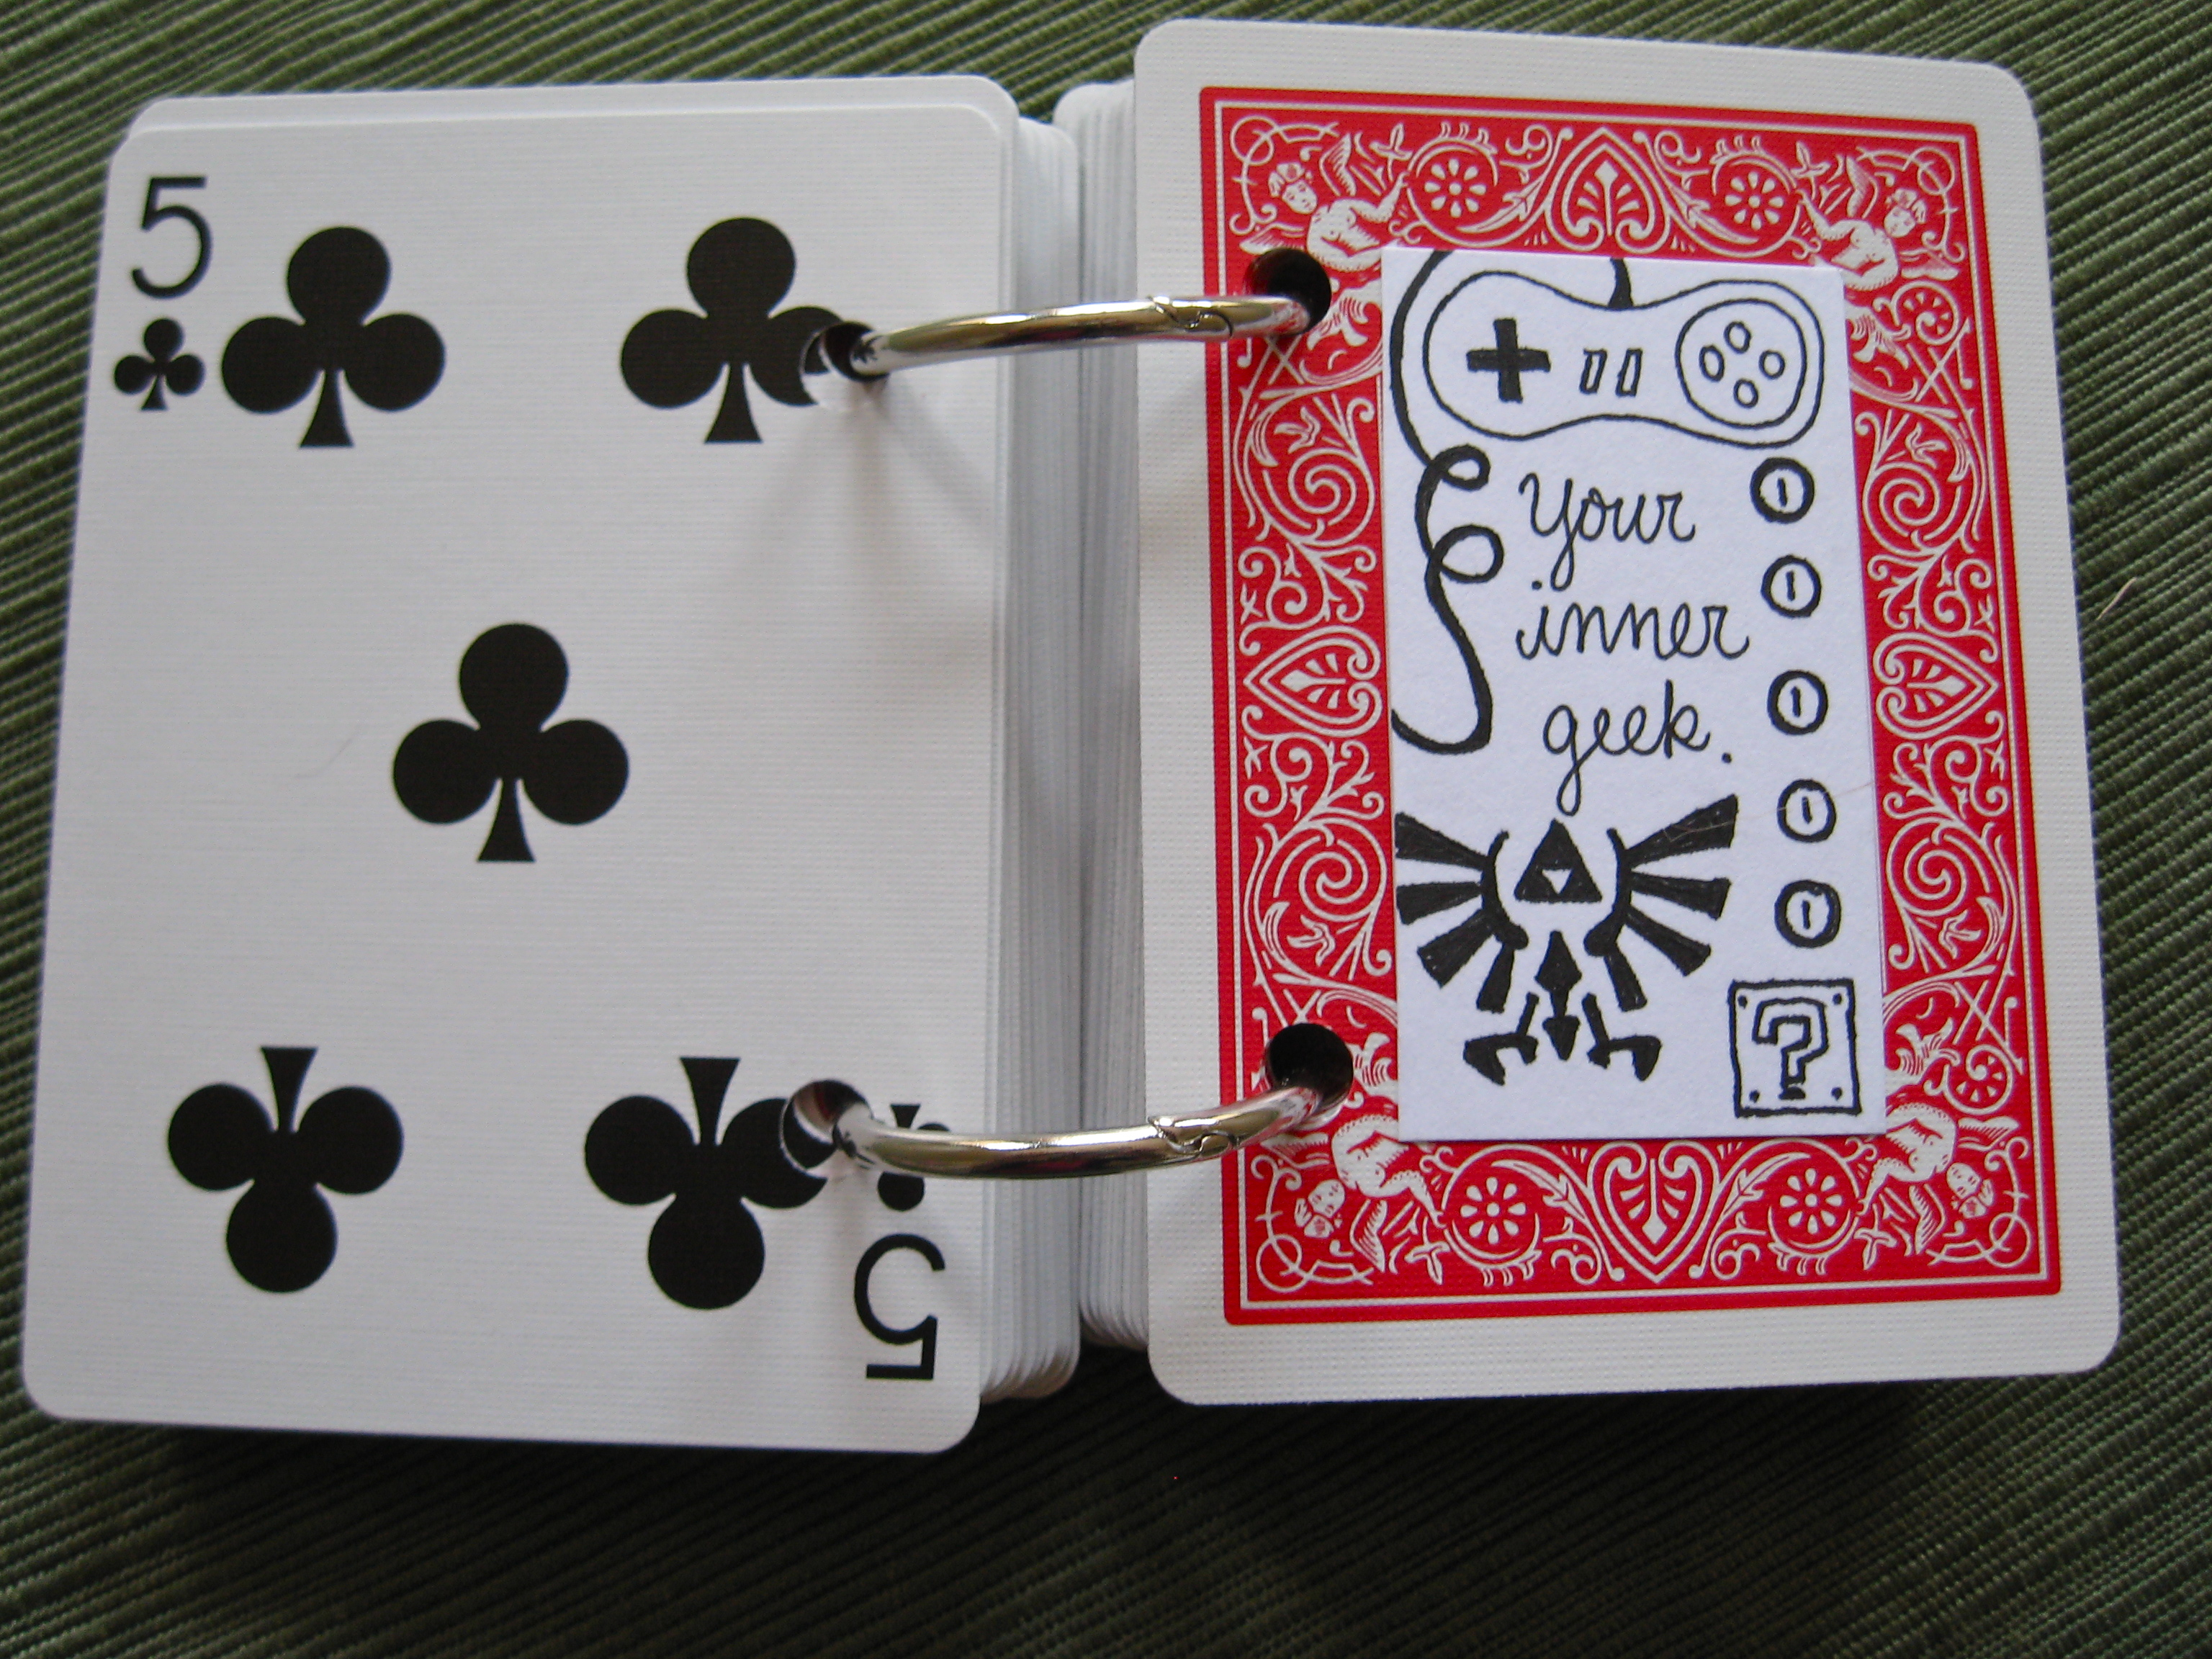
After I finished gluing, I split the deck into four and put weights on for a few hours to secure the bond. Double check that your cards are in the right order (and none have stuck together) and then put on your binder rings. Voila!

Deck of Love
I also used some name tag stickers on the inside and back covers to write a personal message.


All in all, I am thrilled with how this project turned out! It is a wonderful affirmation of our relationship, and I hope it will be something my husband can turn to on rough days for a boost of self-esteem or a reminder of how much I love him.
I would call this a Pinterest WIN — and a marriage WIN! 🙂