Chocolate and Salted Caramel Mug Cake

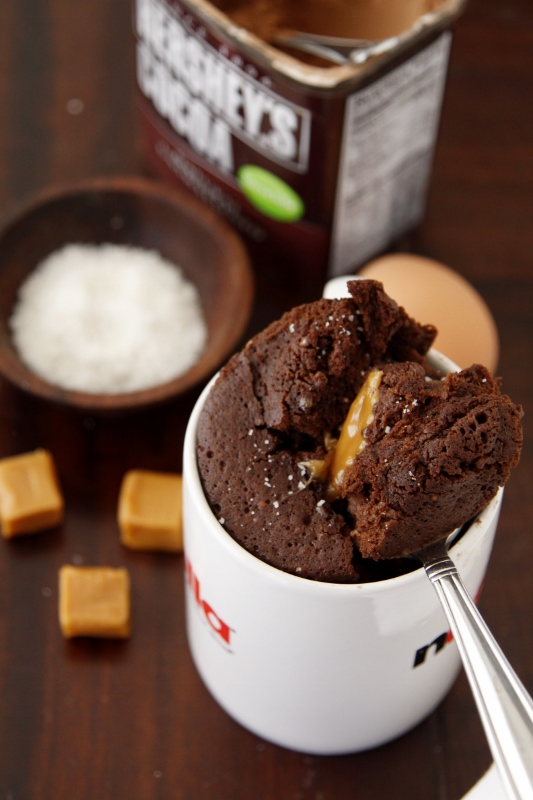
Back from my burnout! And it’s time to resume my 7-Day Microwave Mug Challenge! I am putting off Meatloaf in a Cup, once again. Let’s have dessert: Chocolate and Salted Caramel Mug Cake!

I have high hopes that the salted caramel aspect will set this mug cake apart. To be honest, the Brownie in a Mug and Nutella Mug Cake ended up tasting pretty similar. Delicious — but similar.

Ingredients:

  • 4 tablespoons all-purpose flour
  • 4 tablespoons granulated sugar
  • 3 tablespoons unsweetened cocoa powder
  • ¼ teaspoon baking powder
  • ¼ teaspoon salt
  • 1 egg – beaten
  • 3 tablespoons milk
  • 1 tablespoon vegetable oil
  • 2 salted caramels

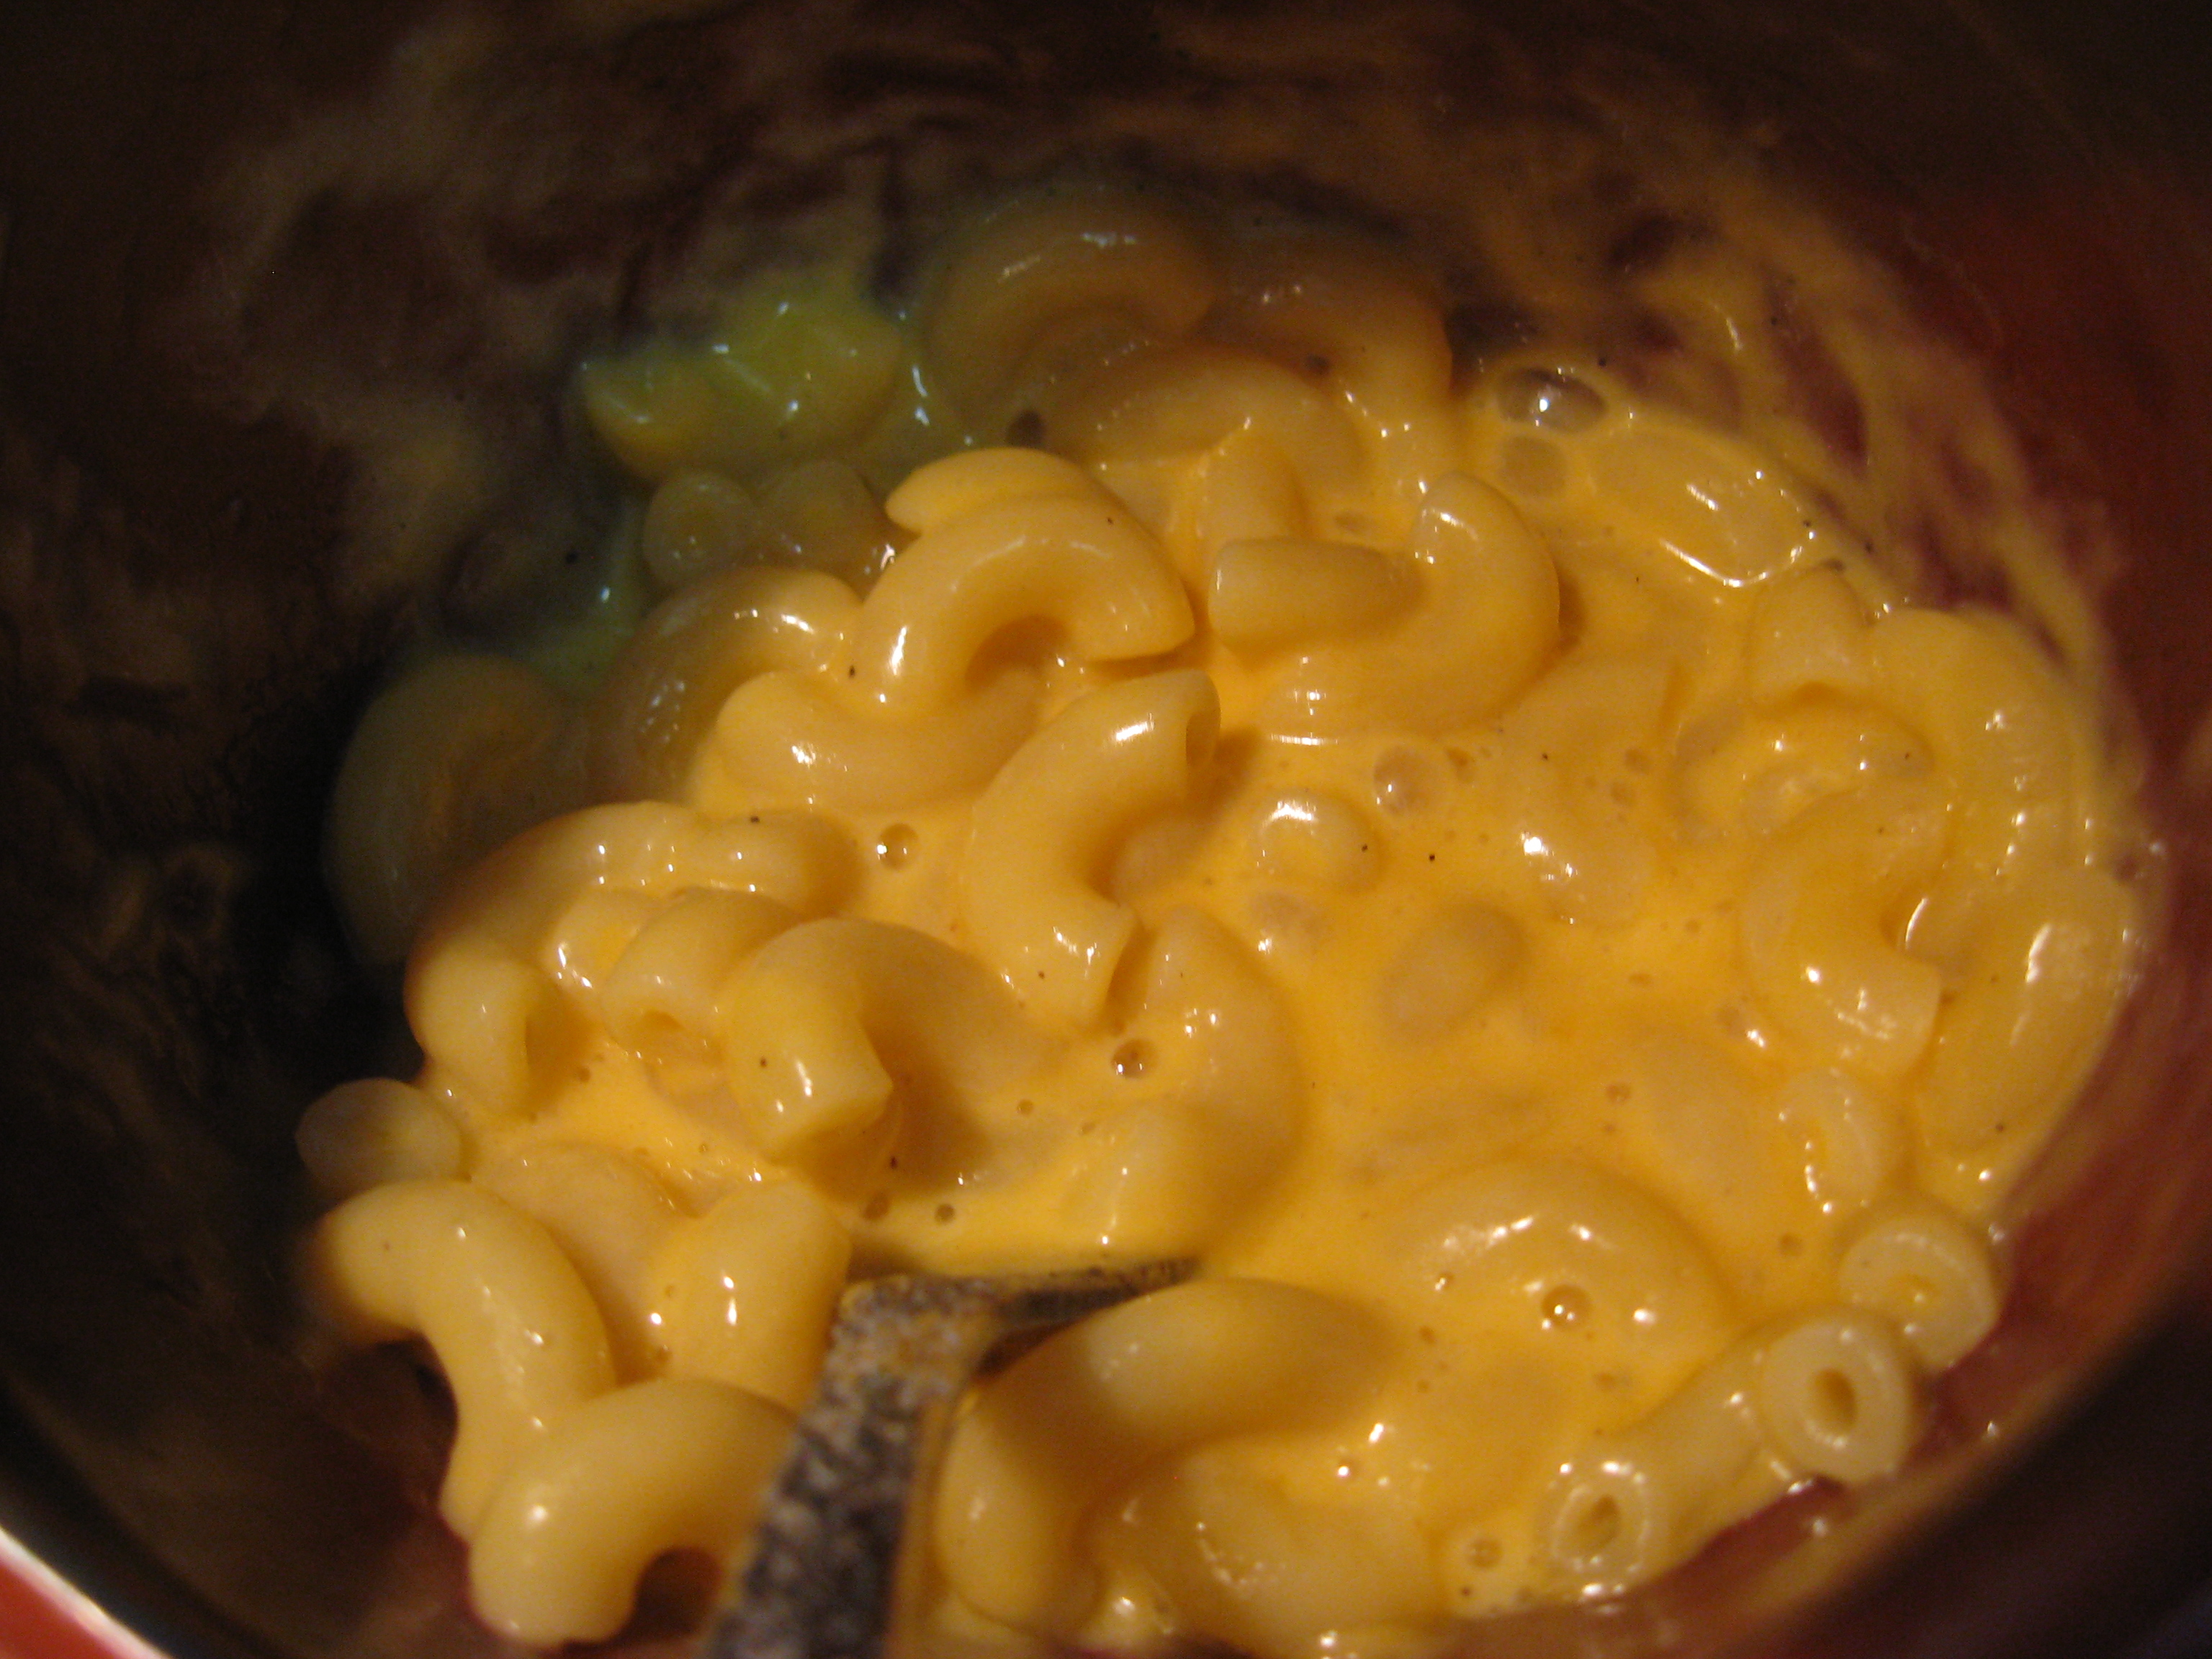
1) In a small bowl, beat the egg. Add the milk and vegetable oil. Whisk until combined.

2) In a regular sized mug, combine the  flour, sugar, cocoa, baking powder and salt.

3) Pour the wet ingredients into the mug. Stir until smooth.

4) Drop the caramels into center of the mug, one at a time. I didn’t have salted caramels, just plain old Kraft caramels, so I simply sprinkled a pinch of sea salt on top of the caramels as I added them.

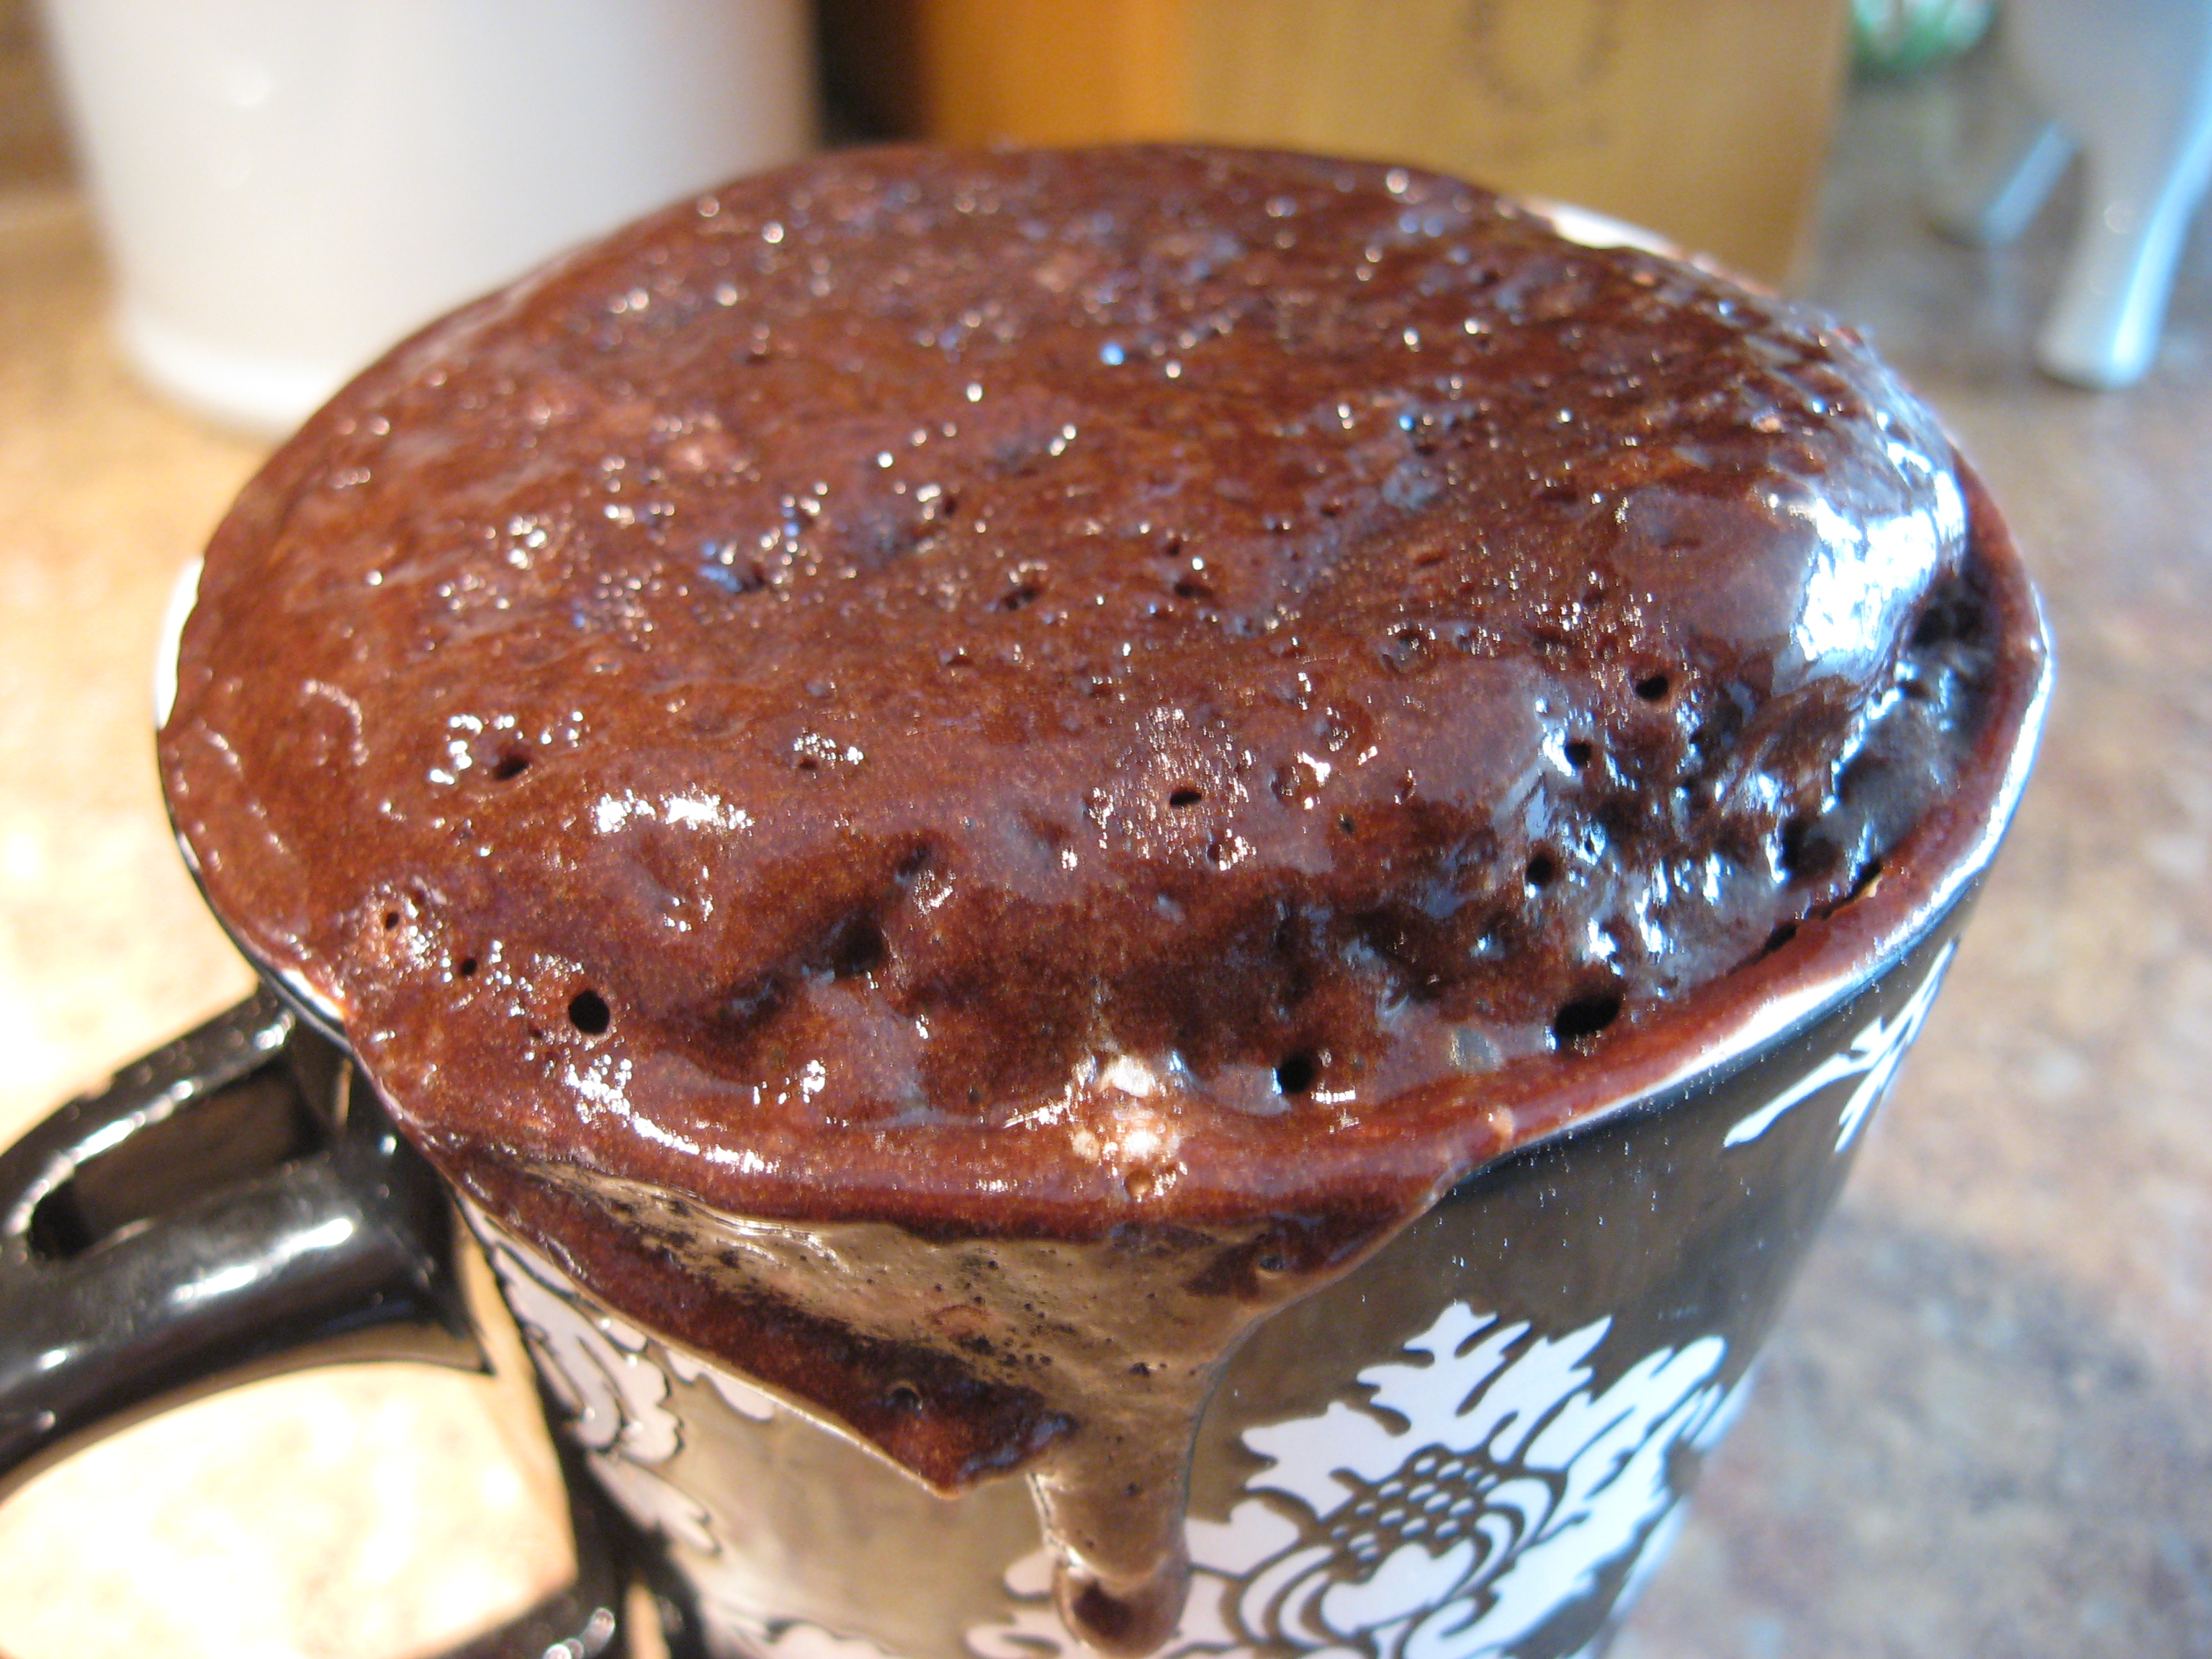
3) Microwave on high for 1 minute and 30 seconds.

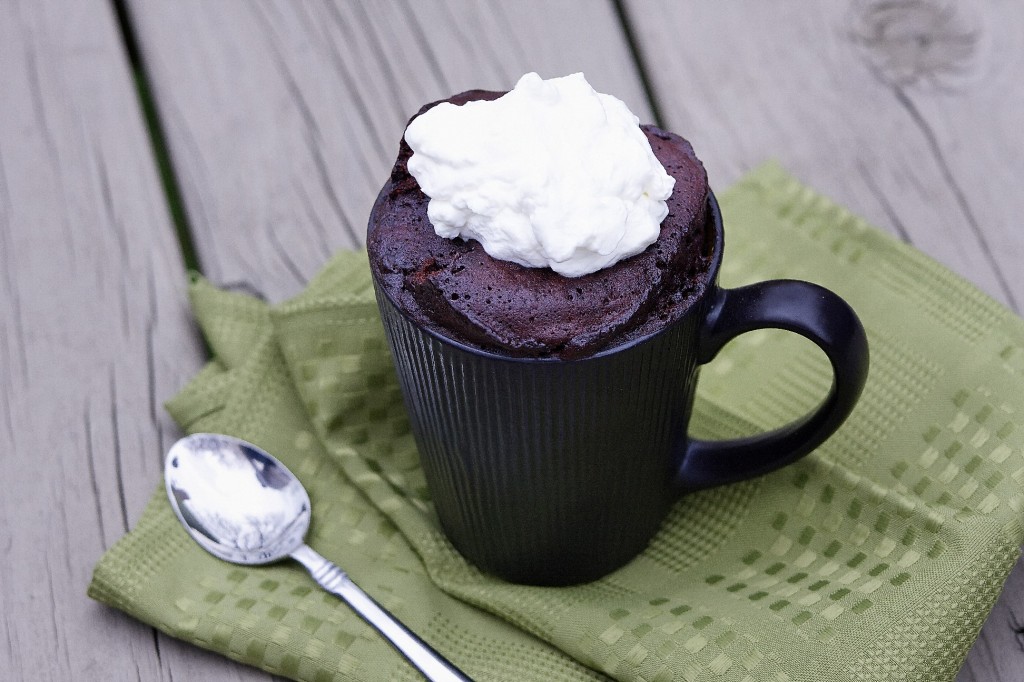
Here is the original from The Family Kitchen at Babble.com.

TheFamilyKitchen

TheFamilyKitchen

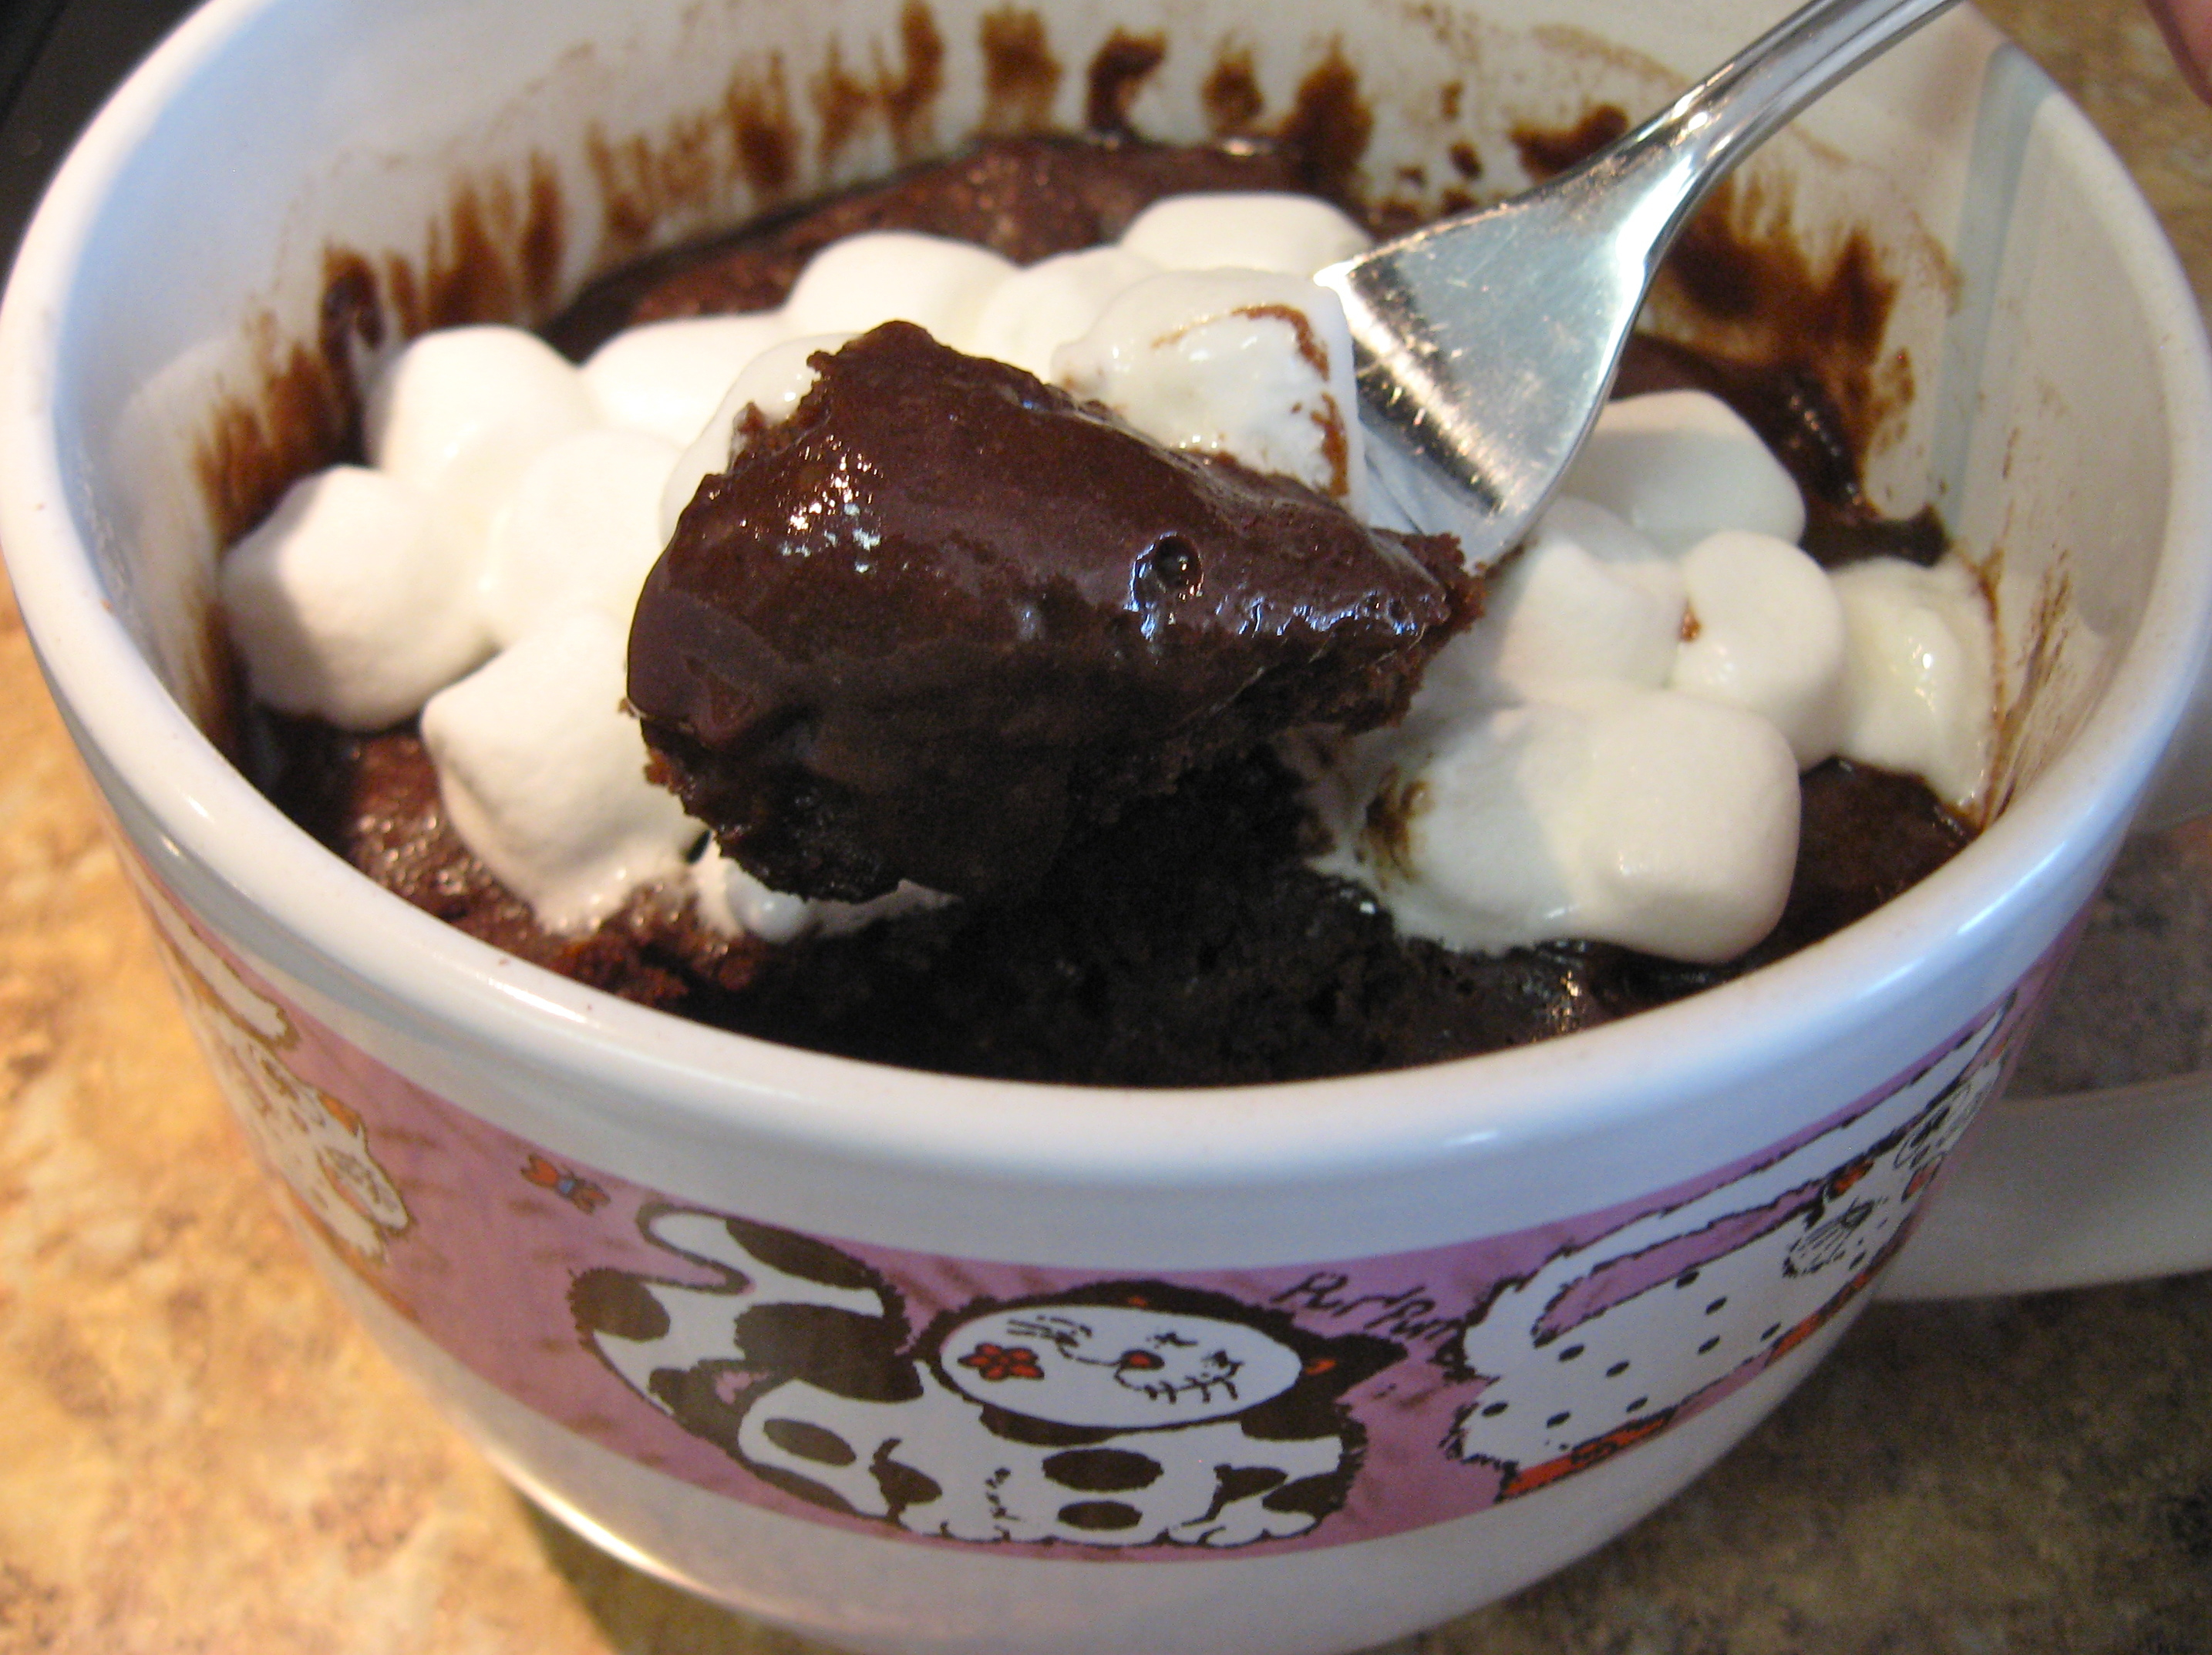
And, here is how mine turned out:

ShinyHappyPeebles

ShinyHappyPeebles

Salted Caramel Chocolate Mug Cake

Chocolate and Salted Caramel Mug Cake

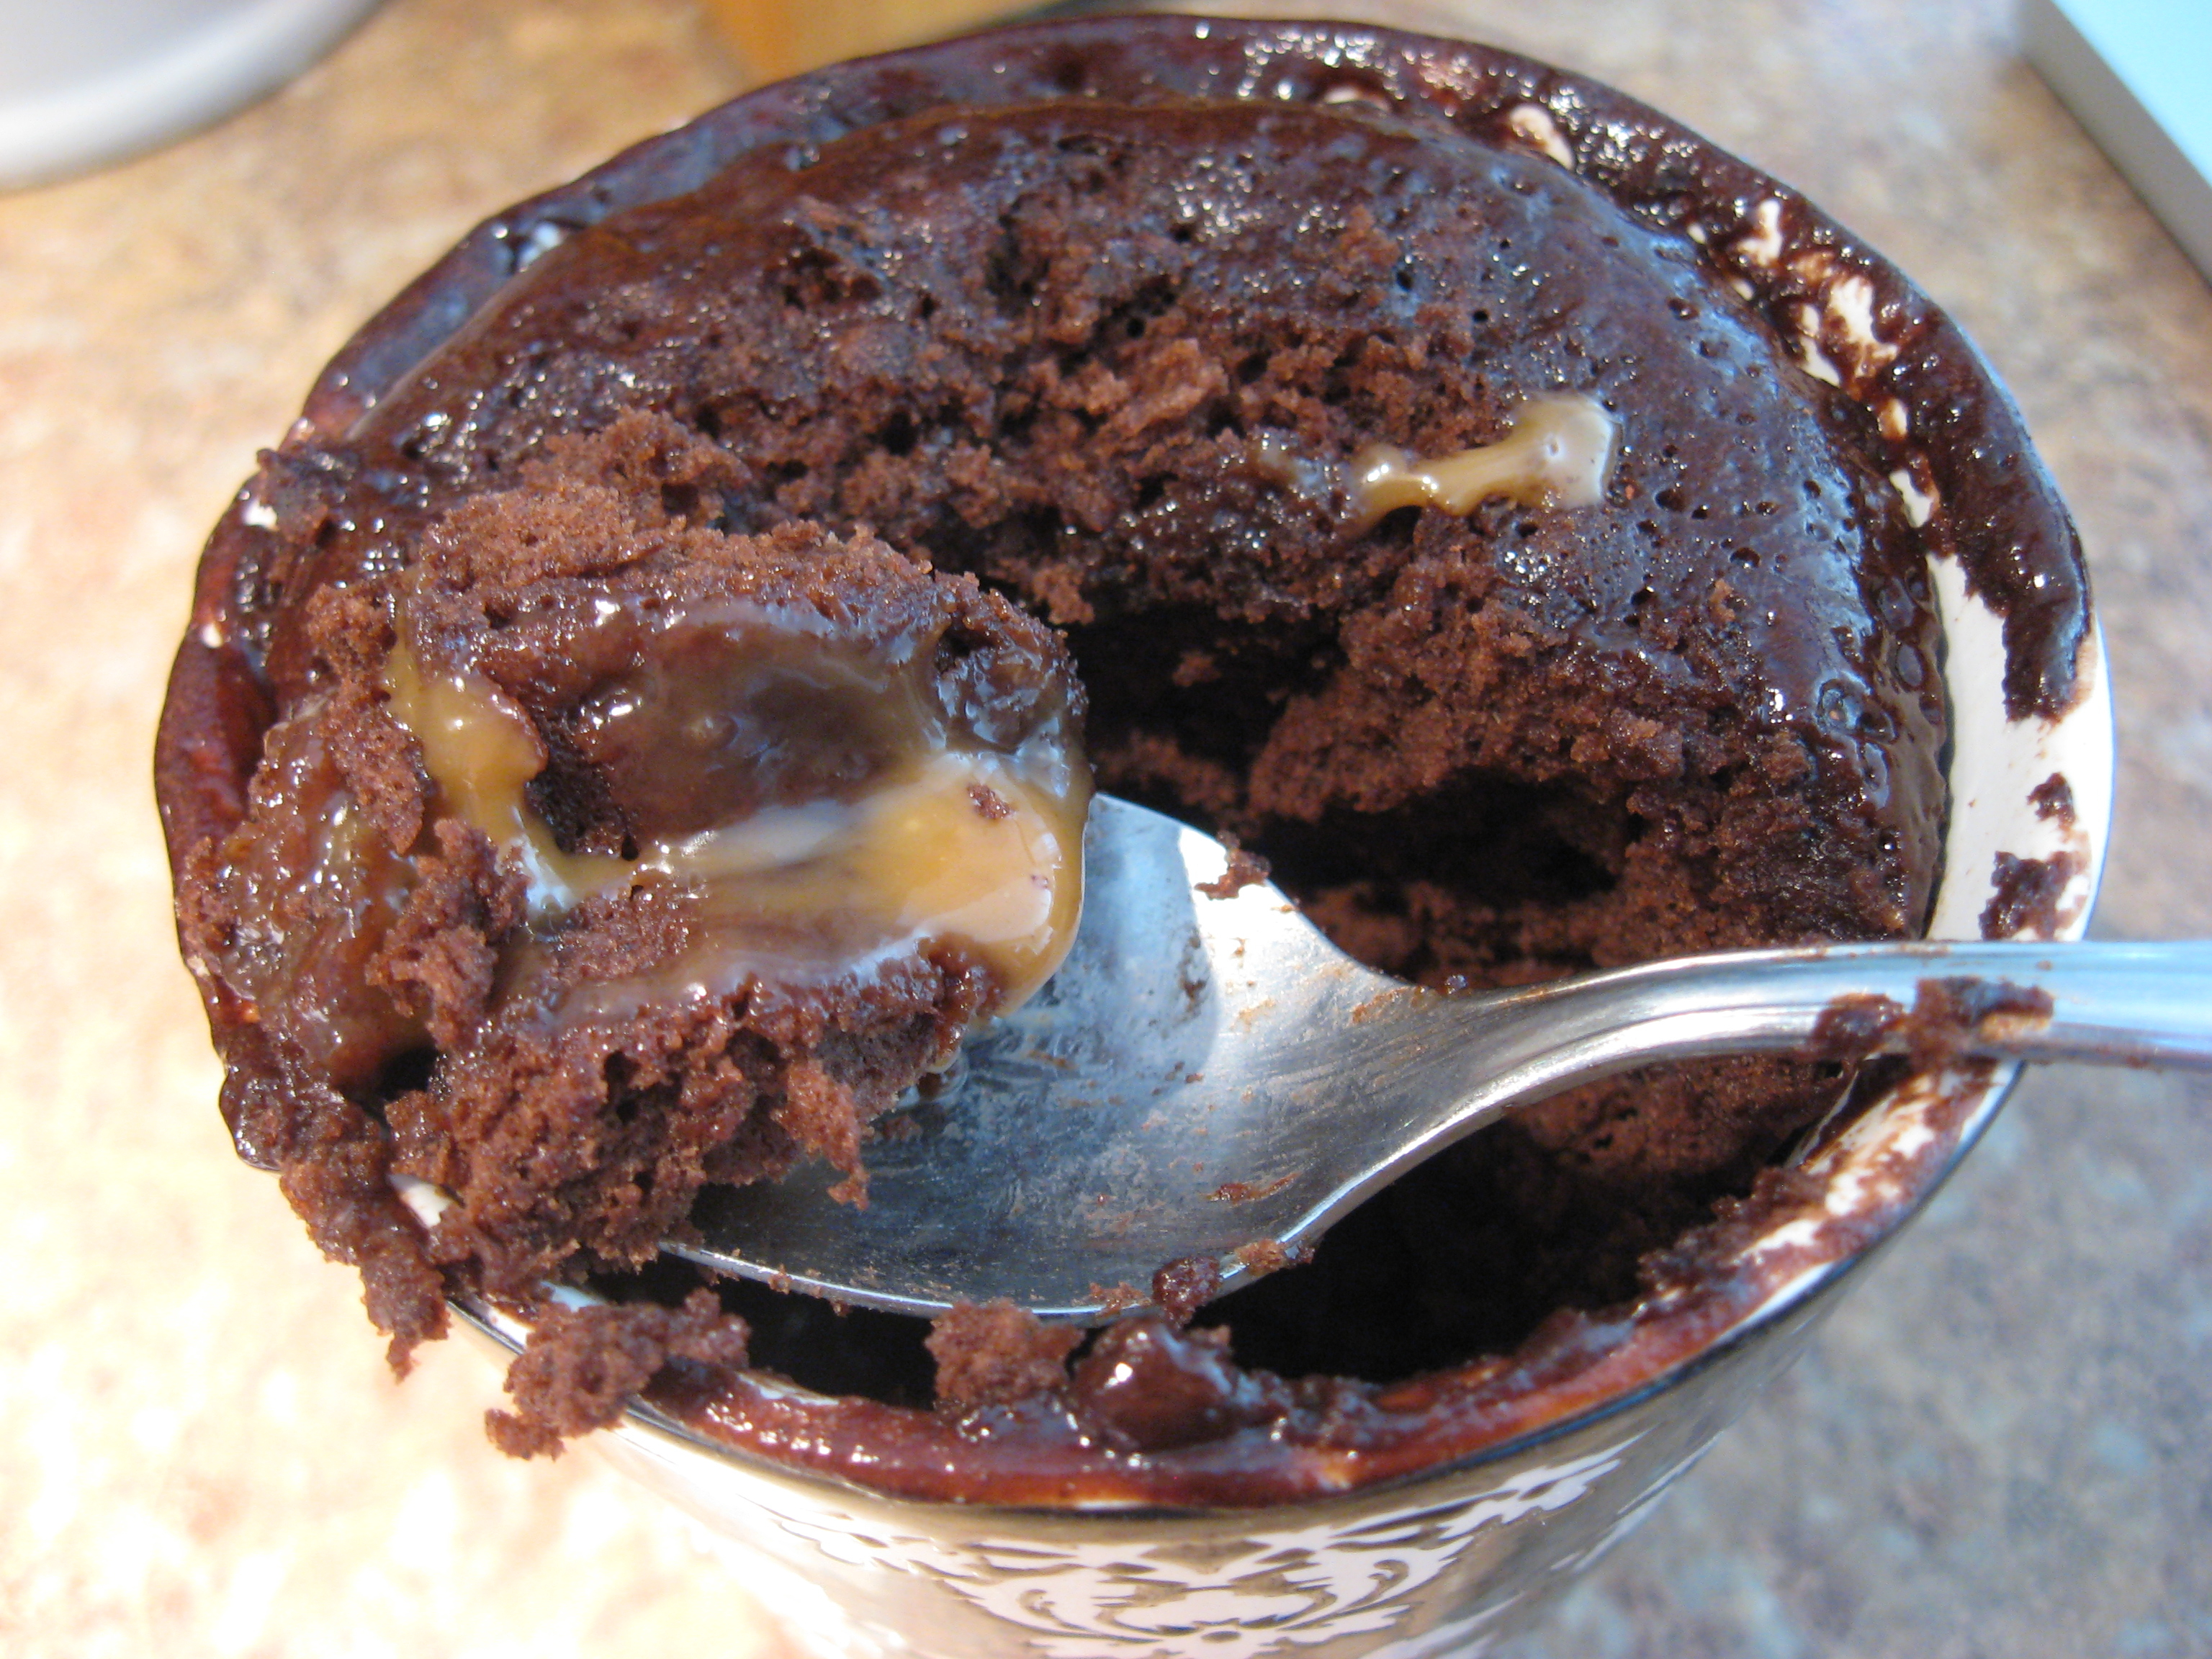
The best part is the caramel. I would actually recommend adding 3 caramels to the mix.

Unfortunately, this recipe did not stand out as I had hoped. It was good, but not different enough. I must admit I am bored with mug cakes for now. Oh, well. It’s probably for the best. I’m going through flour and cocoa powder much too quickly!

Deck of Love

I have been saving this project from my Pinterest Challenge for a very special occasion: our 1-year anniversary!  Since the traditional gift for your first anniversary is paper, it seemed like the perfect present for my other half.

Deck of Love

ShinyHappyPeebles’ Deck of Love

I love handmade presents! Plus, this is such an unconventional use of an every day item. 🙂 While the time investment is substantial, the cost is minimal.

Here is what you need: deck of cards, hole punch, binder rings, card stock, adhesive spray.

Supplies: less than $20

Supplies: less than $20

Take one of the joker cards from the deck to create a stencil for punching the holes in the other cards. Using a printer or a ruler, create a table of 1.25 by 2.25 inch rectangles on the card stock. I would recommend making more than 53 because you will make mistakes!

You could print the words on the card stock, but again, I prefer the personal touch of something handmade. I like that each card has my words for Bryan in my handwriting.

IMG_0704

52 Reasons I Love You

To attach the card stock recantgles to the playing cards, I used an adhesive spray. Some people find it hard to work with, but I like the even, light coating it provides much more than other pastes which can be too thick and warp the paper. Just get some cardboard from the recycling and go outside.

After I finished gluing, I split the deck into four and put weights on for a few hours to secure the bond. Double check that your cards are in the right order (and none have stuck together) and then put on your binder rings. Voila!

Deck of Love

Deck of Love

I also used some name tag stickers on the inside and back covers to write a personal message.

IMG_0701

All in all, I am thrilled with how this project turned out! It is a wonderful affirmation of our relationship, and I hope it will be something my husband can turn to on rough days for a boost of self-esteem or a reminder of how much I love him.

I would call this a Pinterest WIN — and a marriage WIN! 🙂

Nutella Mug Cake

It is Day 5 of my 7-Day Microwave Mug Challenge. And today, I have a major sweet tooth. So, I skipped ahead to Nutella Mug Cake!

Sorry, meatloaf. Maybe you’ll get made on Sunday.

Ingredients:

  • 4 tablespoons self-rising flour
  • 4 tablespoons sugar
  • 3 tablespoons cocoa powder
  • 3 tablespoons milk
  • 3 tablespoons vegetable oil
  • 1 egg
  • 3 tablespoons Nutella

1) Combine all ingredients in a LARGE mug. Mix the dry ingredients first and add the Nutella last.

I used my ginormous cat lady mug, which is usually reserved for ramen noodles.

Giant Cat Mug

Giant Cat Mug

I also ran out of Nutella (imagine that) and had to substitute 1 tablespoon of creamy peanut butter.

2) Whisk ingredients with a fork until smooth. Microwave on high for 2 minutes.

3) Top with whipped cream, chocolate sauce, etc. I pulled out my fat-kid card and threw some mini-marshmallows on top during the last 30 seconds of microwaving.

You should definitely check out this blog: livelovepasta. They use normal-sized mugs there.

livelovepasta

livelovepasta

My marshmallows may have been a little white-trash compared to homemade whipped cream, but it was still delicious! Some vanilla ice cream would have been lovely, too.

ShinyHappyPeebles

ShinyHappyPeebles

However, this is definitely a two-person dessert. Or, a very unhealthy lunch for someone with a major sweet tooth. 🙂

Mug o’ Mac & Cheese

It is Day 4 of my 7-Day Microwave Mug Challenge. I am so glad today’s recipe was simple, because I had zero time to spare!

Ingredients:

  • 1/3 cup pasta
  • 1/2 cup water
  • 1/4 cup 1% milk
  • 1/2 cup shredded cheddar cheese

1) Add pasta and water to a large mug. Even in a large mug, a little water is going to boil over. Microwave on high for two minutes, then stir. Repeat at two minute intervals until water is completely absorbed.

2) Add milk and cheese to cooked pasta. Microwave for another minute. Stir until the pasta is coated in cheesy goodness! Add salt and pepper to taste.

How easy is that? Actually, the microwaving and stirring is a teensy bit tedious.

But look — a normal-sized mug!

TheNapTimeChief at babble.com

TheNapTimeChief at babble.com

I just used regular, shredded cheddar cheese as the recipe directed, but you could really play around using different cheeses. You could also throw in some bits of ham or sausage!

ShinyHappyPeebles

ShinyHappyPeebles

Convenience-wise, I don’t think making this in a mug really works. Next time, I’ll probably just toss these same ingredients in a small saucepan. Still, it’s a great comfort food to keep in your pocket for rainy, lazy days. And either way, this is certainly healthier than neon orange powdered cheese in a pouch!

I’m in a Mug!

Unfortunately, my big exciting DIY project for this weekend is on hold due to rain. Lots of rain. And humidity. Spray paint doesn’t do so well in these conditions. 😦

Never fear! Thanks to a post by a Facebook friend, I have been inspired to take on a 7-Day Challenge. Behold! This article lists out 18 microwave snacks you can make in a mug. Anyone remember my Brownie in a Mug post?

Why, oh why, didn’t I stumble across this post in college? C’est la vie! While all of these snacks look delicious, I have selected 7 recipes to try. I will make one a day for the next week with a blog post to report on the outcome.

7-Day Microwave Mug Challenge:

  1. Coffee Cup Quiche
  2. French Toast in a Cup
  3. Banana Bread in a Mug
  4. Mac and Cheese in a Cup
  5. Meatloaf in a Cup
  6. Nutella Mug Cake
  7. Chocolate and Caramel Mug Cake

Who knows — maybe one of these will become a household favorite and find it’s way into my big, red cookbook. 🙂

Big, Red Cookbook

Big, Red Cookbook