Somehow, this blog always come back to food! At least this time I have a legitimate excuse: my hubby’s birthday! I really wanted to do something special and make him a cool cake. It gave me the perfect opportunity to try out this recipe for homemade fondant from marshmallows!
I have never used fondant or made fondant or really made any design cake, so what possessed me to try all three for the first time during the busiest work weekend of the year is beyond me. And here is the design I chose:

The Storage Cube from Portal 2
Crazy, right? This is from one of the hubby’s favorite video games: Portal 2. Of course, I planned to simplify the design and just go for a straight up cube, but still — way too ambitious! Needless to say, I have learned a TON.
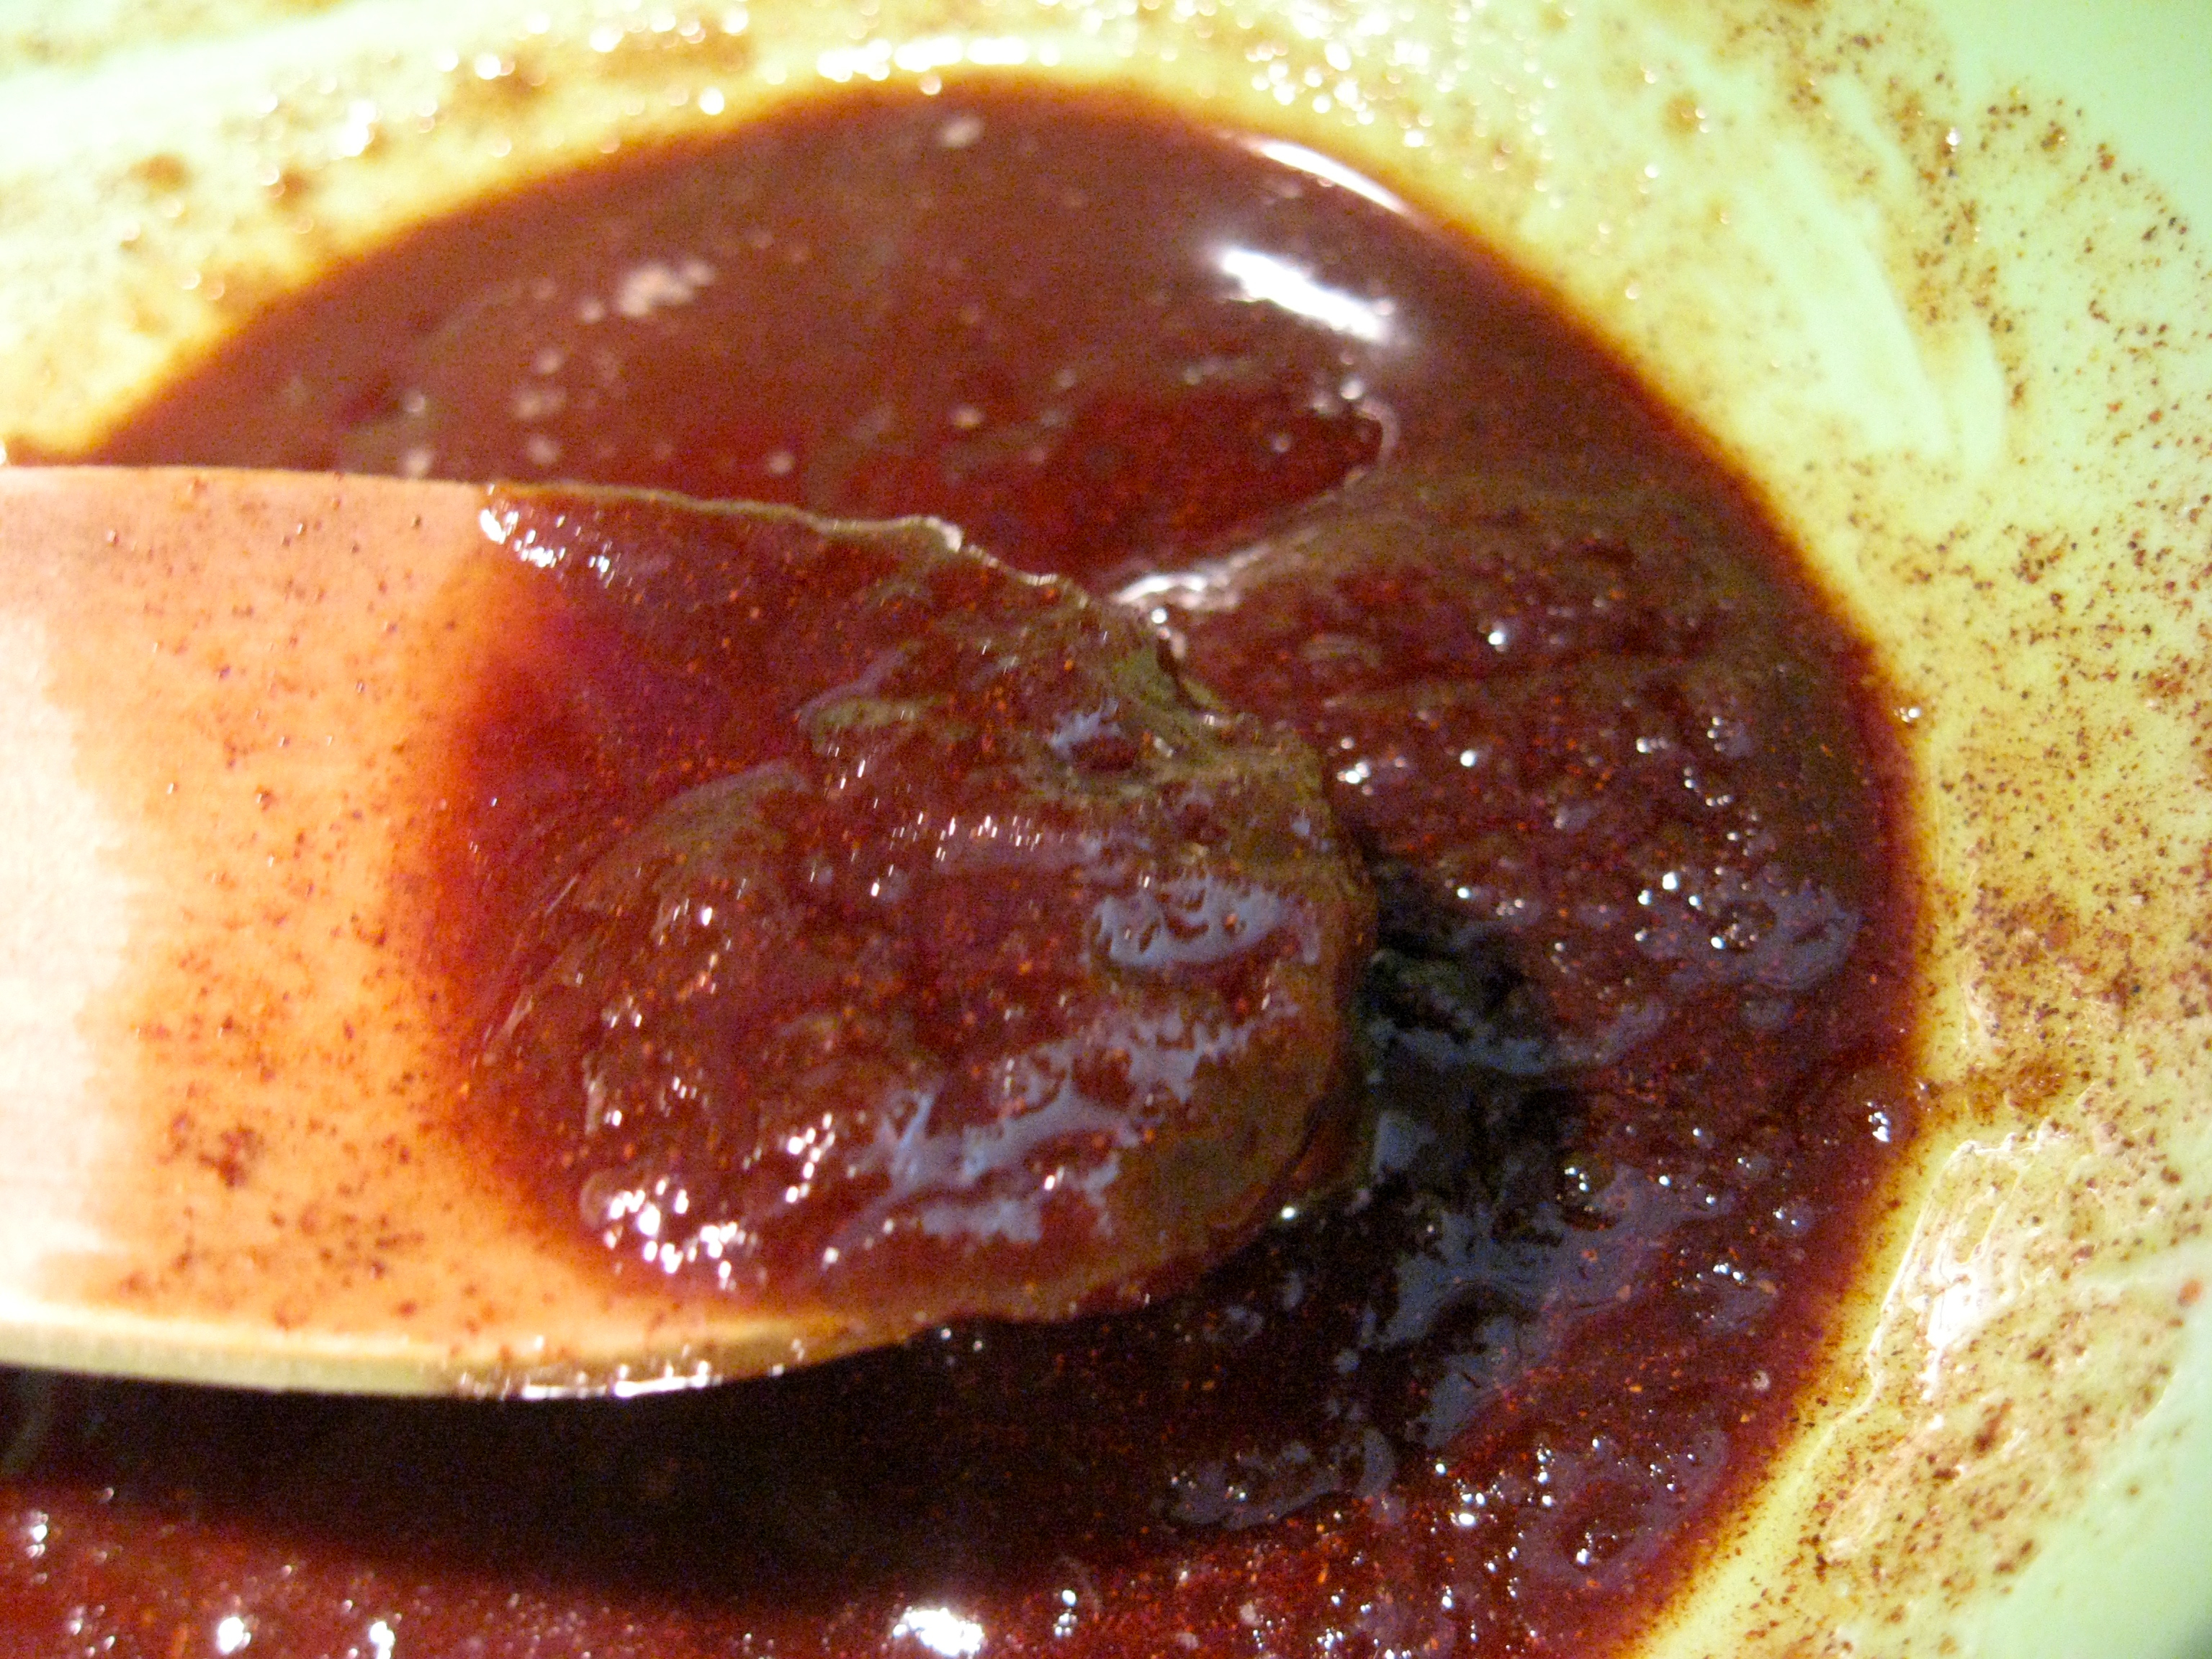
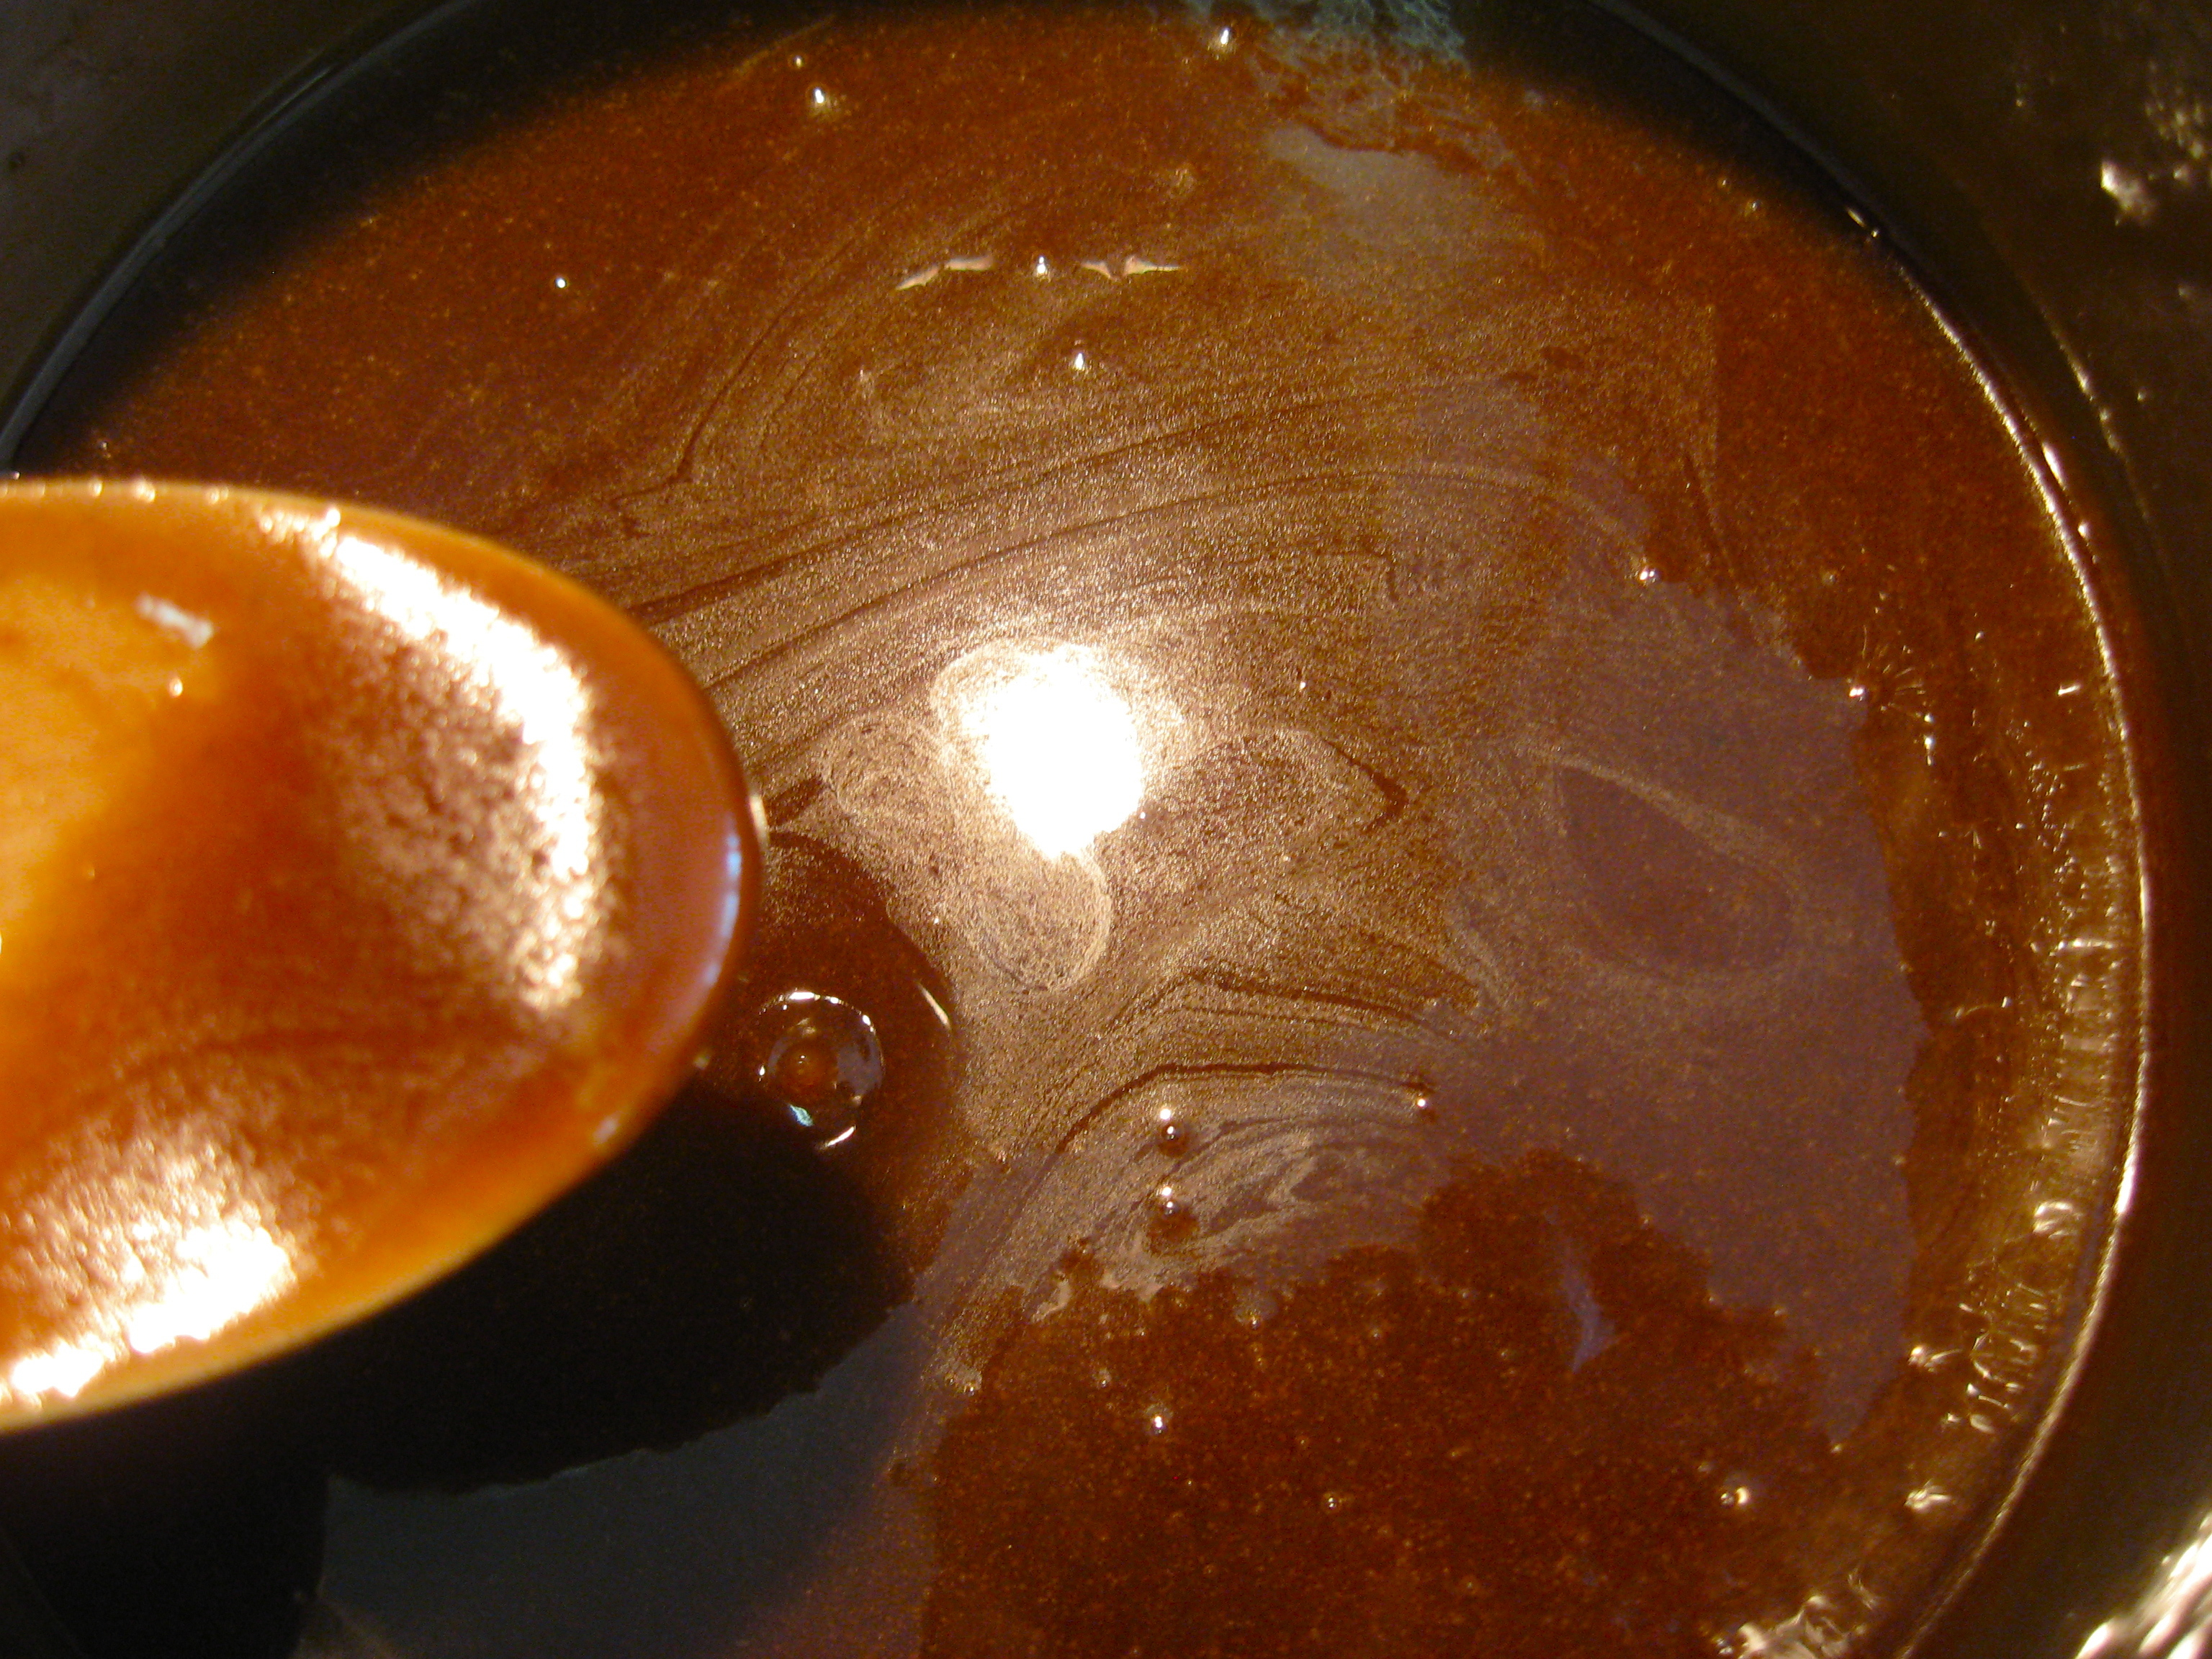
Making the fondant actually turned out to be the easiest part. Simple recipe, just three ingredients: marshmallows, powdered sugar, and food coloring.
You get the marshmallows moist, pop them in the microwave for 10 second intervals until they are melted, and then add your dye of choice. Stir together with a greased spoon. I used the spoon to mix in the majority of the powdered sugar and finished incorporating with my hands.

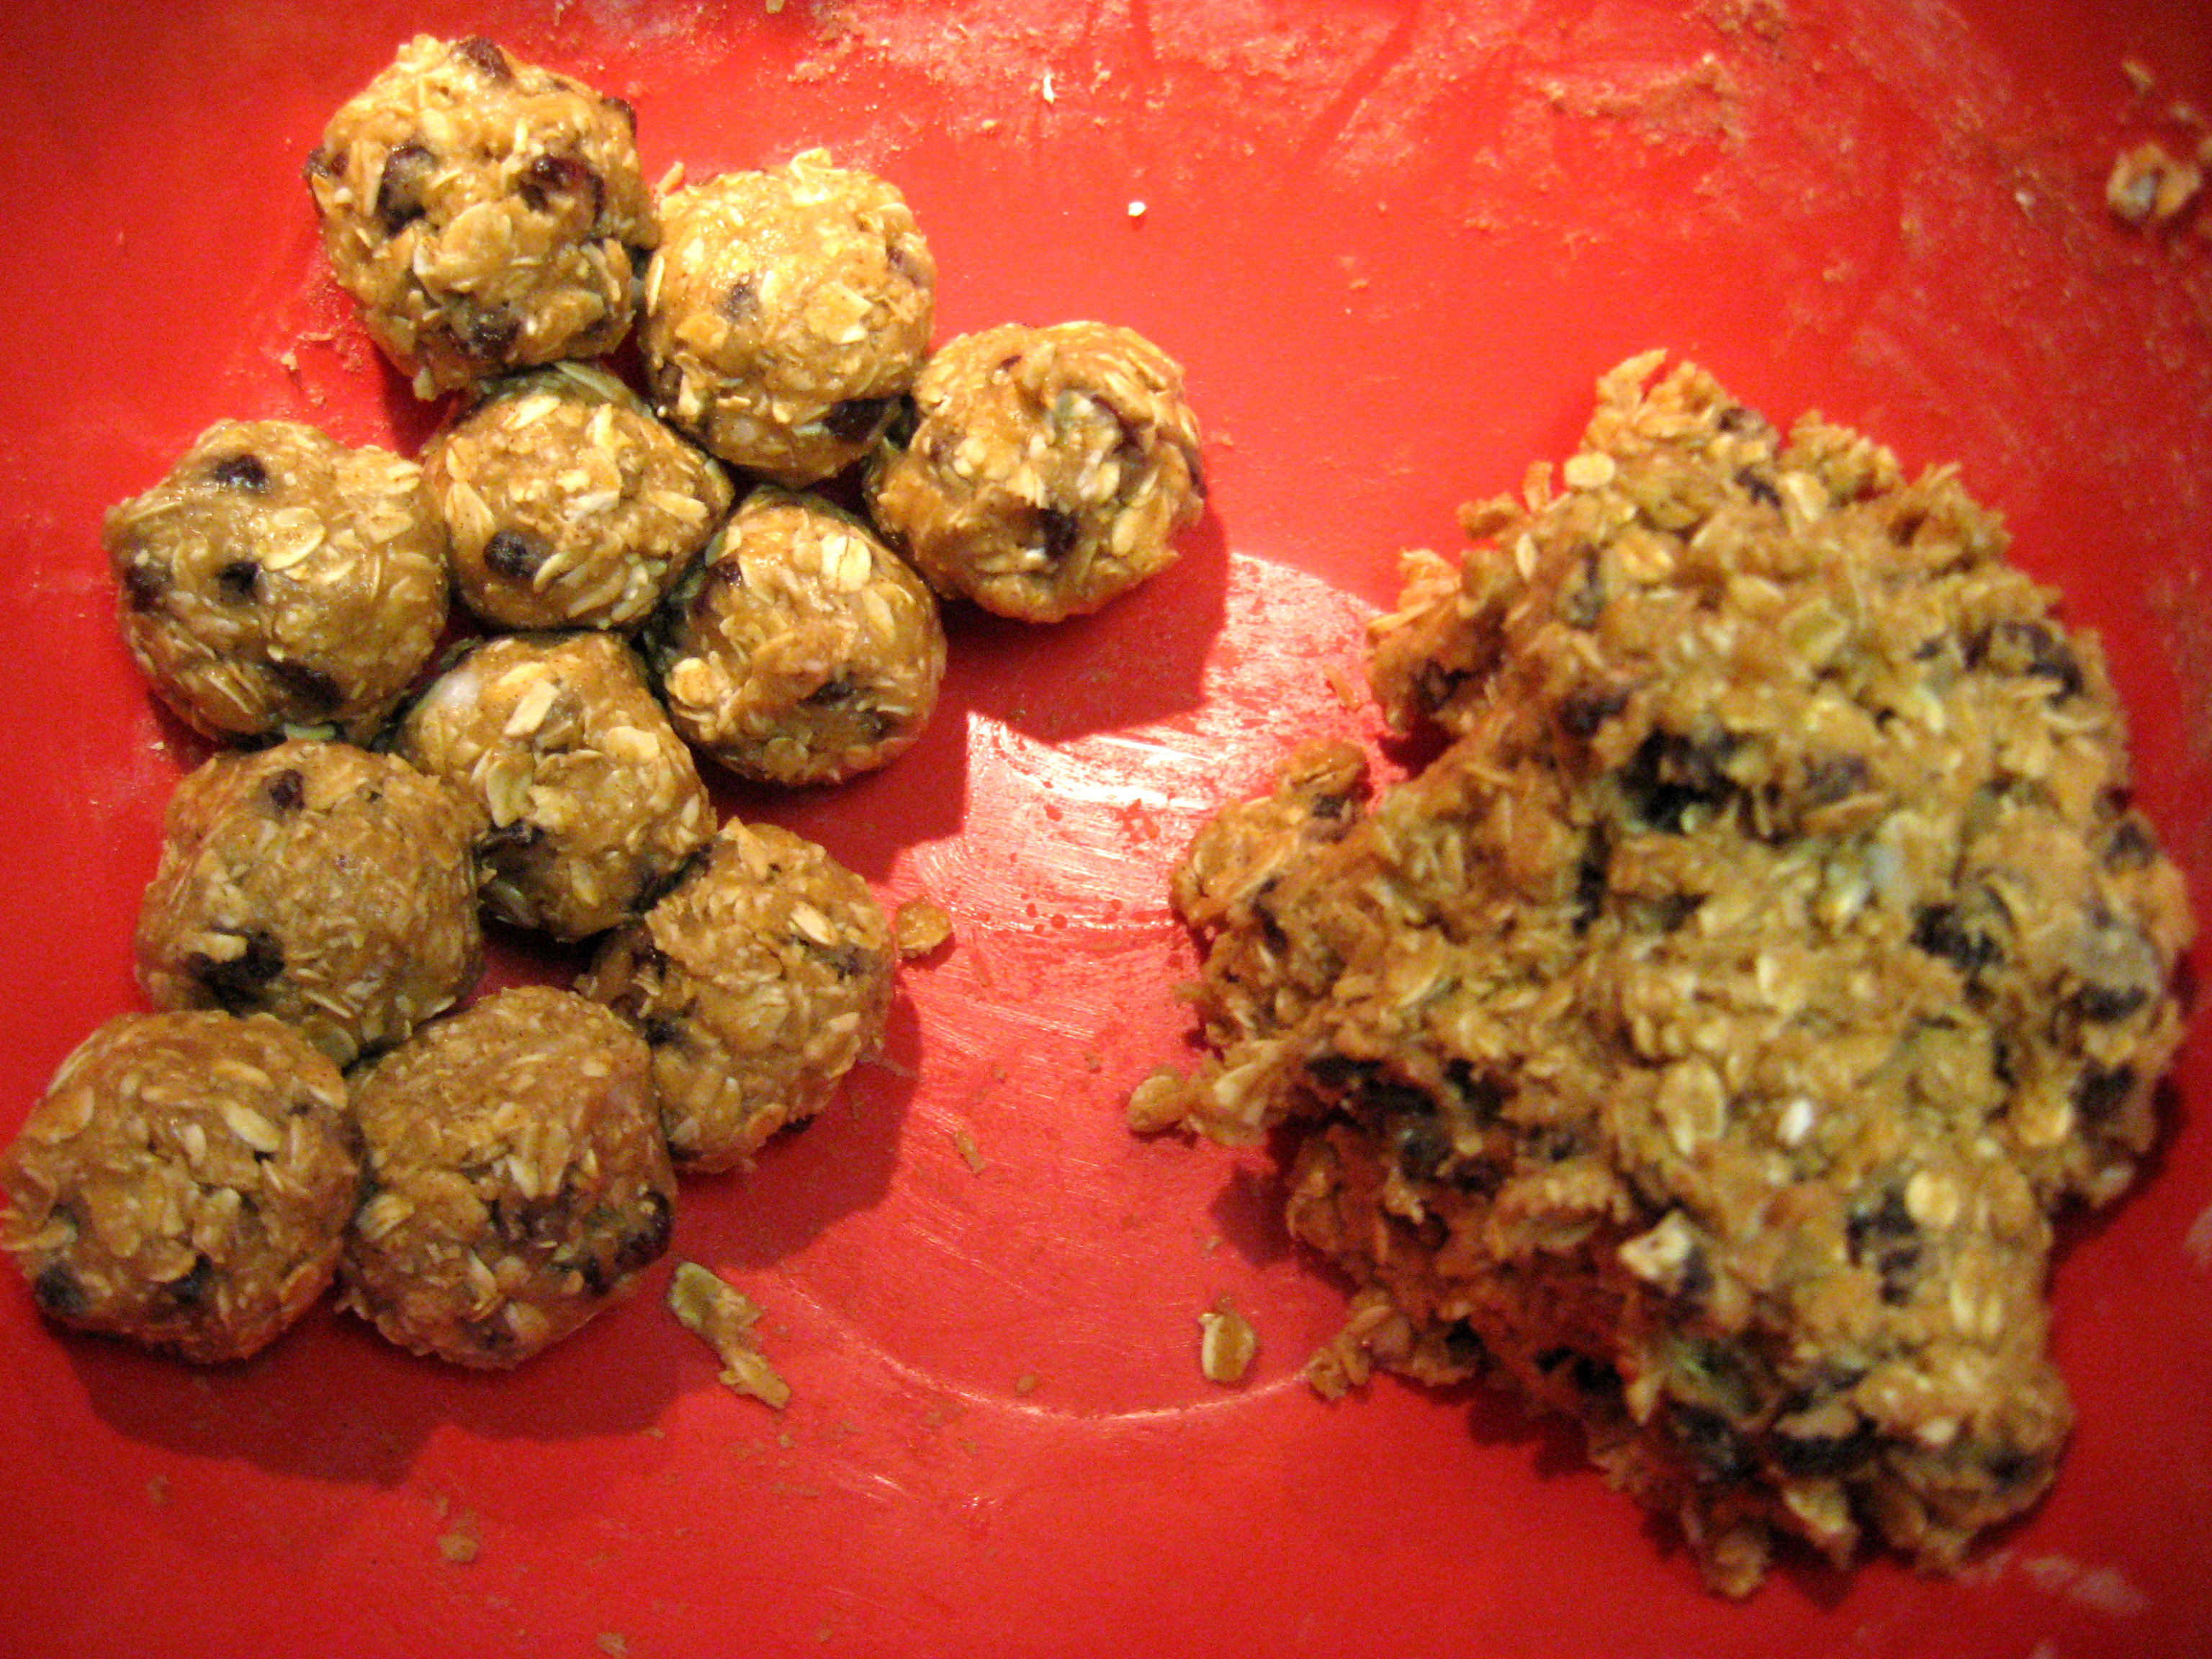
Still in the sticky phase!
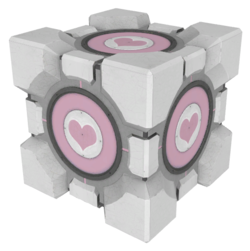
This is a messy, sticky endeavor, but it was fun. And let me tell you, I got a great upper body workout kneading and folding that fondant! I made four colors for the cake: white, gray, blue, and also a small portion of pink. You see, for Portal fans, the Companion Cube is really popular.

Companion Cube from Portal and Portal 2
But, I really didn’t want to make him a giant pink cake, so I took some liberties with the designs and combined the two cubes. It also saved me from having to replicate the Aperture symbol!
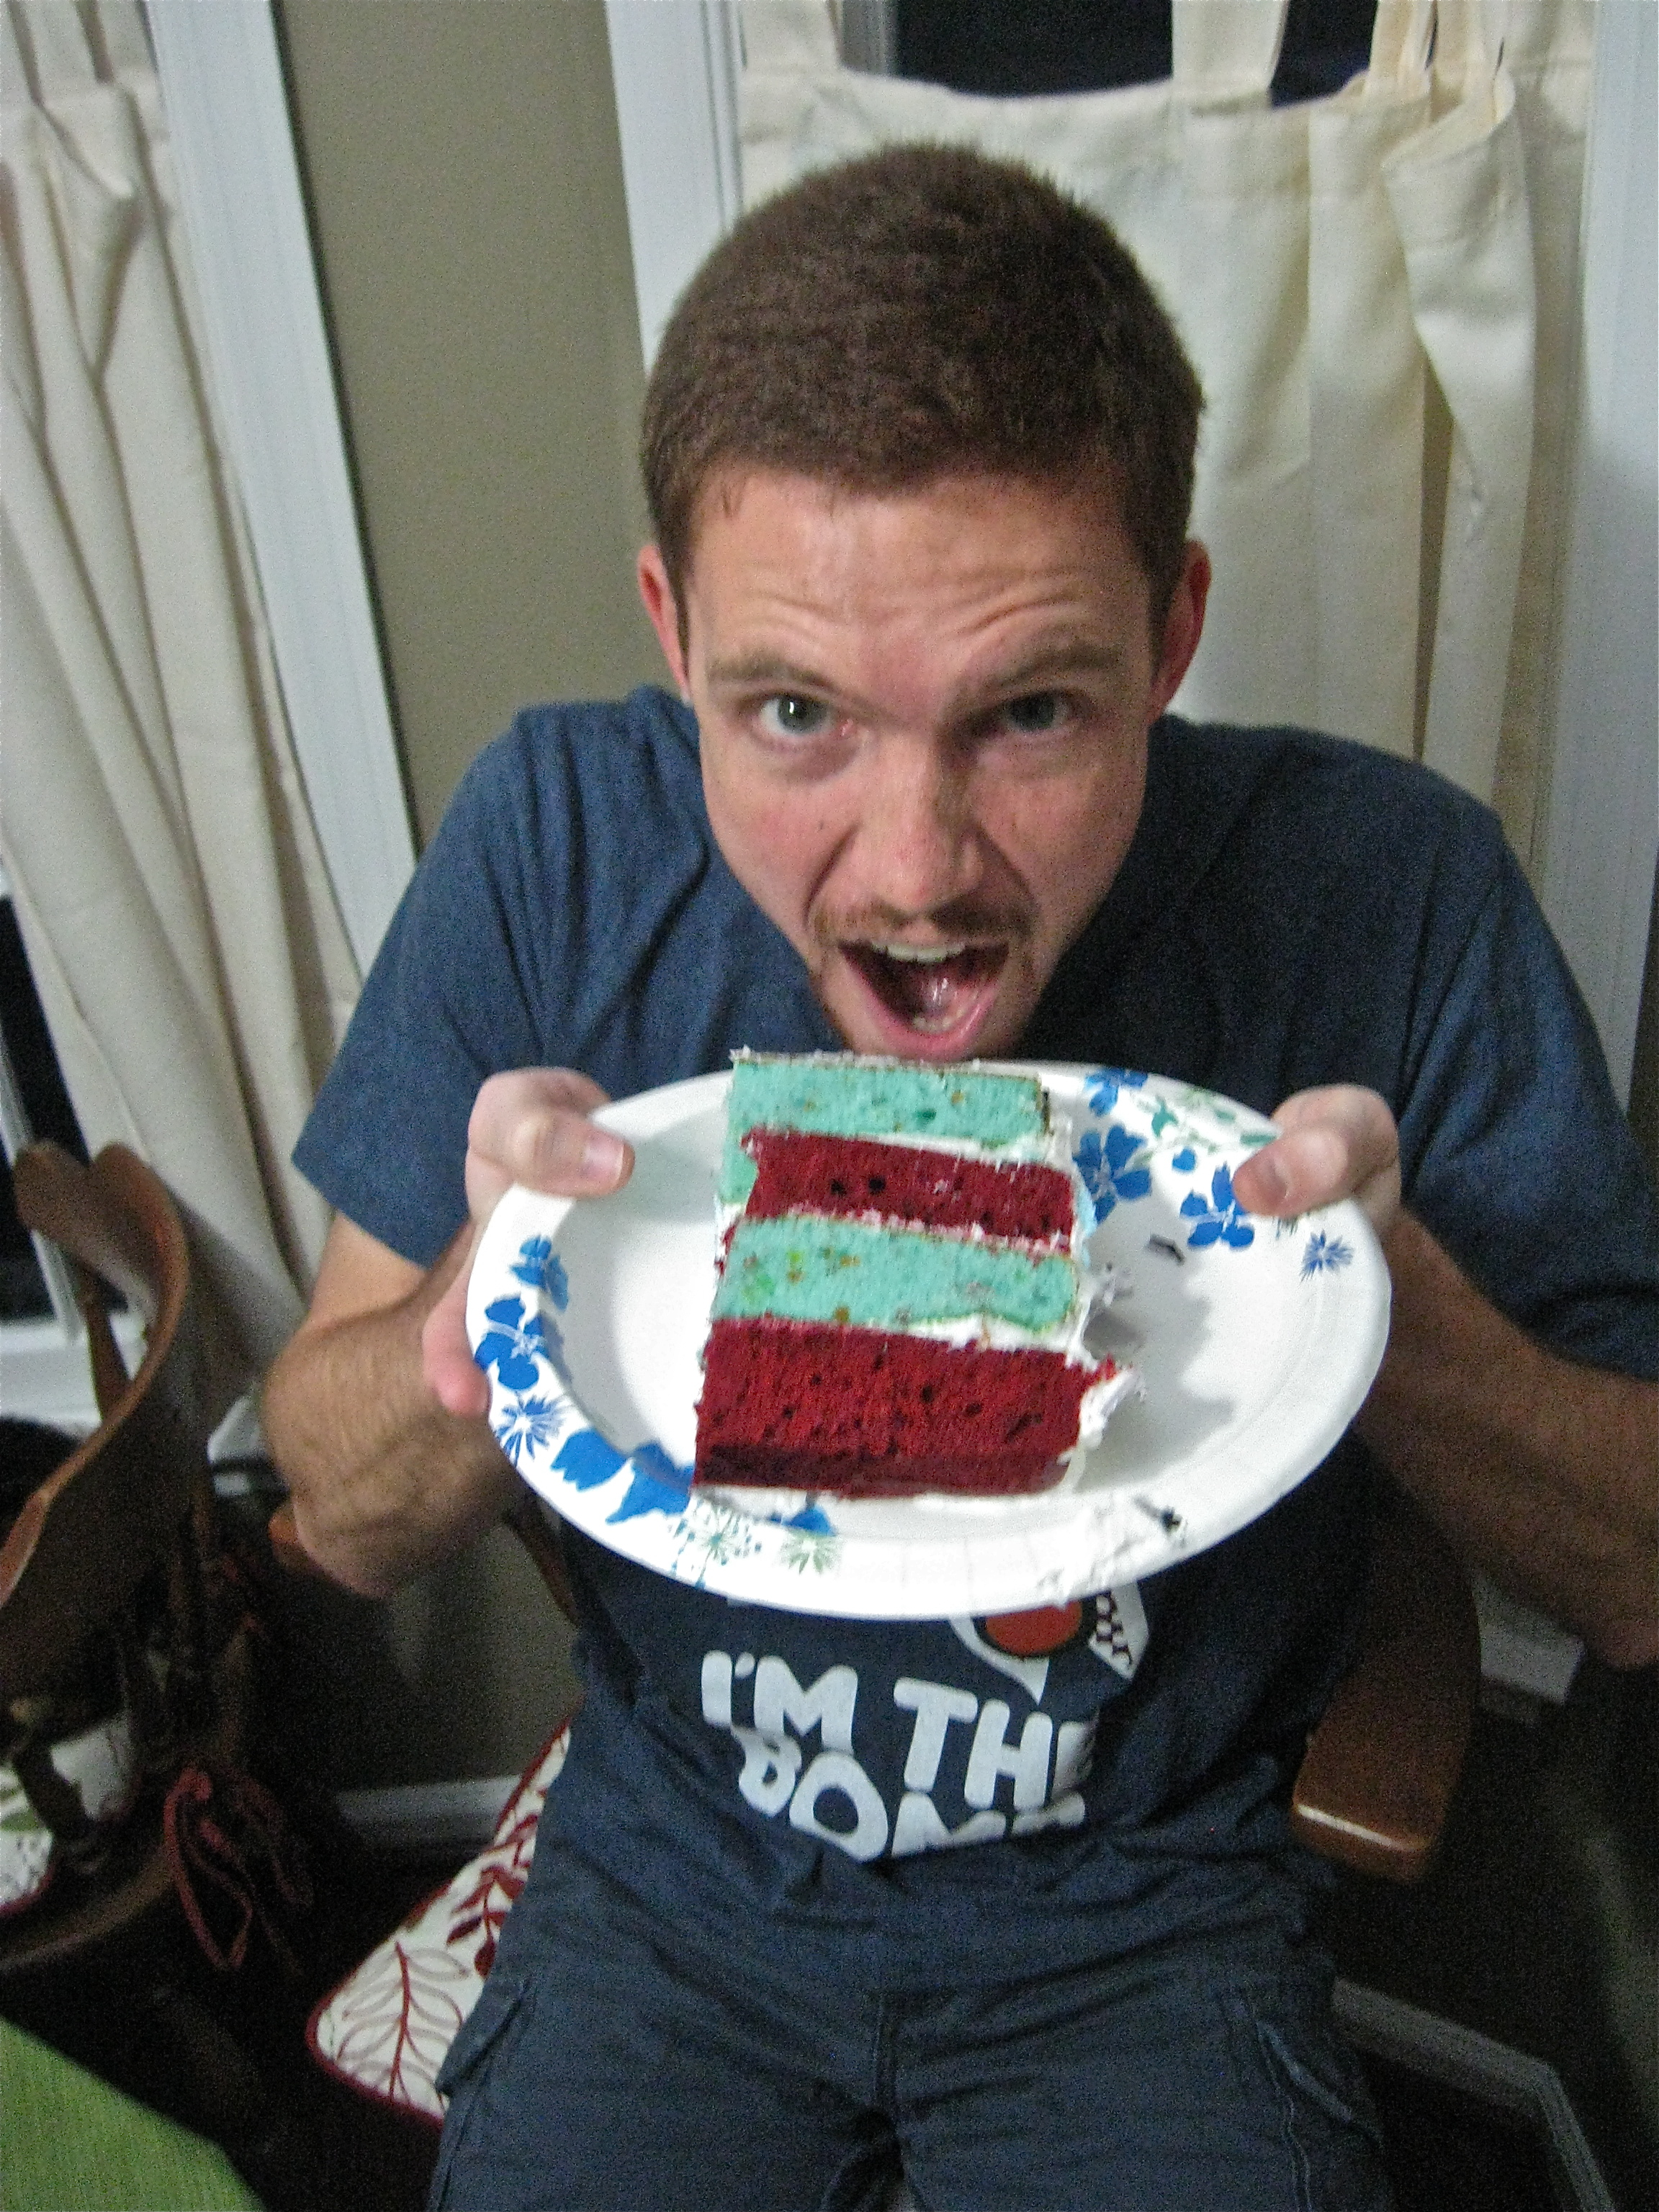
To make this cake, I used 8-inch square pans and two boxed cake mixes: red velvet and confetti, two of the hub’s favorites.

I dyed the confetti cake blue … or tried to.
I like to bake from scratch normally, but with all the decorating I had to do and my tight schedule, I went for boxed cake mixes. This was a great chance to try out some boxed cake mix hacks I had read about, and they really helped! I used milk instead of water, melted butter instead of vegetable oil, added one extra egg, and rounded off the butter by a few tablespoons. The cake turned out dense and moist and delicious!
Lesson #1 — Stacking requires the cakes to be level. I had to MacGyver up a solution of hiding caramel squares in the corners under lots of frosting to stop my cake from leaning and sagging because I just stacked them as they were without trimming.
Lesson #2 — Make the fondant the day you make the cake because it is tricky to store and a pain to re-hydrate after it has been stored. When I got ready to use the fondant a few days after I had made it, I basically had to spend 10 minutes on each batch, microwaving for 2-3 second intervals and kneading it back to the original consistency.
Once that was finished, I got my work area prepared:

Parchment paper and cornstarch puff.
The cornstarch puff is AMAZING. It makes the fondant easier to work with and smooth, and it prevents the fondant from sticking to the rolling pin or board.
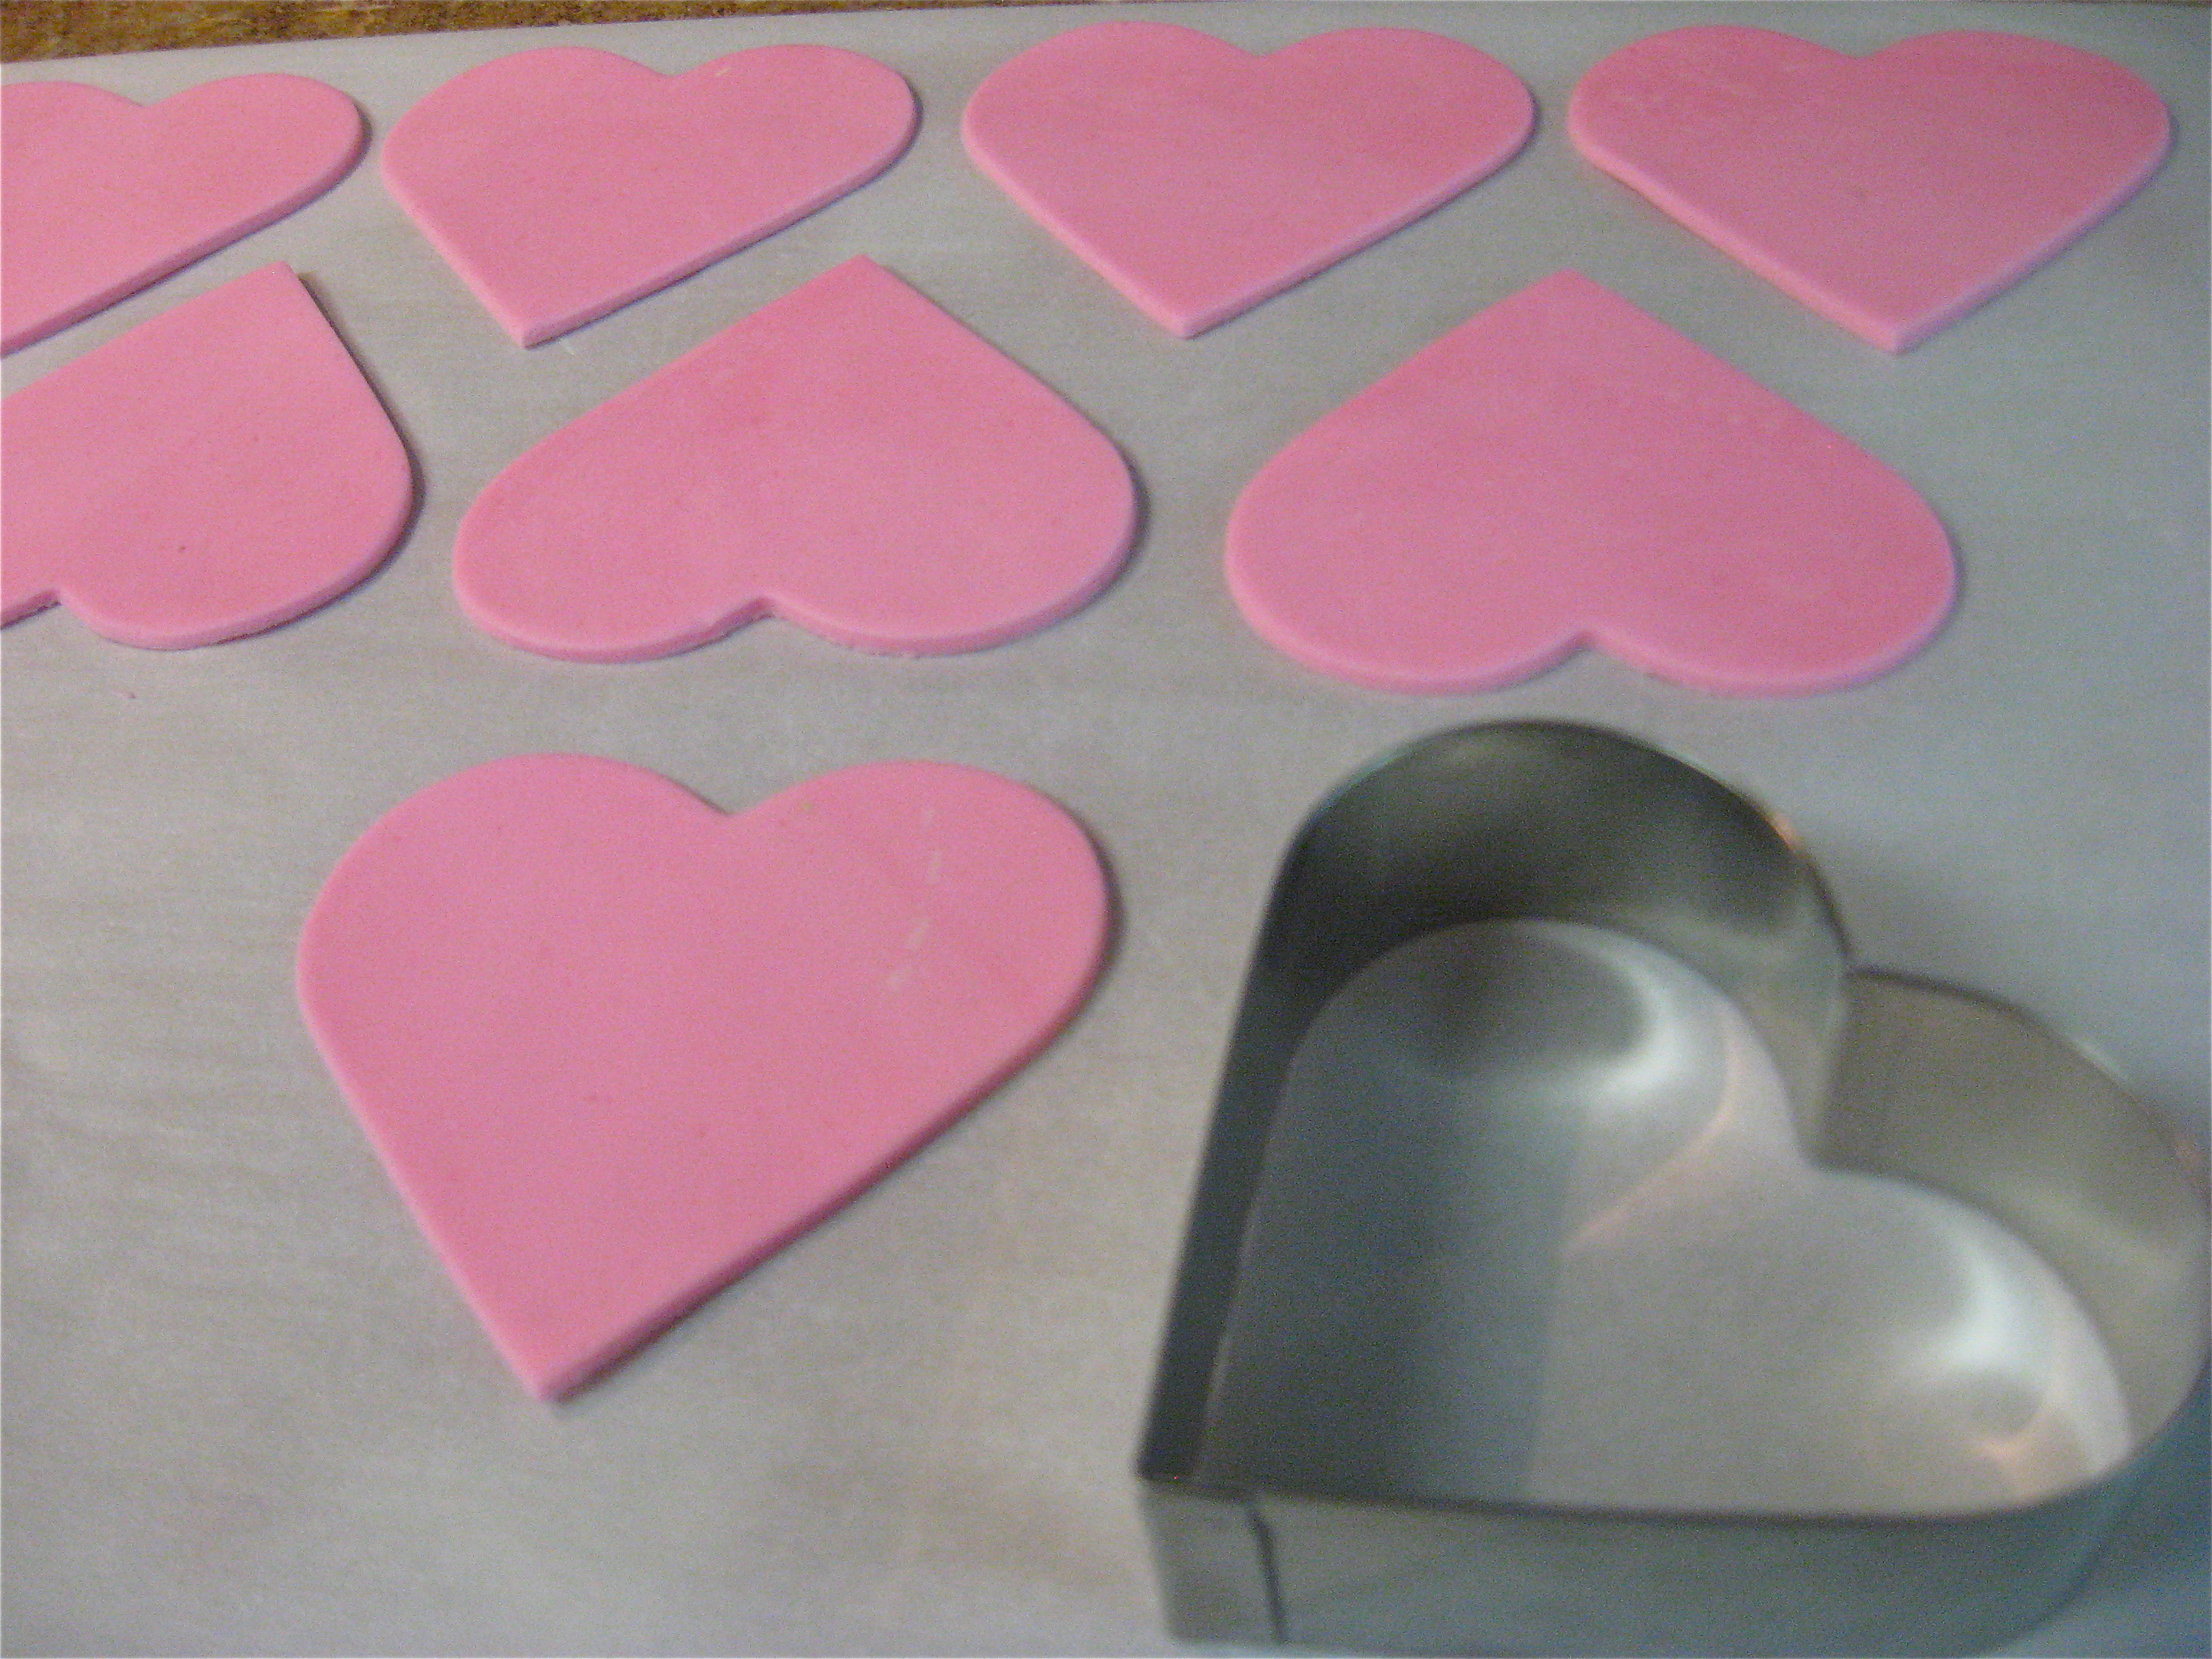
Lesson #3 — Having the right utensils is key. All of my knives are serated, and that just doesn’t work well with cutting smooth lines in fondant. It also would have made my life easier to have more cookie cutters in different shapes to help in my design.

So much easier than freehand cutting!
I did make myself little paper stencils for the many components of the cake design. Even still, it took about four hours to roll out the fondant and cut all 75 pieces.

Each side of the cube had 14 pieces.
Lesson #4 — Don’t stack fondant when you store it.
After I had slaved over my fondant, I put it up for the night, thinking it was okay to stack them because they seemed dry enough and were dusted with cornstarch. My fatal mistake — forgetting I live in the South. Darn humidity! I had to scrap pretty much all of my white pieces of fondant because they got stuck together. 😦 And many of the thin gray pieces became so brittle that they cracked as I handled them.
If I had planned a little better, I would have had time to roll out more, but sadly I did not. The pieces that did survive looked good, though!

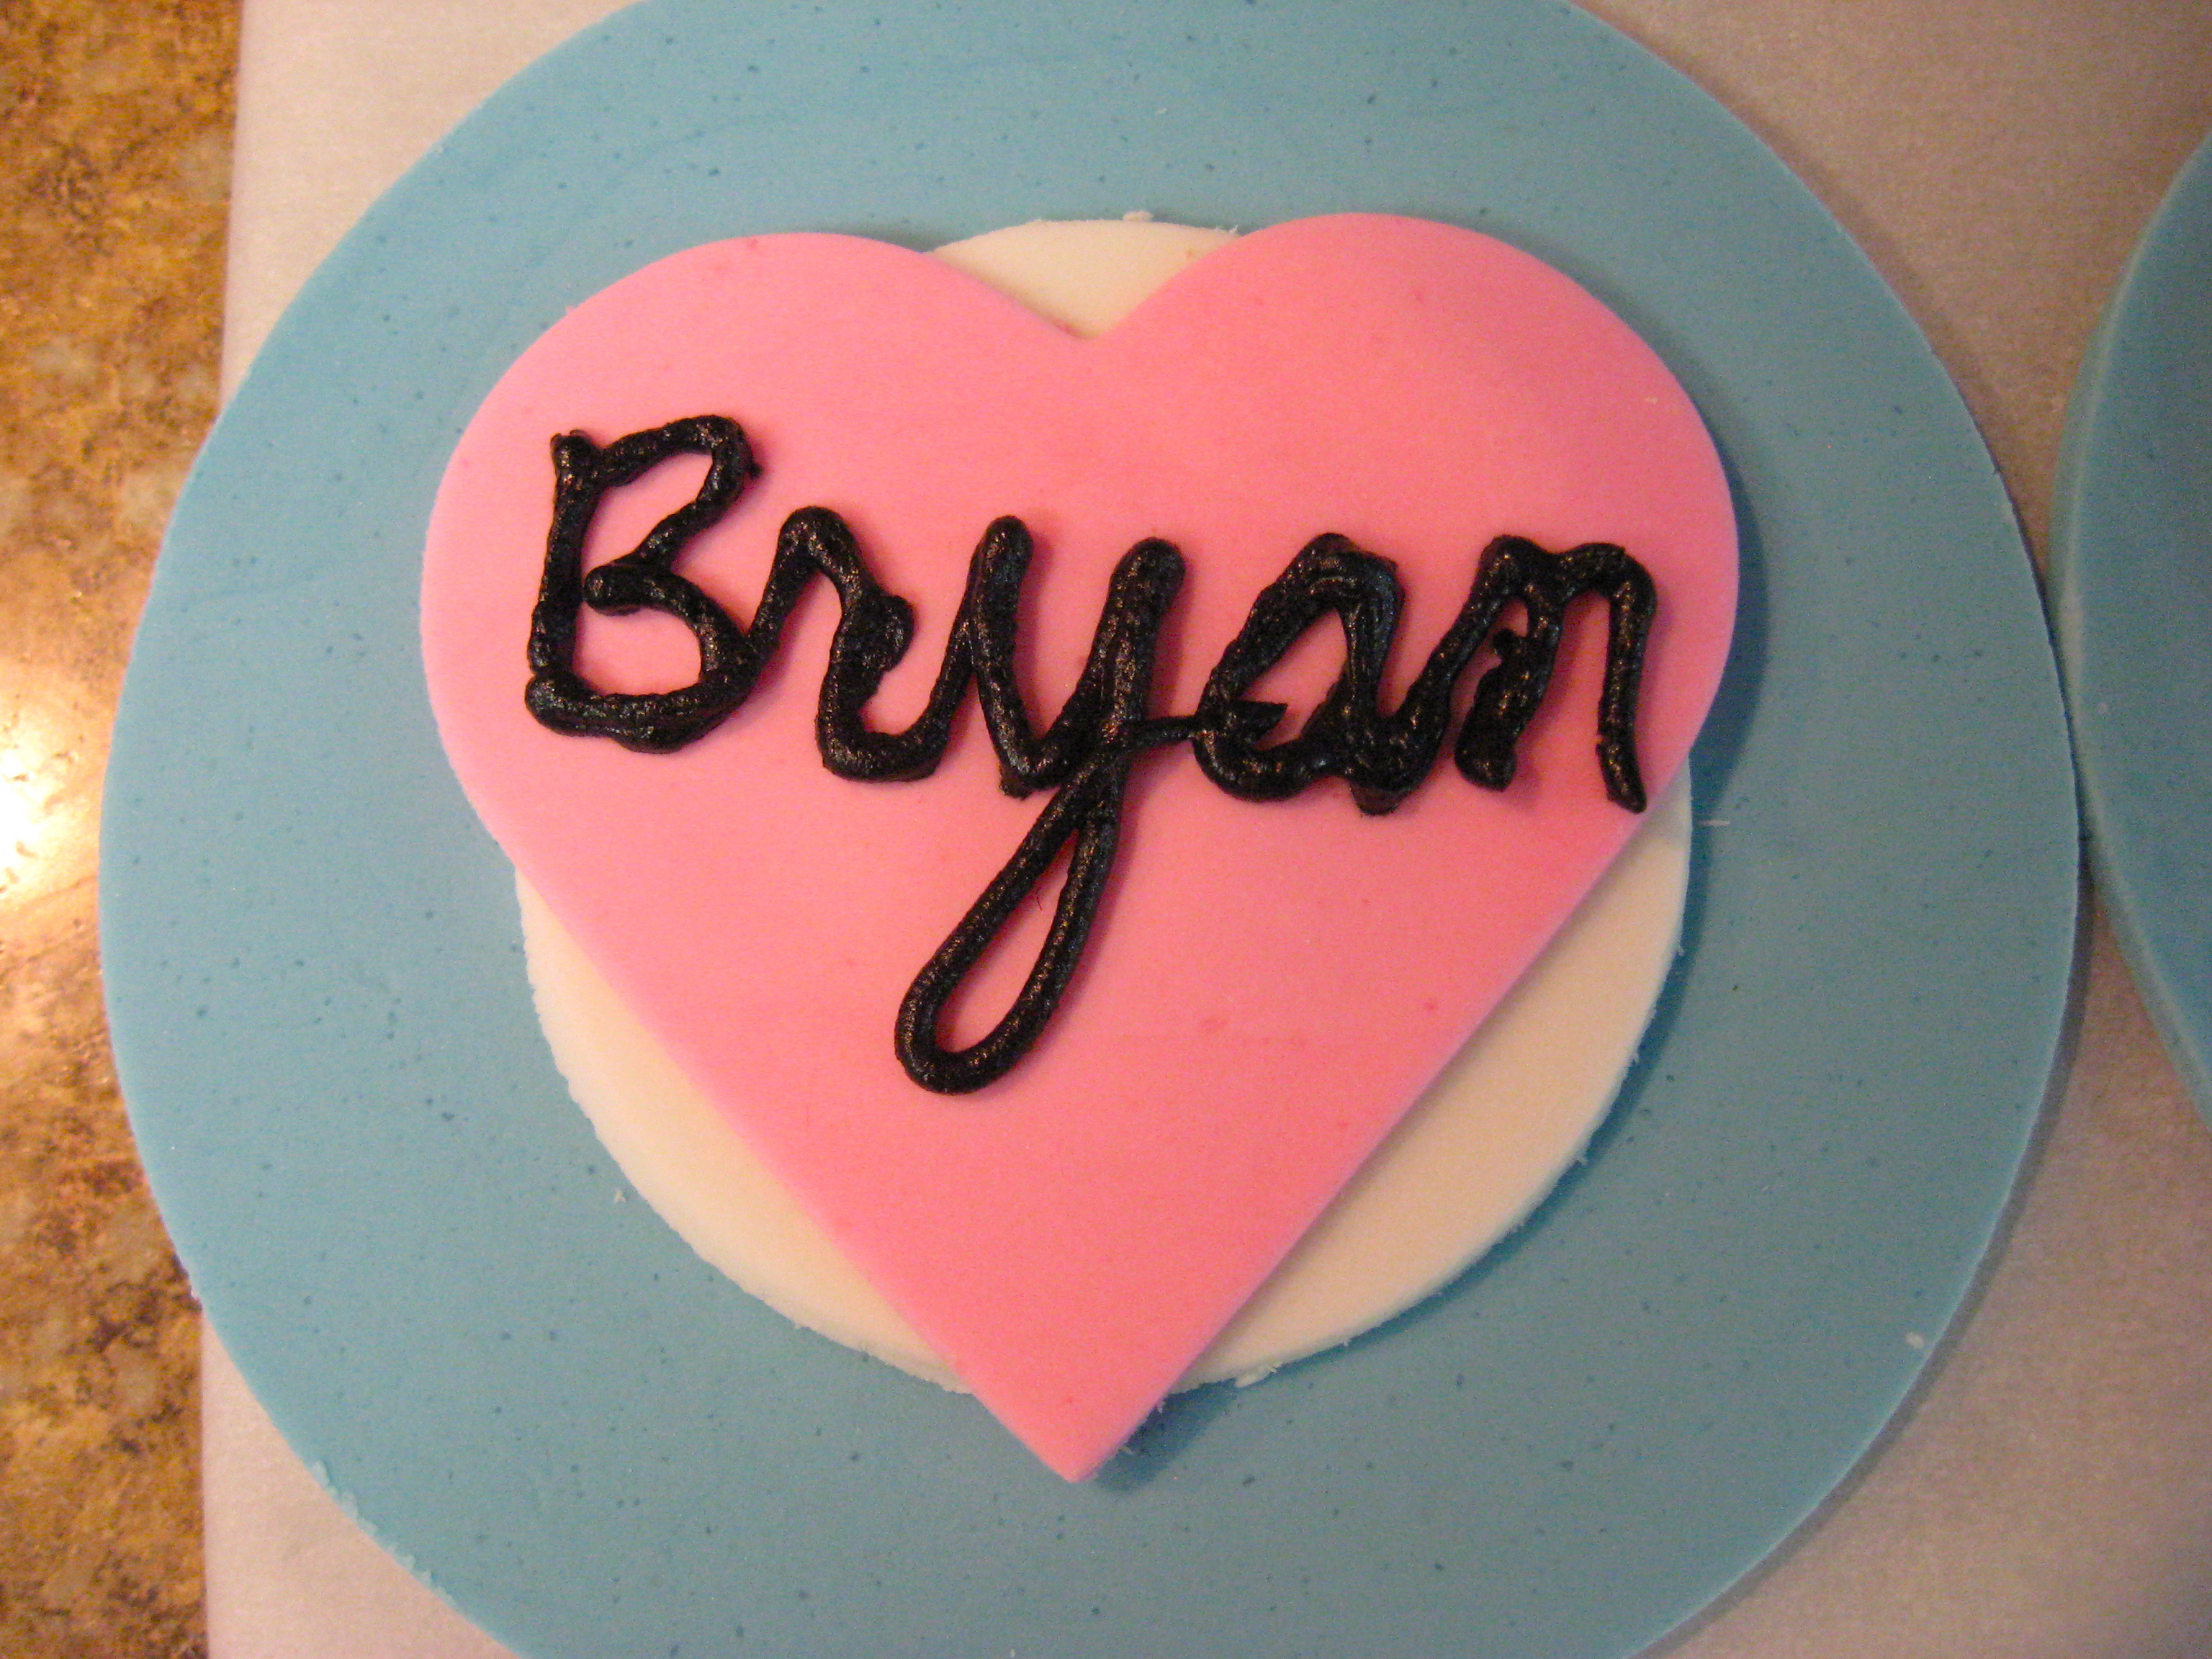
Not bad for my first time writing with icing!
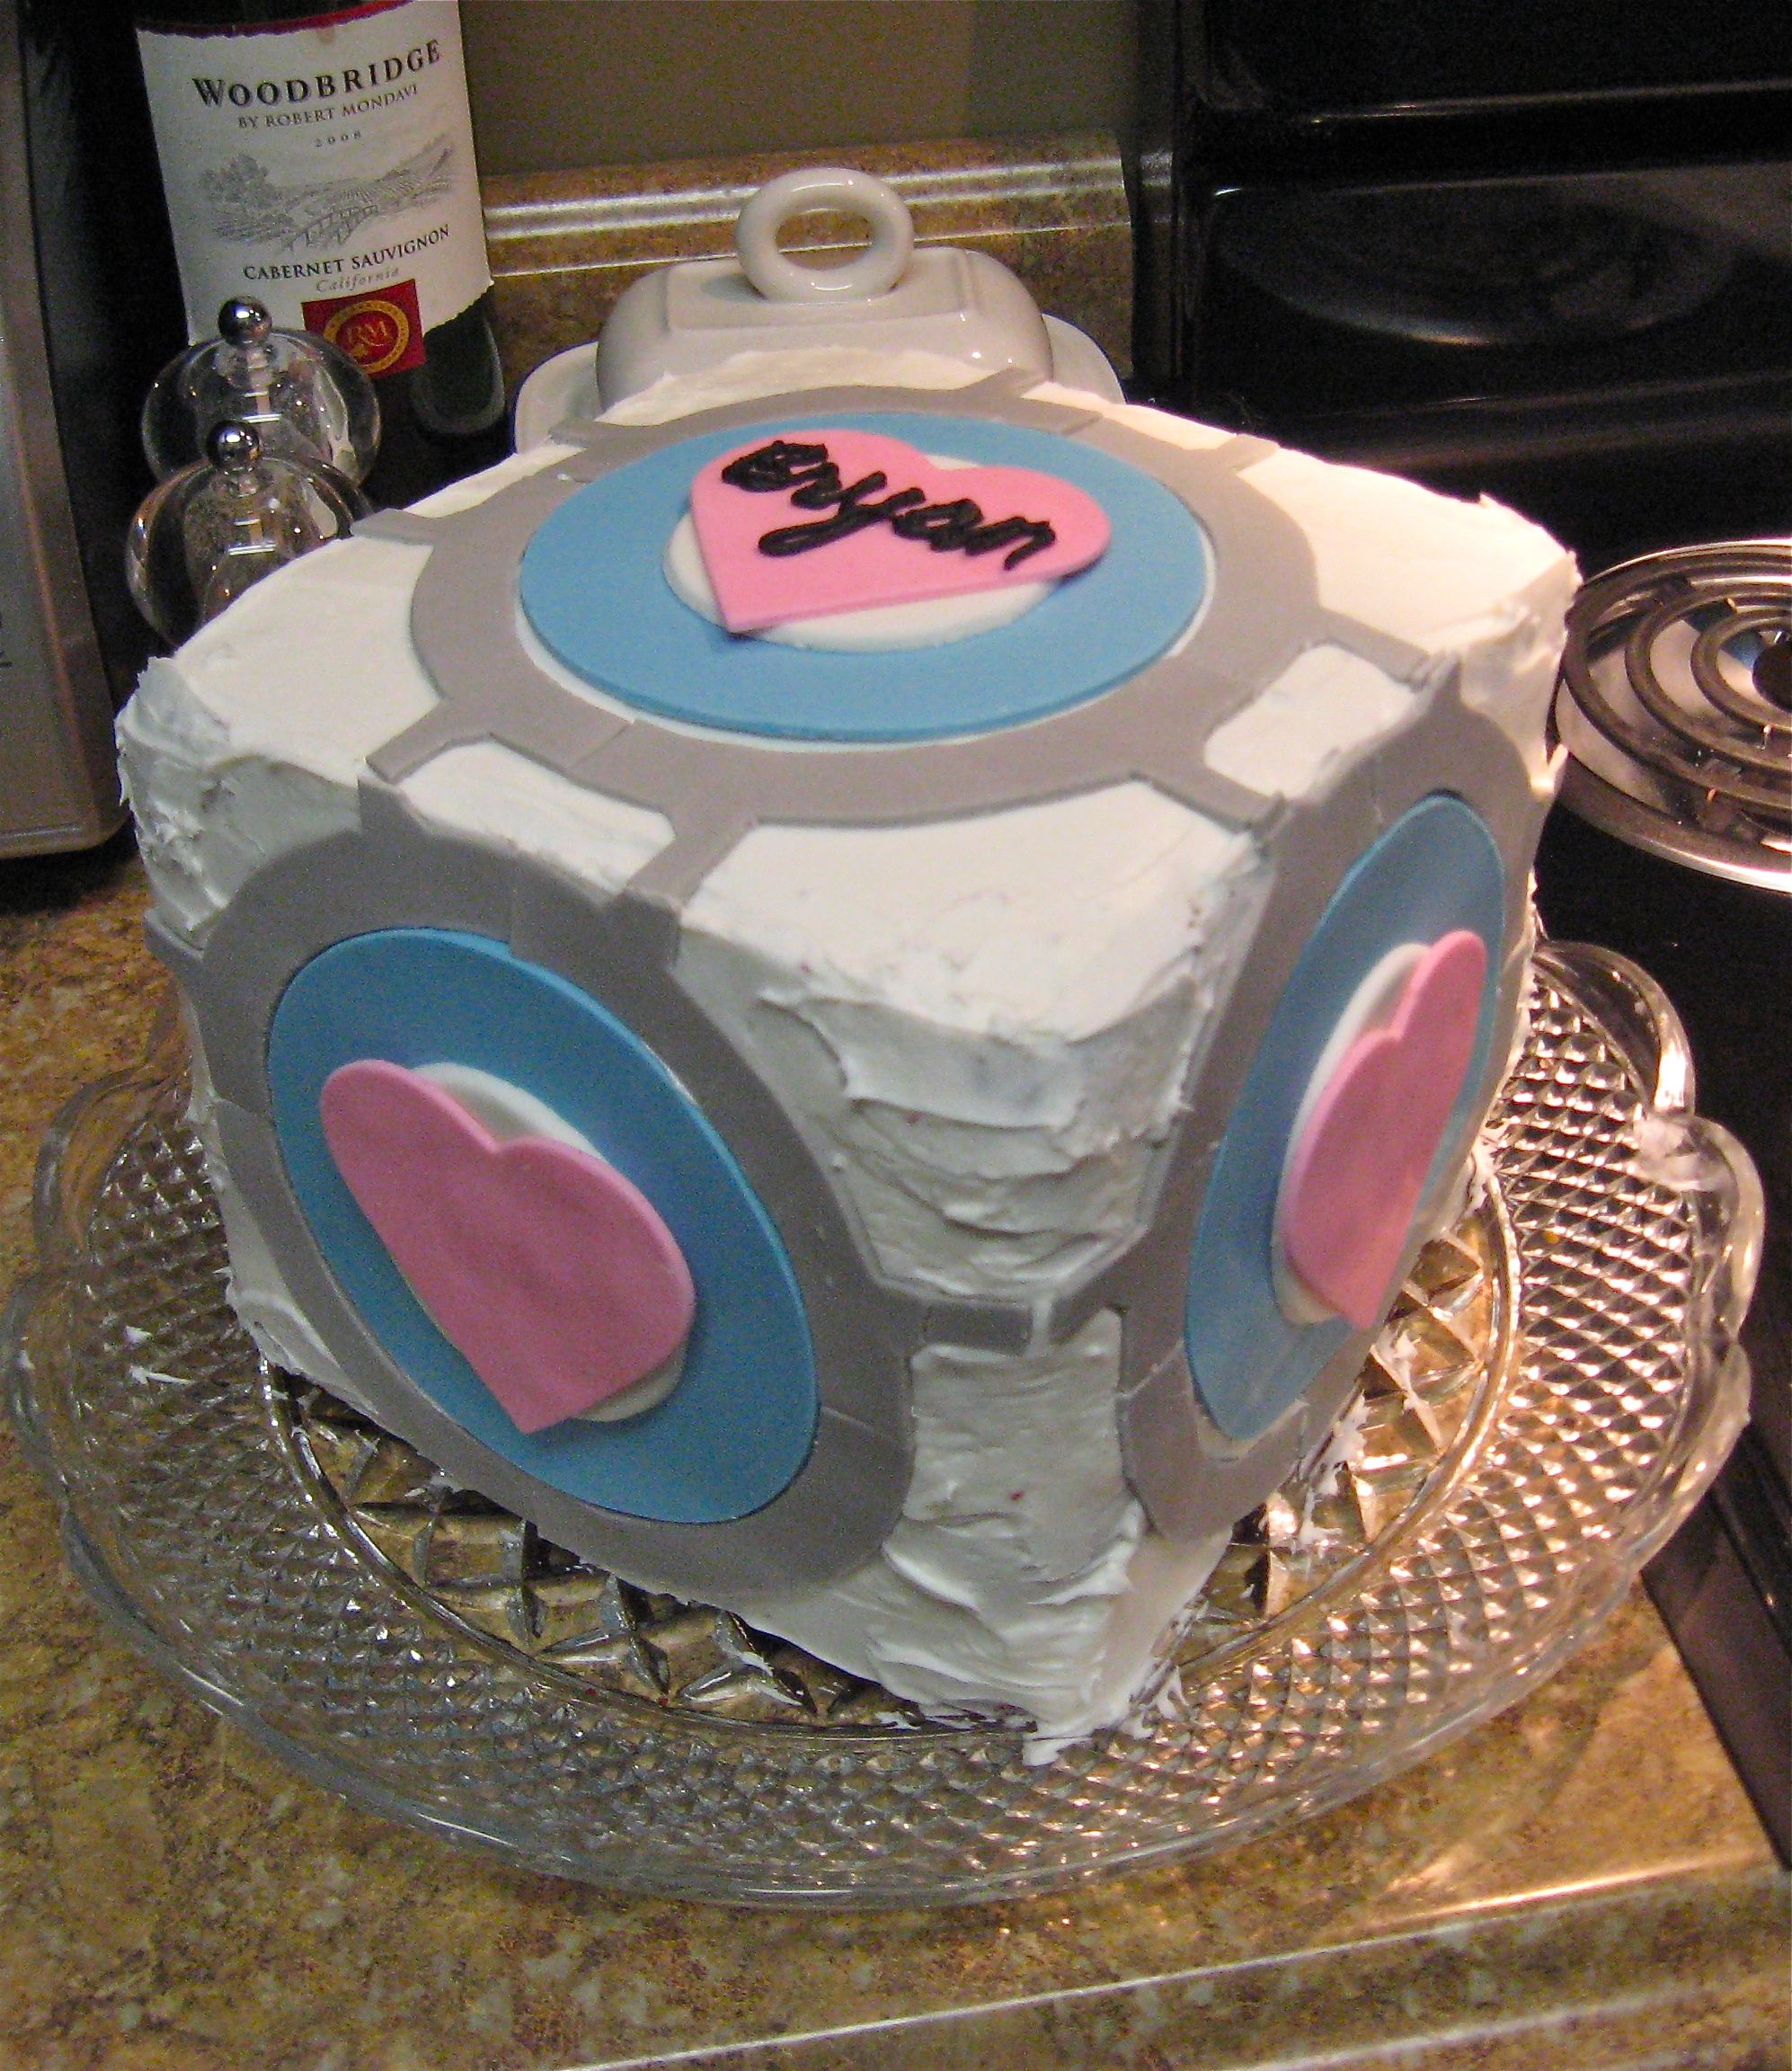
After I iced the cake, it was time to place the fondant!

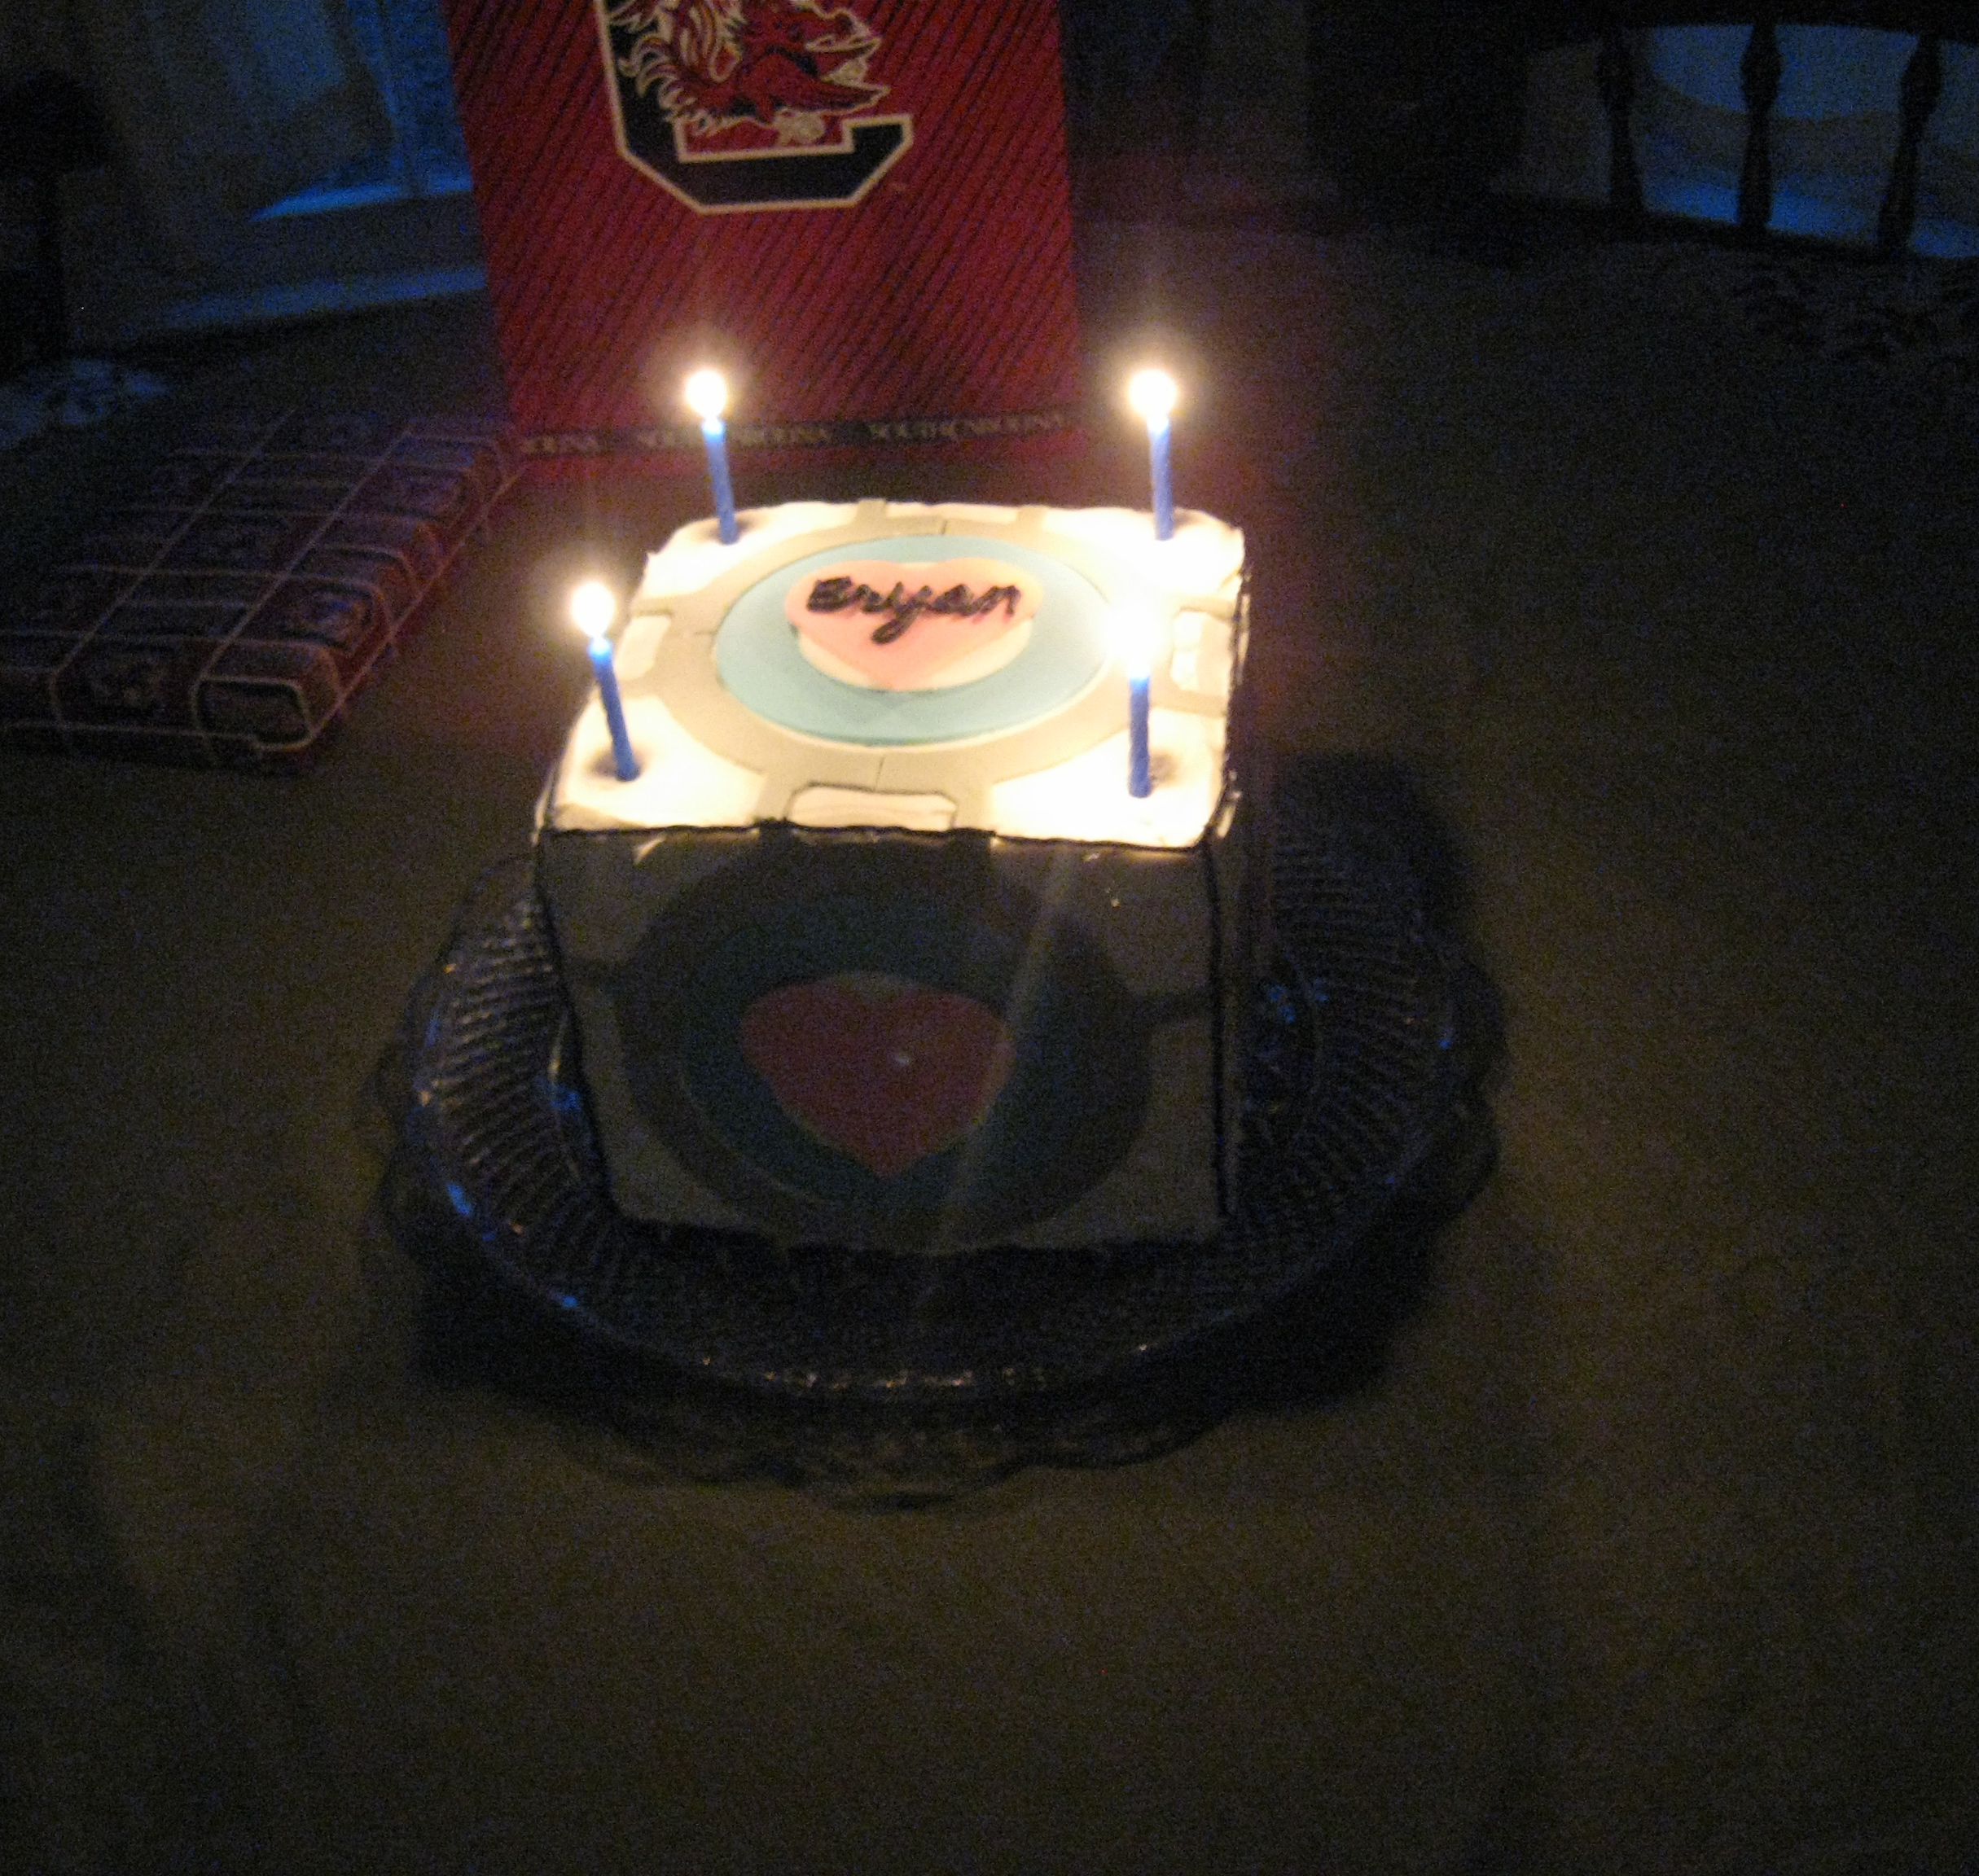
My Companion/Storage Cube from Portal.
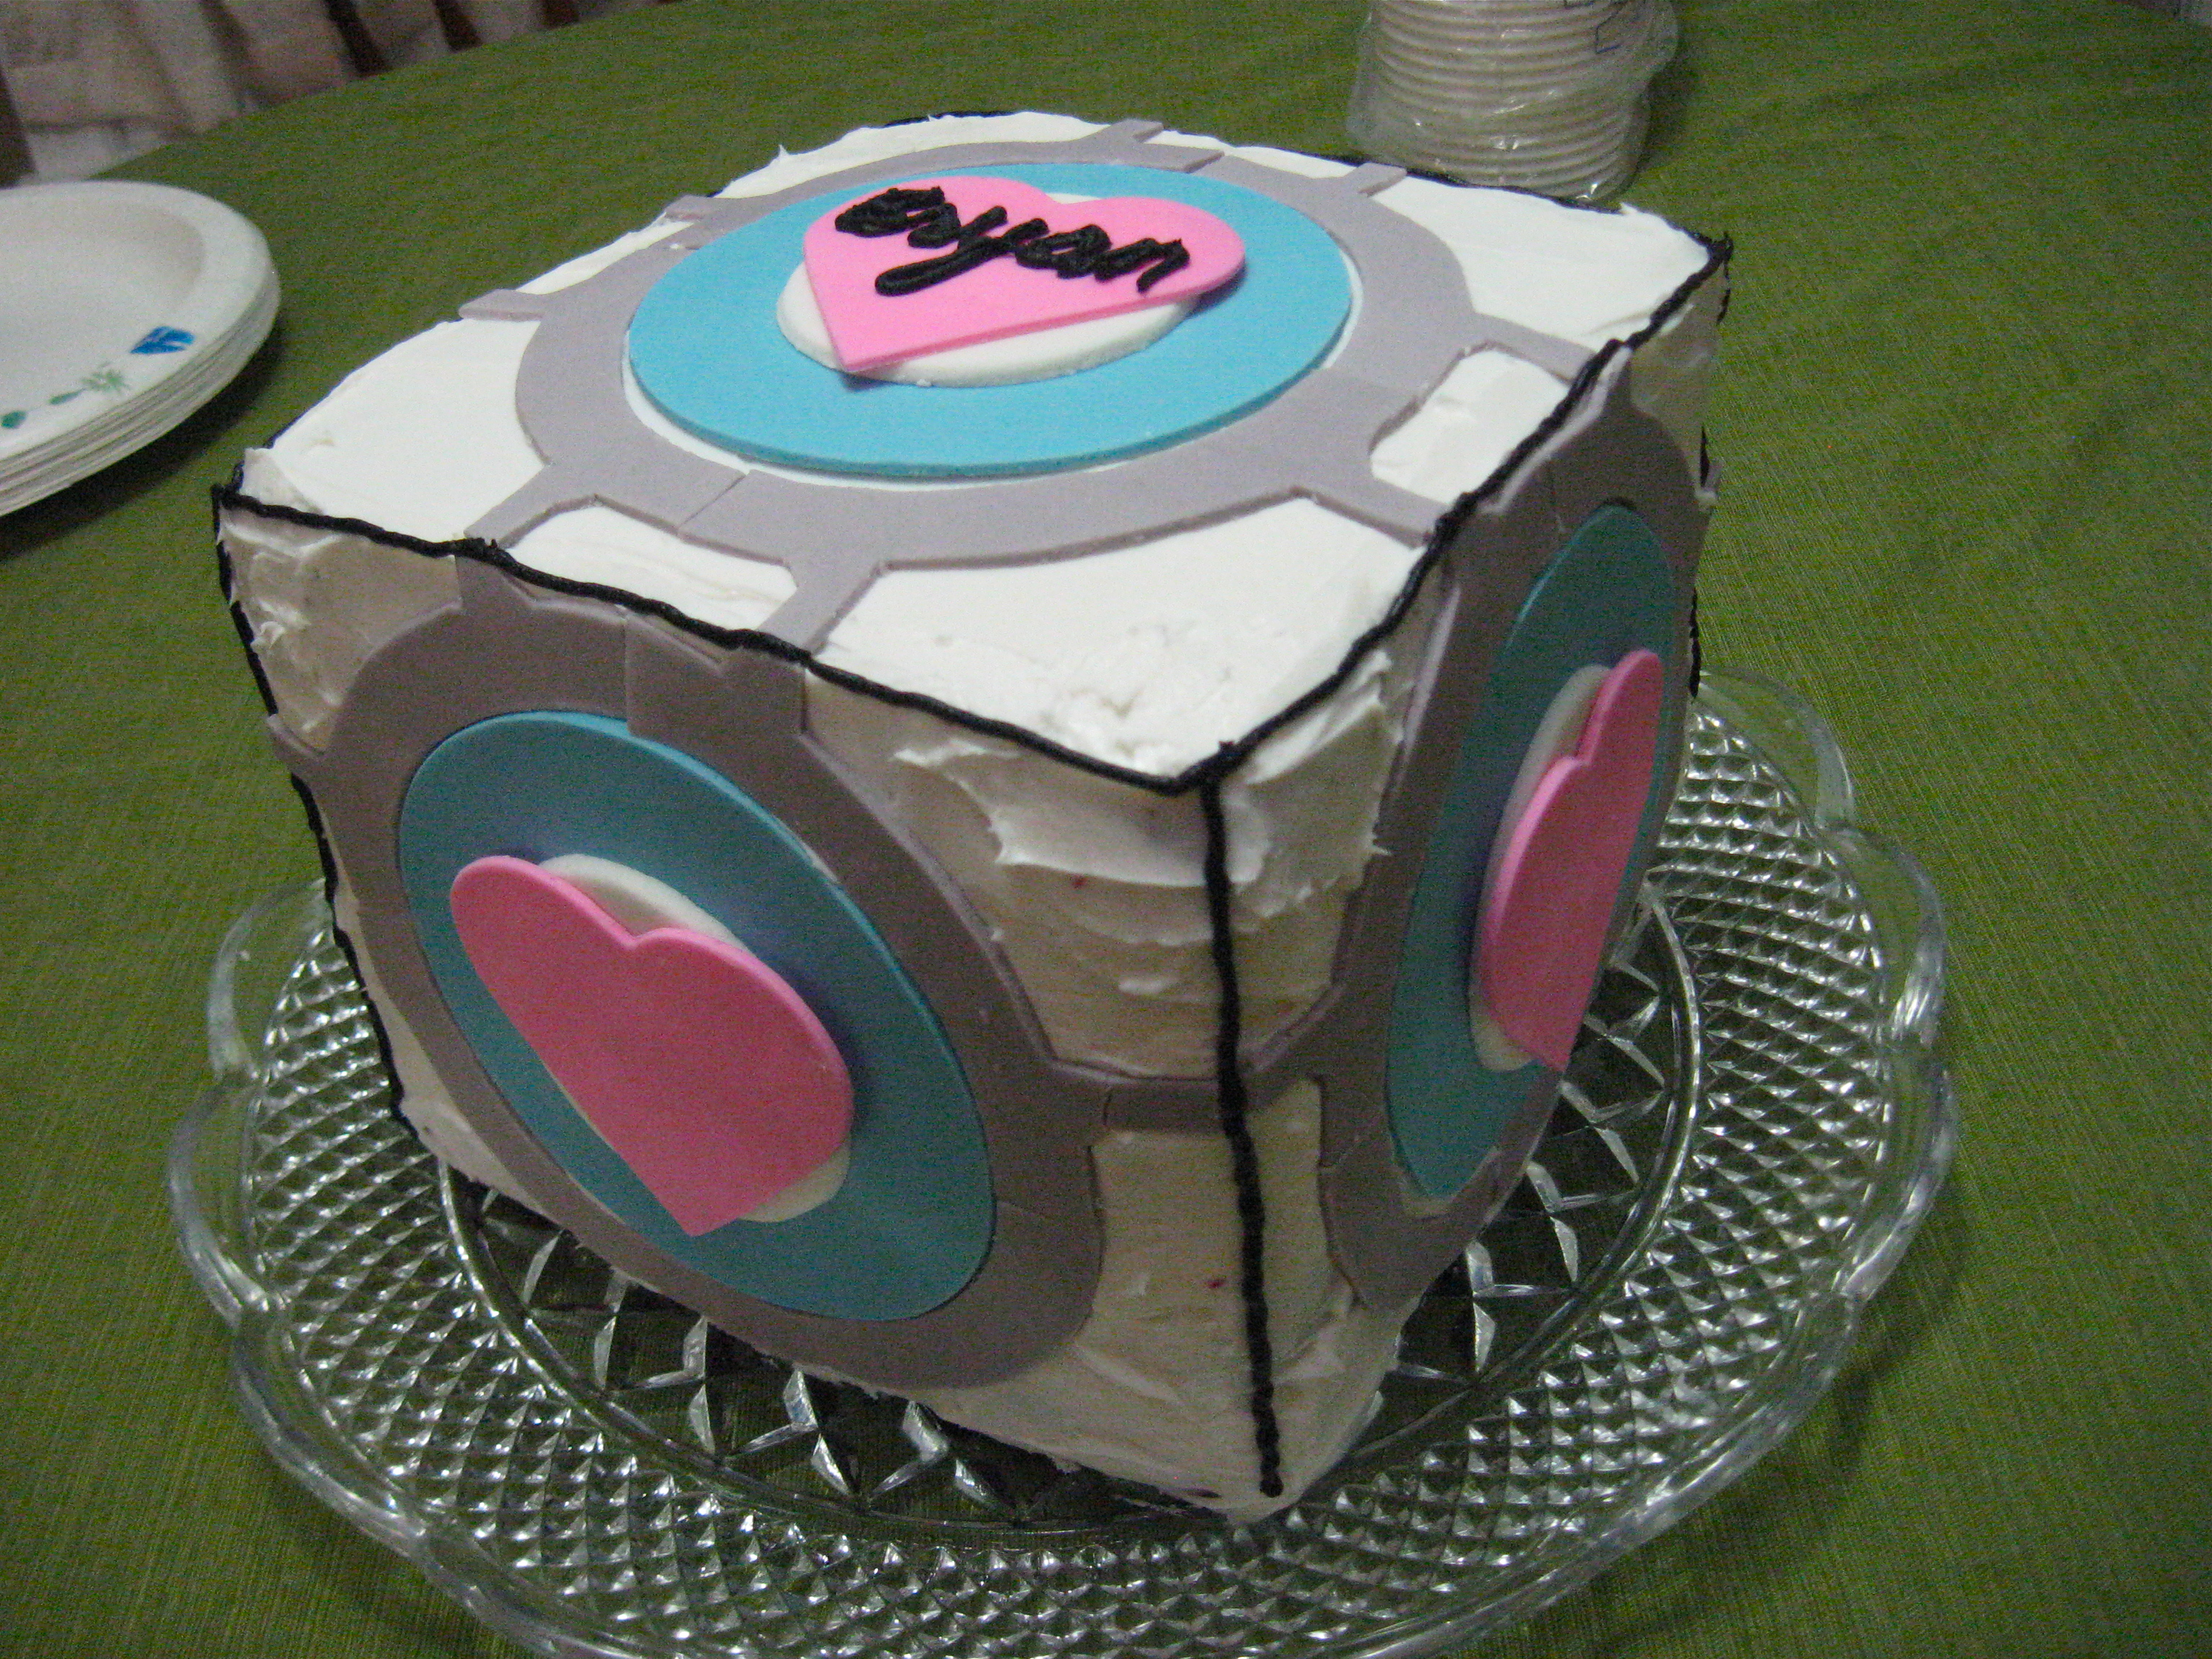
I never know when to stop, so I ended up adding black icing to the edges. In hindsight, I think it looks better and more like the Portal cubes without, but it was a good exercise in icing.

Straight lines are hard.
This cake was a trial, for sure, but I learned SO MUCH, and bottom line — Bryan loved it! 🙂

Happy Birthday, baby!