How is it that just the image of a pumpkin can evoke all the excitement and expectation of the fall season? I really do love pumpkins. I love their interesting shape and bright color. I love picking them out, carving them and decorating with them … and then roasting the seeds! 🙂
I think it’s pretty appropriate that the first soup I serve in my new pumpkin soup tureen is a PUMPKIN soup! This Zesty Pumpkin Soup recipe is one of my all time favorites from the Big Red Cookbook, and it is actually pretty simple.
Ingredients:
- 4 tblsp butter
- 1 small onion
- 1 garlic clove
- 1 tsp curry powder
- ½ tsp salt
- ¼ tsp coriander
- 1/8 tsp crushed red pepper
- 1 cup half & half
- 3 cups chicken stock
- 15 oz solid pack pumpkin
- 4 oz sour cream
- 1 tbsp triple sec
- 3 tbsp orange juice
Directions:
1) Mince the garlic. Chop the onion. Don’t cry.
2) In a large skillet, melt butter and sauté the onion and garlic until soft. Add curry powder, salt, coriander, and red pepper. Cook for 1 minute.
3) In a large soup pot, heat the chicken broth to a boil. Add the spice and onion mixture. Boil gently, uncovered, for 15-20 minutes. Your house will smell sooo good! 🙂
4) Stir in the pumpkin and half & half. Cook for 5 minutes – do not boil.
5) Transfer to a blender or use a hand blender to puree until creamy.
6) In a small bowl, mix sour cream, triple sec, and orange juice. Drizzle the Orange Sour Cream over the soup as desired.

Zesty Pumpkin Soup
No lie — this is one of the best soups I’ve ever tasted. It has just the right amount of kick and so much flavor. I could probably eat the entire batch on my own. It’s really good with some nice sourdough bread!
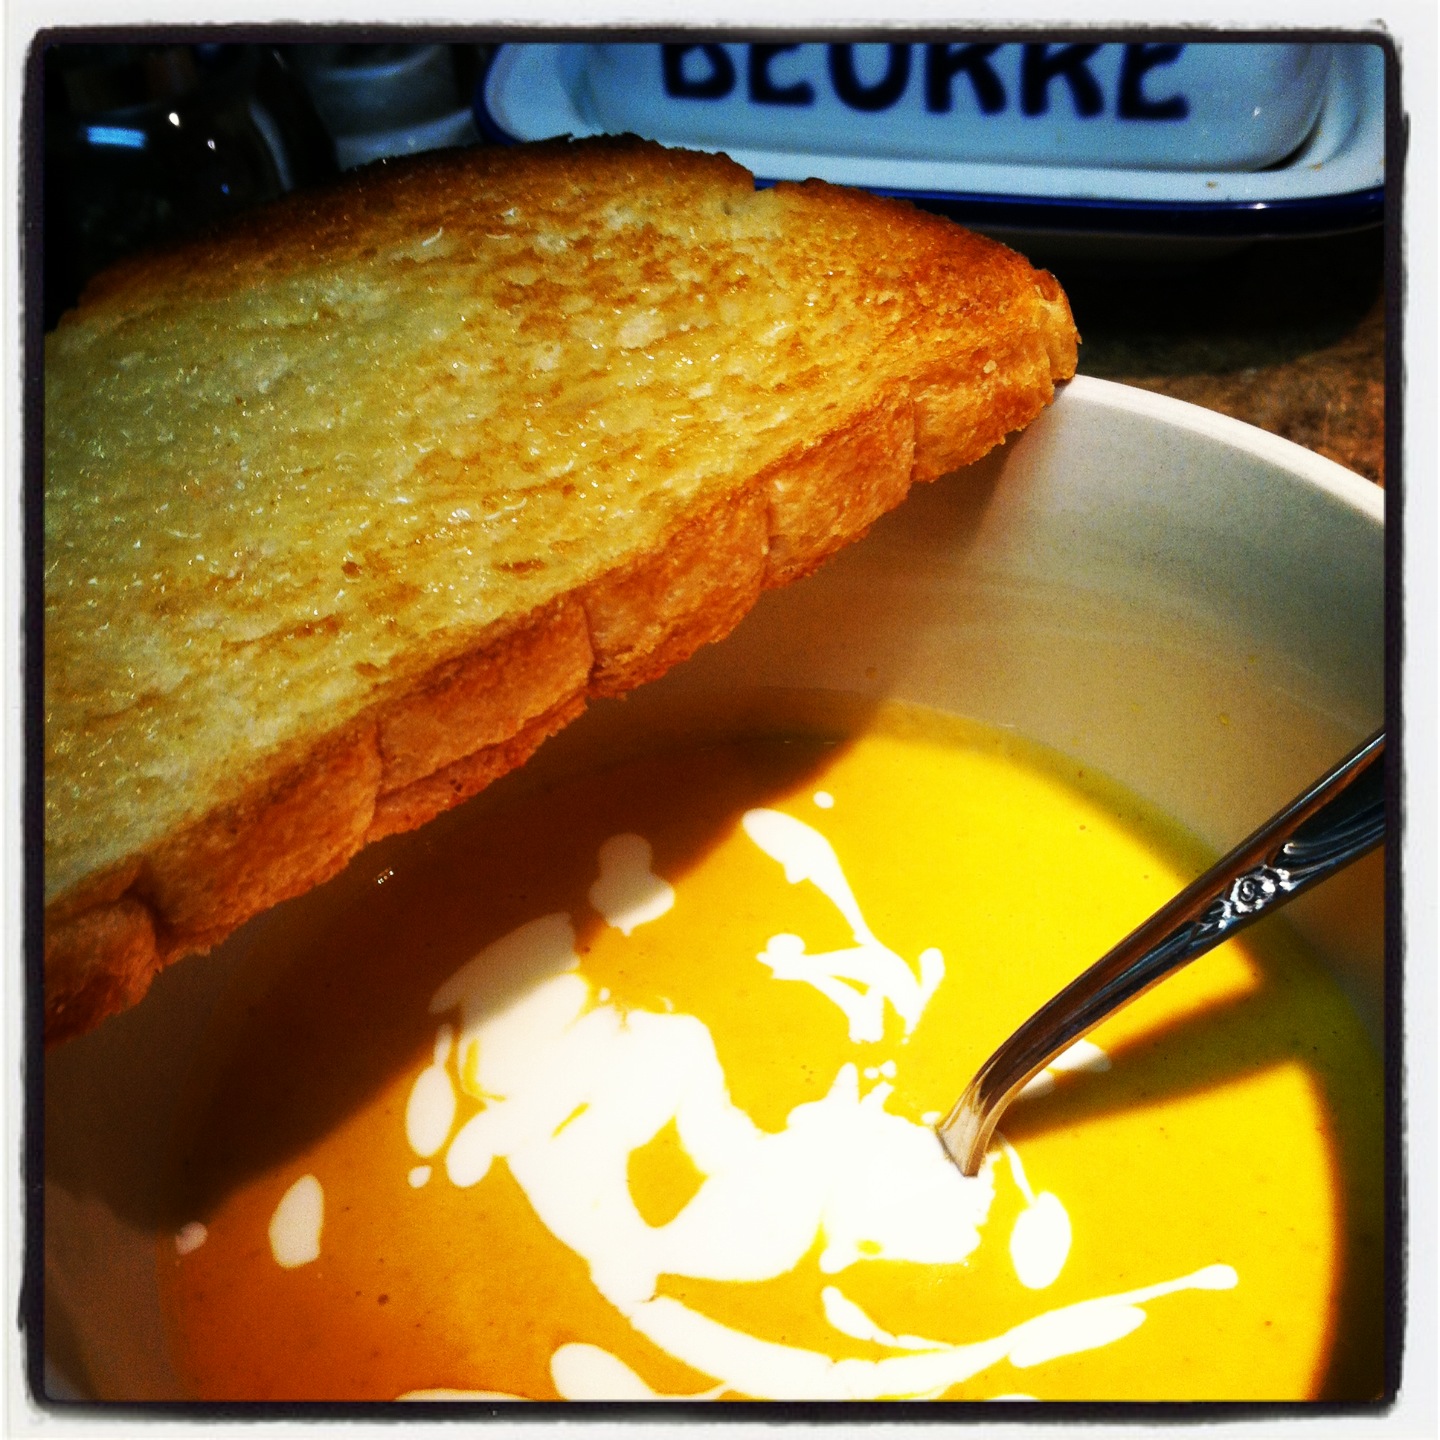
Zesty Pumpkin Soup with Orange Sour Cream